manuals.online logo
Brands
  1. Home
  2. •
  3. Brands
  4. •
  5. Insignia
  6. •
  7. Plumbing Product
  8. •
  9. Insignia KY007 Series User manual

Insignia KY007 Series User manual

www.insigniashowers.com Last Modied: 03/10/2023
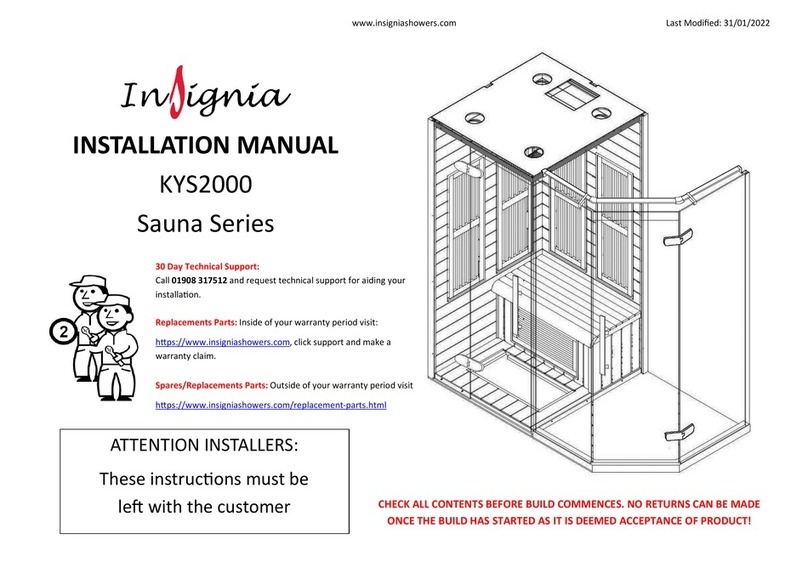
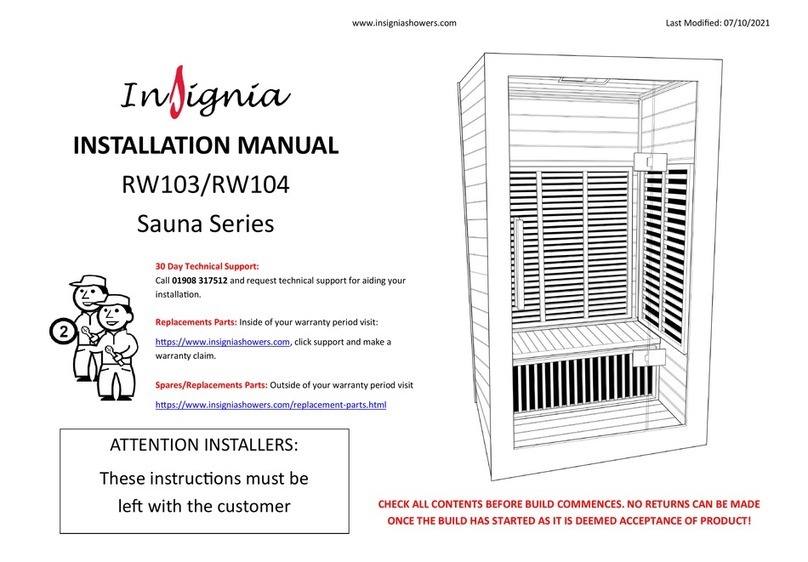
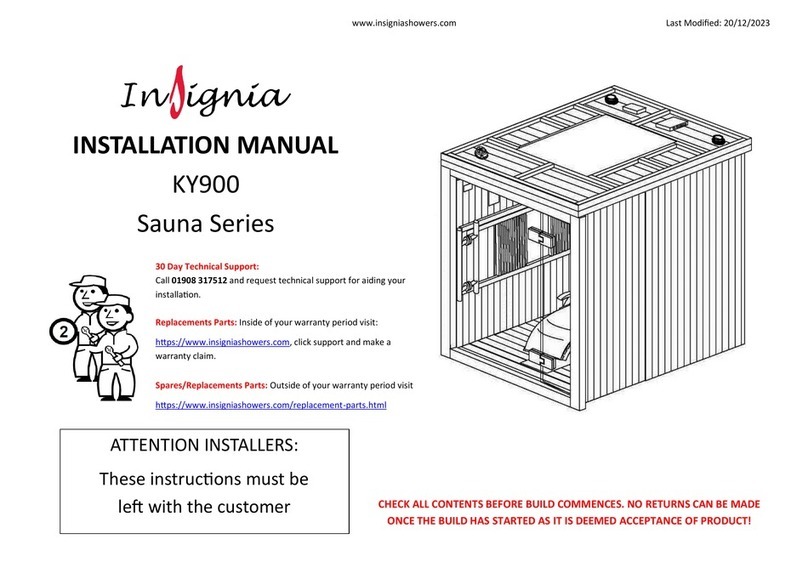
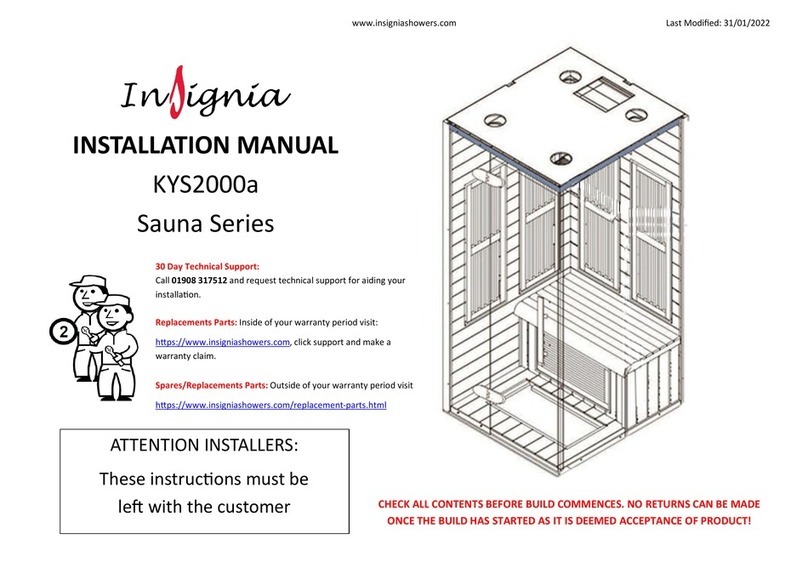
INSTALLATION MANUAL
KY007 Infrared
Sauna Series
30 Day Technical Support:
Call 01908 317512 and request technical support for aiding your
installaon.
Replacements Parts: Inside of your warranty period visit:
hps://www.insigniashowers.com, click support and make a
warranty claim.
Spares/Replacements Parts: Outside of your warranty period
visit
hps://www.insigniashowers.com/replacement-parts.html
ATTENTION INSTALLERS:
These instrucons must be
le with the customer CHECK ALL CONTENTS BEFORE BUILD COMMENCES. NO RETURNS CAN BE MADE
ONCE THE BUILD HAS STARTED AS IT IS DEEMED ACCEPTANCE OF PRODUCT!
www.insigniashowers.com Last Modied: 03/10/2023
02
Contents
Thank you for your purchase 3
Electrical & Tool requirements 4
Box contents 5
Screw Pack Contents 6
Sauna Le Panel and Right Panel Install 7
Bench Heater Install 8
Bench Front Panels Install 9
Heater Wires Install 10
Glass Panel Install 11
Bench Seats Install 12
Back Rest Install 13
Door Handles Install 14
Roof Install 15
Connecng the Electrics 16
Securing the Roof 17
Securing the Roof Electrics 18
Electrical Connecons 19
Sauna Control Panel Instrucons 20
Remote Control Instrucons 22
Sauna Room Safety Guide 23
WEEE Compliance Statement 24
www.insigniashowers.com Last Modied: 03/10/2023
03
Thank you for your recent purchase of an Insignia Sauna. Please read this booklet with
great care to ensure you get the best out of your build and have a Sauna that will last
for many years to come! Like everything, in order to obtain a rst class product that
will serve you well for many years, the eort and correctness put into the assembly
will reect in the quality of your nish.
www.insigniashowers.com Last Modied: 03/10/2023
04
•Scissors
•Knife
•Spirit Level
•Tape Measure
•Philips Screwdriver
•Electric Drill
•Safety Gloves
•Safety Glasses
Tools Required
Voltage Rang 220-240AC
Frequency Rang 50Hz
Power Rang 3219 Was Sauna
Total Amperage 13.4 amps
Indoor saunas with power consumpon under 3KW have been designed for easy installaon,
allowing for a simple plug-in directly into a standard household power circuit.
Installaon Notes:
1. (Recommended) Consult with a qualied Electrician before connecon to assess
suitability.
2. Ensure all parts are connected safely and correctly.
Always use protection against electrical surge by means of an RCD unit.
If you are uncertain about the installaon process or have any quesons, please feel
free to reach out to our friendly technical support for general advice. For anything more
specic to the electric installaon, please consult with a cered electrician.
Electrical Requirements Model KY007
www.insigniashowers.com Last Modied: 03/10/2023
05
What’s in the Boxes?
Contents Quanty
Roof
Le Panel
Right Panel
Le Glass Panel
Right Glass Panel
Bench Front
Bench Top Seat
1
1
1
1
1
2
2
[ ]
[ ]
[ ]
[ ]
[ ]
[ ]
[ ]
VERY IMPORTANT
Have you got everything? If not please contact the Insignia directly on 01908 317 512.
Remember NEVER book your tradesman unl everything has arrived, been checked and is
present. No replacement/missing parts can be obtained free of charge during or aer the
build. Any claims can only be within the mescale permied (48 hours aer delivery) and
always BEFORE build.
Contents Quanty
Door Panel
Back Rests
Heaters
Bench Side Panels
Floor Insert
Door Handle
1
6
2
2
1
2
[ ]
[ ]
[ ]
[ ]
[ ]
[ ]
www.insigniashowers.com Last Modied: 03/10/2023
06
Screw Pack Contents
Contents Quanty
ST 50mm Screws
ST 60mm Screws
ST 70mm Screws
ST 12mm Screws
ST 18mm Screws
Wire Fixers
Screw Covers
8
10
8
7
8
7
8
[ ]
[ ]
[ ]
[ ]
[ ]
[ ]
[ ]
VERY IMPORTANT
Have you got everything? If not please contact the Insignia directly on 01908 317 512.
Remember NEVER book your tradesman unl everything has arrived, been checked and is
present. No replacement/missing parts can be obtained free of charge during or aer the
build. Any claims can only be within the mescale permied (48 hours aer delivery) and
always BEFORE build.
www.insigniashowers.com Last Modied: 03/10/2023
07
Step 1 — Installing the Le and Right Panels
The panel connecon brackets are shown. Li panels and
locate the interlocking connecon brackets and push the
panel down to secure into posion. Locate both panels
onto the wooden side of the base.
www.insigniashowers.com Last Modied: 03/10/2023
08
Step 2 — Installing the Bench Heater
4 x ST18mm Screws
Using the ST 18mm screws found in the screw pack,
connect the bench heater behind the bench frame as
shown in the diagram.
www.insigniashowers.com Last Modied: 03/10/2023
09
Step 3 — Installing the Bench Front Panel
Place the longer bench front into posion by sliding into the groove.
Next slide the shorter bench front into the groove. While holding in
place, slot the side bench panels securing into the grooves of the
bench fronts.
www.insigniashowers.com Last Modied: 03/10/2023
10
Step 4 — Connecng the Heater Wires
To connect the wires to the heaters behind the bench panel,
locate the black power wire with mulple white wires aached
which will connect to the le bench heater. The black power
wire with the one white wire will be connected to the right
heater. Ensure the earth wire is screwed into place on the bolt
behind the heater.
8 x ST50mm Screws
Using the ST 50mm screws, secure the side bench panels in the
eight corners.
www.insigniashowers.com Last Modied: 03/10/2023
11
Step 5 — Installing the Glass Panels
The panel connecon brackets are shown. Li panels
and locate the interlocking connecon brackets and
push the panel down to secure into posion.
www.insigniashowers.com Last Modied: 03/10/2023
12
Step 6 — Installing the Bench Seats
Carefully slot the bench tops in place.
www.insigniashowers.com Last Modied: 03/10/2023
13
Step 7 — Installing the Back Rests
8 x ST70mm Screws
Adjust and align all the 6 back rests in place before screwing using
the ST 70mm screws. Use a drill to screw securely.
Please ensure the protecve lm is removed from the heaters be-
fore covering.
www.insigniashowers.com Last Modied: 03/10/2023
14
Step 8 — Installing the Door Handles
Taking the door handle screws and nuts apart, remove
the thread from the cylinder and ghten the nut within
the cylinder to the wooden handle with the larger allen
key. Secure with the smaller allen key.
www.insigniashowers.com Last Modied: 03/10/2023
15
Step 9 — Installing the Roof
Carefully place the roof into the remaining space
making sure it is resng on all sides of the ed
ledges.
www.insigniashowers.com Last Modied: 03/10/2023
16
Step 10 — Connecng the Electrics
Connect the wires of the main power, control
box, temperature control and ozone.
www.insigniashowers.com Last Modied: 03/10/2023
17
Step 11 — Securing the Roof
Secure the roof by screwing in the ST 60mm screws.
10 x ST 60mm
www.insigniashowers.com Last Modied: 03/10/2023
18
Step 12 — Securing the Roof Wires
Use the rubber bands to secure the wires to the
roof using the ST 12mm screws.
10 x ST12mm
www.insigniashowers.com Last Modied: 03/10/2023
19
Step 12 — Electrical Connecons
14
15
2
3
13
10911 688
12
5
7
4
1
1. Main Power Supply
2. Group A : Connecons for back and leg heater
3. Group B : Connecons for front and side heater
4. Temperature Detector Wire
5. USB Input
6. Temperature Controller Wire
7. Antenna
8. Speaker Wires
9. Fan Wire
10. Ozone
11. Roof Light
12. CD/MP3 Wire
13. Control Panel Wire
14. AC220V Power Cord
15. Chromatherapy Lighng
www.insigniashowers.com Last Modied: 03/10/2023
20
Control Panel Instructions
8
9
10 11
7
6
5
4
3
2
1
12
Buon 1/2 (Sauna Heaters)
Press to acvate Sauna heaters. Pressing once will put the heaters on at 100%. Twice = 90%. Three mes = 80%. Four
mes = 70% and ve mes = O.
Buon 3(Lights)
Press to cycle through the coloured lights. Each press will change colour unl a full cycle is completed and they turn o.
Buon 4 (Fan)
Press to turn the fan on, press again to turn it to auto and then a third me to turn it o.
Buon 5 (Time/Temp)
Press to display temp, then cycle through desired temperature seng (max 60°C) using up and down arrows (Buons 6/8). Press
again to display me, then cycle through desired me seng (max 99 mins) using up and down arrows (Buons 6/8).
Buon 6/8 (Up and Down Arrows)
Use to cycle up or down through various seng opons. As standard these operate the volume unl other sengs are
acvated.
Buon 7 (Play/Pause/Memory)
Use to Play/Pause music through various sengs. When searching and tuning the radio, use to save a desired frequency
to a specic channel.
Buon 9 (Set)
Press and use the arrows (Buon 5/11) to manually search. Hold to tune radio staons automacally.
Buon 10 (Audio Mode)
Press to cycle through the audio opons, Radio/MP3/USB/Bluetooth or AUX.
Buon 11 (Alarm)
Press to acvate the alarm, press again to deacvate it. Acvang the alarm will cause all sauna heaters to automacally turn o.
Buon 12 (Power)
Use to power the control panel on or o. Also use to unlock he panel (enters lock mode automacally aer 60 seconds of inacvity).

Other Insignia Plumbing Product manuals
Insignia MXOS1700 User manual

Insignia

Insignia MXOS1700 User manual

Insignia KYS1820 User manual

Insignia

Insignia KYS1820 User manual

Insignia KYS2000 User manual

Insignia

Insignia KYS2000 User manual

Insignia KY3000 Series User manual

Insignia

Insignia KY3000 Series User manual

Insignia KSY1820 User manual

Insignia

Insignia KSY1820 User manual

Insignia MXOS4000 User manual

Insignia

Insignia MXOS4000 User manual

Insignia KYS2000a User manual

Insignia

Insignia KYS2000a User manual

Insignia MXSO1700 User manual

Insignia

Insignia MXSO1700 User manual

Insignia KY002 Series User manual

Insignia

Insignia KY002 Series User manual

Insignia RW101 Series User manual

Insignia

Insignia RW101 Series User manual

Insignia KYS1450 Series User manual

Insignia

Insignia KYS1450 Series User manual

Insignia KY003 Series User manual

Insignia

Insignia KY003 Series User manual

Insignia KY001 Series User manual

Insignia

Insignia KY001 Series User manual

Insignia MXOS2000 User manual

Insignia

Insignia MXOS2000 User manual

Insignia RW105 User manual

Insignia

Insignia RW105 User manual

Insignia Outdoor Series User manual

Insignia

Insignia Outdoor Series User manual

Insignia KY900 Series User manual

Insignia

Insignia KY900 Series User manual

Insignia Sauna Series User manual

Insignia

Insignia Sauna Series User manual

Insignia GT8728 User manual

Insignia

Insignia GT8728 User manual
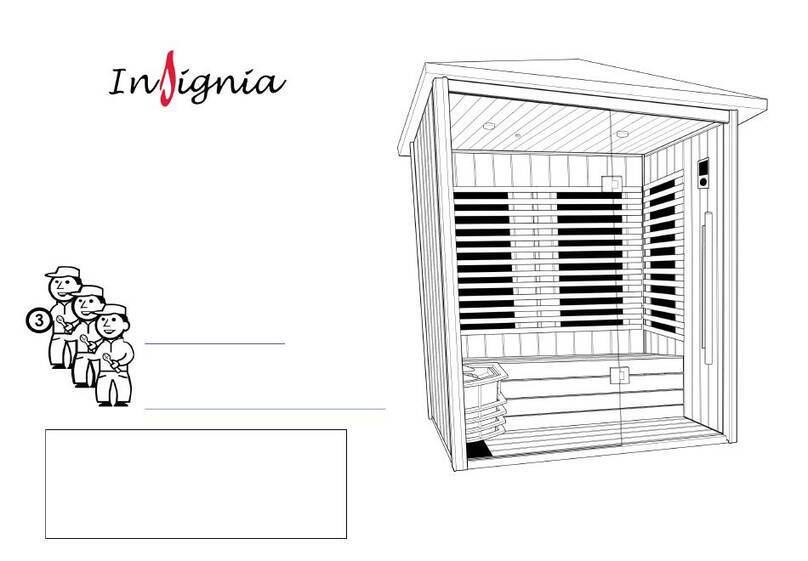
Insignia Noire90 User manual

Insignia

Insignia Noire90 User manual

Insignia MXOS1500 User manual

Insignia

Insignia MXOS1500 User manual

Insignia KY1500 Series User manual

Insignia

Insignia KY1500 Series User manual
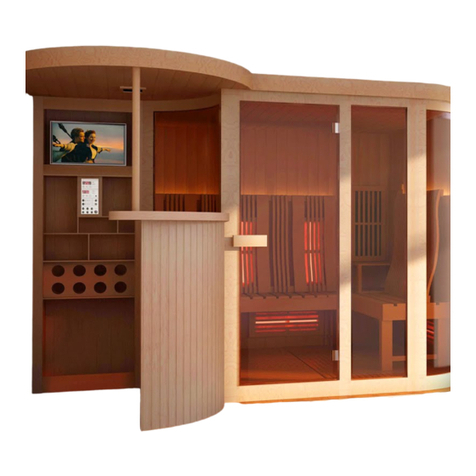
Insignia MXOS2000 User manual

Insignia

Insignia MXOS2000 User manual

Insignia Sauna Series User manual

Insignia

Insignia Sauna Series User manual
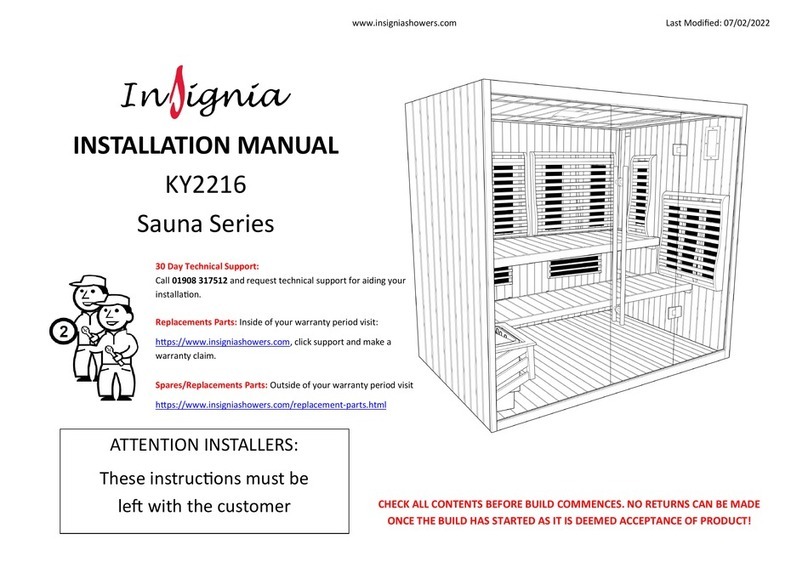
Popular Plumbing Product manuals by other brands

Waterstone 3300 installation instructions

Waterstone

Waterstone 3300 installation instructions

American Standard Acacia SupaSleek CCASF419-101 Assembly instructions

American Standard

American Standard Acacia SupaSleek CCASF419-101 Assembly instructions

Moen T2501 manual

Moen

Moen T2501 manual

DURAVIT DuraStyle 280630 Series Mounting instructions

DURAVIT

DURAVIT DuraStyle 280630 Series Mounting instructions

Kohler S-TRAP K-27344T installation instructions

Kohler

Kohler S-TRAP K-27344T installation instructions

Bossini D45000 Installation and maintenance instructions

Bossini

Bossini D45000 Installation and maintenance instructions

Kalia Moroka BF1934 installation instructions

Kalia

Kalia Moroka BF1934 installation instructions

Kohler GANDIDE 11685T-4 installation instructions

Kohler

Kohler GANDIDE 11685T-4 installation instructions

Signature Hardware BERWYN 953648 manual

Signature Hardware

Signature Hardware BERWYN 953648 manual

Hans Grohe Axor Carlton Face Cloth Hook 40537XX1 Specification sheet

Hans Grohe

Hans Grohe Axor Carlton Face Cloth Hook 40537XX1 Specification sheet

Brizo Vettis 88788 Series manual

Brizo

Brizo Vettis 88788 Series manual

Akicon 98188 manual

Akicon

Akicon 98188 manual

GATTONI KUBIK 2541 Installation and assembly

GATTONI

GATTONI KUBIK 2541 Installation and assembly

Sanela SLUN 17H Mounting instructions

Sanela

Sanela SLUN 17H Mounting instructions

TLV VC Series instruction manual

TLV

TLV VC Series instruction manual

ZUCCHETTI SOFT Z92094 Instruction for the installation

ZUCCHETTI

ZUCCHETTI SOFT Z92094 Instruction for the installation

Hans Grohe Axor Urquiola 11731 1 Series Installation and user instructions

Hans Grohe

Hans Grohe Axor Urquiola 11731 1 Series Installation and user instructions

Gessi RETTANGOLO 20120 Bath Mixing Program

Gessi

Gessi RETTANGOLO 20120 Bath Mixing Program

manuals.online logo
manuals.online logoBrands
  • About & Mission
  • Contact us
  • Privacy Policy
  • Terms and Conditions

Copyright 2025 Manuals.Online. All Rights Reserved.