www.invisiblefence.com 5
Operating Guide
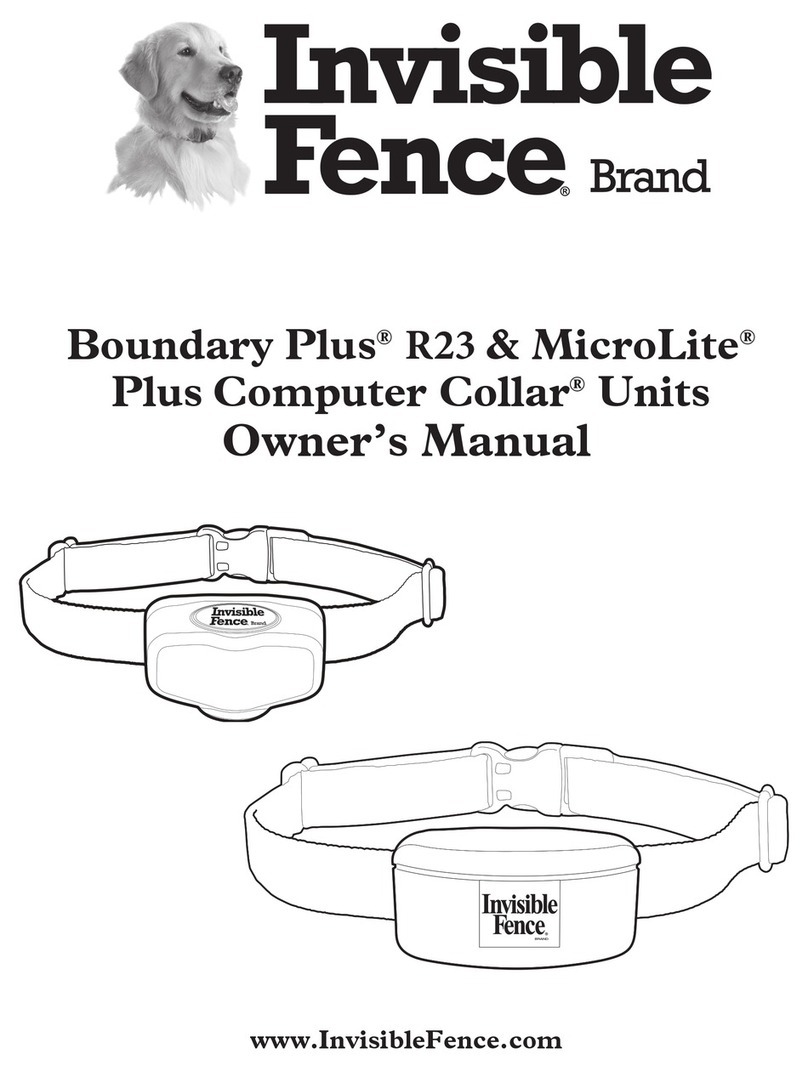
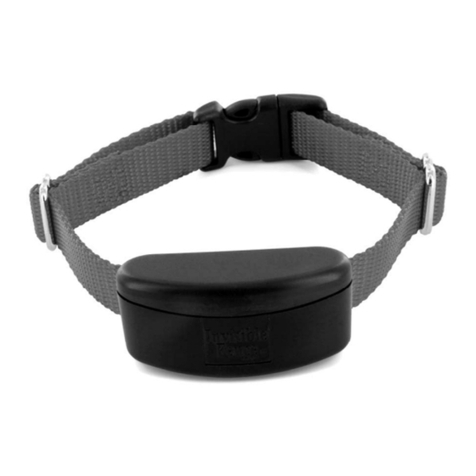
Important: To ensure your pet does not receive an unintended correction, make sure your pet is not wearing
the Computer Collar®Unit when turning ON or adjusting the Outdoor Shields®transmitter.
1.
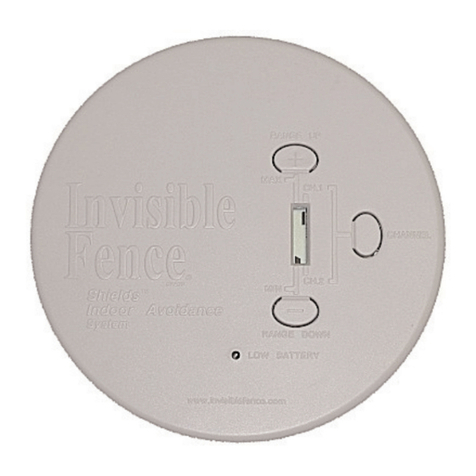
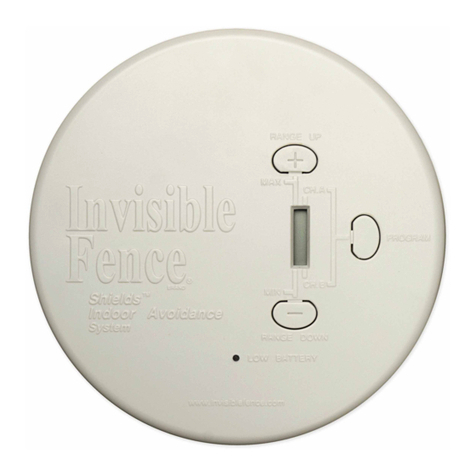
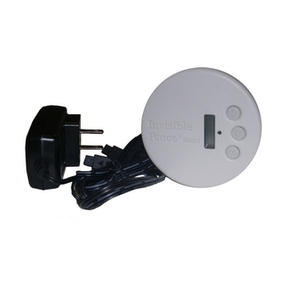
LCD
Display
Window
Up
Button
Down
Button
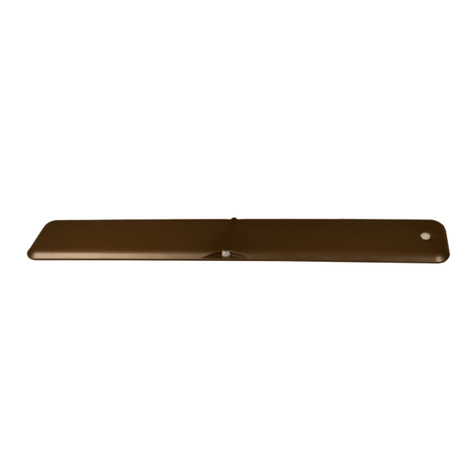
Power up the Outdoor Shields®transmitter
• Locate the battery door on the bottom of the Outdoor
Shields®
transmitter. Remove the battery
door by loosening the 4 Phillips head screws. Note: the screws are retained in the battery door lid.
• Place 4 “D” size alkaline batteries into the unit as illustrated inside the compartment.
• Ensure the o-ring is completely set in the slot and free of dirt.
• Replace the battery lid and tighten all 4 screws snug. A loose lid may allow moisture to enter the
unit resulting in product failure.
• Turn the Outdoor
Shields®
transmitter upright and open the lid exposing the LCD display and
range buttons.
• Press the up (+) button once to turn ON the Outdoor
Shields®
transmitter.
2.Adjust signal field range
• Determine the desired location and the signal field range required.The signal field range can be set to a minimum
radius of 1 foot (30 cm) and a maximum radius up to 5 feet (1.5 m).
• With the unit ON, press the RANGE UP (+) or the RANGE DOWN (-)
buttons to increase or decrease the signal field range. Each segment of
displayed bar represents approximately 1 foot (30 cm) radius of range.
• Once the range is set, place the Outdoor
Shields®
transmitter in the
desired area.
3. Verify signal field range
• Turn the Outdoor
Shields®
transmitter ON.
• Holding the
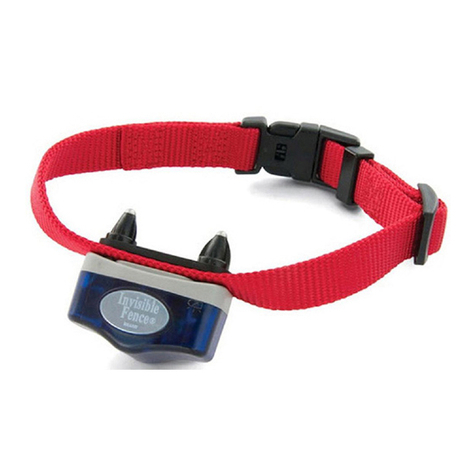
Computer Collar®Unit
, start outside the range and walk
slowly towards the Outdoor
Shields®
transmitter. Do not touch the
correction posts at this time.
• The
Computer Collar®Unit
will beep as it approaches the outer range of the signal field width set in Step 2. The
beeping will be followed by a correction.
• If the
Computer Collar®Unit
fails to beep, see the troubleshooting chart found on page 7.
• Adjust range and/or relocate the Outdoor
Shields®
transmitter until desired area is protected.
4. Changing operating frequency (Dealer use only)
• Open the lid exposing the LCD display and buttons.
• Press and release the RANGE DOWN (-) button until no bars appear on the LCD.
• Press the (-) down button and hold it for 5 seconds until a black segment appears in the display.
• Once the black segment appears you have 5 seconds to change between 7K or 10K.
• Press only the (+) button to change between 7K or 10K.
• A black segment displayed by the (-) button = 10K; by the (+) button = 7K.
• Once you have selected either 7K or 10K the display will go blank after 5 seconds.
• You are now ready to adjust the range to the desired area.
5. Checking for low battery
• Open the lid exposing the LCD display and buttons.
• If the LCD display is flashing with all six black segments showing it is time to replace the batteries.
• After replacing the batteries, verify that the range for the signal field is set to the desired area.
• Check the LCD display every month to see if the Low Battery indicator is displayed.


