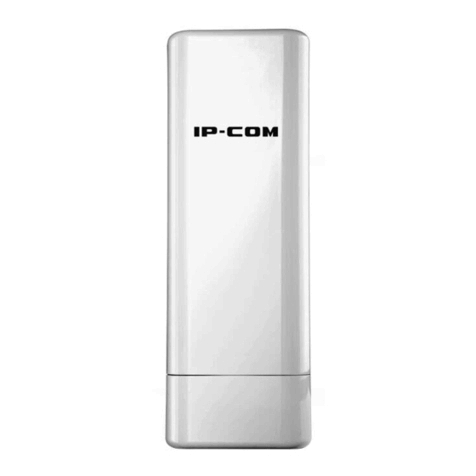
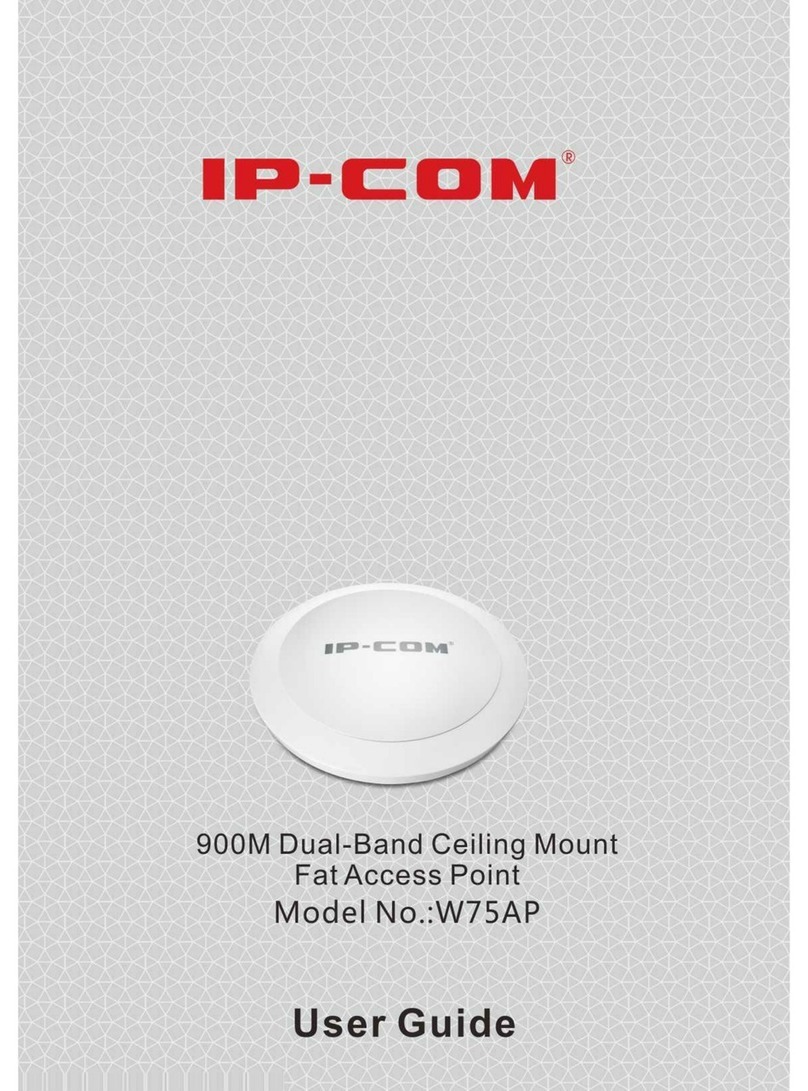
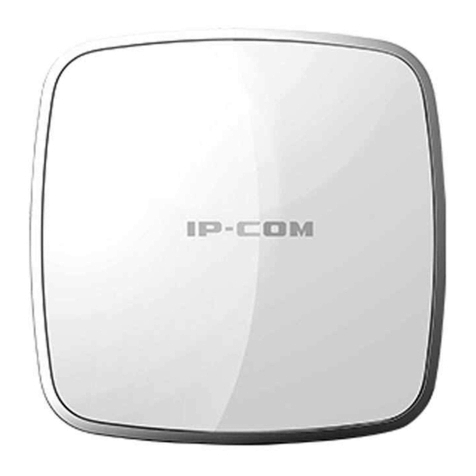
IP-COM AP375 User manual

1
1
User Guide
=OXKRKYY'IIKYY6UOTZ
'6

Copyright Statement
©2016 IP
-COM Networks Co., Ltd. All rights reserved.
is the registered trademark of IP-
COM Networks Co., Ltd. Other brand and product
names mentioned herein are trademarks or registered trademarks of their respective holders. Copyright
of the whole product as integration, including its accessories and software, belongs to IP
-
COM Networks
Co., Ltd. No part of this publication can be reproduced, transmitted, transcribed, stored in a retrieval
system, or translated into any language
in any form or by any means without the prior written permission
of IP
-COM Networks Co., Ltd.
Disclaimer
Pictures, images and product specifications herein are for references only. To improve internal design,
operational function, and/or reliability, IP
-C
OM reserves the right to make changes to the products
described in this document without obligation to notify any person or organization of such revisions or
changes. IP
-
COM does not assume any liability that may occur due to the use or application of the
product or circuit layout(s) described herein. Every effort has been made in the preparation of this
document to ensure accuracy of the contents, but all statements, information and recommendations in
this document do not constitute the warranty of any kind, express or implied.

Preface
Thank you for choosing IP-COM! Please read this user guide before you start with AP255.
Conventions
The typographical elements that may be found in this document are defined as follows.
Item
Presentation
Example
Cascading m
enus
>
System
> Live Users
Parameter and value
Bold
Set
User Name to Tom.
Variable
Italic
Format:
XX:XX:XX:XX:XX:XX
UI control
Bold
On the
Policy page, click the OK button.
The symbols that may be found in this document are defined as follows.
Symbol
Meaning
This format is used to highlight information of importance or special interest. Ignoring this
type of note may result in ineffective configurations, loss of data or damage to device.
This format is used to highlight a procedure that will save
time or resources.
Acronyms and Abbreviations
Acronym or Abbreviation
Full Spelling
AP
Access Point
DDNS
Dynamic Domain Name System
DHCP
Dynamic Host Configuration Protocol
DLNA
Digital Living Network Alliance
DMZ
Demilitarized Zone
DNS
Domai
n Name System
IPTV
Internet Protocol Television
ISP
Internet Service Provider
L2TP
Layer 2 Tunneling Protocol
MPPE
Microsoft Point
-to-Point Encryption
PPP
Point To Point Protocol
PPPoE
Point
-to-Point Protocol over Ethernet
PPTP
Point to Point Tun
neling Protocol
SSID
Service Set Identifier
4UZK
:O
V

Acronym or Abbreviation
Full Spelling
STB
Set Top Box
URL
Uniform Resource Locator
VLAN
Virtual Local Area Network
VPN
Virtual Private Network
WISP
Wireless Internet Service Provider
WPS
WiFi Protected Setup
Additional Information
For more information, search this product model on our website at http://www.ip-com.com.cn.
Technical Support
If you need more help, contact us by any of the following means. We will be glad to assist you as
soon as possible.
+86-755-27653089 info@ip-com.com.cn http://www.ip-com.com.cn

Contents
Product Overview .................................................................................................................................... 1
Introduction ...................................................................................................................................... 1
Features........................................................................................................................................... 1
Appearance...................................................................................................................................... 1
LED Indicators ....................................................................................................................... 2
Ports and Button.................................................................................................................... 3
Label ...................................................................................................................................... 3
Managing the AP ...................................................................................................................................... 5
Login.......................................................................................................................................................... 6
Logging in to the Web UI of the AP ................................................................................................. 6
Logging Out of the Web UI of the AP .............................................................................................. 8
Web UI Layout ................................................................................................................................. 8
Common Buttons ............................................................................................................................. 9
Quick Setup ............................................................................................................................................ 10
Overview ........................................................................................................................................ 10
Quick Setup ................................................................................................................................... 11
AP Mode .............................................................................................................................. 11
AP+Client Mode................................................................................................................... 12
Status ...................................................................................................................................................... 14
System Status................................................................................................................................ 14
Wireless Status .............................................................................................................................. 15
Traffic Statistics.............................................................................................................................. 16
Wireless Clients ............................................................................................................................. 16
Network Settings.................................................................................................................................... 18
LAN Setup...................................................................................................................................... 18
Overview.............................................................................................................................. 18
Changing the LAN Settings ................................................................................................. 19
DHCP Server ................................................................................................................................. 21
Overview.............................................................................................................................. 21
Configuring the DHCP Server ............................................................................................. 21
Viewing the DHCP Client List.............................................................................................. 22
Wireless Settings ................................................................................................................................... 24
SSID Setup .................................................................................................................................... 24
Overview.............................................................................................................................. 24

Changing SSID Settings...................................................................................................... 26
SSID Setup Example........................................................................................................... 30
Radio.............................................................................................................................................. 47
Overview.............................................................................................................................. 47
Changing the RF Settings ................................................................................................... 48
Radio Optimizing............................................................................................................................ 51
Overview.............................................................................................................................. 51
Optimizing RF Bands........................................................................................................... 53
Frequency Analysis........................................................................................................................ 56
Overview.............................................................................................................................. 56
Analyzing Frequencies ........................................................................................................ 56
WMM Setup ................................................................................................................................... 58
Overview.............................................................................................................................. 58
Changing the WMM Settings............................................................................................... 59
Access Control............................................................................................................................... 61
Overview.............................................................................................................................. 61
Example of Configuring Access Control.............................................................................. 62
Advanced ....................................................................................................................................... 63
Overview.............................................................................................................................. 63
Configuring the Client Type Filter........................................................................................ 63
Configuring the Broadcast Data Filter................................................................................. 64
QVLAN........................................................................................................................................... 65
Overview.............................................................................................................................. 65
Configuring the QVLAN Function........................................................................................ 65
Example of Configuring QVLAN Settings............................................................................ 67
Firewall.................................................................................................................................................... 70
URL Filter ....................................................................................................................................... 70
Overview.............................................................................................................................. 70
Configuring the URL Filter................................................................................................... 70
App Filter........................................................................................................................................ 71
Overview.............................................................................................................................. 71
Configuring the App Filter.................................................................................................... 71
Traffic Control................................................................................................................................. 72
Overview.............................................................................................................................. 72
Configuring Traffic Control................................................................................................... 72
Example of Configuring Traffic Control ............................................................................... 74
SNMP ....................................................................................................................................................... 77
Overview ........................................................................................................................................ 77
SNMP Management Framework ......................................................................................... 77
Basic SNMP Operations...................................................................................................... 77
SNMP Protocol Version ....................................................................................................... 78
MIB Introduction .................................................................................................................. 78
Configuring the SNMP Function .................................................................................................... 78
Example of Configuring the SNMP Function................................................................................. 79
Networking Requirement..................................................................................................... 79
Configuration Procedure ..................................................................................................... 80
Verification ........................................................................................................................... 80
Deployment .......................................................................................................................................... 81
Overview...................................................................................................................................... 81
Configuring the Deployment Mode.............................................................................................. 82
Exmaple of Configuring the Deployment Mode........................................................................... 83
Example of Configuring the Local Deployment Mode....................................................... 83
Example of Configuring the Cloud Deployment Mode...................................................... 85
Tools...................................................................................................................................................... 89
Firmware Upgrade....................................................................................................................... 89
Time & Date ................................................................................................................................. 90
System Time...................................................................................................................... 90
Login Timeout .................................................................................................................... 91
Logs ............................................................................................................................................. 92
View Logs .......................................................................................................................... 92
Log Setup .......................................................................................................................... 93
Configuration ............................................................................................................................... 95
Backup and Restore.......................................................................................................... 95
Restore to Factory Default ................................................................................................ 96
Username and Password ............................................................................................................ 97
Diagnostics .................................................................................................................................. 97
Reboot ......................................................................................................................................... 98
Reboot ............................................................................................................................... 99
Time Reboot ...................................................................................................................... 99
LED ............................................................................................................................................ 101
Uplink Detection......................................................................................................................... 101
Overview.......................................................................................................................... 101
Configuring Uplink Detection........................................................................................... 102
Appendixes .............................................................................................................................................. 103
Safety and Emission Statement......................................................................................................... 108

1
Product Overview
Introduction
AP375 provides three radio frequency (RF) bands, including one 2.4 GHz band, one 5 GHz band,
and one band that be changed between 2.4 GHz and 5 GHz. These bands together offer a total
wireless data rate of up to 2100 Mbps.
AP375 also supports IEEE 802.3at PoE power supplies and can be managed using its own web UI
or an IP-COM AP controller. It can be mounted onto ceiling, making it perfect for wireless coverage
in crowded areas such as meeting rooms, classrooms, exhibition centers.
Features
Radio 1: 2.4 GHz 300 Mbps
Radio 2: 5 GHz 867 Mbps
Radio 3: 2.4 GHz 300 Mbps or 5 GHz 867 Mbps
Maximum number of users: 384; recommended number of users: 120
Ceiling-mounted or wall-mounted
Support PoE 802.3at power supply
Gigabit LAN ports x 2
Manageable with IP-COM AP controller AC1000/AC2000/AC3000
Appearance
This section describes the button, LED indicators, ports, and label of the AP.

2
LED Indicators
The following describes the LED indicator states of the AP that has been powered on.
Print
LED Indicator
Description
SYS
Radio1
System/RF band 1
LED indicator
Solid on in orange
The system is booting.
Solid on in green
RF band 1 is enabled.
Blinking in green
RF ban
d 1 is transmitting or receiving data.
Off
The power supply is faulty, RF band 1 is disabled,
the LED indicator has been turned off, or the AP is
faulty.
Radio2
an
d
Radio3
RF band 2 LED
indicator
RF band 3 LED
indicator
Solid on in green
RF band 2/3 is
enabled.
Blinking in green
RF band 2/3 is transmitting of receiving data.
Off
RF band 2/3 is disabled, or the LED indictor has
been turned off.
8,HGTJ3
8,
HG
T
J
3
8,HGTJ2
System/RF band 1

3
Ports and Button
PoE port
This 10/100/1000 Mbps auto-negotiation port is used to connect to a PoE power supply and
exchange data. To supply power to the AP, use an Ethernet cable to connect the AP to an injector or
a PoE switch compliant with the IEEE 802.3at standard.
LAN port
This 10/100/1000 Mbps auto-negotiation port is used to connect to switches, computers and other
devices.
Reset button
After the AP is powered on, you can hold down this button for 7 seconds to restore the factory
settings.
Label
It is attached to the rear panel of the AP. The following figure shows its position.
8KYKZH[ZZUT
PoEVUXZ
LAN port

4
The label is described as follows:
(1): Default IP address of the AP. You can use this IP address to log in to the web UI of the AP.
(2): Default user name and password of the web UI of the AP.
Label

5
Managing the AP
The AP can be managed using the web UI of the AP or an IP-COM AP controller
(AC1000/AC2000/AC3000).
Managing the AP using an AP controller
Refer to Section 10 "Deployment Mode." For details about how to manage the AP using an AP
controller, refer to the user guide for the AP controller available at www.ip-com.com.cn.
Managing the AP using the web UI of the AP
If you need to install only a small number of APs, connect the APs using the following topology and
log in to the web UI of each AP to manage the APs.
The following sections describe how to manage the AP using the web UI of the AP.

6
Login
Logging in to the Web UI of the AP
You can log in to the web UI of the AP using a web browser. The procedure is as follows:
1. Use an Ethernet cable to connect the management computer to the AP or the switch connected
to the AP.
2. Set IP address of your local area connection to 192.168.0.X(X: 2 - 253) and Subnet mask to
255.255.255.0.
3. Start a web browser on the computer, enter the management IP address of the AP (default:
192.168.0.254) in the address bar, and press Enter.
4. Enter the user name and password of the AP (default user name and password: admin) and
click Login.

7
---End
4UZK
If this page is not displayed, refer to Q1 in FAQ.
You can now start configuring the AP.

8
Logging Out of the Web UI of the AP
If you log in to the web UI of the AP and perform no operation within the login timeout interval, the
AP logs you out. When you close the web browser, the system logs you out as well.
Web UI Layout
The web UI of the AP is composed of three parts, including the 2-level navigation tree, tab page area,
and configuration area. See the following figure.
4UZK
The functions and parameters dimmed on the web UI indicates that they are not supported by the AP or cannot be
changed in the current configuration.
No.
Name
Description
ᬚ
Level
-1 and
level
-2
navigation
bar
The
navigation bar displays the function menu of the AP. When you select a
function in the
navigation bar, the configuration of the function appears in the
configuration area.
ᬛ
Tab page area
ᬜ
Configuration area
It
enables you to view and modify configuration.
2
1
3

9
Common Buttons
The following table describes the common buttons available on the web UI of the AP.
Button
Description
Refresh
It is used to update the content of the current page.
Save
It is used to save the
configuration on the current page and enable the configuration to take
effect.
Restore
It is used to change the current configuration on the current page back to the original
configuration.
Help
It is used to view help information corresponding to the s
ettings on the current page.

10
Quick Setup
Overview
This module enables you to quickly configure the AP so that wireless devices such as smart phones
and pads can access the internet through the wireless network of the AP.
This AP can work in AP or AP+Client mode.
AP mode
By default, the AP works in this mode. In this mode, the AP connects to the internet using an
Ethernet cable and converts wired signals into wireless signals to provide wireless network
coverage. See the following topology.
AP+Client mode
In this mode, the AP is wirelessly bridged to an upstream device (such as a wireless router or AP) to
extend the wireless network coverage of the upstream device.
See the following topology.

11
Quick Setup
AP Mode
1. Choose Quick Setup.
2. Set WIFI Radio to the RF band you want to set, such as Radio 1 –2.4 GHz.
3. Set Mode to AP Mode.
4. Change the primary SSID of the selected RF band in the SSID text box.
5. Select a security mode from the Security Mode drop-down list box and set the corresponding
parameters.
6. Click Save.
---End
Parameter description

12
Parameter
Description
WIFI Radio
It specifies the RF band to be configured.
This AP provide three RF
bands. RF
band 1 is a 2.4GHz band, RF band 2 is a 5 GHz band,
whereas RF band 3 is a 2.4 GHz or 5 GHz band.
Mode
It sp
ecifies the working mode of the AP, including the AP mode and AP+Client mode.
SSID
It enables you to change the primary SSID of the selected RF band.
Security Mode
It specifies the security mode corresponding to the
SSID. The
options include: None, WEP,
WPA
-PSK, WPA2-PSK, Mixed WPA/WPA2-PSK, WPA, and WPA2.
The option None allows any wireless clients to connect to the AP. This option is not
recommended because it affects network security.
After the configuration, you can select the SSID on your wireless devices such as smart phones and
enter your wireless network password to connect to the wireless network of the AP and access the
internet through the AP.
AP+Client Mode
1. Choose Quick Setup.
2. Set WIFI Radio to the RF band you want to set, such as Radio 1 –2.4 GHz.
3. Set Mode to APClient Mode.
4. Click Enable Scan.
5. Select the wireless network to be extended from the wireless network list that appears.
4UZK
−If no wireless network is found, ensure that the selected RF band is enabled, and try scanning wireless networks
again.
−After a wireless network to be extended is selected, the AP identifies the SSID, security mode, and channel of
the wireless network and enters them on the page. The other parameters including Security Key, RADIUS
Server, RADIUS Port, and RADIUS Password must be entered manually.
6. Click Disable Scan.

13
7. If the wireless network of the upstream device is encrypted, set Security Key to the wireless
network password of the device or set RADIUS Server, RADIUS Port, and RADIUS Password
to the IP address, port number, and password of the RADIUS server.
8. Click Save.
---End
After the configuration, you can select the SSID on your wireless devices such as smart phones and
enter your wireless network password to connect to the wireless network of the AP and access the
internet through the AP. If you do not know the SSID of the AP, go to the Wireless > SSID Setup
page.
Table of contents
Other IP-COM Wireless Access Point manuals

IP-COM
IP-COM AP255_US User manual

IP-COM
IP-COM AP515 User manual

IP-COM
IP-COM Pro-6-IW User manual

IP-COM
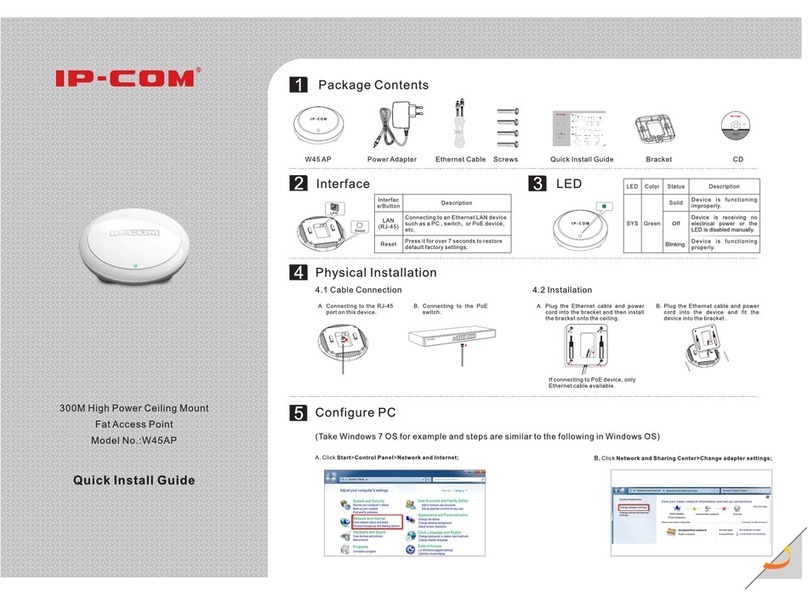
IP-COM W45AP User manual

IP-COM
IP-COM W75AP User manual

IP-COM
IP-COM W40AP User manual

IP-COM
IP-COM In-wall AP Series User manual

IP-COM
IP-COM W30AP User manual

IP-COM
IP-COM AP325 User manual

IP-COM
IP-COM W300AP User manual