IPitomy IP290 User manual

IP290
VoIP Phone User Manual
IPitomy Communications, LLC

INDEX
1.
GettingStarted ..............................................................................................................................4
About.........................................................................................................................................4
FeatureHighlights .....................................................................................................................4
2.
Set up the Phone .......................................................................................................................... 4
3.
Phone User Interface.................................................................................................................... 6
3.1
Hardware Component Instructions .................................................................................... 6
3.2
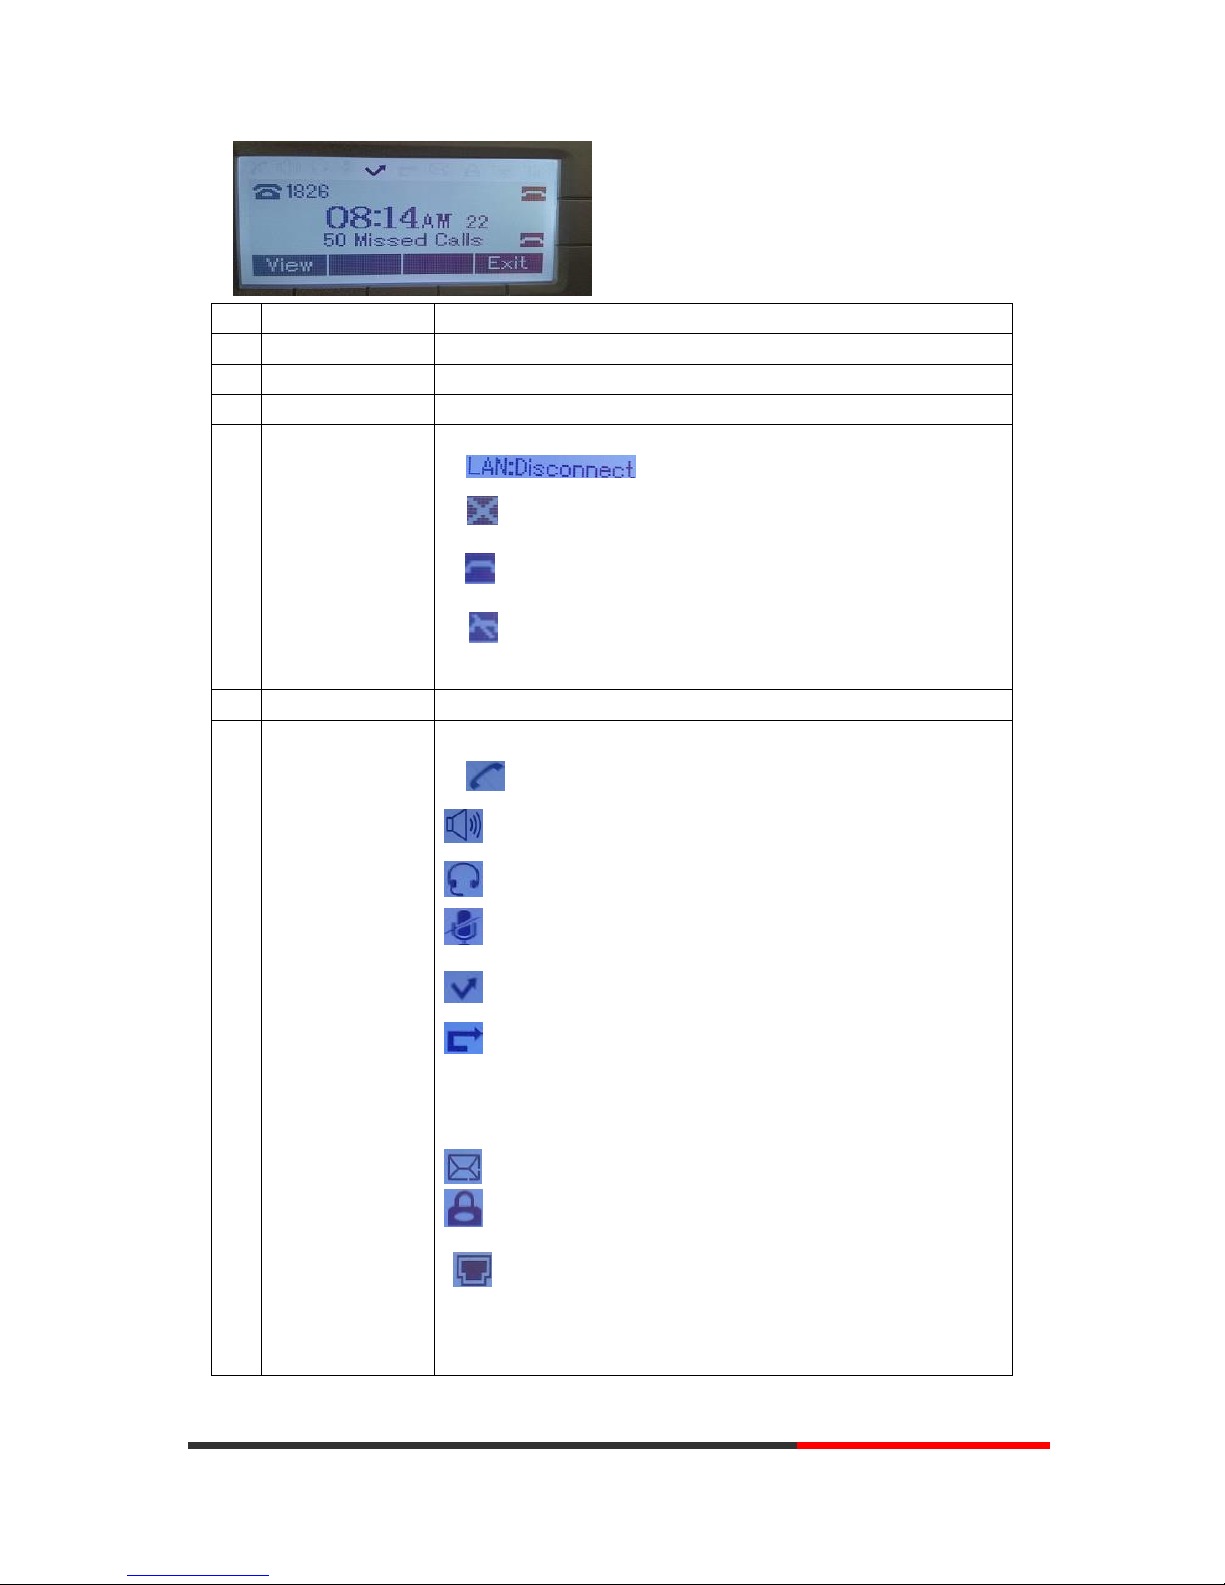
Phone ScreenDisplay Features........................................................................................... 7
3.3
Basic Network Settings ....................................................................................................... 9
3.4
SIP Account Settings ........................................................................................................... 9
3.5
BasicFeatures................................................................................................................... 11
3.5.1
Making a Call.......................................................................................................... 11
3.5.2
Anonymous Call..................................................................................................... 11
3.5.3
Redial ............................................................................................................................
11
3.5.4
Call Log....................................................................................................................12
3.5.5
Making Callsto Contact ......................................................................................... 12
3.5.6
Multi-lines to Answerthe Call................................................................................ 13
3.5.7
Auto-Answer .................................................................................................................
13
3.5.8
Ending a Call........................................................................................................... 13
3.5.9
Using Hold and Recover (Switch Calling Line) ........................................................14
3.5.10
Transferring Calls .......................................................................................................
14
3.5.11
Using Mute ...........................................................................................................15
3.5.12
Do Not Disturb..................................................................................................... 15
3.5.13
3-wayConference.................................................................................................16
3.5.14
Voice Mail.............................................................................................................16
3.6
AdvancedSettings .............................................................................................................17
3.6.1
Using the phone book............................................................................................ 17
3.6.2
Using Call Logs ....................................................................................................... 20
3.6.3
Peer-to-Peer..................................................................................................................
20
3.7
Keypad Setting.................................................................................................................. 20
3.7.1
Language Setting ....................................................................................................21
3.7.2
Message..................................................................................................................21
3.7.3
Time & Date........................................................................................................... 21
3.7.4
Ring Tone andVolume Setting ............................................................................... 22
3.7.5
Searching Phone Book ........................................................................................... 22
3.7.6
Cannot Set the Features with Keypad....................................................................23
4.
WEB User Interface..................................................................................................................... 23
Main Interface-Phone Status...................................................................................................23
4.1
Net Work ...........................................................................................................................24
4.1.1
LAN Port................................................................................................................. 24
4.1.2
PC Port....................................................................................................................26
4.1.3
Advanced................................................................................................................27

5
SIP Account...................................................................................................................................28
5.1
Basic ..........................................................................................................................................
28
5.2
Call.....................................................................................................................................29
5.3
Security..............................................................................................................................30
6
Phone Setting ...............................................................................................................................31
6.1
Basic...................................................................................................................................31
6.1.1
Time Settings ..........................................................................................................32
6.1.2
Call..........................................................................................................................33
6.1.3
VoIP Call Forward................................................................................................... 34
6.1.4
QoS ...............................................................................................................................
35
6.2
Advanced...........................................................................................................................35
6.2
.0 Audio..................................................................................................................... 35
6.3
Line Keys....................................................................................................................37
6.4
Function Keys.............................................................................................................38
6.5
Soft Key..................................................................................................................... 38
6.6
Dial Plan.....................................................................................................................39
6.7
IP Strategy..................................................................................................................40
7
Phone Book.................................................................................................................................. 40
7.1
Group.................................................................................................................................40
7.2
Contact ..............................................................................................................................41
7.3
LDAP .........................................................................................................................................
41
7.4
Ban List ..............................................................................................................................42
8
Phone Maintenance .....................................................................................................................43
8.1
Basic...................................................................................................................................43
8.1.1
HTTP Upgrade........................................................................................................ 43
8.1.2
FTP Upgrade ...........................................................................................................44
8.1.3
TFTP Upgrade .........................................................................................................45
8.1.4
DefaultSetting....................................................................................................... 46
8.1.5
Reboot ..........................................................................................................................
46
8.2
Advanced...........................................................................................................................47
8.2.1
Log ................................................................................................................................
47
8.2.2
Auto Provision ........................................................................................................47
9
Password..............................................................................................................................................
49
10
WEB Other Settings or Information - Appendix .........................................................................49
10.1
WEB User.........................................................................................................................49
10.2
Multi-Language................................................................................................................49
10.3
Note Tips..........................................................................................................................50

www.ipitomy.com
IPitomy Communications
1.
Getting Started
About
IPitomy’s IP290 is a highly innovative based VoIP phone, It fits well with a variety of business
applications. The IP290 has a 132x64 pixel graphic LCD, a large resolution display, and an elegant and intuitive
user interface. IP290 delivers HD audio quality with HD handset, HD speaker and HD codec (G.722. and meets the
demands of SMEs, Home Office and ISP applications.
Feature Highlights
a)
Multi-Language
The LCD display supports Multiple-Languages.
b)
HD Voice
Special voice processing technology, high-fidelity voice quality, HD encoding, HD Handset,
ensure clear communication.
c)
Dual Calling Ability
2 lines with double color (GREEN & RED) LEDs, Synchronously control or manage 2 calls,
Call queue, Switch between lines. Multi-parties conference, call transfer.
d)
PhoneBook
It supports XML Personal Phone Book\LDAP\Enterprise Phone Book etc. Supports
HTTP\TFTP\FTP\Auto-Provision.
e)
Supports POE (Remark: IP290-) and Power Adapter.
f)
2-angle adjustable bracket,wall-mountable
2.
Setting up the Phone
a)
Packing List:
Check the packing list before installation, if you find anything missing, contact your system
administrator.
1*IP290IPPhone
1* Handset
1*HandsetCord
1*EthernetCable
1*PhoneBracket

www.ipitomy.com
IPitomy Communications
1*QuickSetupGuide
1*Manufacturer Certification
b)
PhoneInstallation:
This section introduces how to install the phone with the components in the packing list:
AttachtheBracket
Connect the Handset and optional Headset
ConnecttheNetworkandPower
Attach theBracket
Please follow the following steps "a" to "b", first let the part 1 of the bracket join to the phone,
and then let the part 2 of the bracket join to the lower holder.
Connect the Handset and optional Headset
Connect the Network and Power
You have two options for power supply. Your system administrator will advise you which one to
use.
AC poweradapter
POE(Power over Ethernet) IEEE802.3af
NOTES:Please make sure your phone support POE feature. You can check the label on
the back of the phone, for example "Model: IP290 Rev:2.1.0", the P means it supports
POE feature.

www.ipitomy.com
IPitomy Communications
Note: If POE works, the phone doesn't need to connect to the AC power adapter. Make sure
the Ethernet cable and switch/hub is POE compliant.
3.
Phone User Interface
3.1
Hardware ComponentInstructions
The main hardware components of the IP290 IP Phone are the LCD screen and the keypad.

www.ipitomy.com
IPitomy Communications
)
Hardware component instructions of the IP290 IP Phone are:
ITEM
DESCRIPTION
1
LCD Screen
Displays information about calls, messages, soft keys, time, date and
other relevantdata:
•
Call information —caller ID, call duration
•
Icons (e.g.
•
Missed calls or second incoming caller's information
•Time anddate
2
Light Status
Red-Flashing: There is an incoming call.
Red-Steady: Off hook. or connecting call
3
Line Key
Green-Steady: On phone call
Red-Flashing: There is call coming in
Green-Flashing: The line is on hold
Dark: Accounts are idle
4
Soft Key
Labels automatically to identity their in-context-sensitive features
5
OK Key
Confirm action
6
NavigationKey
Scroll through the displayed information, and in the idle feature:
7
UP: Open the "All CONTACT LOG"
DOWN: Open the "MISSED CALL"
RIGHT: Open the "RECEIVED CALL"
LEFT: Open the "DAIL CALL"
C Key Cancels actions or rejects an incoming call, and these other
features:
In the idle: Opens the "Phone Status".
Diagnosis: Press and hold 3 second to open "Hardware Diagnosis".
MUTE: "MUTE" feature is enabled if you press it while the conversation
making on thephone.
8
Functions Key
Conference\Redial\Transfer\Hold
9
SpeakerKey
Toggles the hands-free speaker phone mode.
10
Keypad
Provides digits, letters and special characters in-context-sensitive
applications.
11
Headset Key
Toggles and indicates headset mode.
12
Message Key
Indicates and accesses voice messages.
13
VolumeKey
Adjusts the volume of the handset, headset, speaker and ringer
3.2
Phone Screen Display Features
If the phone has successfully booted up, the idle LCD display will show information asbelow:

www.ipitomy.com
IPitomy Communications
:
:
ITEM
DESCRIPTION
1
TIME & DATE
T
TIME & DATE display in the middle of the screen.
2
Auto-Answer icon
Enable this feature, it will display "AA" at the top right corner.
3
Missed Call
Missed Call under the TIME in the middle of screen
4
Line Status
There are four status as below:
a.
:Disconnect the network
b.
Account failed toregister
c.
:Account successfully registered
d.
Account successfully registered and DND feature is enabled.
The DND icon also will display at the top right corner.
5
Soft Key Area
Labels automatically to identity their context-sensitive features
6
Screen TopIcon
The Screen Top Icon from left to right
is:
: Handset Handon status
:Speaker Handon status
:Headset Hand on status
:Call MUTE
:Missed Call
:Call Forward
:Text Message
:Keypad Lock
:Network is
unavailable

www.ipitomy.com
IPitomy Communications
3.3
Basic Network Settings
The phone supports three Modes of Network Setting. Include PPPoE\Static IP\DHCP.
DHCP Setting
Feature
OperatingSteps
DHCP
Press OK or MENU> System Settings> Advanced Settings> Password (Default
is Empty)> Network> LANPort
Press
LANPort
tologinintothemenu
Select "DHCP"mode
Press "Enter"key
Set the DNS\web port\telnet port
Press"
Save
"keytomakeitwork
Tips "Network is changed, press OK
reboot "
Static IPSetting
Feature
OperatingSteps
Static IP
Press OK or MENU> System Settings> Advanced Settings> Password(Default is
Empty)> Network> LANPort
Press
LANPort
tologinintothemenu
Select "Static"mode
Press "Enter"key
Set the IP\Mask\GW\DNS\web
port\telnet port
Press"
Save
"keytomakeitwork
Tips "Network is changed, press OK
reboot "
PPPoESetting
Feature
OperatingSteps
PPPoE
Press OK or MENU> System Settings> Advanced Settings> Password(Default is
Empty)> Network> LANPort
Press
LANPort
tologinintothemenu
Select "PPPoE"mode
Press "Enter"key
Set theUser Name\Password\web
port\telnet port
Press"
Save
"keytomakeitwork
Tips "Network is changed, press OK
reboot "

www.ipitomy.com
IPitomy Communications
3.4
SIP Account Settings
The IP290 IP phone makes calls based on SIP accounts, It can support single account or multi-
accounts. Each account can be configured to the different SIP server.
If you wantto…
Then...
Create an SIP account
--1) Select “System setting” > “Advanced setting”;
--2) Enter the password required (The default is none) ;
--3) Select “SIP” > “Account SIP”;
--4) Select one of the account you want to setting, you can configure
the followingparameters
-Enable account*: SelectEnable
-Number of lines: Default is 2
-Description: Description of this account
-Display Name: The name displayed on the screen
-Authentication user: the Authenticated users are matched with
the SIP server.(The default With the same account)
-Account*: The account matches with the SIP server. (extension
number)
-User pass word*: The user password matches with the SIP server
-SIP Server*: The primary SIP server, all calls through this server
-Out Bound Server: The out bound SIP server
-STUN Type: Enable/Disable STUN feature
-STUN: Input STUNURL
-Auto Answer: Enable/Disable this account auto answer feature
* Note: When you finish the setting, you can press Save to make it
work, and then you can see the status icon in the LCD idle.
The parameters with the * mark must be set.
Disable SIP account
--1) Select “System setting” > “Advanced setting”;
--2) Enter the password required (The default is empty) ;
--3) Select “SIP” > “Account sip”;

www.ipitomy.com
IPitomy Communications
3.5
Basic Features
3.5.1
Making a Call
Here are some easy ways to place a call on IP Phone:
If you wantto...
Then…
Place a call using
the handset
Pick up the handset -
--1) You can hear dial tone;
--2) Enter anumber;
--3) Press # button (default),
-or wait 5s (default), then it send the
numberautomatically.
Place a call usinga
speakerphone
Press Speakerbutton
Place a call usinga
Put on your headset,
headset
active Headset button so
that the status light is
Red , and then do as
usingspeakerphone
3.5.2
Anonymous Call
You can use the anonymous call feature to block the identity and phone number from showing up
to the called party when you call someone.
--4) Select “Enable account” > “Disable”
;
--5) Select “Save” to saves settings
Enable AnonymousCall
Press OK or MENU> Function Setting> Anonymous
--Press Enter or OK button ,
-You can select which account want to use, enable/disable this
feature and enable/disable reject anonymous

www.ipitomy.com
IPitomy Communications
b
b
3.5.3
Redial
To redial the last placed call from your phone
3.5.4
Call Log
3.5.5
Making Calls toContact
You can also dial a contact from the Personal Phone Book.
Redial
-Press REDIAL button to dial the last number
-or press Navigation button-Left > “Dialed number”, select a
number, andpress
Dial from a call log
--1) Press MENU or OK button > “Call history”, you can select "All
Calls", “Missed calls”, “Received calls” and “Dialed numbers”,
- or press Navigation button (in Standby interface) > select "All
Calls"(up) “Missed calls”(down), “Received calls”(left) and “Dialed
numbers” (right)
--2) Thenpress
utton.
NOTE: You also can press the "log" to login this menu when in the
Idle state.
Calls to
Contacts
--1) Press MENU or OK button > “Phone Book”, you can select
"Personal Phone Book", “Enterprise Phone Book”, “LDAP” and
“Black List”,
- or press Navigation button (in Standby interface) > select the
desiredcontact.
--2) Thenpress
utton.
NOTE: You also can press the "DIR" to login this menu when in the
Idle state.

www.ipitomy.com
IPitomy Communications
3.5.6
Multi-lines to Answer theCall
3.5.7
Auto-Answer
You can set the phone and let it auto-answer the coming call.
3.5.8
Ending a Call
To end a call, hang up. Here are some more details.
Hang up
Handset
while
using
the
--Return the handset to its cradle,
-or pressEnd
Hang
up
while
using
the
--Press Speaker button that is Red
,
Multi-lines to Answer
the Call
--1) Another Line button is Red and flashing, Light is Red and
flashing;
--2) Press the flashing Line button to answer (at this time, the
original call will be hold.)
Auto-Answer
Coming Call
the
--1) Enable the Auto-Answer feature.
--2) Auto-Answer mode you can set in the MENU>Function Setting>
Auto Answer>Device
When you use the Handset mode, at this time you need to hands up
the handset and then it can work at this status.
--3) FilterGroups
Auto-answer the coming call in this special groups.

www.ipitomy.com
IPitomy Communications
Talk to the transfer
recipient
before
--1) Press TRANSFER button or press XFER;
--2) Enternumber;
Speakerphone
-or press Line button for the appropriate line,
-or pressEnd
Hang up while using the
Headset
--Press Handset button, (Do not keep the headset mode) ,
-or press End (keep the headset mode)
Hang up one call, but
preserve another call on
the other line
--Press End,
-or refer to the above three methods
3.5.9
Using Hold and Recover (Switch Calling Line)
You can hold and resume calls. You can take a call in one line at any time, and the other lines
would be onhold. As a result of that, you can switch todifferent calling lines on your phone.
NOTES
•
Engaging the Hold feature typically generates music or a beeping tone.
•
A held call is indicated by the Yellow-green and flashing Line button or Hold in the LCD.
3.5.10
Transferring Calls
Transfer redirects a connected call. The target is the number to which you want to transfer the
call.
If you wantto...
Then...
Put a callon hold -
-Press HOLDbutton,
-or press softkey
Hold a line and switch to
another line
--Press another Line button for the appropriate line
Resume a call on current
line
--Press Linebutton,
Release a call on different
line
--Select the line want to release hold, press the line, so recovery;

www.ipitomy.com
IPitomy Communications
t
;
.
to
,
transferring acall
(consulttransfer)
--3) press “#”(default) ,
-or press hen transfer thecall,
-or wait five seconds(default)then transfer the call
Transferred to idle
lines or other
numbers without
talking to the transfer
recipient
(Blindtransfer)
--1) Press TRANSFER button or XFER;
--2) Press
--3) Enternumber;
--4) Press“#”(default)
-or press , then transfer the call;
-or wait five seconds(default)then transfer the call
Blind transfer to the
held line
--1) Press TRANSFER button or press XFER;
--2) Press the Line button of held line
3.5.11
Using Mute
With Mute enabled, you can hear other parties on a call but they cannot hear you. You can use
mute in conjunction with the handset, speakerphone, or a headset。
Toggle Mute on
Press C button, then the screen top and left will have a MUTE
icon
Toggle Mute off
Press C button again, then the button light off
3.5.12
Do Not Disturb
You can use the Do Not Disturb(DND) feature to block incoming calls on your phone with a busy
tone(Can also be set to their voice mail or other extension numbers, etc.).
Enable globalDND
--1) PressDND;
--2) All enabled line on the phone would changes to status. and
the icon is
Enable DND on a
single line
Press MENU or OK button > “Function setting” > “DND” > (select line)
“Enable”
Disable DND -
-Global DNDenabled, press disable globalDND;
--Line DND enabled, press twice

www.ipitomy.com
IPitomy Communications
sta
,
)
3.5.13
3-wayConference
You can enable a three-party conference, during the conversation three phone parties can
communicate with every party.
3.5.14
Voice Mail
When the Phone receives a voice mail from server it will light up the voice mail button .
-or press MENU or OK button > “Function setting” > “DND” >(select
line) “Disable”
Voice Mail
---1 )Press the Voice Mail button (There has Voice Mail
without is
--2
)Enter the User Password
---3
)It will login into the voice mail server. You need to follow the IVR
to do it.
If you wantto...
Then...
Initiate the transfer
recipient into a
conference in a
transferring
--1) When the transfer recipient answer the call, press CONFERCENCE
button or "CONF" on your phone;
--2) Then the held one, transfer recipient and you will be into a
conference, and the LCD will display .
Initiate the third party
into a conference in a
active call
--1) Press "CONFERENCE" button or "CONF" in an active call;
--2) Enter the third party number;
--3) After connected the third party, press "CONFERENCE" button or
"CONF" again
Establish a conference
with held line
--1) when one phone line is holding on and the other line is busy;
--2) Press "CONFERENCE" button,
-or Press "CONF" Soft key
--3) Press the held line's programmable button, the 3-way
Conference is enabled.

www.ipitomy.com
IPitomy Communications
3.6
Advanced Settings
3.6.1
Using the phone book
Enterprise Phone Book
Search the Contacts
from Enterprise
Phone Book
--1) Press DIR in the idle status,
-or press "MENU" or "OK" button > “Phone book”>“Enterprise
Phone Book”,
--2) Select “Enterprise Phone Book”, press "OK" button;
--3) Press "Find" and input the name who you want to search.
Call the Contact
from Enterprise
Phone Book
--1) Press "DIR" in the idle,
-or press "MENU" or "OK" button > “Phone book”>“Enterprise
Phone Book”,
--2) Select “Enterprise Phone Book”, press "OK" button;
--3) Press "Find" and input the name who you want to search.
--4) When you search the person, you can dial it.
Personal Phone Book
Add Contacts
--1) Press PhoneBook,
-or press "MENU" button > “Phone book”>“Personal phone
book>View All”,
-or press "OK" button > “Phone book”>“Personal phone book>View
All”;
--2) Select “Add contact”, press "OK" button;
--3) Use the navigation keys to select content, press "OK" button to set
and modify:
-Name: set the name of contact,

www.ipitomy.com
IPitomy Communications
-Office Number: Setting the contact Office Number
-Mobile Phone Number: Setting the contact Mobile Phone
Number
-Others Number: Setting the contact Others Number
-SIP Account: Setting the contact call SIP account
-Group: the contacts be divided into different user’s groups
--4) Press "Save" soft key to complete
Add group -
-1) Press "DIR" soft key,
-or press "MENU" button > “Phone book”>“Personal phone
book>View All”,
-or press "OK" button > “Phone book”>“Personal phone book>View
All”;
--2) Select the “add group” then press OK button;
--3) Use the navigation keys to select content, press OK button to set
and modify:
-Group name: name of the group
--4) Press "Save "soft key to complete
Modify group
--1) Press "DIR" soft key,
-or press "MENU" button > “Phone book”>“Personal phone
book>View All”,
-or press "OK" button > “Phone book”>“Personal phone book>View
All”;
--2) Select the “Modify group” then press "OK" button ;
--3) Select the group you want to modify, press the "OK" button to
set and modify, press "Save" to save the change
Delete group
--1) Press "DIR" soft key,
-or press "MENU" button > “Phone book”>“Personal phone
book>View All”,
-or press "OK" button > “Phone book”>“Personal phone book>View

www.ipitomy.com
IPitomy Communications
LDAP
Search the Contacts
from LDAP
--1) Press "DIR" in the idle,
-or press "MENU" or OK "button" > “Phone book”>“LDAP”,
--2) Select “LDAP”, press "OK" button;
--3) Press "Find" and input the name or number who you want to find
search from the LDAP server.
Call the Contact
from LDAP
--1) Press "DIR" in the idle,
-or press "MENU" or "OK" button > “Phone book”>“LDAP”,
--2) Select “LDAP”, press "OK" button;
--3) Press "Find" and input the name or number who you want to find
from the LDAPserver.
--4) When you search the person, you can dial it.
Black List
Add theContacts
--1) Press "DIR" in the idle,
-or press "MENU" or "OK" button > “Phone book”>“Black List”,
--2) Select “Black List”, press "OK" button;
--3) Press "Add" and input the name\office number\mobile
number\other number\SIP account who what you want to add into
the BlackList.
View the Contact
from BlackList
--1) Press "DIR" in the idle,
-or press "MENU" or "OK" button > “Phone book”>“Black List”,
All”;
--2) Select the “Delete group” or OK button
;
--3) Select a group you want to delete, press OK button

www.ipitomy.com
IPitomy Communications
3.6.2
Using Call Logs
Your phone maintains records of your missed, placed, and received calls.
View call logs
--1) Press "MENU" or "LOG" button > “All Call” > “Missed Calls”,
“Received Calls”, or “Dialed numbers”
--2) Use the navigation keys to view the call record information.
Delete/Save
Call
Logs
--1) Login in to the Call Logs
--2) Use the navigation keys to view the call record or select DEL key.
--3) Use the navigation keys to view the call record or select Save key.
3.6.3
Peer-to-Peer
When all of the phone accounts are disabled or not registered, it will be show this mode as idle. It
can beused when the new workstation does not have a SIP server.
3.7
Keypad Setting
The IP Phone has two ways to configure it, one is setting in the phone MENU, another through
the web interface. Here just description in MENU.
NOTES: When you want to input the IP address like ".", it was replaced by the "*".
--2) Select “Black List”, press "OK" button;
--3) Press "RUN" to view someone who what you want to find.
--4)If you want to move or change it, you can follow the RUN to do.
Peer-to-Peer
Disable all of accounts or not register.
Make Call with
Peer-to-Peer
--1)Press OK or MENU button> System Setting> Advanced Setting> SIP
Account;
--2)Disable all of accounts or un-register;
--3)Turn back the phone to idle, you can call someone use IP address.
Other manuals for IP290
1
Table of contents
Other IPitomy IP Phone manuals