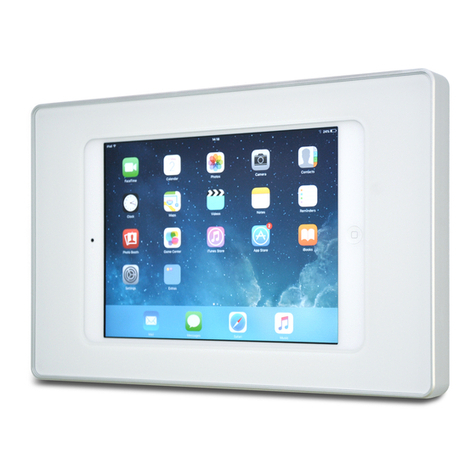
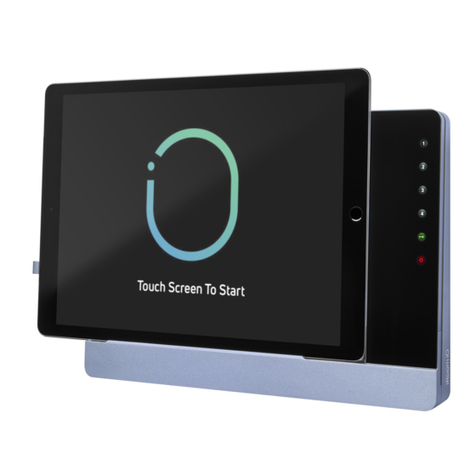
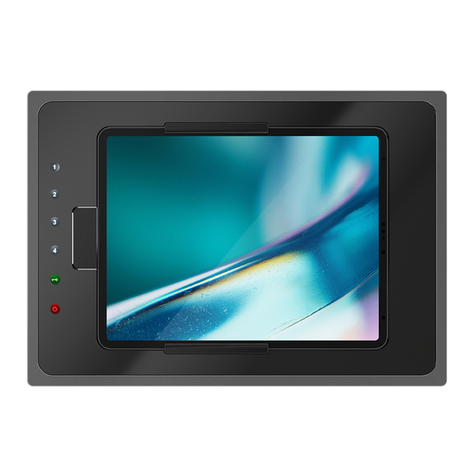
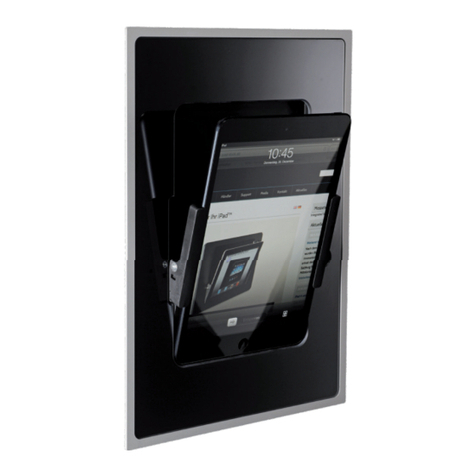
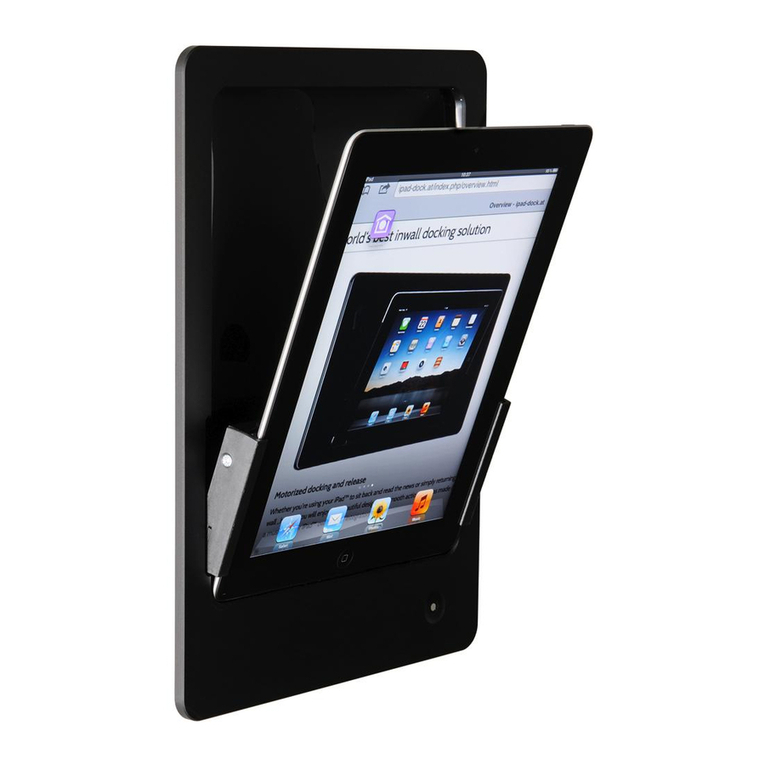
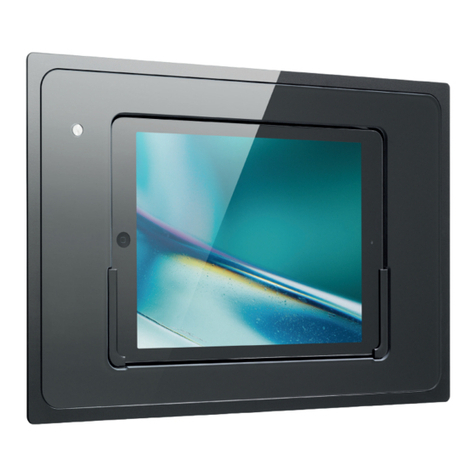
iRoom fixDock mini User manual

MANUAL
fixDock-mini/-iPad10/11/12.9
EnglishDeutsch
intelligence. on.
iRoom fixDock 2020 Lineart
iRoom fixDock with device
iRoom fixDock without device
iRoom fixDock simple

Page 2
intelligence. on.
Package Content
• fixDock (1x)
• fixDock Back box (1x)
• Cardboard Frame (1x)
• Aluminium Frame (1x)
• Mounting Screw (4x)
• Heavy Duty Rubber Band (2x)
• Installation Instructions (1x)
• Sucker (1x)
• Power Supply High or Low voltage (1x)
• Adapter USB-A to USB-C (1x) - only fincluded with fixDock models
for iPads with a USB-C charging port
Introduction
Thank you for purchasing iRoom‘s fixDock (in-wall docking station).
This MANUAL is designed to guide you through the hardware installation.
The warranty terms are also included in this MANUAL.
For FAQ‘s or user manuals in other languages, please visit: www.iRoomiO.com

ENGLISH
Page 3
for iRoom‘s fixDock
MANUAL
Important Information
All connection and installation work must be conducted by certified electricians in compliance with the general rules and directives for electri-
cal installations. The fixDock has a smooth and shiny surface which is prone to scratches. Handle with care to avoid damage. We recommend
wearing soft cotton wool gloves during installation.
• Select a suitable place to mount the device.
• Do not mount or use the fixDock in wet or moist environments.
• The place chosen to mount the device must provide enough recess depth to allow use of the back box and the entry of the leads.
• Mount the device in a place that enables reception of a suitably strong Wi-Fi signal so that the iPad has Internet connectivity when it is
docked.
General Information
The f ixDock can be installed both vertically and horizontally.
It is important that the wall mounting surface is level and smooth, so the back box can be fixed without deformation.
During installation the protective card has to be placed into the back box.
Description of Function
The fixDock may only be used with the flush-mounted back box. Operation without the back box will void the warranty.

Page 4
intelligence. on.
Preparing the Power Connection - Option 1: High Voltage
Connect the AC/USB converter to a 110-240 VAC power line and put it in the back box of the docking station.
This option requires a certified electrician for installation!

ENGLISH
Page 5
for iRoom‘s fixDock
MANUAL
Preparing the Power Connection - Option 2: Low Voltage
1. Plug the included
primary power adapter
110-240 VAC to 36 VDC
into a power outlet.
2. If needed, run a 2-wire extension
cable (not included) from the 36VDC
output to the next converter.
3. Put the second converter (included) in the back box and
connect the extension cable from the primary power adapter.
CAUTION: Determine correct polarity!

Page 6
intelligence. on.
Installation in Masonry
1. Attach the cardboard frame (4) to the back box (3) and
bolt them together with the included mounting screws (1)
(3 x 20mm)
2. Prepare a recess in the wall. You will find the cut-out dimensions
for your fixDock model on page 6.
3. Remove the break-out for the cable exits on the back box
4. Feed in the power leads through the hole in the back box. Use a
suitable cable grip sleeve.
5. Place the back box in the recess. Do not deform the
back box.
6. Plaster in the back box and ensure a straight, flush wall and dis-
tortion-free installation of the back box. Otherwise it may cause
mechanical problems.
7. After finishing plasterwork and wall finishing remove the card-
board frame and attach the aluminum frame (2)!
2
3
4
1

ENGLISH
Page 7
for iRoom‘s fixDock
MANUAL
Installation in Cavity Walls
1. Attach the aluminum frame (2) to the back box (3) and bolt
together the frame and the back box with the included mounting
screws (1) (3 x 20mm)
2. Prepare a recess in the wall. You will find the cut-out dimensions
for your fixDock model on page 6.
3. Remove the break-out for the cable exits on the back box
4. Feed in the power leads through the hole in the back box . Use a
suitable cable grip sleeve.
5. Place the back box in the recess. Do not deform the
back box.
6. Cut some small thread gaps in the safety strips that cover the
recess spaces for the mounting clips. Do not remove the safety
strips! Feed the mounting clips into the recesses and screw
them tight. Ensure a straight, flush wall and distortion-free
installation of the flush box. Otherwise it may cause mechanical
problems.
Mounting
1. Connect the original Apple charging cable to the USB port of the
included 110-240 VAC to 36 VDC power supply.
2. Connect the iPad to charging cable. If you install an iPad with
USB-C charging port use the included USB-A to USB-C adapter.
3. Fix the iPad to the backside of the glass bezel using the included
rubber bands - see below. Pay attention to correct positioning of
the rubber band clips.
4. Push the fixDock into the aluminium frame. Make sure you do
not damage the power leads.
Ensure a proper locking of the magnetic mounting system.
5. Switch on main power supply.
6. To remove the dock from the aluminium frame use the included
sucker.
Rubber Band Clips
Page 8
intelligence. on.
Specifications iRoom’s fixDock
Type fixDock-mini / fixDock-iPad10 / fixDock-iPad11 / fixDock-iPad12.9
Dimensions fixDock-mini (WxHxD) 284mm x 194mm x 90mm / 11.1“ x 7.6“ x 3.5“
Cut-Out Dimensions fixDock-mini (WxHxD) 275mm x 176mm x 90mm / 10.8“ x 6.9“ x 3.5“
Dimensions fixDock-iPad10 & 11 (WxHxD) 315mm x 226mm x 78mm / 12.4“ x 8.9“ x 3.1“
Cut-Out Dimensions fixDock-iPad10 & 11 (WxHxD) 305mm x 215mm x 78mm / 12.0“ x 8.5“ x 3.1“
Dimensions fixDock-iPad12.9 (WxHxD) 395mm x 330mm x 83mm / 15.6“ x 13.0“ x 3.3“
Cut-Out Dimensions fixDock-iPad12.9 (WxHxD) 360mm x 295mm x 83mm / 14.2“ x 11.6“ x 3.3“
Function Description Store & charge the iPad
Low Voltage Power Supply Primary: 100-240VAC to 36 VDC 1A. Secondary: 8-52 VDC to USB 5VDC/2A
High Voltage Power Supply Power Supply 100-240VAC to USB 5VDC/2A
Recommended Accessory (not included) iRoom‘s fixDock security-kit
Operating Temperature 0 - 35°C or 32 - 95°F
Operating Humidity 20% - 90% RH non-condensing
Cleaning
The product requires no special care, but only a regular cleaning of the glass. Do not use any abrasive/harsh cleaners
and unplug power supply before cleaning. For general cleaning of the surfaces please use a soft cloth with screen
cleaner. If possible frequently change the cloth so that no dust particles get stuck in the towel causing scratches.
!

ENGLISH
Page 9
for iRoom‘s fixDock
MANUAL
Electrical Safety Information
1.) Compliance is required with respect to voltage, frequency, and current requirements indicated on the manufacturer’s label. Connection to a
different power source than those specified may result in improper operation, damage to the equipment or pose a fire hazard if the limita-
tions are not followed.
2.) There are no operator serviceable parts inside this equipment. Service should be provided only by an authorized
service technician.
Protection against Theft
iRoom’s fixDock security kit secures the iPad through a glue-on plate that‘s connected to a wires rope. However, the
fixDock security kit does not provide any protection against theft. Unauthorized and/or forceful removal of the iPad
cannot be prevented. iRoom GmbH does not accept any liability for the theft of an iPad!
Limited Warranty
iRoom GmbH warrants that the product(s) furnished hereunder shall be free from defects in material and workmanship for a period of two (2)
years from the date of purchase made by the original end-customer or for a period of 3 years from the date of shipment by iRoom GmbH under
normal use and operation.
iRoom‘s GmbH sole and exclusive obligation and liability under the foregoing warranty shall be for iRoom GmbH, at its discretion, to repair or
replace any product that fails to conform to the above warranty during the above warranty period. The expense of removal and reinstallation of
any product is not included in this warranty. The warranty period of any repaired or replaced product shall not extend beyond its original term.
fixDock security-kit
(sold separately)

Page 10
intelligence. on.
Returns
No Products will be accepted for replacement or repair without obtaining a Return Materials Authorization (RMA) number from iRoom GmbH
or during the warranty period, and the Products being received at iRoom GmbH facility freight prepaid in accordance with the RMA process
of iRoom GmbH. Products returned without an RMA number will not be processed and will be returned freight collect or subject to disposal.
Information on the RMA process and obtaining an RMA number can be found at: www.iRoomiO.com/support/warranty.
Warranty Conditions
The above warranty does not apply if the product:
1.) has been modified and/or altered, or an addition made thereto, except by iRoom GmbH, or iRoom GmbH
authorized representatives, or as approved by iRoom GmbH in writing;
2.) has been painted, rebranded or physically modified in any way;
3.) has been damaged due to errors or defects in cabling;
4.) has been subjected to misuse, abuse, negligence, abnormal physical, electromagnetic or electrical stress,
including lightning strikes, or accident.
5.) has been damaged or impaired as a result of using third party firmware;
6.) has no original serial number label, or is missing any other original label(s);
7.) has not been received by iRoom GmbH within 30 days of issuance of the RMA.
In addition, the above warranty shall apply only if: the product has been properly installed and used at all times in
accordance, and in all material respects, with the applicable Product documentation.

ENGLISH
Page 11
for iRoom‘s fixDock
MANUAL
iRoom GmbH
Ziegeleistrasse 13
5110 Oberndorf
Austria
Web: www.iRoomiO.com
Email: [email protected]
Phone: +43 6272 20628 ©2010-2020 iRoom GmbH. All rights reserved.
FCC Compliance Statement
This equipment has been tested and found to comply with the limits for a Class B digital device, pursuant to part 15 of the FCC Rules.
RoHS/WEEE Compliance Statement
This symbol was placed in accordance with the European Union Directive 2011/65/EU on the Waste
Electrical and Electronic Equipment (the WEEE Directive). If disposed of within the European Union, this product should be
treated and recycled in accordance with the laws of your jurisdiction implementing the WEEE Directive.
Declaration of Conformity
Hereby, iRoom GmbH, declares that this iRoom GmbH device, is in compliance with the essential requirements and other relevant
provisions of Directive 2014/35/EU & 2014/30/EU.
Subject to changes at any time. The technical details and specifications do not equate to any form of guarantee.
All products mentioned protected by international copyright and patent laws.
Apple and iPad are registered trademarks of Apple Inc. Due to periodic product improvement, all features and specifications are subject to change without notice. The tablet is NOT part of the scope of delivery!


DEUTSCH
Seite 13
für iRoom‘s fixDock
ANLEITUNG
Verpackungsinhalt
• fixDock (1x)
• fixDock Unterputzdose (1x)
• Schutzkarton (1x)
• Aluminiumrahmen (1x)
• Befestigungsschrauben (4x)
• Expanderseil (2x)
• Installationsanleitung (1x)
• Saugnapf (1x)
• Netzteil Stark- oder Schwachstrom (1x)
• Adapter USB-A auf USB-C (1x) - nur bei fixDock Modellen für
iPads mit USB-C Ladestecker
Einleitung
Danke, dass Sie sich für unsere Wandeinbau-Dockingstation fixDock von iRoom entschieden haben.
Dieses Benutzerhandbuch soll Sie bei der Hardware-Installation begleiten.
Die Garantiebedingungen sind ebenfalls in diesem Benutzerhandbuch enthalten.
FAQ‘s und Benutzerhandbücher in anderen Sprachen finden Sie unter: www.iRoomiO.com

Seite 14
intelligence. on.
Wichtige Informationen
Alle Anschluss- und Montagearbeiten müssen von einem lizensierten Elektroinstallateur unter Einhaltung der allgemeinen Vorschriften und
Richtlinen für Elektroinstallationen durchgeführt werden. Die fixDock hat eine glatte und glänzende Oberfläche, die anfällig für Kratzer ist.
Diese bitte mit Vorsicht behandeln, um Schäden zu vermeiden. Wir empfehlen während der Installation weiche Stoffhandschuhe zu tragen.
• Wählen Sie einen geeigneten Platz für die Montage der fixDock.
• Montieren Sie die fixDock nicht in nassen oder feuchten Umgebungen.
• Der Installationsplatz muss genügend Wandtiefe bieten, um die Montage der Unterputzdose zu ermöglichen.
• Montieren Sie das Gerät an einem Ort, der ein entsprechend starkes WLAN-Signal hat, sodass das iPad während es in der Dock ist, wie
gewohnt Internetverbindung hat.
Generelle Informationen
Die fixDock kann je nach Belieben horizontal oder vertikal montiert werden.
Wichtig ist, dass die Wandoberfläche eben und glatt ist, damit der Unterputzrahmen flächenbündig montiert werden kann.
Bei der Installation muss die Styroporplatte in die Unterputzdose gelegt werden.
Funktionsbeschreibung
Die fixDock darf nur mit der flächenbündig montierten Unterputzdose installiert werden. Bei Montage ohne Unterputzdose enfällt die
Garantie.

DEUTSCH
Seite 15
für iRoom‘s fixDock
ANLEITUNG
Vorbereiten des Stromanschlusses - Option 1: Starkstrom
Verbinden Sie den AC/USB Konverter mit einem 240 VAC Anschluss und platzieren Sie diesen in der Unterputzdose der Dockingstation.
Diese Art der Installation muss von einem Elektro-installateur durchgeführt werden!

Seite 16
intelligence. on.
Vorbereiten des Stromanschlusses - Option 2: Schwachstrom
1. Stecken Sie das beigelegte
primäre Netzteil 110-240VAC
auf 36 VDC in eine 240 Volt
Steckdose.
2. Falls erforderlich, verlängern
Sie das 36 VDC Kabel mit einer
2-Draht-Leitung (nicht enthalten)
zum nächsten Konverter.
3. Legen Sie den beigelegten zweiten Konverter in die
Unterputzdose und verbinden Sie ihn mit der 36 VDC Leitung
vom primären Netzteil. Achten Sie auf die richtige Polung!

DEUTSCH
Seite 17
für iRoom‘s fixDock
ANLEITUNG
Installation im Mauerwerk
1. Die Schutzkarton (4) an der Unterputzdose (3) befestigen und
mit den beigelegten Befestigungsschrauben (1) (3x 20mm)
montieren.
2. Stellen Sie sicher, dass die Aussparung in der Wand die richtigen
Maße aufweist, die Sie für Ihr fixDock Modell auf Seite 16 finden.
3. Enfernen Sie den Ausbruch für die Kabelausgänge in der Unter-
putzdose.
4. Führen Sie die Kabel durch den Würgenippel der Unterputzdose.
5. Setzen Sie die Unterputzdose in die Aussparung. Stellen Sie
sicher, dass diese dabei nicht verbogen oder verformt wird.
6. Stellen Sie sicher, dass die Wand flächenbündig und glatt ist.
Andernfalls kann es zu Montageproblemen kommen.
7. Entfernen Sie nach den Montagearbeiten den Schutzkarton und
befestigen Sie den Aluminiumrahmen (2).
2
3
4
1

Seite 18
intelligence. on.
Installation in Hohlwand
1. Den Schutzkarton (4) an der Unterputzdose (3) befestigen und
mit den beigelegten Befestigungsschrauben (1) (3x 20mm)
montieren.
2. Stellen Sie sicher, dass die Aussparung in der Wand die richtigen
Maße aufweist, die Sie für Ihr fixDock Modell auf Seite 16 finden.
3. Enfernen Sie den Ausbruch für die Kabelausgänge in der Unter-
putzdose.
4. Führen Sie die Kabel durch den Würgenippel der Unterputzdose.
5. Setzen Sie die Unterputzdose in die Aussparung. Stellen Sie
sicher, dass diese dabei nicht verbogen oder verformt wird.
6. Schneiden Sie einige kleine Öffnungen in die Aluminiumabde-
ckungen in den Ecken der Unterputzdose, welche die Ausspa-
rungen für die Befestigungsklammern abdecken. Sellen Sie
sicher, dass Sie diese Schutzfolie nicht entfernen. Geben Sie die
Befestigungsklammern in die Aussparungen und schrauben Sie
diese fest. Vergewissern Sie sich, dass die Unterputzdose eben,
flächenbündig und glatt in der Wand sitzt. Andernfalls kann es
zu Montageproblemen kommen.
Montage
1. Stecken Sie das original Apple Ladekabel in die USB-Buchse des
mitgelieferten 110-240 VAC auf 36 VDC Netzteil.
2. Stecken Sie das Ladekabel in den Ladeanschluss des iPads.
Falls Sie ein iPad mit USB-C Anschluss installieren, verwenden
Sie den beigelegten USB-A auf USB-C Adapter.
3. Befestigen Sie das iPad mit den beiliegenden Expanderseilen an
der Rückseite der Glasabdeckung und achten Sie auf die korrek-
te Positionierung der Seilklemmen.
4. Geben Sie die fixDock in den Aluminiumrahmen. Stellen Sie
sicher, dass Sie die Stromversorgung nicht beschädigen. Sorgen
Sie dafür, dass die Magneten der Blende ordnungsgemäß am
Aluminiumrahmen aufliegen.
5. Aktivieren Sie die Stromversorgung
6. Um das iPad von der Dock zu entfernen, verwenden Sie bitte
den beigelegten Saugnapf.
Seilklemmen

DEUTSCH
Seite 19
für iRoom‘s fixDock
ANLEITUNG
Technische Daten iRoom’s fixDock
Typ fixDock-mini / fixDock-iPad10 / fixDock-iPad11 / fixDock-iPad12.9
Abmessungen fixDock-mini (BxHxT) 284mm x 194mm x 90mm / 11.1“ x 7.6“ x 3.5“
Ausschnittmaße fixDock-mini (BxHxT) 275mm x 176mm x 90mm / 10.8“ x 6.9“ x 3.5“
Abmessungen fixDock-iPad10 & 11 (BxHxT) 315mm x 226mm x 78mm / 12.4“ x 8.9“ x 3.1“
Ausschnittmaße fixDock-iPad10 & 11 (BxHxT) 305mm x 215mm x 78mm / 12.0“ x 8.5“ x 3.1“
Abmessungen fixDock-iPad12.9 (BxHxT) 395mm x 330mm x 83mm / 15.6“ x 13.0“ x 3.3“
Ausschnittmaße fixDock-iPad12.9 (BxHxT) 360mm x 295mm x 83mm / 14.2“ x 11.6“ x 3.3“
Funktionsbeschreibung Aufbewahren und Laden des iPads
Schwachstrom-Netzteil Primäres Netzteil: 100-240VAC to 36 VDC 1A. Sekundäres Netzteil: 8-52 VDC to USB 5VDC/2A
Starkstrom-Netzteil Netzteil 100-240VAC auf USB 5VDC/2A
Empfohlenes Zubehör (nicht im Lieferumfang) iRoom‘s fixDock security-kit
Betriebstemperatur 0 - 35°C or 32 - 95°F
Betriebsfeuchtigkeit 20% - 90% RH nicht kondensierend
Reinigung
Das Produkt bedarf keiner besonderen Pflege, sondern nur einer regelmäßigen Reinigung zur Erhaltung des Glanzes,
der Struktur und dem Zustand der Oberflächen. Keine scheuernden / scharfen Reinigungsmittel verwenden. Trennen
Sie die Stromversorgung vor dem Reinigungsvorgang. Für die allgemeine Reinigung der Oberflächen bitte ein weiches,
sauberes, leicht angefeuchtetes Tuch verwenden.
!

Seite 20
intelligence. on.
Information zur elektrischen Sicherheit
1.) Die auf dem Herstellerschild angegebene Spannung, Frequenz und der Strombedarf müssen eingehalten werden.
Der Anschluss an eine andere als die angegebenen Energiequellen kann den Betrieb beeinträchtigen, Schäden an der Ausstattung zur
Folge haben oder eine Gefahr darstellen, wenn die Grenzwerte nicht eingehalten werden.
2.) Dieses Gerät enthält keine Komponenten, die vom Verwender selbst gewartet werden können. Reparaturen sollten
nur von einem autorisierten Servicetechniker durchgeführt werden.
Diebstahlschutz
iRoom‘s fixDock security kit sichert das iPad mit einer aufzuklebenden Platte, die mit einem Stahlseil verbunden
ist. Ein unbefugtes, gewaltsames Entfernen des iPads kann jedoch nicht verhindert werden. Im Fall des Diebstahls
eines iPads übernimmt die iRoom GmbH keinerlei Haftung.
Eingeschränkte Gewährleistung
Die iRoom GmbH garantiert, dass das/die Produkt/e, die im Rahmen dieses Vertrages geliefert wurden, für einen Zeitraum von zwei (2) Jahren
ab dem Kaufdatum durch den ursprünglichen Endkunden oder für einen Zeitraum von 3 Jahren ab dem Datum der Auslieferung durch iRoom
GmbH bei normalem Gebrauch und Betrieb keine Material- oder Verarbeitungsfehler aufweisen dürfen.
Im Rahmen dieser Garantie liegt es im Ermessen der iRoom GmbH, das Produkt, das innerhalb der oben angeführten Fristen nicht der hier defi-
nierten Gewährleistung entspricht, zu reparieren oder zu ersetzen. Die Kosten des Aus- und Einbaus sind für alle Produkte nicht in dieser Garantie
enthalten. Die Gewährleistungsfrist für alle reparierten oder ausgetauschten Produkte wird nicht über ihre ursprüngliche Laufzeit hinaus verlängert.
fixDock security-kit
(muss separat bestellt werden)
Other manuals for fixDock mini
1
This manual suits for next models
3
Table of contents
Languages:
Other iRoom Docking Station manuals

iRoom
iRoom iDock Basic User manual

iRoom
iRoom iTop OnWall User manual

iRoom
iRoom miniDock User manual

iRoom
iRoom iDock Landscape User manual

iRoom
iRoom iTop User manual

iRoom
iRoom iDock Basic User manual

iRoom
iRoom iDock Basic User manual

iRoom
iRoom touchDock User manual

iRoom
iRoom surDock-mini User manual

iRoom
iRoom iBezel Series User manual