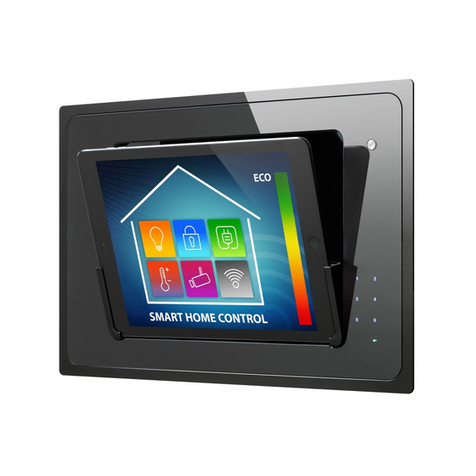
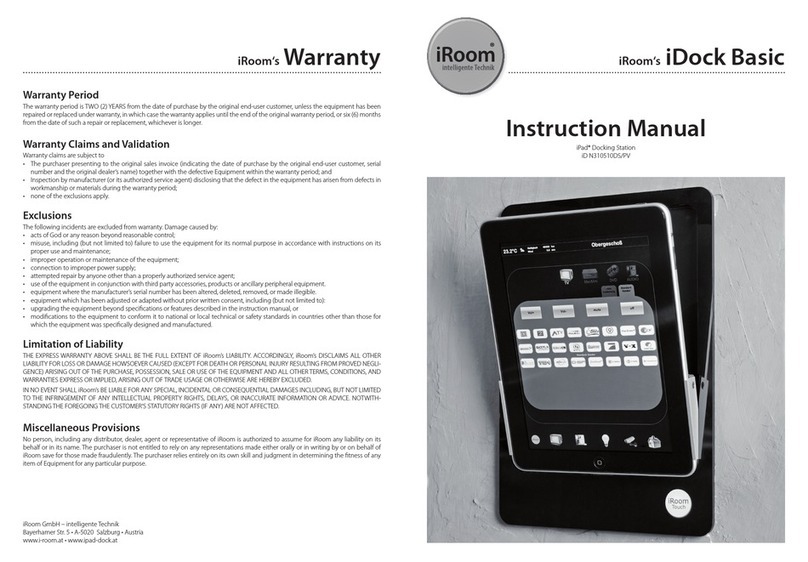
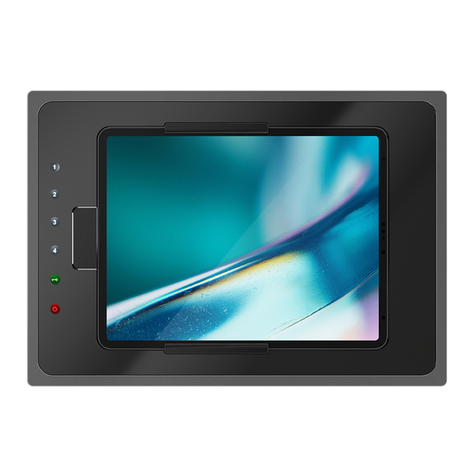
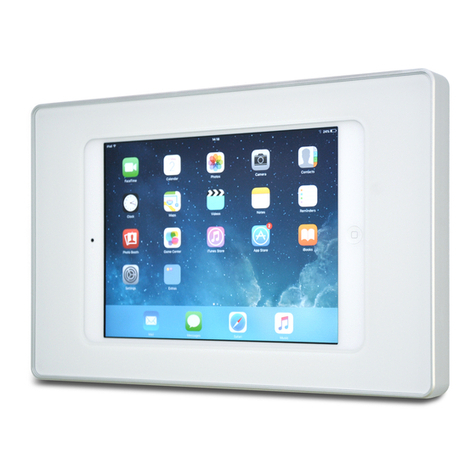
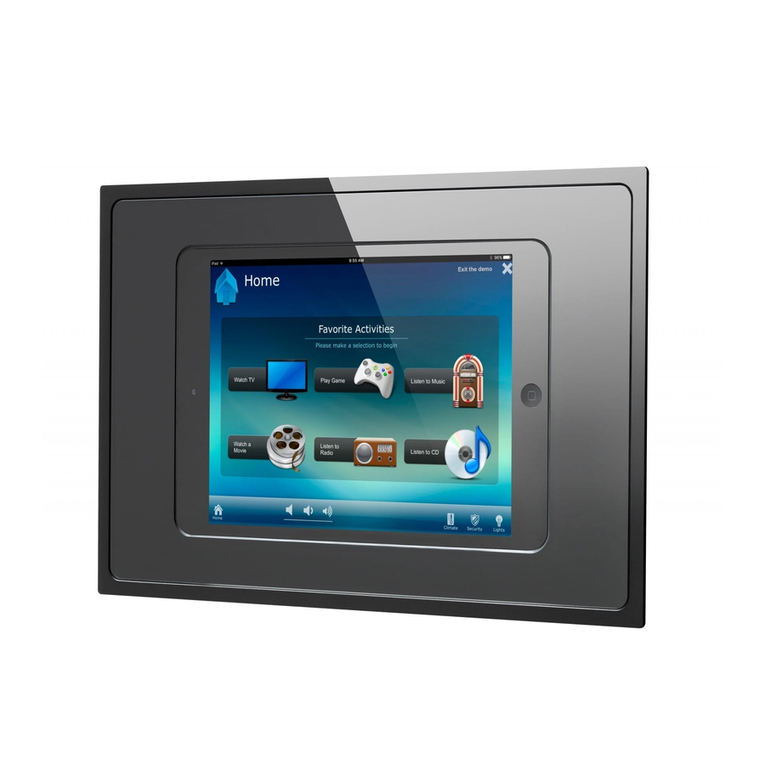
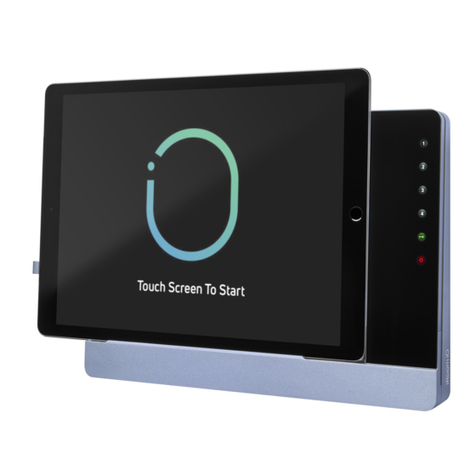
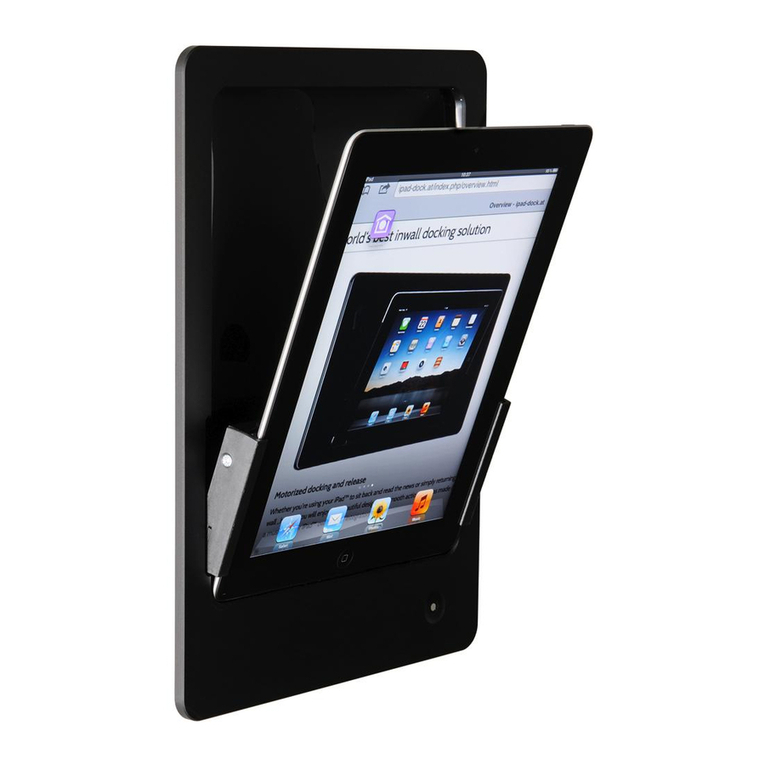
iRoom iDock Basic User manual

MANUAL
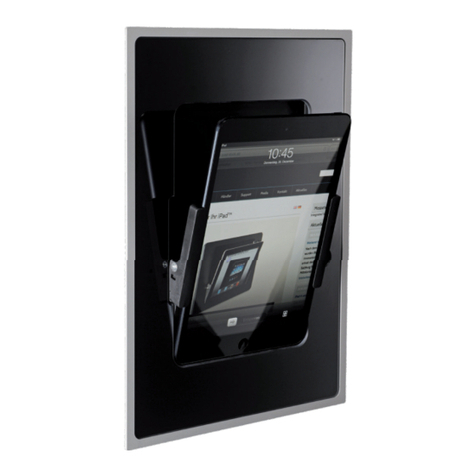
iRoom´s iDock / miniDock
for iRoom‘s iDock / miniDock
DeutschFrançais English

Page 2 Page 3
English
Introduction
Thank you for purchasing the iRoom‘s inwall docking station.
This MANUAL is designed to guide you through the hardware installation
and initial software con guration.
The warranty terms are also included in this MANUAL.
For details on con guring iRoom‘s iDock, to download the TCP-interface
description, latest drivers, latest FAQ‘s or MANUAL in other languages,
please visit: www.iroomsidock.com
This manual is made for different versions of our Docking Solutions. It may
happen that some of the illustrations differ from original equipment hardware.
Package content
iRoom‘s iDock
3 x 45 Screws (4) adhesive base (1)
cable tie (1)
3 x 20 Screws (4)iRoom‘s iDock*iRoom‘s iDock
Glass-Bezel*
iRoom‘s miniDock
M3 x 12 Screws (1) ller plug (1)
iRoom‘s miniDock*iRoom‘s miniDock
Glass-Bezel*
* the design differs on speci c models
Please proceed with setting up your iDock using the iOS App
″iRoom‘s iDock″

Page 3 MANUAL
iRoom‘s iDock / miniDock
English
Option I: LAN & 110-240V AC Option II: PoE+(IEEE802.3at)
12
3 4
Installation of ush-mounted box
The iRoom‘s iDock may only be used with
the Backbox! The ush-mounted box is
not included in the scope of delivery and
must be purchased separately. Operating
the device without the Backbox leads to
a loss of warranty rights. Use for purposes
not intended by the manufacturer will void
warranty.
For detailed description please refer to the
"Backbox installation manual“.
Please proceed with setting up your iDock using the iOS App
″iRoom‘s iDock″
Quick Start Guide
iRoom‘s iDock Landscape
The Backbox design and method of installation differs on specic models.
This particular model can be installed in landscape orientation only.

Page 4 Page 5
English
Option I: LAN & 110-240V AC Option II: PoE+(IEEE802.3at)
12
3 4
Installation of Flush-mounted box
The iRoom‘s miniDock may only be used
with the Backbox! The Backbox is not
included in the scope of delivery and must
be purchased separately. Operating the
device without the Backbox leads to a loss
of warranty rights. Use for purposes not inten-
ded by the manufacturer will void warranty.
For detailed description please refer to the
"Backbox installation manual".
Quick Start Guide
iRoom‘s miniDock
The Backbox design and method of installation differs on speci c models.
center the insert and
tighten the screw gently to
avoid bending and ensure
proper tting of glasbezel
This particular model can be installed either in landscape or in portrait orientation.
Please proceed with setting up your miniDock using the iOS App
″iRoom‘s iDock″

Page 5 MANUAL
iRoom‘s iDock / miniDock
English
Installation Requirements
The following products and tools are mandatory for proper installation:
• installed iRoom‘s ush-mounted box (mandatory)
●operation without iRoom‘s ush-mounted box voids warranty!
• prepared wiring
• screwdriver
• wire stripper and cutter
• latest iOS App
NOTICE
Further documents regarding the product/installation/operation can be found under:
www.iroomsidock.com
WARNING:
TO AVOID FIRE, SHOCK OR DEATH:
Turn off power at the circuit breaker
or fuse before installation.
IMPORTANT:
All installa tion work needs to be
executed by a qualied electrician
in accordance with national electrical
codes and regulations.
Electrical security:
An easily accessible, all-pole
disconnecting device is required in the
power supply circuit. Recommended
overcurrent protective device in the
mains power circuit: 6 A
NOTE:
Wiring colors may be different from
the illustration. Be sure to verify the
wiring before continuing.
CLEANING:
The product has a smooth and shiny
surface which is prone to scratches.
Handle with care.
iPad:
Please follow charging and operating
instructions of the iPad Manual.
Connecting 110-240VAC
Connect the wires to the connector according to color-code:
cable coloring:
number european standard
colour code
us standard
colour code designation
1 black black hot (L)
2blue white neutral (N)
3 yellow/green green ground (PE)
This information is supplied without liability.
Please proceed with setting up your miniDock using the iOS App
″iRoom‘s iDock″

Page 6 Page 7
English
Power Supply Options
The following options are available to power iRoom‘s iDock
Option 1: 110-240V AC
connect regular 110-240V AC wiring to
designated wire terminal on the back
side of iRoom‘s iDock.
connect PoE+ Switch to iRoom‘s iDock to
establish power and data connection.
connect PoE+ Switch to iRoom‘s iDock to
establish power and data connection.
PoE+ (IEEE 802.3at)
Switch
iRoom‘s iDock
PoE CAT5e/6
cable
-----------------------------------------------------------------------------
-----------------------------------------------------------------------------
ethernet switch
mid-span injector
PoE+ CAT5e/6
cable
iRoom‘s iDock
Option 2: PoE+ IEEE 802.3at1switch
Option 3: Regular switch with PoE+1 mid-span injector
1 Operation with Standard-PoE (IEEE 802.3af) is possible with limitation in charging current and restrictions in
iPad operation. 24/7-operation of an iPad docked will empty iPad battery. To avoid emptying battery please
enable iPad power saving mode and reduce display brightness.
24/7-operation of an iPad docked powered by PoE (IEEE 802.3af) can not be guaranteed.
If you‘re going to supply your iRoom‘s iDock by using a standard PoE (IEEE 802.3af) Injector/switch please
enable DIP Switch #2 prior to installation / power supply.
To locate the DIP switch please refer to chapter "Main Board Feature Overview“.

Page 7 MANUAL
iRoom‘s iDock / miniDock
English
Speci cations
iRoom’s iDock
Type LBG/LWG/LBA/LWA/ LBG-5/LWG-5/LBA-5/LWA-5 Serial Number starting with 0103
Dimensions
iDock Landscape: W x H x D 372.0 / 246.5 / 76.5 mm ( ush-mount)
iDock Landscape: W x H x D 351.7 / 226.2 / 72.9 mm (standard)
miniDock: W x H x D 226.0 / 315.0 / 76.5 mm ( ush-mount)
Power Supply 100-240VAC; 50/60Hz; 0,35A; PoE+ (44-57VDC; 0,6A)
LAN 10Mbps/100Mbps
Communication TCP / status & control
Function Description Store & charge iPad
Digital inputs / digital outputs 9 DI (contact closure) / 1 DO (relay; 30VDC, 1A / 125VAC, 0.3A)
Glass Bezel Standard Glass
Audio out stereo analog, 3.5 mm audio jack
Operating Temperature 0 - 35°C or 32 - 95°F
Operating Humidity 20% - 90% RH non-condensing
Relay & Terminals
Relay Contact rating (resistive) 30VDC, 1A / 125VAC, 0.3A
Terminal speci cations (9 x DI / 1 x DO) 26-20 AWG / 0.13-0.52mm²
iDock miniDock
Main Feature Overview
Before installation please become familiar with the main features and parts of your
iRoom‘s iDock:
HomeButton
off LED
4 3 2 1
on
Relay
GND
Audio
3,5 mm
RJ45 PoE+ (IEEE802.3at)
DIP
SWITCH
Quick DI 8
Quick DI 7
Quick DI 6
Quick DI 5
Quick DI 0
Quick DI 4
Quick DI 3
Quick DI 2
Quick DI 1

Page 8 Page 9
English
Restoring the Default Conguration and Password
You can restore factory defaults in two ways:
1. Use the "restore to factory settings" function of the iRoom‘s iDock iOS-App
• Access-Code is required
2. Use the Default Reset DIP Switch#1 on the rear panel of the iDock:
• Power off your iRoom‘s iDock
• Switch DIP#1 to ON
• Power on your iRoom‘s iDock and wait until LED is ashing quickly.
• Power off your iRoom‘s iDock
• Switch DIP#1 to OFF
• Restore process nished.
To locate the DIP Switch please refer to chapter "Main Board Feature
Overview".
Operating Instructions
Operation:
• Touch & release the sensor, to open/close the iRoom‘s iDock tray.
• The iPad tray remains in open position for 10 seconds, than closes
automatically.
• If there is a power loss, the iPad tray opens automatically
All above mentioned and many more settings can be modied via our iOS App
"iRoom‘s iDock". Detailed descriptions can be found within the iOS App Help
Section.
If you have purchased a TouchCode or KeyCard model, please refer to the
specic descriptions included with the product.
Basic Network Conguration
To congure iRoom‘s iDock, access it via a docked iPad using the free iOS App
"iRoom‘s iDock".
Default IP : DHCP / 192.168.0.100
Default Access-Code : iBezel

Page 9 MANUAL
iRoom‘s iDock / miniDock
1
2
3
4
5
1
2
3
54
English
iOS App Store & App ″iRoom‘s iDock″
• Open iOS App store and search for App "iRoom‘s iDock"
• Install App "iRoom‘s iDock"
• Open App "iRoom‘s iDock"
• Dock the iPad into iRoom‘s iDock
• Verify status "online"
• perform Firmware update if indicated.
For additional details on the iRoom‘s iDock App, please refer to the
"in App Help" and the "in App FAQ" area. As we perform frequent
iOS-App-updates the visual appearance might change.
MAIN MENU Main Function Selection Area
SUB MENU Setting Adjustment and Con guration Area
inApp HELP AREA Touching text in Sub-Menu shows af liated help
App & Firmware
Version
Displays App Version number and Firmware Version installed
at your iDock (if comm. status is online)
Communication Status Displays iDock Communication status (online/of ine)

Page 10 Page 11
English
Electrical Safety Information
1. Compliance is required with respect to voltage, frequency, and current
requirements indicated on the manufacturer’s label. Connection to a
different power source than those specied may result in improper operati-
on, damage to the equipment or pose a re hazard if the limitations are not
followed.
2. There are no operator serviceable parts inside this equipment. Service should
be provided only by an authorized service technician.
3. The equipment requires the use of the ground wire as a part of the safety
certication. Modication or misuse can provide a shock hazard that can
result in serious injury or death.
4. Contact a qualied electrician or the manufacturer if there are questions
about the installation prior to connecting the equipment.
5. A readily accessible means of disconnecting and overcurrent protection
device must be used outside the device
6. Protective bonding must be installed in accordance with local national
wiring rules and regulations.
Protection against theft
iRoom’s iDock does not provide any protection against theft. Unauthorized
forceful removal of a tablet cannot be prevented. iRoom GmbH does not
accept any liability for the theft of a tablet.
IT-Security
In order to the open and unsecured communication protocol used by the
iRoom‘s iDock the user is responsible to ensure proper network security to avoid
unauthorized LAN Control of the iRooms iDock.
Limited warranty
iRoom GmbH warrants that the product(s) furnished hereunder shall be free
from defects in material and work manship for a period of two (2) years from the
date of purchase made by the original end-customer or for a period of 3 years
from the date of shipment by iRoom GmbH under normal use and operation.
iRoom‘s GmbH sole and exclusive obligation and liability under the foregoing
warranty shall be for iRoom GmbH, at its discretion, to repair or replace any
Product that fails to conform to the above warranty during the above warranty
period. The expense of removal and reinstallation of any Product is not included
in this warranty. The warranty period of any repaired or replaced Product shall
not extend beyond its original term.
Page 11 MANUAL
iRoom‘s iDock / miniDock
English
Returns
No Products will be accepted for replacement or repair without obtaining a
Return Materials Authorization (RMA) number from iRoom GmbH or during the
warranty period, and the Products being received at iRoom GmbH facility freight
prepaid in accordance with the RMA process of iRoom GmbH. Products retur-
ned without an RMA number will not be processed and will be returned freight
collect or subject to disposal.
Information on the RMA process and obtaining an RMA number can be found
at: www.iroomsidock.com/support/warranty.
Warranty conditions
The above warranty does not apply if the Product:
1. Operating the device without the ush-mounted box leads to a loss of
warranty rights.
2. has been modied and/or altered, or an addition made thereto, except by
iRoom GmbH, or iRoom GmbH’ authorized representatives, or as approved
by iRoom GmbH in writing;
3. has been painted, rebranded or physically modied in any way;
4. has been damaged due to errors or defects in cabling;
5. has been subjected to misuse, abuse, negligence, abnormal physical,
electromagnetic or electrical stress, including lightning strikes, or accident.
6. has been damaged or impaired as a result of using third party rmware;
7. has no original serial number label, or is missing any other original label(s);
8. has not been received by iRoom GmbH within 30 days of issuance of the
RMA.
In addition, the above warranty shall apply only if: the product has been
properly installed and used at all times in accordance, and in all material
respects, with the applicable Product documentation;

Seite 13Page 12
Apple and iPad are registered trademarks of Apple Inc.
Due to periodic product improvement, all features and specifi ca ons are subject to change without no ce.
The tablet is NOT part of the scope of delivery!
www.iroomsidock.com
© 2010-2016 iRoomGmbH. All rights reserved.
English
FCC Compilance Statement
This equipment has been tested and found to comply with the limits for a Class B
digital device, pursuant to part 15 of the FCC Rules.
RoHS/WEEE Compliance Statement
This symbol was placed in accordance with the European Union
Directive 2002/96 on the Waste Electrical and Electronic Equipment
(the WEEE Directive). If disposed of within the European Union, this
product should be treated and recycled in accordance with the
laws of your jurisdiction implementing the WEEE Directive.
Declaration of Conformity
Hereby, iRoom GmbH, declares that this iRoom GmbH device, is in compliance
with the essential requirements and other relevant provisions of Directive 1999/5/
EC.
Subject to changes at any time. The technical details and speci cations do
not equate to any form of guarantee. All products mentioned protected by
international copyright and patent laws.
All products mentioned protected by international copyright and patent laws.
iPad is a trademark of Apple Inc., registered in the U.S. and other countries.

Seite 13 HANDBUCH
iRoom‘s iDock / miniDock
Deutsch
Deutsch

Seite 14 Seite 15
Deutsch
Einleitung
Danke, dass Sie sich für unsere Unterputz-Ladestation iDock von iRoom mit
programmierbaren Quick Access Tastenent schieden haben.
Dieses BENUTZERHANDBUCH soll Sie bei der Hardware-Installation und der
ersten Software-Kon guration begleiten.
Die Garantiebedingungen sind ebenfalls in diesem BENUTZERHANDBUCH
enthalten.
Details zur Kon guration von iRoom‘s iDock, für den Download der
Beschreibung der TCP-Interface, zu den neuesten Treibern, den neuesten
FAQ‘s oder für BENUTZERHANDBÜCHER nden Sie unter: www.iRoomsidock.com
Verpackungsinhalt
iRoom‘s iDock
3 x 45 Schrauben (4) Klebeplättchen (1)
Kabelbinder (1)
3 x 20 Schrauben (4)
iRoom‘s iDock*iRoom‘s iDock
Glas-Bezel*
iRoom‘s miniDock
M3 x 12 Schrauben (1) Blindstopfen (1)
iRoom‘s miniDock*iRoom‘s miniDock
Glas-Bezel*
* die Ausführung unterscheidet sich je nach Modell.
Um ihre iDock vollständig zu kon gurieren laden Sie bitte folgende App
aus dem iOS Appstore: iRoom’s iDock.
* die Ausführung unterscheidet sich je nach Modell.

Seite 15 HANDBUCH
iRoom‘s iDock / miniDock
Deutsch
Option I: LAN &110-240V AC Option II: PoE+(IEEE802.3at)
12
3 4
Montage der Unterputzdose
Jede iRoom‘s iDock darf nur in Verbindung
mit einer iRoom‘s iDock Unterputzdose
verwendet werden. Mit der Standard
Unterputzdose erreicht man einen
maximalen Vorsatz der iDock Oberäche
von 6 mm. Sollte eine achere Montageart
gewünscht sein, verwenden Sie bitte die
ächenbündige Unterputzdose.
Eine detaillierte Beschreibung nden Sie in
der "Unterputzdose Installationshandbuch".
Um ihre iDock vollständig zu kongurieren laden Sie bitte folgende App
aus dem iOS Appstore: iRoom’s iDock.
Schnellstart-Anleitung
iRoom‘s iDock Quer
Die Unterputzdose und die Installation unterscheiden sich bei bestimmten Modellen.
Dieses Modell kann nur im Querformat montiert werden.

Seite 16 Seite 17
Deutsch
Option I: LAN & 110-240V AC Option II: PoE+(IEEE802.3at)
12
3 4
Einbau der Installationsdosen
Die "iRoom’s miniDock" darf nur in Kombinati-
on mit der zugehörigen "Installationsdose zur
ächenbündigen Montage" verbaut werden.
Die "Installationsdose zur ächenbündigen
Montage“ ist nicht im Lieferumfang enthalten
und muss separat bestellt werden. Die Inbe-
triebnahme des Gerätes ohne die "Installati-
onsdose zur ächenbündigen Montage" oder
eine Zweckentfremdung des Gerätes führt
zum Verlust der Gewährleistung.
Eine detaillierte Installationsanleitung nden
sie im Handbuch "Installationsdose zur
ächenbündigen Montage".
Schnellstart-Anleitung
iRoom‘s miniDock
Die Unterputzdose und die Installation unterscheiden sich bei bestimmten Modellen.
Zentrieren Sie den Einsatz
und ziehen sie die Montage-
schraube mit leicht an, um den
Einsatz nicht zu verbiegen und
somit einen passgenauen Sitz
der Blende zu gewährleisten.
iRoom’s miniDock kann sowohl vertikal als auch horizontal installiert werden.
Um ihre miniDock vollständig zu kon gurieren laden Sie bitte folgende App
aus dem iOS Appstore: iRoom’s iDock.

Seite 17 HANDBUCH
iRoom‘s iDock / miniDock
Deutsch
Installationsanforderungen
Folgende Produkte und Werkzeuge sind für die Installation unbedingt
erforderlich:
• eine installierte iRoom‘s Backbox (obligatorisch)
●die Bedienung ohne iRoom‘s Backbox macht die Garantie unwirksam!
• vorbereitete Verkabelung
• Kreuzschlitz-Schraubenzieher
• Isolierzange und Drahtzange
• Die iRoom App ist für die Konguration des Docks erforderlich
Drahtfarben:
Nummer Europäischer
Standardfarbcode
US-Standard
farbcode Bezeichnung
1 schwarz schwarz Phase (L)
2blau weiß Neutralleiter(N)
3gelb/grün grün Erdung (PE)
Diese Angaben sind ohne Gewähr.
ANMERKUNG
Weitere Dokumente über das Produkt/die Installation/den Betrieb nden Sie unter:
www.iroomsibezel.com
WARNUNG:
ZUR VERMEIDUNG VON BRÄNDEN,
SCHOCKZUSTÄNDEN ODER TOD:
Schalten Sie vor der Installation
den Strom am Schutzschalter oder
mit der Sicherung aus.
WICHTIG:
Alle Installationsarbeiten müssen von
einem qualizierten Elektriker in Überein-
stimmung mit den nationalen elektrischen
Vorschriften und Bestimmungen ausge-
führt werden.
Elektrische Sicherheit:
Eine leicht zugängliche, allpolige Trennvorrichtung ist im Stromversorgungsnetz erforderlich.
Empfohlene Überstromschutzeinrichtung in dem Stromkreis: : 6 A
HINWEIS:
Die Farben der Drähte können von der
Abbildung abweichen. Überprüfen Sie
unbedingt die Verkabelung bevor Sie
fortfahren.
REINIGUNG:
Das Produkt hat eine glatte und
glänzende Oberäche, die anfällig
für Kratzer ist. Mit Sorgfalt handhaben.
Option I: Anschluss 110-240VAC
Die Drähte gemäß des Farbcodes an die Anschlussbuchse
anschließen:
Um ihre miniDock vollständig zu kongurieren laden Sie bitte folgende App
aus dem iOS Appstore: iRoom’s iDock.

Seite 18 Seite 19
Deutsch
Optionen für die Stromversorgung
Die folgenden Optionen stehen für die Stromversorgung des iRoom‘s iDock zur
Verfügung.
Option 1: 110-240V AC
Die reguläre 110-240 V AC Verkabelung mit
den angegebenen Anschlussklemmen auf
der Rückseite des iRoom‘s iDock anschließen.
Den PoE+ Netzwerk-Switch an den iRoom‘s
iDock anschließen, um eine Strom- und Da-
tenverbindung herzustellen.
PoE+ (IEEE 802.3at)
switch
iRoom‘s iDock
PoE+ CAT5e/6
Kabel
-----------------------------------------------------------------------------
-----------------------------------------------------------------------------
ethernet switch
mid-span injector
PoE+ CAT5e/6
Kabel
iRoom‘s iDock
Den PoE+ Netzwerk-Switch an den iRoom‘s
iDock anschließen, um eine Strom- und
Datenverbindung herzustellen.
Option 2: PoE+ IEEE 802.3at1 Netzwerk-Switch
Option 3: Regulärer Netzwerk-Switch mit PoE+1
1 Der Betrieb mit Standard-PoE (IEEE 803.af) ist mit Einschränkung des Ladestroms und des iPad Betriebs
möglich. Der 24/7-Betrieb eines angedockten iPad wird den iPad-Akku entleeren. Um die Entleerung des
Akkus zu vermeiden, starten Sie bitte den Energiesparmodus des iPads und reduzieren Sie die Helligkeit des
Displays.
Der 24/7-Betrieb eines per PoE (IEEE 803.af) mit Strom versorgten angedockten iPads kann nicht garantiert
werden. Wenn Sie Ihre iRoom‘s iBezel mit einem Standard-PoE (IEEE 803.af) Injektor oder Netzwerk-Switch
betreiben wollen, aktivieren Sie bitte vor der Installation/der Stromversorgung DIP Switch #2.
Für die Einrichtung des DIP Switch konsultieren Sie bitte das Kapitel "Mainboard Funktionsübersicht".

Seite 19 HANDBUCH
iRoom‘s iDock / miniDock
Deutsch
Spezi kationen
iRoom’s iDock
Type LBG/LWG/LBA/LWA/ LBG-5/LWG-5/LBA-5/LWA-5
Seriennumber beginnent mit 0103
Maße
iDock quer: W x H x D 372.0 / 246.5 / 76.5 mm ( ush-mount)
iDock quer: W x H x D 351.7 / 226.2 / 72.9 mm (standard)
miniDock: W x H x D 226.0 / 315.0 / 76.5 mm ( ush-mount)
Stromversorgung 100-240 VAC; 50/60 Hz; 0,35 A; PoE+ (44-57 VDC; 0,6 A)
LAN 10 Mbps/100 Mbps
Verbindung TCP / Status & Kontrolle
Funktionsbeschreibung Lagern & Laden des iPads
Digitale Eingaben/ digitale Ausgaben 9 DI (Potentialfrei) / 1 DO (Relais; 30 VDC, 1A / 125 VAC, 0,3 A)
Glasblende Standard Glas
Audio-Ausgang Stereo analog, 3,5 mm Audioanschluss
Operating Temperature 0 - 35°C or 32 - 95°F
Betriebsfeuchtigkeit 20 % - 90 % RH nicht kondensierend
Relay & Terminals
Relay Schaltleistung (ohmsche Last) 30 VDC, 1A / 125 VAC, 0,3 A
Terminal-Spezi kationen (9 x DI / 1 x DO) 26-20 AWG / 0,13-0,52 mm2
Übersicht
Machen Sie sich bitte vor der Installation mit der PCB-Platine Ihres iRoom‘s iBezel
vertraut:
iDock miniDock
off LED
4 3 2 1
on
Relay
GND
Audio
3,5 mm
RJ45 PoE+ (IEEE802.3at)
DIP
SWITCH
Quick DI 8
Quick DI 7
Quick DI 6
Quick DI 5
Quick DI 0
Quick DI 4
Quick DI 3
Quick DI 2
Quick DI 1
HomeButton

Seite 20 Seite 21
Deutsch
Bedienungsanleitung
Bedienung:
• Ein kurzes Drücken auf den integrierten Touch-Sensor (HomeButton / Fig.
A) öffnet die iPad-Aufnahme ihrer iRoom‘s iDock..
• Die iPad-Aufnahme schließt nach 10 Sekunden automatisch.
• Bei Stromausfall öffnet die iPad-Aufnahme automatisch.
Alle oben genannten und noch viele weitere Einstellungen können in unserer iOS
App "iRoom’s iDock" modiziert werden. Detailierte Funktionsbeschreibungen
dazu nden sie im Hilfefenster (links unten) der iOS App.
Wenn Sie sich für ein Model "TouchCode" oder "KeyCard" entschieden haben,
nden sie diesbezüglich weitere Informationen in den beiliegenden Detailbe-
schreibungen.
Grundlegende Netzwerkkonguration
Zur Konguration des iRoom‘s iBezel greifen Sie über ein angedocktes iPad unter
Verwendung der freien iOS App "iRoom‘s iDock" darauf zu.
Standard IP : DHCP
Standard-Zugangs-Code : iBezel
Die Standardkonguration und das Passwort wiederherstellen
Sie können die Werkseinstellungen auf zwei Arten wiederherstellen:
1. Verwenden Sie die Funktion iOS-App der iRoom‘s iDock "Werkseinstellungen wiederher-
stellen"
• Der Zugangscode ist erforderlich
2. Verwenden Sie den Standard Reset DIP Schalter #1 an der Rückseite des Routers:
• Schalten Sie Ihr iRoom‘s iDock aus
• Schalten Sie DIP#1 auf ON
• Schalten Sie Ihr iRoom‘s iDock ein und warten Sie bis die LED rasch blinkt.
• Schalten Sie Ihr iRoom‘s iDock aus
• Schalten Sie DIP#1 auf OFF
• Der Wiederherstellungsprozess ist beendet.
Um den DIP Schalter anzubringen, konsultieren Sie bitte das Kapitel "Mainboard Funktions-
übersicht".
Other manuals for iDock Basic
2
This manual suits for next models
1
Table of contents
Languages:
Other iRoom Docking Station manuals

iRoom
iRoom iBezel Series User manual

iRoom
iRoom touchDock User manual

iRoom
iRoom surDock-mini User manual

iRoom
iRoom iDock Landscape User manual

iRoom
iRoom miniDock User manual

iRoom
iRoom iTop OnWall User manual

iRoom
iRoom fixDock mini User manual

iRoom
iRoom iDock Basic User manual

iRoom
iRoom iTop User manual

iRoom
iRoom iDock Portrait User manual