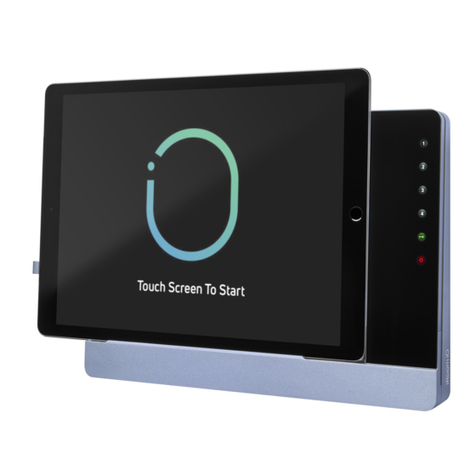
iRoom iDock Basic User manual

DIP switch settings and common remarks Operation instructions
DIP Switch # Off On
DIP 1:
Open dock
without tablet
when DIP 8 is OFF:
open empty dock by external contact only
when DIP 8 is ON:
open empty dock by built in touch sensor
when DIP 8 is OFF:
open empty dock by built in touch sensor
or external contact
when DIP 8 is ON:
open empty dock by external contact only
DIP 2:
power on reaction The docking station opens after supply recovery. The docking station does NOT open
after supply recovery.
DIP 3:
power off reaction The docking station opens in case of power failure. The docking station does NOT open
in case of power failure
DIP 4:
table version Enables automatic close after 10 seconds Disables automatic close - e.g. Table versions
DIP 5:
software-version disables indication of sotware version Enables indication of software version
(Status LED at the main board)
DIP 6:
Demo mode regular operation The docking station automatically opens and closes
continuously (i.e. exhibitions and showrooms).
DIP 7:
Audio function The audio output via built-in tablet speakers Audio output via 3.5 mm jack plug (analog)
DIP 8:
External contact
The external contact is activated (i.e. ngerprint
scanner, external switch etc.) for opening and clo-
sing the docking station without the touch sensor.
The external contact is deactivated. The docking station
operates using the built-in touch sensor.
Protection against theft
iRoom’s iDock/miniDock DOES NOT PROVIDE ANY PROTECTION against theft. Unauthorized forceful removal of an tablet cannot be pre-
vented. iRoom GmbH does not accept any liability for the theft of a tablet!
Warranty
The Warranty period shall run for two (2) years from the date of purchase made by the original end customer, unless the de-
vice has been repaired or replaced due to the invocation of Warranty rights. In such a case the Warranty shall remain valid un-
til the expiry of the original Warranty period or three (3) months from the date of repair/replacement – whichever period expires rst.
Claims for defects and claim validation
Should your iRoom’s iDock/miniDock fail or cease to function as desired, please contact your dealer and provide the original in-
voice, the serial number and a description of the error. The dealer will arrange for the device to be inspected by the manufac-
turer or a technician authorised by the manufacturer. The inspector can then conrm a defect has been identied within the
Warranty period, has been caused by defective materials or manufacturing, and is not subject to exclusion from the Warranty.
Exclusion from Warranty coverage
The following damages and sources of damage are excluded from the Warranty:
• Acts of God;
• Misuse, including (but not limited to) failure to comply with assembly, mounting or operating instructions;
• Incorrect operation;
• Connection to an unsuitable power supply;
• Repairs and attempted repairs conducted by unauthorised individuals;
• Use of the device in connection with products from other sources;
• Devices whose manufacturer serial number has been changed, deleted, removed or made illegible;
• Upgrading of devices above and beyond the specications, features or functions listed in the operating manual
Limits to liability
The above Warranty portrays the entire scope of liability applicable to iRoom GmbH. Hence, iRoom GmbH shall decline any further claims
for liability for loss or damage (except in proven cases of gross negligence) resulting from the purchase, acquisition, ownership, possession,
sale or use, of this device. Under no circumstances shall iRoom GmbH accept any liability for subsequent consequential damages, delays,
unsuitable or incorrect information or advice, and violation of copyright. The rights of the purchaser as regards defects shall not be affected.
Various conditions
Absolutely nobody, including all sales and distribution partners, dealers, agents and sales representatives, shall have any right whatsoever
to take on responsibility for Warranty rights or to alter them in any way on behalf of iRoom GmbH. The purchaser shall take sole responsibi-
lity for ensuring the device is suitable for the purpose for which it is to be used.
This symbol was placed in accordance with the Euro-
pean Union Directive 2002/96 on the Waste Electrical
and Electronic Equipment (the WEEE Directive). If dispo-
sed of within the European Union, this product should
be treated and recycled in accordance with the laws
of your jurisdiction implementing the WEEE Directive.
© 2010-2013 iRoomGmbH. All rights reserved. Subject to
changes in technical details at any time. The technical de-
tails and specications do not equate to any form of gua-
rantee. All products mentioned protected by international
copyright and patent laws.
Operation:
• Activate the built-in touch sensor to open the iRoom‘s iDock
intake section. The intake now automatically moves 20° to the
‘open’ position.
• The intake remains in the open position for 10 seconds, and then
closes automatically.
• If the mechanism senses resistance while closing, the intake
opens automatically to prevent injuries and damage to the
device.
• If there is power loss or power failure, the intake opens
automatically to enable the tablet to be accessed for
continued use.
Settings
There are several setting options that can be set with the DIP-switch
at the back of the iRoom‘s iDock. For details on these settings please
refer to page 4.
IMPORTANT - Protection against theft
iRoom’s iDock DOES NOT PROVIDE ANY PROTECTION against theft.
Unauthorised, forceful removal of a tablet can not be prevented.
iRoom GmbH does not accept any liability for the theft of a tablet!
Operating instructions
Trademark notice: iPad is a trademark of Apple Inc., registered in the U.S. and other countries.
iRoom GmbH – intelligente Technik - Paracelsusstrasse 4 - A 5110 Oberndorf - Austria
iRoom‘s iDock / miniDock motorized iRoom‘s iDock / miniDock motorized
iRoom‘s miniDock
iRoom‘s iDock
portrait
iRoom‘s iDock
landscape

Technical Data
General specications iRoom‘s iDock
Dimensions iRoom‘s iDock Landscape 351.9 / 226.4 / 68.2 mm 13.9“ / 8.9“ / 2.7“
Dimensions iRoom‘s iDock Portrait 226.4 / 351.9 / 68.2 mm 8.9“ / 13.9“ / 2.7“
Dimensions iRoom‘s miniDock 351.9 / 226.4 / 68.2 mm 13.9“ / 8.9“ / 2.7“
for cut-out dimension please refer to backbox installation manual.
Power requirements (depending on version) 110-240 VAC / 12 VDC (optional) / PoE (passive PoE injectors only - no PoE Switch)
audio output 3,5 mm audio jack / stereo / analog
Operating and storage conditions 0°C – 35°C 20% – 95% RH no condensation
External opening contact dry contact (deactivated on despatch)
Docking status signal relay contact 24VDC/240VAC/2A
Secure-open function Yes (deactivated on despatch)
Position installed max. angle of inclination: +/- 5° in all directions
iRoom‘s iDock / miniDock motorized
Installation guide
Installation of Backbox
The iRoom‘s iDock/miniDock may only be used in connection with the backbox! The backbox is not included in the scope of delivery
and must be purchased separately. Operating the device without the backbox leads to a loss of warranty rights. Use for purposes not
intended by the manufacturer would void warranty.
Please note for landscape standard installation:
The center of the backox is NOT the center of the iRoom‘s iDock/miniDock.
For detailed description please refer to the „backbox installation manual“.
Cleaning
The iRoom‘s iDock/miniDock has a smooth and shiny surface which is prone to scratches. Handle with care.
Do not clean with liquids or uids. We recommend wearing soft cotton wool gloves during installation.
Select a suitable place to mount the device
• Do not mount or use the iRoom‘s iDock/miniDock in wet or moist environments.
• The place chosen to mount the device must provide enough recess depth to allow use of the backbox and the entry of the leads.
• Mount the device in a place that enables reception of a suitably strong Wi-Fi signal so the tablet can also be used when it is
docked.
Mounting
1. Prepare the power supply lead - depending on purchased model
2. Reduce the length of the lead to avoid mechanical obstructions due to too many wires and cables.
Fix the position of the power lead with the adhesive base and a cable tie.
3. Attach the power lead - depending on purchased model
it is essential to make proper ground connections !
4. Push the iRoom‘s iDock/miniDock into the backbox. Make sure you do not damage the power lead
and that the mechanism is not obstructed by the power lead.
5. Use the M3x20 screws to mount the iRoom‘s iDock/miniDock to the backbox.
6. Unpack the cover plate. (Take care: High gloss nish!)
7. Attach the bezel to the frame of the iRoom‘s iDock/miniDock.
8. Switch on the main power supply.
Safety instructions
a. Protect the device from uids to avoid damage caused by re or electric shocks!
b. The device must not be subject to maintenance by users! Installation and deinstallation
must be carried out by certied technical personel.
c. Do not insert any foreign bodies into the device!
d. Should any uids or objects enter or fall into the device, or should the device become damaged,
disconnect the device from power supply immediately!
iRoom‘s iDock / miniDock motorized
Input/Output description
a. b.
c.
d.
e.
a. external operating contact
impuls .......... opening/closing the iRoom‘s iDock
continous ..... release of built-in touch sensor
b. docking status signal
c. DIP/DIL switch
d. PoE - supply socket
(passive PoE injectors only - no PoE Switches)
e 3,5 mm audio jack / analog
110-230 VAC
model
Live Neutral Ground
110V-240VAC, 50-60 Hz / 15 W
12 VDC
model
+12V -12V Ground
9,2 - 18V DC, max. 2A
PoE IEEE 802.3af
passive injectors only
(no PoE switches)
PoE
model
Connecting power
What‘s in the box:
iRoom’s iDock iRoom’s miniDock
iRoom’s iDock Landscape (1x) • bezel (1x) • adhesive base for
cable tie (1x) • cable tie (1x) • description
M3 x 20 mounting screws (4x) • M3 x 45 mounting screws (4x).
iRoom’s miniDock (1x) • glas bezel (1x) • ller plug (1x) • M3 x
12 mounting screws (1x) • description
Other manuals for iDock Basic
2
This manual suits for next models
1
Other iRoom Docking Station manuals
iRoom
iRoom miniDock User manual
iRoom
iRoom iDock Portrait User manual
iRoom
iRoom touchDock User manual

iRoom
iRoom iTop User manual

iRoom
iRoom iBezel Series User manual
iRoom
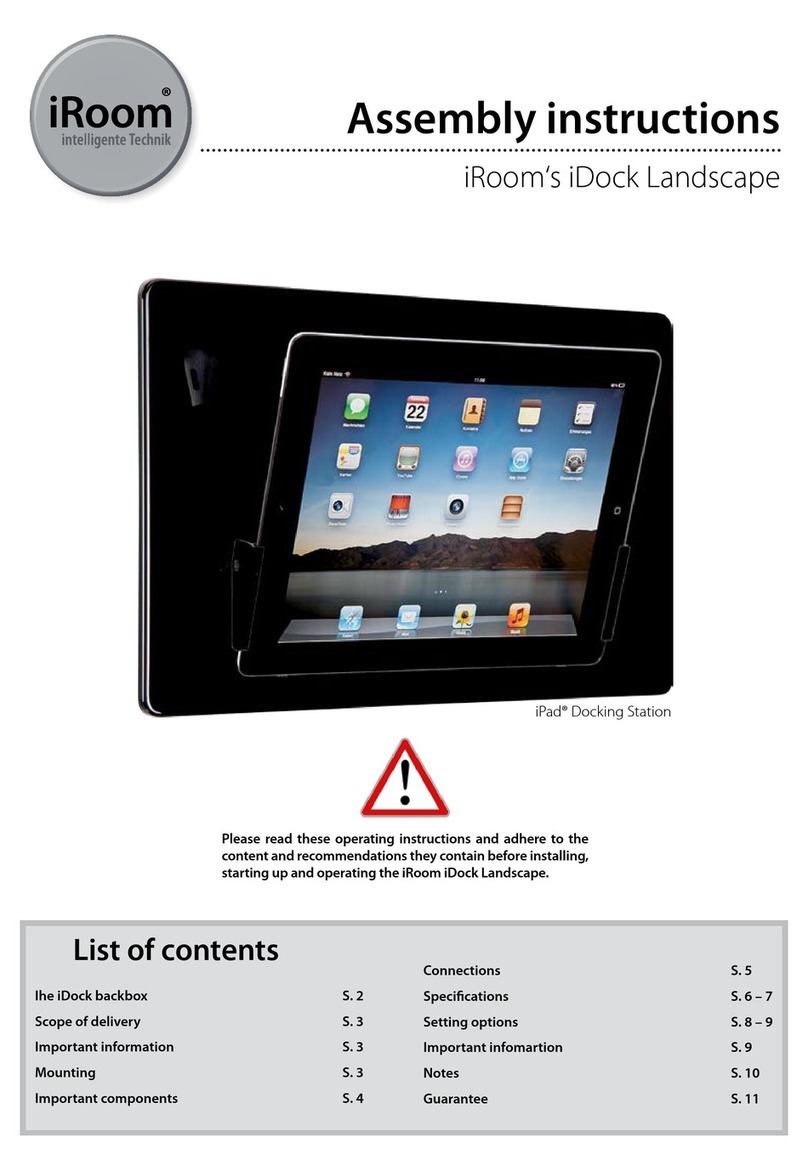
iRoom iDock Landscape User manual
iRoom
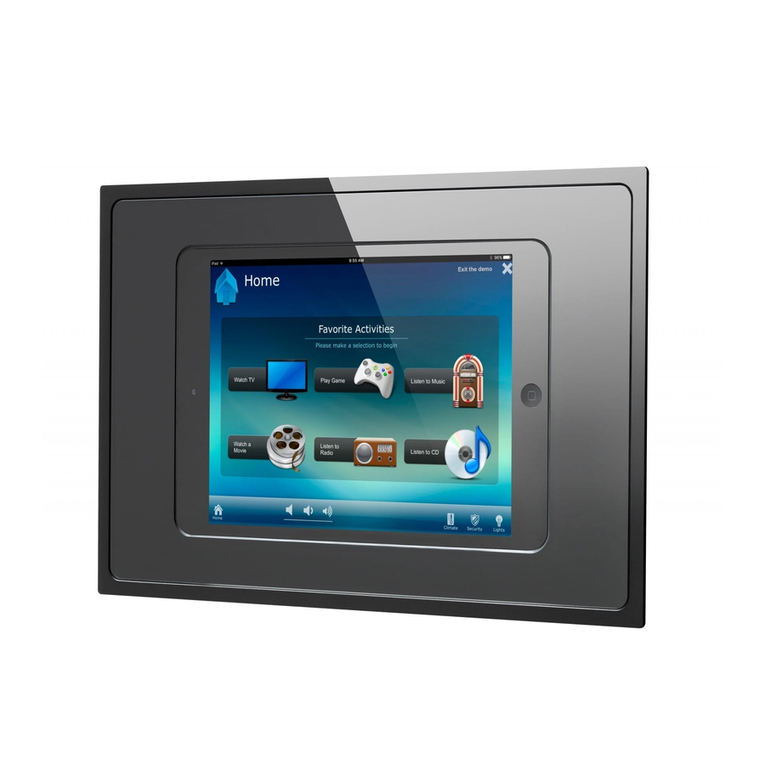
iRoom fixDock mini User manual
iRoom
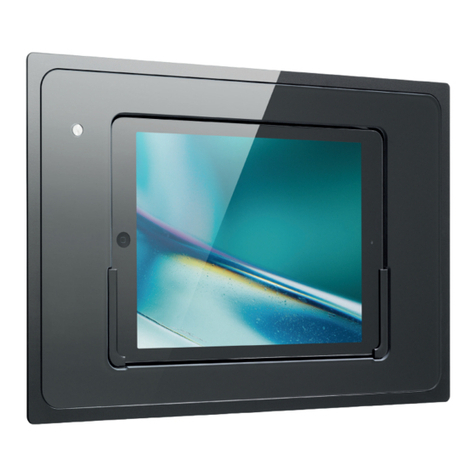
iRoom iDock Basic User manual
iRoom
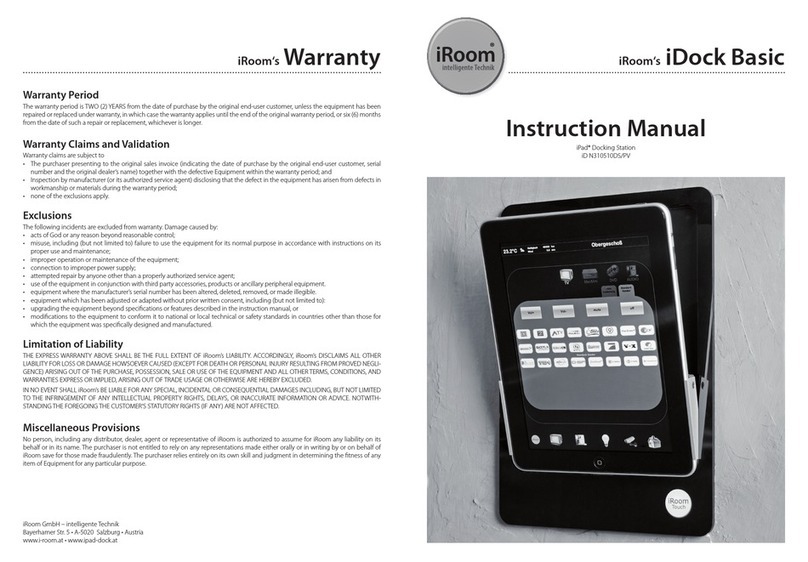
iRoom iDock Basic User manual
iRoom
iRoom surDock-mini User manual
