Recess dimensions backbox (W/H/D):
215,0 / 305,0 / 75,0 mm ........ 8.46“ / 12.00“ / 2.95“
2
3
4
1
General information
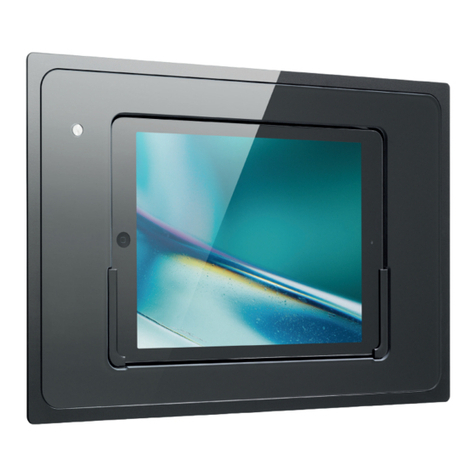
iRoom‘s miniDock can be installed both vertically and horizontally. iRoom‘s miniDock is only compatible
withtheiPadmini.FortheinstallationofaniPad,werecommendouriRoom‘siDock.
During installation it is important to ensure that the back-box has not been deformed in any way!
Excessblobsofcementsandllersmustberemovedtoreducetheriskofdeformation.Theback-box
must remain in the recess housing during installation to minimize deformation.
Description of function
TheiRoomminiDockmayonlybeusedinconjunctionwiththisback-box!Theback-boxneedtobeor-
dered separately. Installing and operating the device without this back-box shall lead to loss of warranty.
Use for purposes not intended by the manufacturer is prohibided.
Mounting in Cavity walls
1. Attach the aluminum frame (2) to the back-
box (3) and bolt together the frame and the
backbox with the mounting screws (1) (3 x
20mm)
2. Prepare a recess in the wall
(W/H/D: 8.46“ / 12.00“ / 2.95“
3. Remove the break-out for the cable exits on
the backbox
4. Feed in the power leads through the hole
in the back box . Use a suitable cable grip
sleeve.
5. Place the backbox in the recess. Do not de-
form the backbox.
6. Cut some small thread gaps in the safety strips
that cover the recess spaces for the moun-
ting clips. Do not remove the safety strips!
Feed the mounting clips into the recesses and
screwthemtight.Ensureastraight,ushwall
anddistortion-freeinstallationoftheushbox.
Otherwise it may cause mechanical problems.
Mounting in Masonry
1. Attach the cardboard frame (4) to the front of
the backbox (3) and bolt them together with
the mounting screws (1) (3 x 20mm)
2. Prepare a recess in the wall
(W/H/D: 8.46“ / 12.00“ / 2.95“)
3. Remove the break-out for the cable exits on
the backbox
4. Feed in the power leads through the hole
in the back box. Use a suitable cable grip
sleeve.
5. Place the backbox in the recess. Do not de-
form the backbox.
6. Plasterinthebackboxandensureastraight,
ushwallanddistortion-freeinstallationofthe
back box. Otherwise it may cause mechani-
cal problems.
7. Afternishingplasterworkandwallnishing
remove the cardboard frame (4) and attach
the aluminum frame (2)!
Mounting
NB: The backbox is not included in the scope of delivery and must be purchased separately.
Fo instructions of installing the back box, please refer to page 2.
1. Connect the Apple power adapter to the power supply
2. Connect the Y-USB-cable to the Apple power adapter
3. Connect the Bluetooth receiver and the original Lightning cable to the Y-USB-Cable
4. Fasten toriginal Lightning cable with the plug cover at the designated place of miniDock.
5. Push the iRoom‘s miniDock into the backbox. Make sure you do not damage the power lead
and that the mechanisms are not inhibited by the power lead.
6. Fix the miniDock in the Backbox using the plasfast screw 3x12. Close the mounting hole using
the dummy cover.
7. Unpack the cover plate. Attach the cover plate to the frame of iRoom‘s miniDock.
8. Ensure a proper locking of the magnic mounting system.
9. Switch on main power supply
10.Forinformationonhowtooperatethedevicecorrectly,pleasereadtheoperatinginstructions.
What‘s in the box
iRoom’sminiDock(1x)•glassbezel(1x)•bluetoothreceiver-miniD-Audio(1x)•Y-USB-Cableforinstal-
lationofbluetoothreceiverandoriginallightningcable•adhesivebaseforcabletie(1x)•cabletie
(1x)•3x12plasfastmountingscrew(1x)•thismanual(1x)
Important information
Allconnectionandinstallationworkmustbeexecutedbycertiedelectriciansincompliancewiththe
general rules and directives for electrical installations. The iRoom miniDock has a smooth and shiny sur-
facewhichispronetoscratches.Handlewithcaretoavoiddamage.Donotcleanwithliquidsoruids.
We recommend wearing soft cotton wool gloves during installation.
Select a suitable place to mount the device
• DonotmountorusetheiRoomminiDockinwetormoistenvironments.
• Theplacechosentomountthedevicemustprovideenoughrecessdepthtoallowuseoftheback-
box and the entry of the leads.
• Mount the device in a place that enables reception of a suitably strong Wi-Fi signal so that the
iPad™ can also be used when it is docked.
Specications
DimensionsminiDock(W/H/T):....................................226,0/315,0/77,8mm........8.89“/12.40“/3.06“
DimensionsInstallationbox(W/H/T):...........................226,0/315,0/77,8mm........8.89“/12.40“/3.06“
Cutoutdimensionsinstallationbox(W/H/T):..............215,0/305,0/75,0mm........8.46“/12.00“/2.95“
Power supply:........................................................................Original iPad mini Power supply (not included)
Output:...........................................................................................3,5mmJackviaBluetoothConnector
necessaryAccessories:..........................................................Installationbox(requiredfortheassembly)
Operation
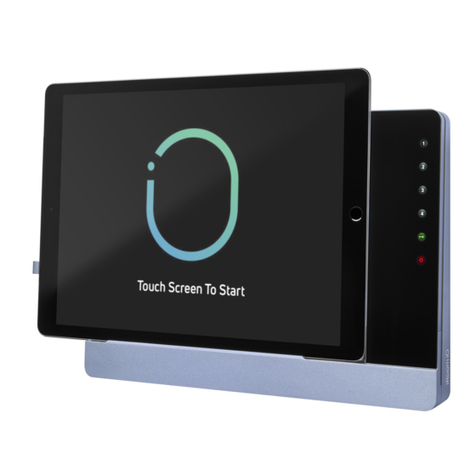
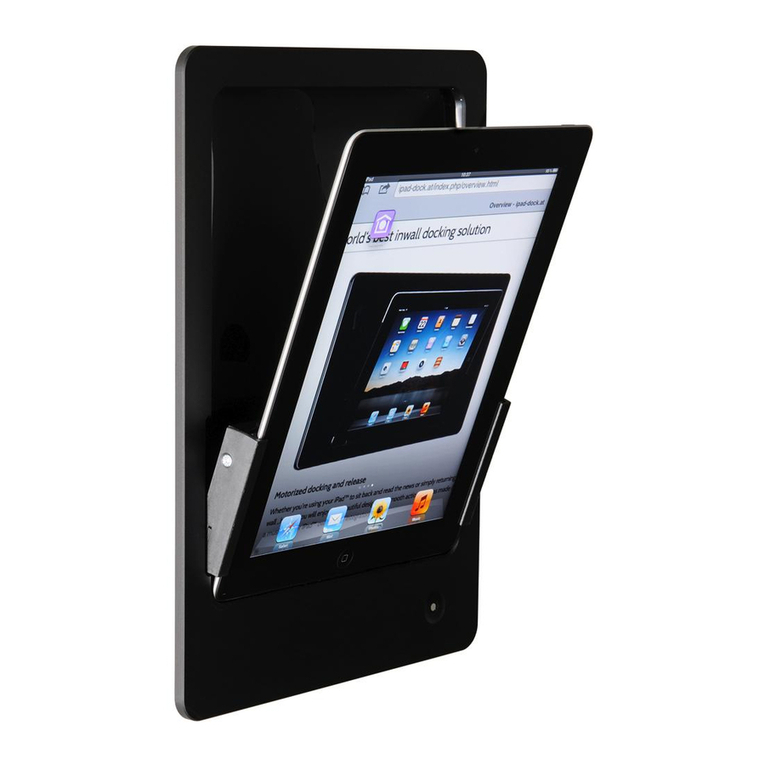
Open the miniDock by pressing the home button
and slide in the iPad mini on the rail system until
the Lightning connector is fully seated.
Close the miniDock with a gentle pressure on the
iPad mini. For removal press again the home but-
ton and pull out the iPad mini. Close the miniDock
with gentle pressure.
Use the iPad Mini Bluetooth settings to search and
pair to Bluetooth audio receiver (DMZMusic). The
paring code is “0000”. For details please refer to
iPad Mini manual. Receiving distance is up to 10 m
depending on surroundings.
IMPORTANT! Theft protection
iRoom’s miniDock does not provide any theft de-
terrence. An unauthorized removal of the iPad mini
can not be prevented.
Safety Informations
•Protecttheunitfromliquidstopreventdamage
fromreorelectricshock.
•Theunitismaintenance-free!Installationandre-
movalbyelectricallyqualiedpersononly!
•Donotputanyforeignobjectsintotheunit!
•IfliquidsoranyobjectfallintotheminiDockor
iftheminiDockgetsdamaged,immediately
switch of power supply.
Toavoiddamage,handleeachpiecewithcauti-
on.Donotuseliquidstoclean.
ForinquiriespleasecontactyouriRoomdealeror
visitourwebsite,www.iroomsidock.com
iRoom‘s miniDock manual iRoom‘s miniDock manualiRoom‘s miniDock manual

