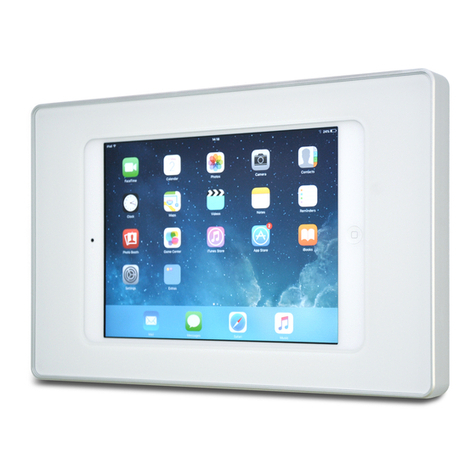
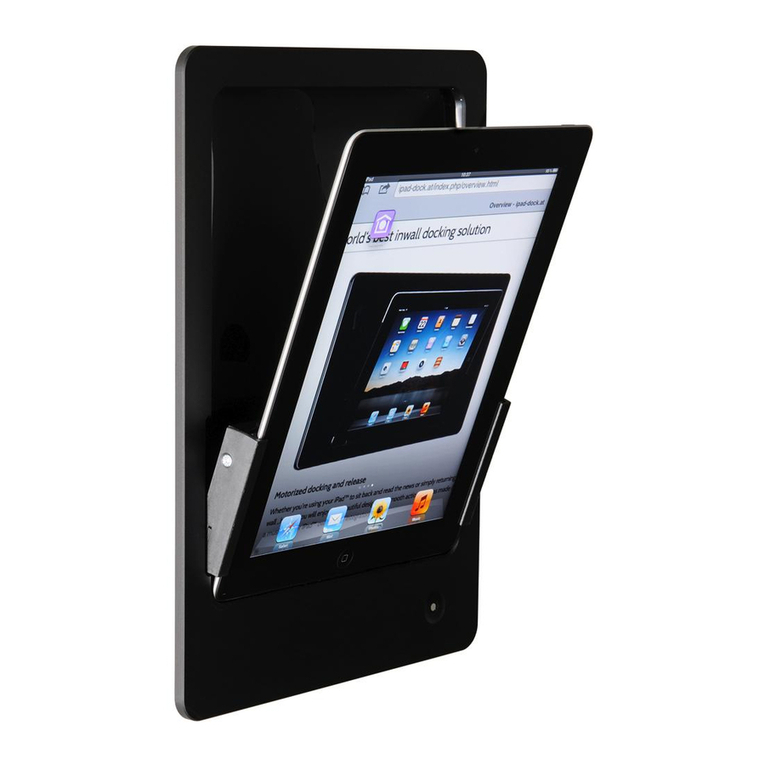
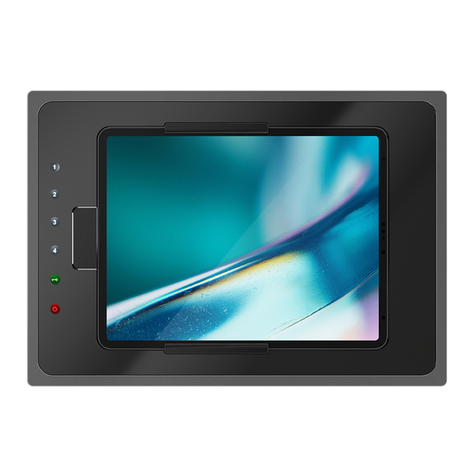
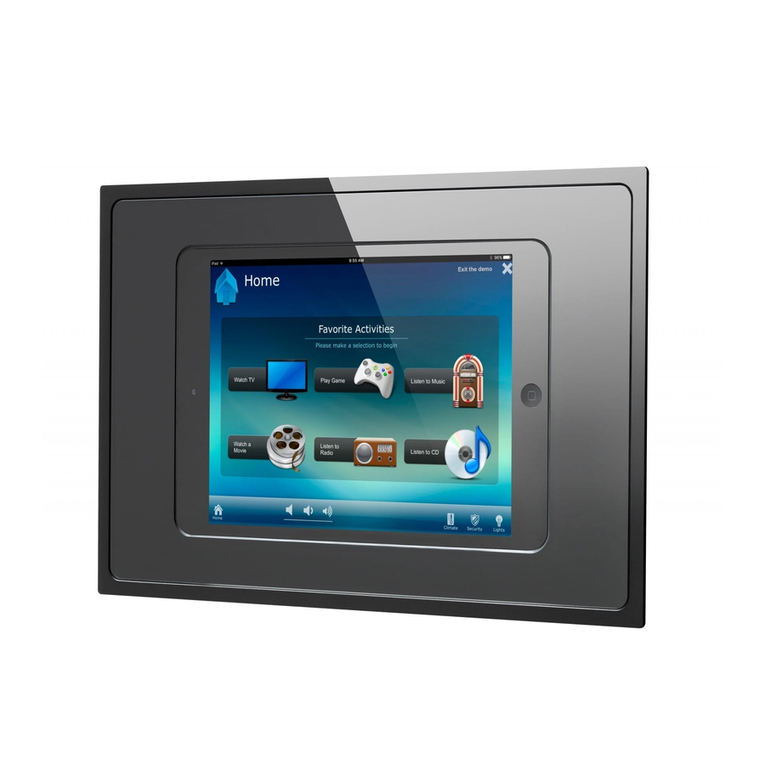
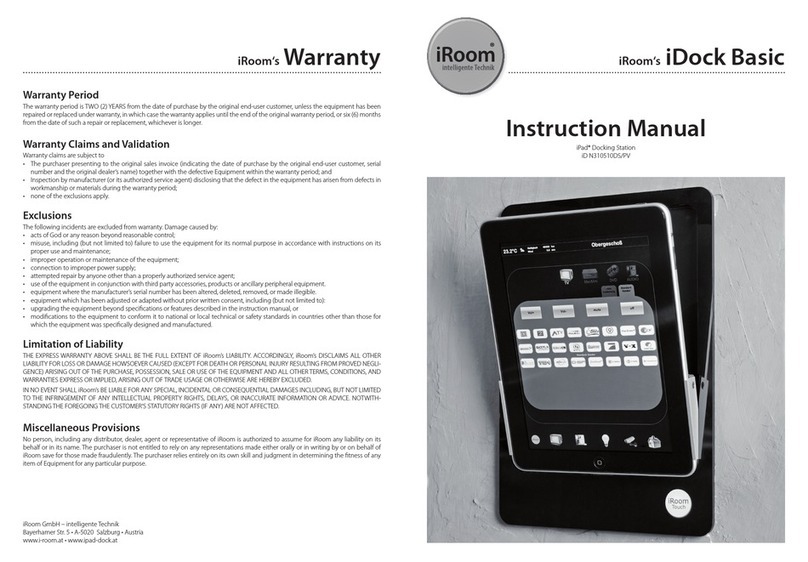
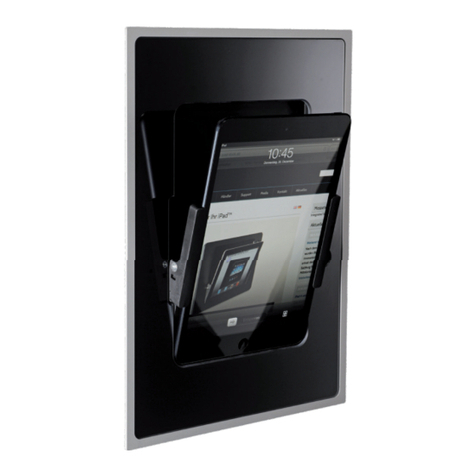
iRoom iTop OnWall User manual

MANUAL
iTop OnWall
EnglishDeutschFrançais
intelligence. on.


ENGLISH
Page 3
for iRoom‘s iTop OnWall
MANUAL
Package content
iRoom‘s iTop OnWall Back Box
Icon Set (1)
M3 x 18 Screws (4) Allen Key (2)
Cable Tie (1)3 x 45 Screws (4)
Introduction
Thank you for purchasing iRoom‘s iTop OnWall (on-wall docking station) with programmable Quick Keys.
This MANUAL is designed to guide you through the hardware installation and initial software configuration.
The warranty terms are also included in this MANUAL.
For details on configuring iRoom‘s iTop OnWall, to download the TCP-interface description, latest drivers, latest
FAQ‘s or user manuals in other languages, please visit: www.iRoomiO.com

Page 4
intelligence. on.
Installation
The iRoom‘s iDock may only be used with the included back box! Operating the device without the back box leads to a loss of warranty
rights. Use for purposes not intended by the manufacturer will void warranty. For detailed description please refer to the „Backbox
installation manual“.
The following products and tools are mandatory for proper installation:
• Installed iRoom‘s Backbox (mandatory)
operation without iRoom‘s Backbox voids warranty!
• Prepared wiring
• Screwdriver
• Wire stripper and cutter
• Free App is required to configure the
iTop OnWall
Back Box
Back Panel
Front Panel

ENGLISH
Page 5
for iRoom‘s iTop OnWall
MANUAL
Option I: LAN & 110-240V AC Option II: PoE+ (IEEE 802.3at)1. Connect network cable (A)
and optional power cable
(B) to the connectors on the
mainboard of the back panel.
Power cable is only needed if
you choose to power the unit
through 110 - 240 V AC.
Number European stan-
dard color code
US standard
color code Naming
1 black black hot (L)
2 blue white neutral (N)
3 yellow/green green ground (PE)
This information is supplied without liability.
Option I: Connecting 110-240VAC
Connect the wires to the terminal according to color-code.
Option II: PoE+ Switch or Injector
PoE+(IEEE 802.3at)
Switch or Injector
iRoom‘s iTop OnWall
PoE+CAT5e/6
cable

Page 6
intelligence. on.
3. Connect the ribbon charging
cable cable that‘s attached
to the charging connector on
the front panel to the upper
4-pin connector on the circuit
board of the base panel.
4. Align the markers of
connector and port.
5. Feed keypad cable that‘s
connected to the circuit board
through the opening in the
front panel
2. Attach the back panel
of the unit to the back
box and tighten the
4 screws (3 x 45) in
each corner.

ENGLISH
Page 7
for iRoom‘s iTop OnWall
MANUAL
8. Connect keypad cable to the
keypad bezel.
9. Attach the keypad bezel to
the front panel by aligning the
magnets.
10. Connect power AC or PoE+ power source to boot the
iTop OnWall and proceed with setting up your iTop
OnWall using the iOS App „iRoom‘s iDock“
7. Use the four M3 x 18 screws to
screw the front panel onto the
back panel.
6. Attach the front panel to the rear
panel by aligning the magnets and
secure it by tightening the screw
at the bottom left-hand corner
with the included allen key.

Page 8
intelligence. on.
!!
Klick
1
3
4
2
How to Dock: Motion Sensor:
Icon change:
Caution Caution
1
2
1 2 3 If you choose to unplug the
cable from the key-pad bezel
for changing the icons pow-
ercycle the docking station
after reconnecting the cable.

ENGLISH
Page 9
for iRoom‘s iTop OnWall
MANUAL
Specifications iRoom’s iTop OnWall
Type iTop OnWall
Outside Dimensions 307mm x 218mm x 35mm / 12.1“ x 8.6“ x 1.4“
Cut-Out Dimensions 295mm x 205mm x 65mm / 11.98“ x 8.43“ x 2.56“
Power Supply PoE+(IEEE 802.3at)
LAN 10 Mbps / 100 Mbps
Communication TCP/IP, status & control
Function Description Store & charge iPad; 6 configurable Quick Keys.
Intelligent Glass Bezel 6 touch buttons (with customizable icons) / 1 motion sensor
Audio output 3,5 mm audio jack analog stereo / adjustable Line-Out
USB port 5V/1A max. for USB-C accessories
Operating Temperature 0 - 35°C or 32 - 95°F
Operating Humidity 20% - 90% RH non-condensing
Weight iTop OnWall 3,8 kg / 8.4 lb
Cleaning
The product requires no special care, but only a regular cleaning of the glass. Do not use any abrasive/harsh cleaners
and unplug power supply before cleaning. For general cleaning of the surfaces please use a soft cloth with screen
cleaner. If possible frequently change the cloth so that no dust particles get stuck in the towel causing scratches.
!
Page 10
intelligence. on.
Basic Configuration
To configure iRoom‘s iTop OnWall access it via a docked iPad using the free iOS App „iRoom‘s iDock“.
Default IP: DHCP
Default Access-Code: iBezel
iOS App Store & App iRoom‘s iDock
• Open iOS App store and search for App „iRoom‘s iDock“
• Install App „iRoom‘s iDock“
• Open App „iRoom‘s iDock“
• Dock the iPad into iRoom‘s iTop OnWall
• Verify status „online“ (indicates successful docking procedure)
For additional details on the iRoom‘s iDock App, please refer to the „in App Help“ and the in App FAQ area.
As we perform frequent iOS-App-updates the visual appearance might change.
Default Unlock PIN
Press and hold any two Quick Keys until the green LED starts flashing. Enter PIN and confirm by pressing the Quick Key with the green LED.
Default PIN: 1234
Please change Access Code & TouchCode PIN during configuration to avoid unauthorized iPad removal.

ENGLISH
Page 11
for iRoom‘s iTop OnWall
MANUAL
Restoring the Default Configuration and Password
Use the „restore to factory setting“ function of the iRoom‘s iDock iOS-App
• Access-Code is required
1
1
2
2
3
3
55
4
4
MAIN MENU
Main Function Selection Area
SUB MENU
Setting Adjustment and Configuration section
in App HELP AREA
Selecting text in Sub-Menu shows affiliated help
App & Firmware Version
Displays App Version number and Firmware Version
installed on your iTop OnWall (if comm. status is
online)
Communication Status
Displays iTop OnWall Communication status
(online/offline)

Page 12
intelligence. on.
Electrical Safety Information
1.) Compliance is required with respect to voltage, frequency, and current requirements indicated on the manufacturer’s label. Connection to a
different power source than those specified may result in improper operation, damage to the equipment or pose a fire hazard if the limita-
tions are not followed.
2.) There are no operator serviceable parts inside this equipment. Service should be provided only by an authorized
service technician.
Protection against theft
iRoom’s iTop OnWall provides a locking mechanism for the iPad. However, the locking mechanism does not provide any protection against theft.
Unauthorized and/or forceful removal of a tablet cannot be prevented. iRoom GmbH does not accept any liability for the theft of an iPad!
IT-Security
In order to the open an unsecured communication protocol used by iRoom‘s iTop OnWall the user is responsible to ensure proper network
security to avoid unauthorized LAN Control of iRooms iTop OnWall.
Limited warranty
iRoom GmbH warrants that the product(s) furnished hereunder shall be free from defects in material and workmanship for a period of two (2)
years from the date of purchase made by the original end-customer or for a period of 3 years from the date of shipment by iRoom GmbH under
normal use and operation.
iRoom‘s GmbH sole and exclusive obligation and liability under the foregoing warranty shall be for iRoom GmbH, at its discretion, to repair or
replace any product that fails to conform to the above warranty during the above warranty period. The expense of removal and reinstallation of
any product is not included in this warranty. The warranty period of any repaired or replaced product shall not extend beyond its original term.

ENGLISH
Page 13
for iRoom‘s iTop OnWall
MANUAL
Returns
No Products will be accepted for replacement or repair without obtaining a Return Materials Authorization (RMA) number from iRoom GmbH
or during the warranty period, and the Products being received at iRoom GmbH facility freight prepaid in accordance with the RMA process
of iRoom GmbH. Products returned without an RMA number will not be processed and will be returned freight collect or subject to disposal.
Information on the RMA process and obtaining an RMA number can be found at: www.iRoomiO.com/support/warranty.
Warranty conditions
The above warranty does not apply if the product:
1.) has been modified and/or altered, or an addition made thereto, except by iRoom GmbH, or iRoom GmbH’
authorized representatives, or as approved by iRoom GmbH in writing;
2.) has been painted, rebranded or physically modified in any way;
3.) has been damaged due to errors or defects in cabling;
4.) has been subjected to misuse, abuse, negligence, abnormal physical, electromagnetic or electrical stress,
including lightning strikes, or accident.
5.) has been damaged or impaired as a result of using third party firmware;
6.) has no original serial number label, or is missing any other original label(s);
7.) has not been received by iRoom GmbH within 30 days of issuance of the RMA.
In addition, the above warranty shall apply only if: the product has been properly installed and used at all times in
accordance, and in all material respects, with the applicable Product documentation.

Page 14
intelligence. on.
iRoom GmbH
Ziegeleistrasse 13
5110 Oberndorf
Austria
Web: www.iRoomiO.com
Email: [email protected]
Phone: +43 6272 20628
©2010-2020 iRoom GmbH. All rights reserved.
FCC Compilance Statement
This equipment has been tested and found to comply with the limits for a Class B digital device, pursuant to part 15 of the FCC Rules.
RoHS/WEEE Compliance Statement
This symbol was placed in accordance with the European Union Directive 2011/65/EU on the Waste
Electrical and Electronic Equipment (the WEEE Directive). If disposed of within the European Union, this product should be
treated and recycled in accordance with the laws of your jurisdiction implementing the WEEE Directive.
Declaration of Conformity
Hereby, iRoom GmbH, declares that this iRoom GmbH device, is in compliance with the essential requirements and other relevant
provisions of Directive 2014/35/EU & 2014/30/EU.
Subject to changes at any time. The technical details and specifications do not equate to any form of guarantee.
All products mentioned protected by international copyright and patent laws.
Apple and iPad are registered trademarks of Apple Inc. Due to periodic product improvement, all features and specifications are subject to change without notice. The tablet is NOT part of the scope of delivery!


Seite 16
intelligence. on.
Einleitung
Danke, dass Sie sich für unsere Wand-Dockingstation iTop OnWall von iRoom entschieden haben.
Dieses Benutzerhandbuch soll Sie bei der Hardware-Installation und der ersten Software-Konfiguration
begleiten. Die Garantiebedingungen sind ebenfalls in diesem Benutzerhandbuch enthalten.
Details zur Konfiguration von iRoom‘s iTop OnWall, für den Download der Beschreibung des TCP-Interface,
zu den neuesten Treibern, den neuesten FAQ‘s oder die Benutzerhandbücher finden Sie unter: www.iRoomiO.com
Verpackungsinhalt
iRoom‘s iTop OnWall Unterputzdose
Symbolblatt (1)
M3 x 18 Schrauben (4) Inbusschlüssel (2)
Kabelbinder (1)3 x 45 Schrauben (4)

DEUTSCH
Seite 17
für iRoom‘s iTop OnWall
ANLEITUNG
Installation
Jede iRoom‘s iDock darf nur in Verbindung mit einer iRoom‘s iDock Unterputzdose verwendet werden. Der Betrieb des Gerätes ohne
Unterputzdose führt zum Verlust der Garantie. Eine detaillierte Beschreibung finden Sie in der „Unterputzdose Installationshandbuch“.
Folgende Produkte und Werkzeuge sind für die Installation
unbedingt erforderlich:
• Eine installierte iRoom‘s Unterputzdose (obligatorisch).
Der Betrieb ohne iRoom‘s Unterputzdose führt zum
Erlöschen der Garantie!
• Vorbereitete Verkabelung
• Kreuzschlitz-Schraubenzieher PH2
• Isolierzange und Drahtzange
• Die iRoom iPad App zur
Konfiguration der Dockingstation
Unterputz-
dose
Basisplatte
Frontplatte

Seite 18
intelligence. on.
Option I: LAN & 110-240V AC Option II: PoE+ (IEEE 802.3at)1. Stecken Sie das Netwerkka-
bel an (A) und schließen Sie
optional das 240 V Kabel (B)
an die Wago-Klemme auf
der Platine der Basisplatte
an. Die Stromversorgung mit
240V ist nicht erforderlich,
wenn das Netzwerkkabel an
einen PoE+ Netzwerkswitch
oder Injector angeschlossen
wird.
Nummer Europäischer
Standardfarbcode
US Standard
Farbcode Bezeichnung
1 schwarz schwarz Phase (L)
2 blau weiß Neutralleiter (N)
3 gelb/grün grün Erdung (PE)
Wir übernehmen keine Haftung für diese Information.
Option I: 110-240VAC Anschluss
Die Drähte gemäß des Farbcodes an die Anschlussbuchse anschließen:
Option II: PoE+ Netzwerkswitch oder Injector
PoE+(IEEE 802.3at)
Switch oderr Injector
iRoom‘s iTop OnWall
PoE+CAT5e/6
Kabel

DEUTSCH
Seite 19
für iRoom‘s iTop OnWall
ANLEITUNG
3. Stecken Sie das Flachband-
Ladekabel, das an den
Ladestecker der Frontplatte
angeschlossen ist, an die
obere 4-Pin Buchse auf der
Platine der Basisplatte an.
4. Achten Sie auf die
Markierungen an Stecker
und Buchse. Diese müssen
sich decken.
5. Führen Sie das
Flachbandkabel für das
Touchbutton-Keypad,
das von der Platine der
Basisplatte kommt durch die
Öffnung der Frontplatte.
2. Verschrauben Sie
die Basisplatte an
den 4 Ecken mit
Hilfe der 4 Schrau-
ben (3 x 45) mit der
Unterputzdose.

Seite 20
intelligence. on.
8. Stecken Sie das
Flachbandkabel an das
Touchbutton-Keypad an.
9. Befestigen Sie das
Touchbutton-Keypad mittels
Magneten an der Frontplatte.
10. Schließen Sie die Stromversorgung (240VAC oder PoE+)
an, um die iTop OnWall zu starten und nehmen Sie dann
die Konfiguration mit der iOS App „iRoom‘s iDock“ vor.
7. Verschrauben Sie die Frontplatte
mit Hilfe der vier M3 x 18 Schrau-
ben mit der Basisplatte.
6. Bringen Sie die Frontplatte an
der Basisplatte an. Die Front-
platte wird durch Magneten
gehalten, um die Verschraubung
zu erleichtern. Ziehen Sie die
Senkschraube an der linken Un-
terseite der Frontplatte mit dem
beigelegten Inbusschlüssel an.
Table of contents
Languages:
Other iRoom Docking Station manuals

iRoom
iRoom surDock-mini User manual

iRoom
iRoom iTop User manual

iRoom
iRoom iDock Basic User manual

iRoom
iRoom iDock Portrait User manual

iRoom
iRoom iDock Basic User manual

iRoom
iRoom touchDock User manual

iRoom
iRoom fixDock mini User manual

iRoom
iRoom iBezel Series User manual

iRoom
iRoom iDock Basic User manual

iRoom
iRoom iDock Landscape User manual