7
LCD Contrast
Change the LCD contrast
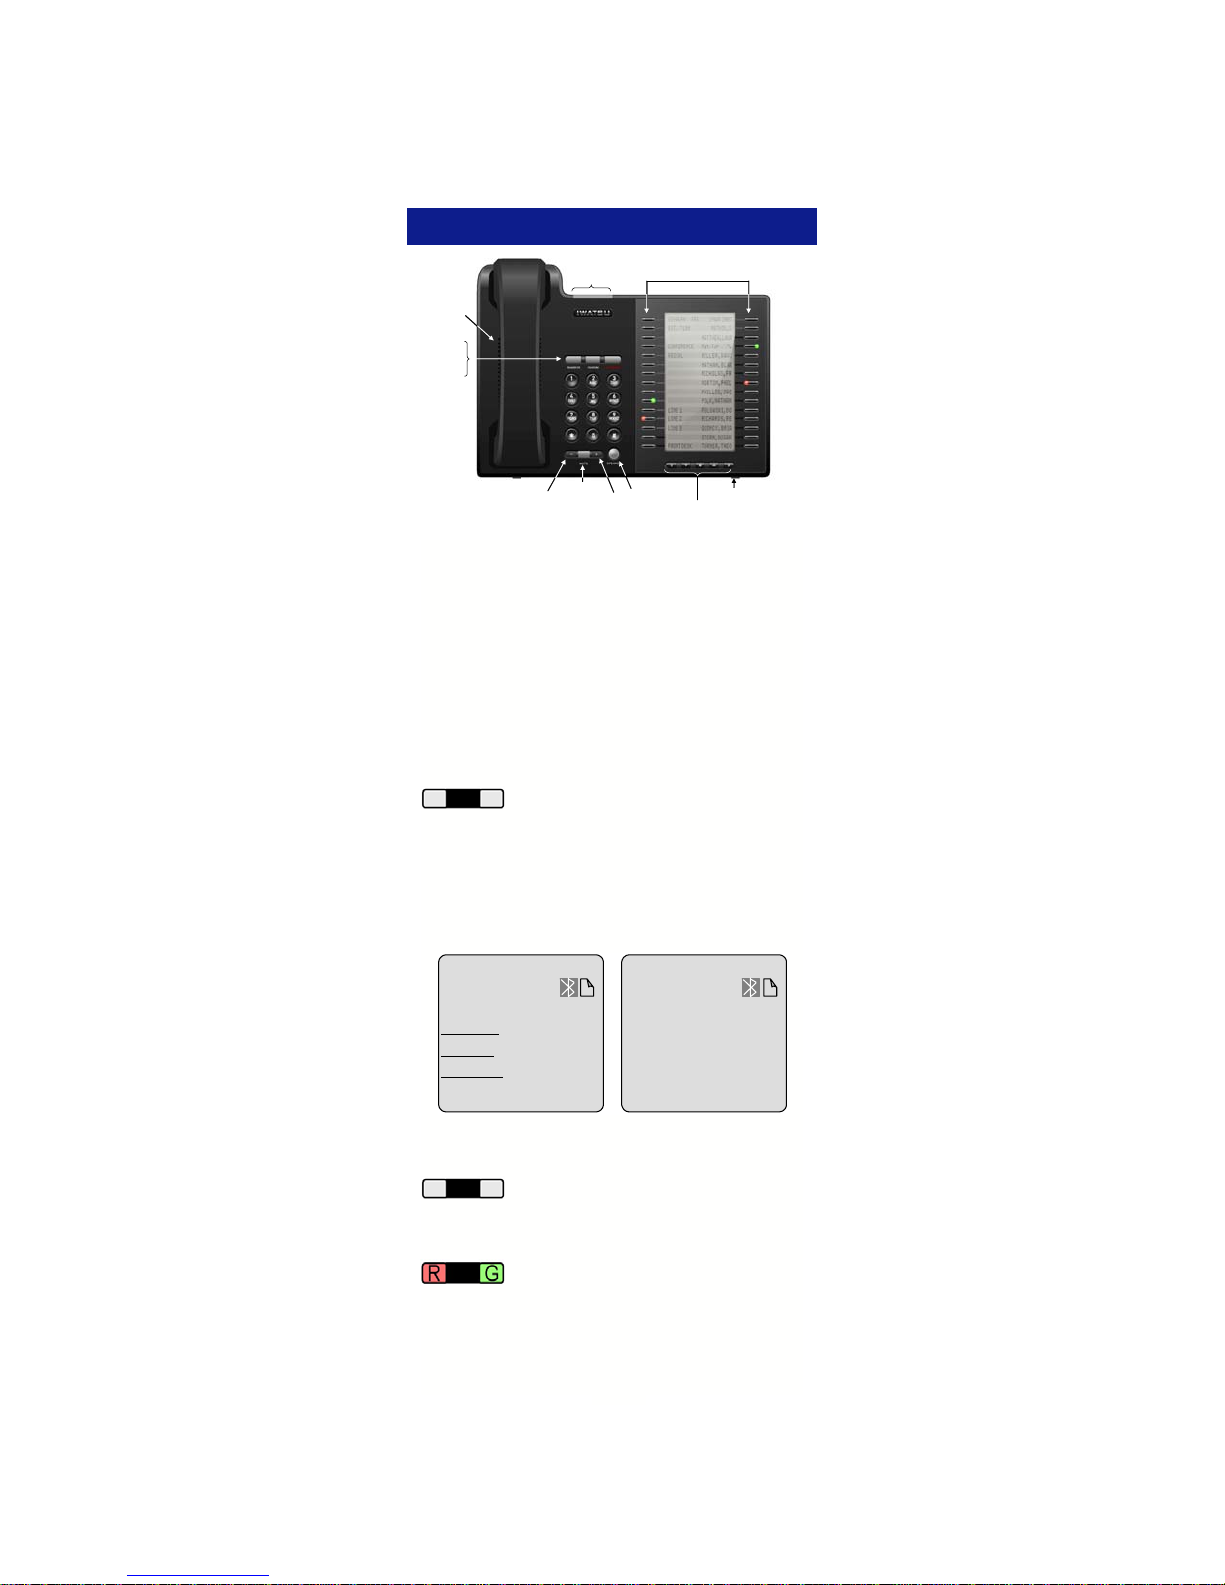
• Press the Setup Menu key.
• Press LCD Contrast.
• Use the Left and Right arrow keys to decrease
or increase the display contrast.
Iwatsu Ticker (TFD)
A ticker URL must be programmed in the system
database to activate this feature.
To Activate the Ticker
• Press the Setup Menu key.
• Press Iwatsu Ticker (TFD).
• Select a ticker (TFD). Up to five data sources
can be programmed in the system database.
• Select the ticker scroll Speed:
• Slow
• Medium
• Fast
• Select the Line where the ticker will appear:
• First or Second line of the display.
• The ticker that you selected will display Acti-
vated.
• Press Exit to return to the main screen.
To Deactivate the Ticker
• Press the Setup Menu key.
• Press Iwatsu Ticker (TFD).
• Select the ticker that is Active (TFD 1-5). When
the Activated TFD is selected, the LCD will dis-
play Canceled.
• Press Exit to return to the main screen.
User Options (Station Programming)
Note: If your station does not have an assigned
Station Password, you will not have access to this
feature.
From the User Options menu, you can access and
change your Station User ID, Station Password,
Dial Confirmation Tone, Handset Volume Control,
Hold Recall Timer, Camp-On Recall Timer, Station
Ring Tone, Key Assignments, LCD Backlight Dura-
tion, and Caller ID on Hold.
Note: If Key Assignments does not appear on your
display, you do not have access to this program-
ming item. Stations that share a common key pat-
tern cannot change Key Assignments and you can-
not change a key while the LED for that key is lit
(red or green/solid or flashing).
Change Your Station User ID
• Press the Setup Menu key.
• Press User Options.
• Enter your Station Password and press Enter.
• Select Station User ID.
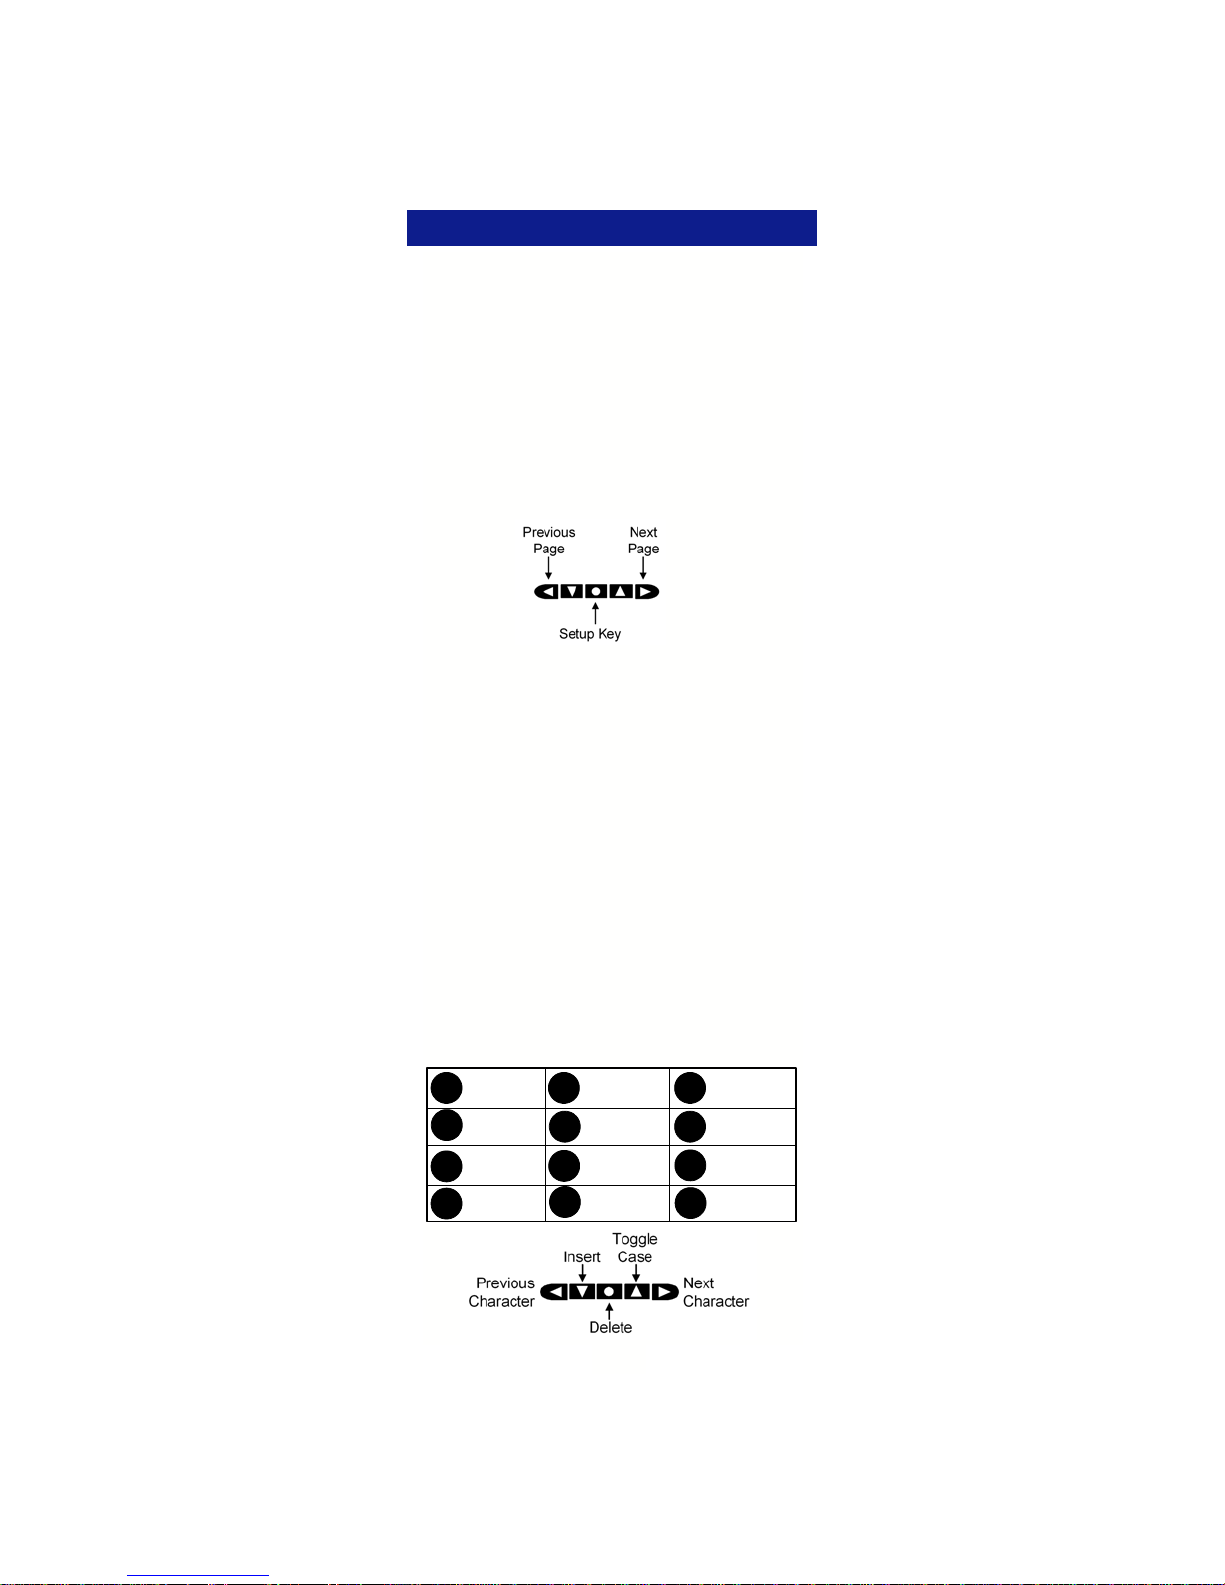
• Use the dial pad and navigation keys to enter a
new Station ID. (Refer to page 5 for data entry)
• Press Save and Exit to save your data and re-
turn to the main screen.