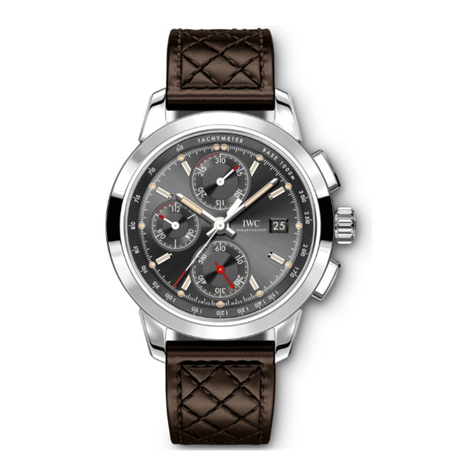
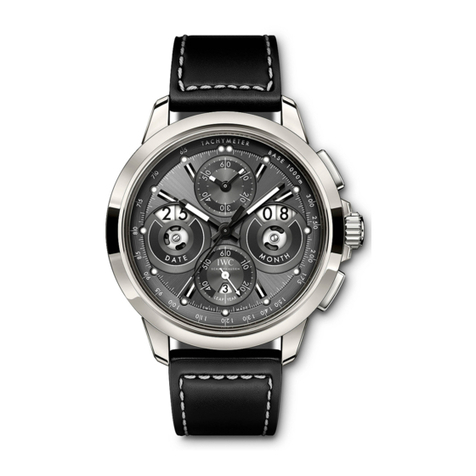
iwc Reference 3785 User manual


INGENIEUR CHRONOGRAPH
— 3 —
INGENIEUR CHRONOGRAPH
— 5 —
OPERATING INSTRUCTIONS
English
— 19 —
使用说明
简体中文
— 33 —
使用說明
繁體中文
— 47 —
取扱説明書
日本語
— 61 —
ИНСТРУКЦИЯ ПО ЭКСПЛУАТАЦИИ
Русский


— 5 —
INGENIEUR CHRONOGRAPH
Welcome to the small circle of individuals who, if we are to be
absolutely precise, demand slightly more of a watch than absolute precision. Appre-
ciation of a watch is more than mere appreciation of the correct time. It is enthusiasm
for an ingenious idea. For the interplay between precision and imagination. Between
time and timelessness. Between boundaries and infinity. Between laws to which the
entire world is subject, and taste, which cannot be dictated to anyone. That is why,
since 1868, we have been devoting rather more of our time to watches that must not
only run with absolute precision but which also, with every passing second, exert a fas-
cination with the great achievements of master craftsmanship: a fascination with new
inventions of a technical, material or formal nature, even if they are concealed in minute
details that are perhaps not even visible. You are now the owner of a beautiful new
example of this IWC tradition. We would like to congratulate you on your choice and
send you our best wishes for the time you will spend with your watch, which perhaps
cannot be described with any greater accuracy than it is here.
IWC MANAGEMENT

— 6 —
INGENIEUR CHRONOGRAPH
THE TECHNICAL REFINEMENTS OF THE
INGENIEUR CHRONOGRAPH
Your IWC watch shows you the time in hours, minutes and seconds, together with
the date. You can use the integrated chronograph to measure any period of time in
seconds, minutes and hours. Stop times can be added together. The mechanical
movement with automatic winding has a power reserve of approximately 68 hours
when fully wound. The engraved rotor winds the watch in both directions of rotation
via the IWC double-pawl winding system. Your Ingenieur Chronograph is protected by
a sapphire glass of hardness grade 9 on Mohs’ scale. Your watch is water-resistant
12 bar. To ensure that this extraordinary watch continues to perform faultlessly in the
future, it is essential to observe a few important operating instructions.

— 7 —
INGENIEUR CHRONOGRAPH
8
1
2
3
5
76
4
10
9
1Hour hand
2Minute hand
3Small seconds hand
4Date display
5Chronograph seconds hand
Minute counter 6
Hour counter 7
Screw-in crown 8
Start/stop button 9
Reset/flyback button 10

— 8 —
FUNCTIONS OF THE CROWN
X — Normal position (screwed in)
0 — Winding position
1 — Date setting
2 — Time setting
NORMAL POSITION
This watch has a screw-in crown. Screwing the crown in to its normal position (X)
prevents the inadvertent adjustment of the time or date and also acts as a double
seal to prevent water from seeping into the case. To release the crown, unscrew it by
turning it to the left, where it automatically assumes position 0, the winding position.
By depressing the crown in position X and turning it to the right at the same time, it is
screwed down firmly again and secured.
INGENIEUR CHRONOGRAPH
0X 1 2

— 9 —
INGENIEUR CHRONOGRAPH
WINDING POSITION
With the crown in the winding position (0), you can also wind the automatic movement by
hand. A few revolutions of the crown are enough to start the movement. However, it is bet-
ter to wind the watch by turning the crown through approximately 20 revolutions as this will
ensure maximum accuracy. The crown must always be in position X when you are wearing
your watch.
DATE SETTING
If a month has fewer than 31 days, you will need to set the date manually to the first
day of the following month. Release the screw-in crown and pull it out to position 1.
You can now set the date by turning the crown to the right (direct advance). You should
not use the rapid-advance function between 8 p.m. and 2 a.m. because the movement
automatically advances the date during this period
TIME SETTING
Pull out the crown to position 2. This will stop the movement. To set the time accurate-
ly to the second, it is best to stop the movement as the seconds hand passes 60. You
can now set the time by turning the crown and positioning the minute hand exactly
above the minute stroke. To start the seconds hand, push in the crown to position 0.
When setting the time, please be aware of the date change, which always takes place
at 12 midnight. If this change has already taken place at 12 noon, you must move the
hands forwards by 12 hours.
Important: Although the watch is water-resistant in positions 0, 1 and 2, the crown
should always be screwed in again for normal use (position X).

— 10 —
INGENIEUR CHRONOGRAPH
SETTING YOUR WATCH CORRECTLY
To set your watch correctly, proceed as follows:
– Release the crown by turning it to the left.
– Wind the movement (approximately 20 revolutions of the crown).
– Pull out the crown to position 1.
– Turn the crown to the right to advance the date display in steps. Set the display to
yesterday’s date.
– Pull out the crown to position 2. This will stop the movement. To set the time
accurately to the second, it is best to stop the movement as the seconds hand
passes 60.
– Turn the hands forwards until the date display changes to today’s date. The hands
will now be positioned between 12 midnight and 1 a.m.
– Now turn the hands forwards to the correct time. If you are setting the watch in the
afternoon, you must turn the hands past 12 (noon) again.
– Push the crown back to position 0 to start the movement.
– Now push the crown to position X and secure it by simultaneously turning it to the
right.
Important: Although the watch is water-resistant in positions 0, 1 and 2, the crown
should always be screwed in again for normal use (position X).

— 11 —
INGENIEUR CHRONOGRAPH
READING THE TIME IN THE DARK
Both the dial and the hour and minute hands of your watch have luminescent elements
that allow you to read the time effortlessly, even in total darkness.
READING THE CHRONOGRAPH
Chronograph seconds hand: The scale for the central chronograph seconds hand
runs around the edge of the dial.
Minute and hour counters: The subdial at 12 o’clock has two hands, which run
continuously and show the elapsed time on a 12-hour and a 60-minute scale. The
hour and minute counters can be read like a standard analogue time display. In other
words, one revolution of the minute counter is equal to 60 minutes, and one revolution
of the hour counter is equal to 12 hours.

INGENIEUR CHRONOGRAPH
— 12 —
USING THE CHRONOGRAPH
Start: To start the chronograph, press the start/stop button.
Flyback: You can start recording a new time immediately, even when the chronograph
is running. Simply depress the reset/flyback button fully, as far as it will go. All three
chronograph hands are reset to zero, and a new measurement is started as soon as
the button is released.
Stop: To stop the running chronograph, press the start/stop button.
Reset: Depress the reset/flyback button fully, as far as it will go. This will reset all the
chronograph hands to zero.
Aggregate time recording: You can add stop times together by pressing the start/
stop button again after the first measurement instead of the reset/flyback button.
CALCULATING SPEED
When you complete a calibrated distance of one kilometre, you can read your average
speed directly on the tachymeter scale. Activate the chronograph as you pass your
starting point and stop it at the end of the measured distance. You can now read the
average speed in kilometers per hour from the position of the chronograph seconds
hand on the tachymeter scale. Please note that any period over one minute in length
is invalid.
Example: It takes 40 seconds to drive one kilometre, so your average speed is exactly
90 kilometres per hour.

INGENIEUR CHRONOGRAPH
— 13 —
ADJUSTING AND SETTING THE METAL BRACELET
The metal bracelet has been designed so that you can comfortably adjust it to the
size of your wrist. You can make this adjustment yourself by removing or adding indi-
vidual bracelet links. Furthermore, for your personal convenience, this bracelet has an
innovative fine-adjustment system, permitting you to extend or reduce the length of
the bracelet quite simply by up to 6 millimetres, depending on your needs. To increase
the length of bracelet, press the button with the IWC logo and pull the bracelet slightly
apart. To shorten it, push it together in the area of the clasp; here the button does not
need to be pressed.
TAKING THE BRACELET APART
Open the folding clasp by pressing the buttons on the
side. Lay the bracelet with the outside on a firm base.
To avoid scratching the bracelet and base, place a cloth
underneath the bracelet. Using the special tool provided, you
can now push down the securing pin at the desired point of
separation (1) and, at the same time, slide the hinged link with
the help of the second tool about 3 millimetres sideways (2).
Pull the protruding hinged link out of the bracelet (3). The
bracelet is now separated.

INGENIEUR CHRONOGRAPH
— 14 —
DETERMINING HOW MANY LINKS TO REMOVE
Place the watch with the folding clasp closed around your
wrist and use the overlap to estimate the number of surplus
bracelet links that you can now remove as described below. If
you need to take out several links, we recommend removing
the same number of links from each side of the bracelet, if
possible, to ensure that the clasp can be worn more or less in
the centre of the wrist.
Please observe the following recommendation: Generally the size of your wrist will
increase during the course of the day, depending on temperature and physical exer-
tion. Before you remove individual bracelet links, depending on the time of day you
should have the fine-adjustment system on the clasp closed (in the morning) or open
(in the evening).

INGENIEUR CHRONOGRAPH
— 15 —
REMOVING INDIVIDUAL LINKS
AND ATTACHING THE BRACELET
Repeat steps 1 to 3 at the distance from the first point of
separation you have just determined. Remove the unneces-
sary links and reassemble the shortened bracelet. Slide the
hinged link into the bracelet sideways (1).
Using the special tool provided, you can now push down the
fixing bolt (2) and, at the same time, slide the hinged link back
into the bracelet until it lies flush (3).
The fixing bolt must be aligned with the upper edge of the
securing link. It is important that you check that the hinged link
is sitting correctly.
Keep the surplus links and separating tool in a safe place for
use in any adjustment at another time.

INGENIEUR CHRONOGRAPH
— 16 —
WATER-RESISTANCE
The water-resistance of IWC watches is stated in bar and not in metres. Metres, which
are often used elsewhere in the watch industry to indicate water-resistance, cannot
be equated with dive depth because of the test procedures that are frequently used.
Water-resistance shown in metres provides no indication as to actual use of the watch
in the presence of moisture and wetness, and in or under water. Recommendations for
use in connection with the water-resistance of your watch can be found on the Inter-
net at www.iwc.com/water-resistance. Your authorized IWC Official Agent will also be
pleased to provide you with information.
To ensure that your watch continues to function perfectly, you should have it checked
by an IWC service centre at least once a year. Your watch should also be tested after
exposure to unusually harsh conditions. If the tests are not carried out as stipulated,
or if the watch is opened by unauthorized persons, IWC will accept no warranty or
liability claims.
Recommendation: Your authorized IWC Official Agent must carry out a water-resist-
ance test whenever your IWC watch is opened and serviced.

INGENIEUR CHRONOGRAPH
— 17 —
NOTE
Leather is a natural and permeable material. Make sure, therefore, that the high-
quality leather strap does not come into contact with water, oily substances, solvents,
cleaning agents or cosmetic products. This way you can prevent discoloration and
premature ageing of the material.
SERVICING YOUR
INGENIEUR CHRONOGRAPH
Although the parts in this watch are all manufactured from top-quality materials, a
number of components are subject to natural wear and tear. It is particularly important
to ensure that the points at which wear occurs are always well lubricated and that oil
contaminated by metal abrasion is regularly removed. For this reason, we recommend
that you have your watch serviced approximately every five years. Please contact
an authorized IWC Official Agent or send your watch directly to the IWC Customer
Service Department in Schaffhausen.
Effective from December 2012.
Technical specifications subject to change.


— 19 —
工程师计时腕表
欢迎您加入IWC万国表爱表人士的小圈子。确切来说,我们对腕
表在性能精准之上有更上一层楼的追求。体验腕表带给您的乐趣,绝不仅限于其分秒不
差的精准性能。方寸之间,您可欣赏其独具匠心的巧思创意、精准性能与想象力的相辅
相成,可体会时间与永恒、疆界与无穷之间的交相辉映,以及千古亘久的自然法则与
自成一格之品位的完美融合。因此,自1868年创立至今,IWC万国表倾情致力于钟表制
作,不惜时间制作出不仅运行绝对精准的腕表,而且,随着每一秒的流逝,每只腕表都
释放出顶级钟表工艺辉煌成就的魅力:在技术、材质和设计风格上锐意创新——尽管其
隐于细节之处甚或不易察觉,引人入胜。您所购买的精美腕表正是此IWC万国表优良传
统的典范。对于您明智的选择,请容我们献上由衷的祝贺,并诚挚地祝福您与这款腕表
共度美好时光,记录生活每一刻。它的优异性能将在下文中有详细的说明。
IWC万国表管理部

— 20 —
工程师计时腕表
工程师计时腕表的技术特性
您的这款IWC万国表具有时、分、秒和日期显示功能。您可以使用内置的计时码表,以
时、分、秒为单位进行计时,并可累计各时段时间。自动上链机械机芯,上满链可提供
约68小时的动力储备。雕刻摆陀通过IWC万国表双棘爪上链系统为腕表进行旋转式双向
上链。您的工程师计时腕表采用硬度等级为摩氏9级的蓝宝石玻璃表镜,为日常使用提
供完美呵护。防水性能为12巴。为确保本腕表在未来能够始终保持超卓性能,请谨遵若
干重要操作说明。
Table of contents
Languages:
Other iwc Watch manuals

iwc
iwc PORTUGIESER PERPETUAL CALENDAR TOURBILLON User manual

iwc
iwc MARK XV User manual

iwc
iwc IW3566 User manual

iwc
iwc PORTOFINO AUTOMATIC 34 User manual

iwc
iwc 3762 User manual

iwc
iwc AQUATIMER AUTOMATIC 2000 User manual

iwc
iwc Top gun User manual

iwc
iwc 3723 User manual

iwc
iwc IW3240 User manual

iwc
iwc IW5449 User manual

iwc
iwc DA VINCI AUTOMATIC User manual

iwc
iwc COUSTEAU DIVERS User manual

iwc
iwc LEWIS HAMILTON 3796 User manual
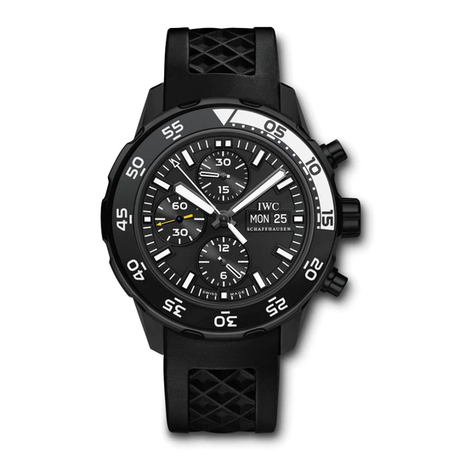
iwc
iwc INGENIEUR CHRONOGRAPH User manual

iwc
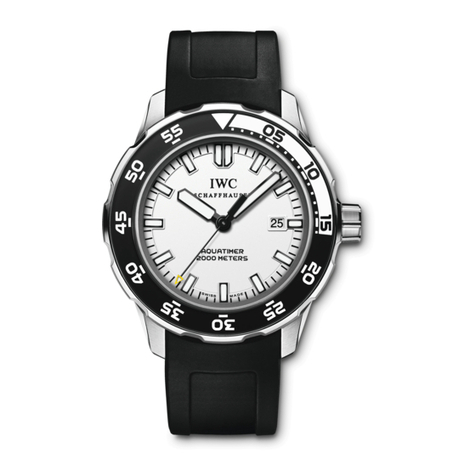
iwc AQUATIMER CHRONOGRAPH User manual
iwc
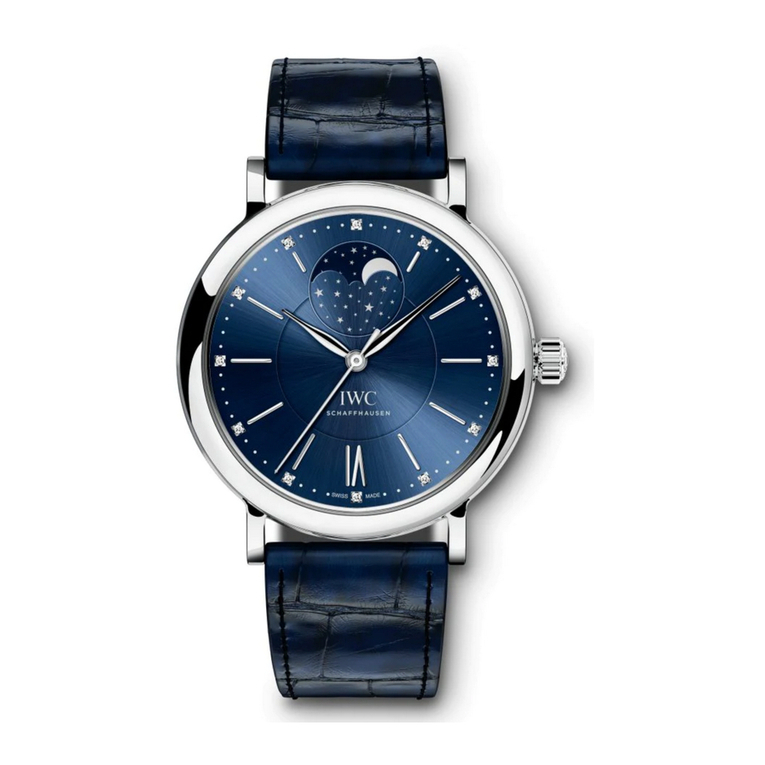
iwc Ingenieur User manual
iwc
iwc 5041 User manual

iwc
iwc IW3776 User manual

iwc
iwc IW3931 User manual

iwc
iwc Portuguese chronograph User manual