manuals.online logo
Brands
  1. Home
  2. •
  3. Brands
  4. •
  5. jablotron
  6. •
  7. Security Sensor
  8. •
  9. jablotron JA-89P User manual

jablotron JA-89P User manual

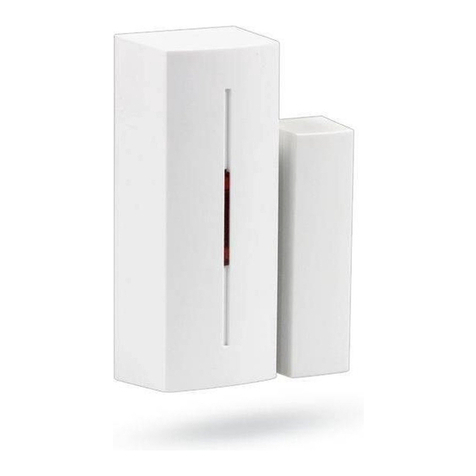
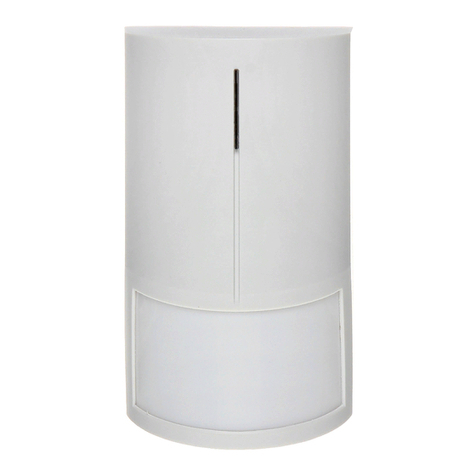
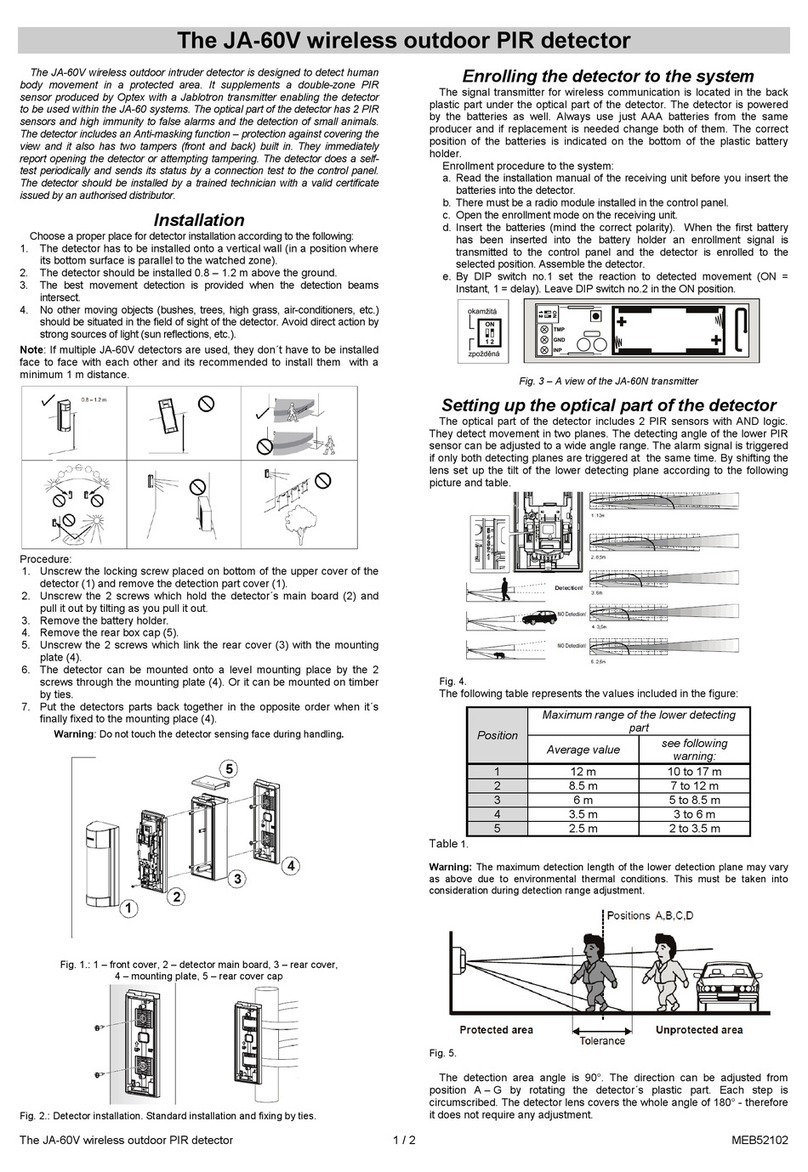
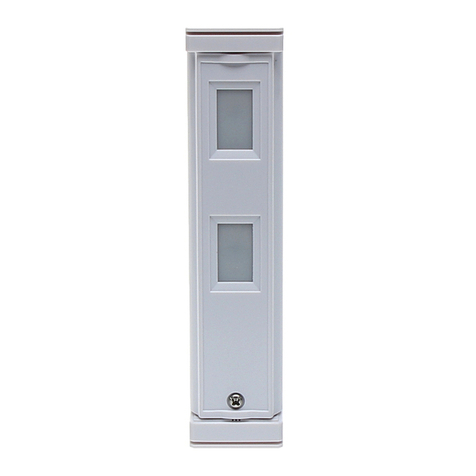
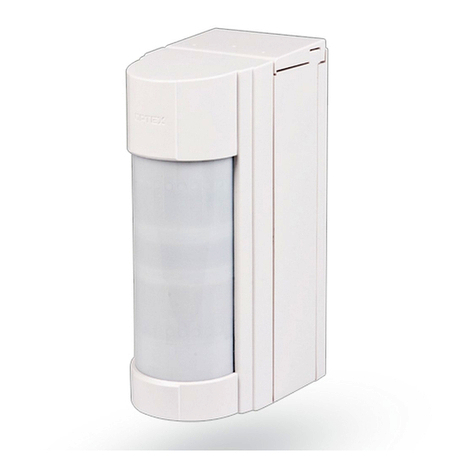
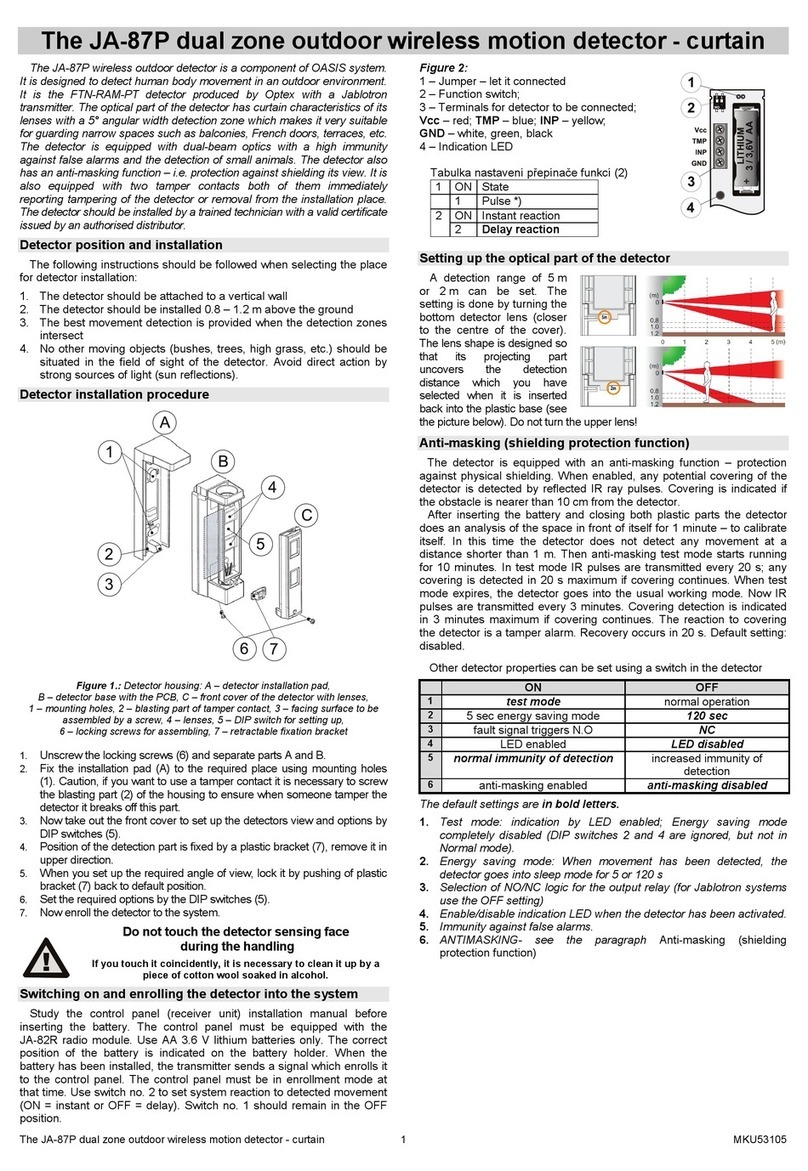
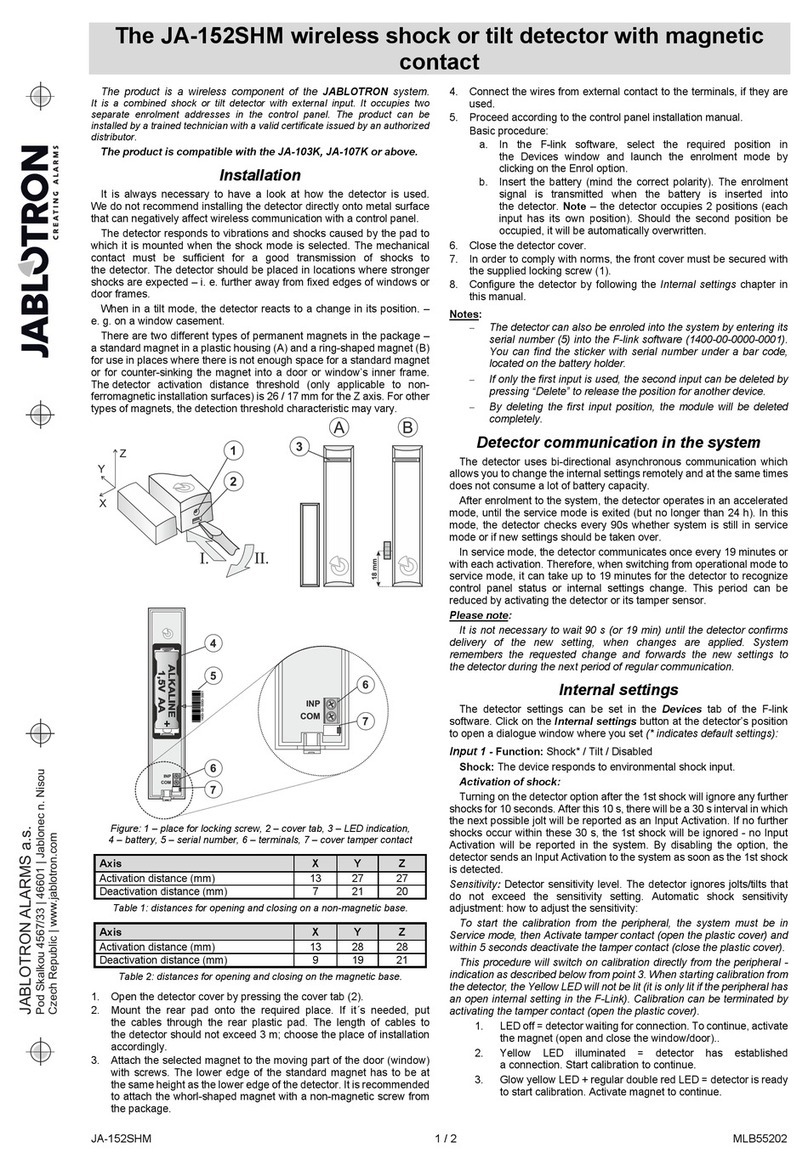
The JA-89P wireless outdoor PIR detector
The JA-89P wireless outdoor PIR detector 1 / 2 MKU51105
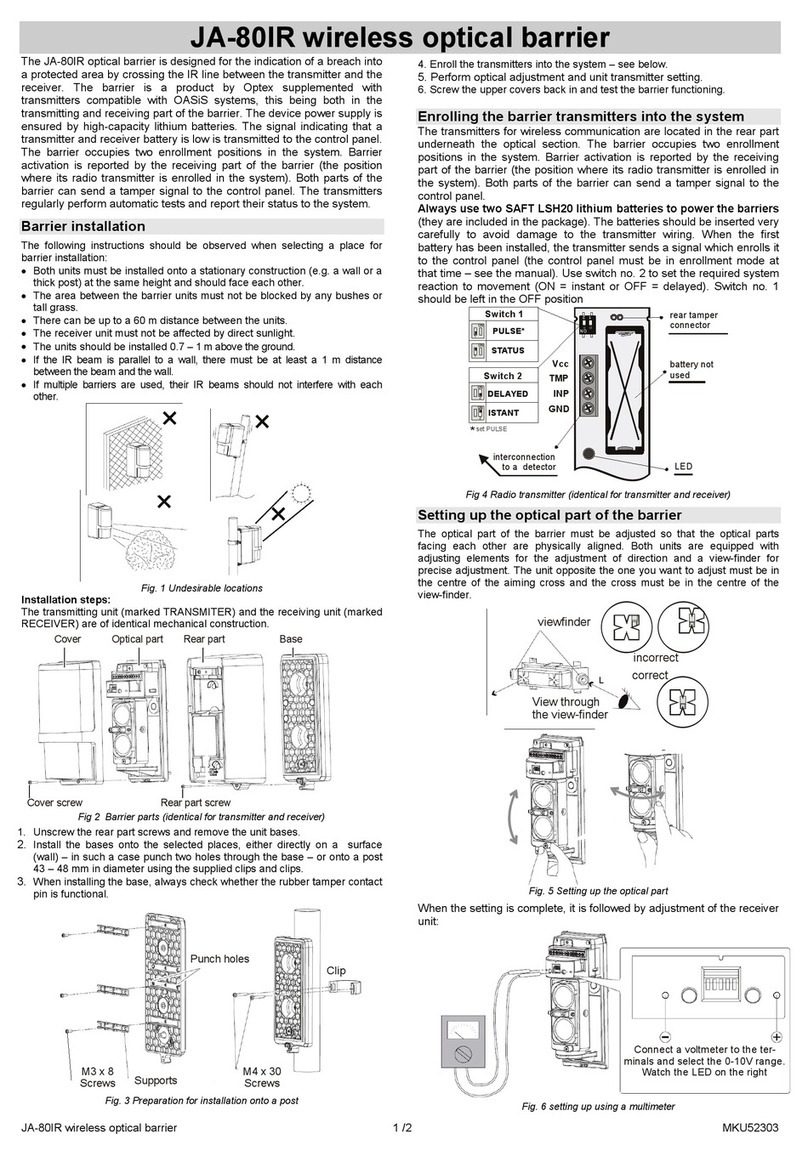
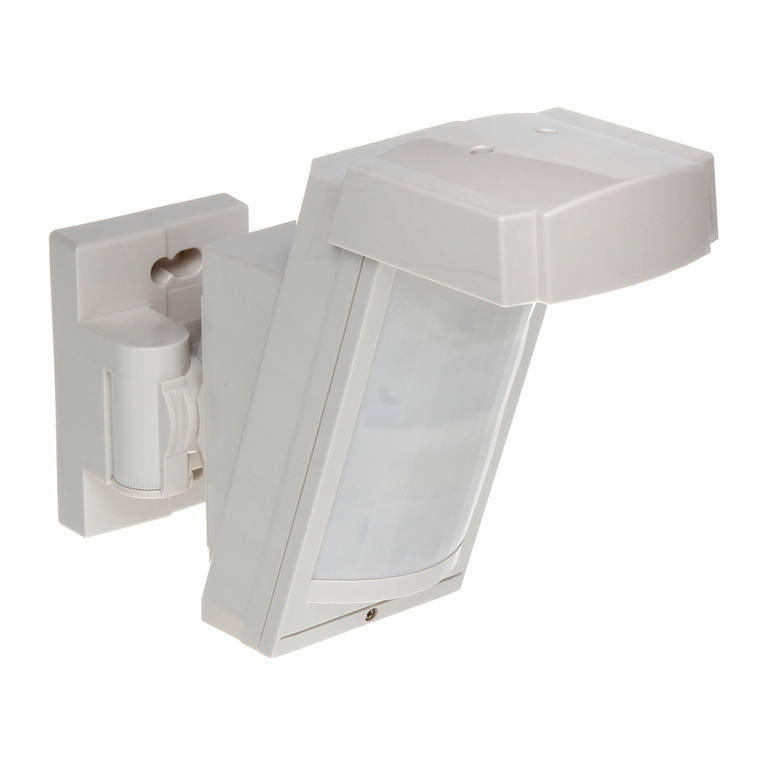
The JA-89P wireless outdoor intruder detector is designed to detect human
body movement in a protected area. It supplements a double-zone PIR
sensor produced by Optex with a Jablotron transmitter enabling the detector
to be used within the JA-8x OASiS 100 system. The optical part of the detector
has 2 PIR sensors and a high immunity to false alarms and the detection of
small animals. The detector includes an anti-masking function – protection
against covering the view and it also has two tampers (front and back) built in.
They immediately report opening the detector or attempting tampering. The
detector does a self-test periodically and sends its status to the control panel.
The detector should be installed by a trained technician with a valid certificate
issued by an authorised distributor.
Installation
Choose a proper place for detector installation according to the following:
1. The detector has to be installed onto a vertical wall (in a position where
its bottom surface is parallel to the watched zone).
2. The detector should be installed 0.8 – 1.2 m above the ground.
3. The best movement detection is provided when the detection beams
intersect.
4. No other moving objects (bushes, trees, high grass, air-conditioners, etc.)
should be situated in the field of view of the detector. Avoid direct action by
strong sources of light (sun reflections, etc.).
Note: If multiple JA-89P detectors are used, they mustn´t be installed face
to face with each other and it’s recommended to install them with a
minimum 1 m distance.
Procedure:
1. Unscrew the locking screw placed on bottom of the upper cover of the
detector (1) and remove the detection part cover (1).
2. Unscrew the 2 screws which hold the detector´s main board (2) and
pull it out by tilting as you pull it out.
3. Remove the battery holder.
4. Remove the rear box cap (5).
5. Unscrew the 2 screws which link the rear cover (3) to the mounting
plate (4).
6. The detector can be mounted onto a level mounting place by the 2
screws through the mounting plate (4). Or it can be mounted on a pole
by ties.
7. Put the detector’s parts back together in the opposite order when it´s
finally fixed to the mounting place (4).
Warning: Do not touch the detector sensing face during handling.
12
34
5
Fig. 1.: 1 – front cover, 2 – detector main board, 3 – rear cover,
4 – mounting plate, 5 – rear cover cap
Fig. 2.: Detector installation. Standard wall installation and fixing by ties.
Enrolling the detector to the system
The signal transmitter for wireless communication is located under the
main board part of the detector. Read the manual of the receiving unit (control
panel) before you insert a battery into the transmitter. The batteries are inserted
into the battery holder of the OPTEX motion detector. Always use a AA 3.6 V
lithium battery. The correct position of the battery is indicated on the battery
holder.
Enrollment procedure to the system:
a. Read the installation manual of the receiving unit before you insert the
batteries into the detector. There must be a radio module installed in the
control panel.
b. Open the enrollment mode on the receiving unit.
c. Insert the batteries (mind the correct polarity). When the battery has
been inserted into the battery holder an enrollment signal is transmitted
to the control panel and the detector is enrolled to the selected position.
d. By DIP switch no.2 set the reaction to detected movement (ON =
Instant, 2 = delay). Leave DIP switch no.1 in position 1 (pulse mode).
e. Assemble the detector.
Rear tamper
connection
Switch No. 1
INSTANT
DELAYED
Switch No. 2
PULSE*
STATE
Vcc
TMP
INP
GND
detector
connection
LED
Set to
pulse mode
*
L
I
T
H
I
U
M
3
.
6
V
A
A
Fig. 3 – The JA-89P detector transmitter
Setting up the optical part of the detector
The optical part of the detector includes 2 PIR sensors with AND logic.
They detect movement in two planes. The detecting angle of the lower PIR
sensor can be adjusted. The alarm signal is triggered if only both detecting
planes are triggered at the same time. By shifting the lens set up the tilt of
the lower detecting plane according to the following picture and table.
Fig. 4.
The following table represents the values included in the figure:
Position
Maximum range of the lower detecting
part
Average value see following limits:
1 12 m 10 to 17 m
2 8.5 m 7 to 12 m
3 6 m 5 to 8.5 m
4 3.5 m 3 to 6 m
5 2.5 m 2 to 3.5 m
Table 1.
Warning: The maximum detection length of the lower
detection plane may vary as above due to
environmental thermal conditions. This must be taken
into consideration during detection range adjustment.
The JA-89P wireless outdoor PIR detector
The JA-89P wireless outdoor PIR detector 2 / 2 MKU51105
Fig. 5.
The detection area angle is 90°. The direction can be adjusted from
position A – G by rotating the detector´s plastic part. Each step is marked.
The detector lens covers a whole angle of 180° - therefore it does not
require any adjustment.
You can restrict the detection angle by adhesive masking strips
supplied with the package. This way you can eliminate problematic
parts of the detection area. The strips are to be stuck on the relevant
lens segment on the inside.
The PIR detection sensitivity can be configured by a 3-pole switch
located under the upper sensor. The letters correspond to sensitivity levels
as follows:
L low – applicable to bad conditions
M medium
H high
Other parameters can be configured using a DIP switch:
NORM TEST
120s 5s 5 s … šetřící režim
N.C.
N.O.
LED OFF LED ON on
Antimasking OFF Antimasking ON
Factory settings highlighted by bold letters.
The LED serves for PIR detector testing – checking the coverage. The
detector always sends information to the control panel. For normal detector
operation the LED should be turned off in order to save the battery.
The power save mode can be set up by DIP switch no. 2.
Testing (coverage test)
By DIP switch no. 1, enter test mode and by DIP switch no. 4 turn on the
LED indication. Close the detector. Test the detection range of the
protected area and immunity outside the protected area.
Bear in mind the potential changing of detecting distance influenced by
the environment.
Each movement is indicated by LED and it sends the information to the
control panel.
We recommend turning off the indication LED when the testing procedure
is finished. And set up the power save mode to 120s to get a longer battery
lifetime.
Normal operating mode
The detector sends a radio signal about activation when it is triggered. In
the case of tampering with the detector or tearing the detector off its
position the detector sends a tamper signal. Every 9 minutes a status report
is sent to the control panel to test that all its devices are present and ready
for operation.
Replacing the batteries
The detector checks its battery status automatically and if the batteries
are running low it informs the system. The detector remains fully functional.
The batteries should be changed as soon as possible (within 1 week).
Before battery replacement the control panel has to be switched to
service mode (see installation manual of the control panel) and then it is
possible to open the cover of the detector. Always use 3.6 V AA lithium
batteries.
Note: If you insert a nearly drained battery into the detector by mistake,
the detector does not start working and this status is indicated with the
transmitter LED flashing. If the battery is completely drained, the detector
does not react at all.
Caution: Expired batteries should not be thrown into the garbage, but
disposed of according to local regulations.
Troubleshooting
Problem Problem cause Solution
The detector
makes false
intrusion
alarms
Lower detection area is
unnecessarily long.
Set the detection area
properly.
The detector is exposed
to direct/reflected light
(sun light, car light etc.).
Remove the reflector, mask
the area exposed to the
reflection of light or change
the detector position.
There is a moving object
in the area (laundry on
the clothes-line, plants
etc.).
Remove the moving object or
change the detector position.
Or put the stickers on part of
the lens to avoid detection in
a problematical place.
Occasionally
no reaction
to
movement
Lower detection area is
unnecessarily short
Set the detection area
properly
Sensitivity is set to low
(L).
Change sensitivity to medium
(M) or high (H).
The detector is in battery-
save mode
While testing operation, set
the battery-save timer to 5
seconds.
Detector
ignores any
movements
Low battery Replace the battery
LED indicator lights but
there is no reaction in the
control panel.
The control panel is out of
range, check the battery, try
to reposition detector or
control panel
Fig. 6. Detector dimensions (mm)
Technical specifications
Power Lithium battery type CR14500 (AA) 3,6 V / 2,45 Ah
Average battery lifetime approx. 3 years
(valid for enabled 120s saving mode)
Please note: Batteries are not included
Communication band 868.5 MHz
RF range – communication range up to 300 m (open area)
Optex detector parameters
Detection characteristics 12 m / 90°; 16 segments
Recommended installation height 0.8 – 1.2 m
Object motion speed 0.3 – 1.5 ms-1
Battery saving timer adjustable 5 s or 120 s
LED indication during a coverage test
Operational environment according to EN 50131-1 IV
Security grade according to Optex
Operating temperature range -20 °C to +60 °C
Detector cover conformance IP55
Max. relative humidity of the environment 95 %
Dimensions 186 x 71.3 x 105.5 mm
Weight 500 g
Complies with ETSI EN 300 220-1, EN 50130-4,
EN 55022, EN 60950-1, EN 50581
Can be operated according to ERC REC 70-03
JABLOTRON ALARMS a.s. hereby declares that the JA-89P
is in a compliance with the relevant Union harmonisation
legislation: Directives No: 2014/53/EU, 2014/35/EU,
2014/30/EU, 2011/65/EU. The original of the conformity
assessment can be found at www.jablotron.com - Section
Downloads.
Note: Although this product does not contain any harmful
materials we suggest you return the product to the dealer
or directly to the producer after use.
Other jablotron Security Sensor manuals

jablotron JA-80S User manual

jablotron

jablotron JA-80S User manual

jablotron JA-88P User manual

jablotron

jablotron JA-88P User manual

jablotron JA-158P User manual

jablotron

jablotron JA-158P User manual

jablotron JA-85B User manual

jablotron

jablotron JA-85B User manual

jablotron JA-187P User manual

jablotron

jablotron JA-187P User manual

jablotron JA-180PB User manual

jablotron

jablotron JA-180PB User manual

jablotron JA-84P User manual

jablotron

jablotron JA-84P User manual

jablotron JA-160PC User manual

jablotron

jablotron JA-160PC User manual

jablotron JA-152P User manual

jablotron

jablotron JA-152P User manual

jablotron JA-160PC User manual

jablotron

jablotron JA-160PC User manual

jablotron JA-187P User manual

jablotron

jablotron JA-187P User manual

jablotron JA-181M User manual

jablotron

jablotron JA-181M User manual

jablotron JA-120PC User manual

jablotron

jablotron JA-120PC User manual

jablotron JA-88P User manual

jablotron

jablotron JA-88P User manual

jablotron JA-115P User manual

jablotron

jablotron JA-115P User manual

jablotron JA-151TH User manual

jablotron

jablotron JA-151TH User manual

jablotron JA-81M User manual

jablotron

jablotron JA-81M User manual

jablotron JA-151ST-A User manual

jablotron

jablotron JA-151ST-A User manual

jablotron JA-120PW User manual

jablotron

jablotron JA-120PW User manual

jablotron JA-152M User manual

jablotron

jablotron JA-152M User manual

jablotron JA-159P User manual

jablotron

jablotron JA-159P User manual

jablotron JA-155P User manual

jablotron

jablotron JA-155P User manual

jablotron JA-181M User manual

jablotron

jablotron JA-181M User manual

jablotron JA-120PC User manual

jablotron

jablotron JA-120PC User manual

Popular Security Sensor manuals by other brands

CP EBMPIR Product guide

CP

CP EBMPIR Product guide

Gunnebo BLP user manual

Gunnebo

Gunnebo BLP user manual

NAPCO PIR1680 Series datasheet

NAPCO

NAPCO PIR1680 Series datasheet

PCB Piezotronics W200B03/002C20 Installation and operating manual

PCB Piezotronics

PCB Piezotronics W200B03/002C20 Installation and operating manual

tibelec ST16C instructions

tibelec

tibelec ST16C instructions

Bircher Reglomat ProLoop Lite instruction manual

Bircher Reglomat

Bircher Reglomat ProLoop Lite instruction manual

ISC Haulerbiner General instructions

ISC

ISC Haulerbiner General instructions

Tatsuta Electric Wire & Cable AD-AS-1LCM-A Operation manual

Tatsuta Electric Wire & Cable

Tatsuta Electric Wire & Cable AD-AS-1LCM-A Operation manual

Conrad ASH888I operating instructions

Conrad

Conrad ASH888I operating instructions

Easi-Dec Board-Walk Assembly instructions

Easi-Dec

Easi-Dec Board-Walk Assembly instructions

Honeywell SPM Flex user manual

Honeywell

Honeywell SPM Flex user manual

EMX Industries VMD202 quick start guide

EMX Industries

EMX Industries VMD202 quick start guide

Hioth CT-SMZB2004-HM user manual

Hioth

Hioth CT-SMZB2004-HM user manual

HAISEN HD020SR Product specification

HAISEN

HAISEN HD020SR Product specification

Geokon 4200 Series instruction manual

Geokon

Geokon 4200 Series instruction manual

Wieland Sensor PRO STS 01 Series installation instructions

Wieland

Wieland Sensor PRO STS 01 Series installation instructions

Niko 350-41650 Technical manual

Niko

Niko 350-41650 Technical manual

netvox R313CB user manual

netvox

netvox R313CB user manual

manuals.online logo
manuals.online logoBrands
  • About & Mission
  • Contact us
  • Privacy Policy
  • Terms and Conditions

Copyright 2025 Manuals.Online. All Rights Reserved.