Alarm system JA-65 MAESTRO - 10 - MFM51202
12.1. Enrollment (teaching) of wireless items enter: 1
If the control panel has a 65R module, as a maximum 16 wireless detectors and 8 controllers (remote controls & keypads)
can be enrolled to the control panel. A wireless siren and an additional JA-60 or JA-65 control panel (a subsystem) can be
enrolled as well.
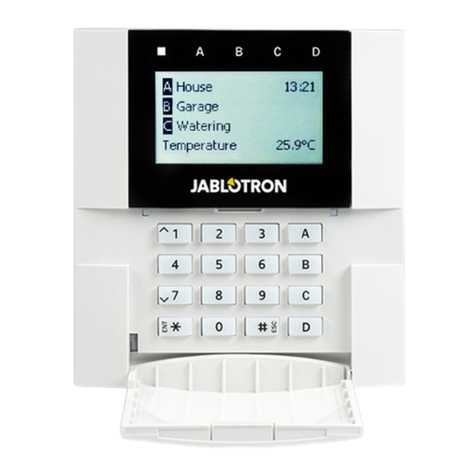
• press key 1(while „P“ is displayed) to enter the enrolling mode. The control panel will display the next free position
to enroll a detector.
• Use key 1 and 6 to scroll (up and down) all control panel wireless positions – 1 to 16 (detectors) – c1 to c8
(controllers & keypads) – A (wireless siren) – J (sub control panel JA-6x). The display shows the position number
while the Battery LED indicates if the position is occupied.
• Detectors and keypads are automatically enrolled when their power is switched on (batteries are installed). A
remote control is enrolled only after both of its buttons are simultaneously pressed and held for 3 seconds. A
subsystem control panel will enroll after sequence 299 is entered while it is in its programming mode. The system will
not allow enrollment of an item into a non-corresponding position (a detector can not be enrolled into a controller
position etc.).
• Control panel confirms enrollment with a „beep“ (press F to select a louder “beep” sound). The LED display will
show the number of the enrolled item for 2 seconds and then it will display the number of the next free position.
• To change the position of an enrolled item is simple. Enroll it to the new selected position (the item will „move“).
If you enroll an item to an occupied position, the former item will be deleted and only the new enrollment is valid. Only
one item (detector, controller etc.) can be stored to each position.
• Erase an enrolled item the following way: in the enrolling mode select the corresponding position and then press
and hold key 2 for two seconds. The item will be erased (confirmed with a long beep). If you press and hold key 3, all
enrolled controllers (remote controls and keypads) will be erased. Pressing and holding key 4 will erase all enrolled
items (detectors, controllers, siren and the sub system).
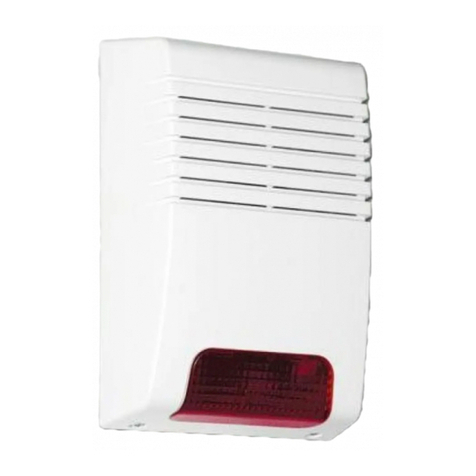
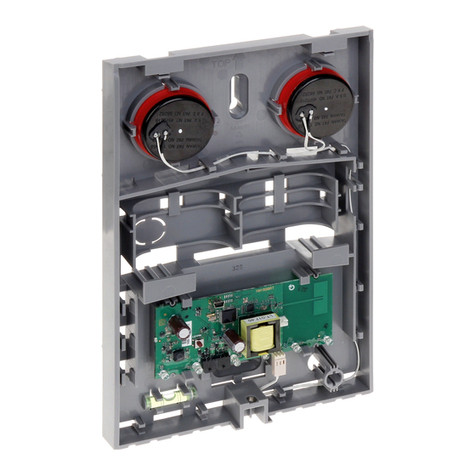
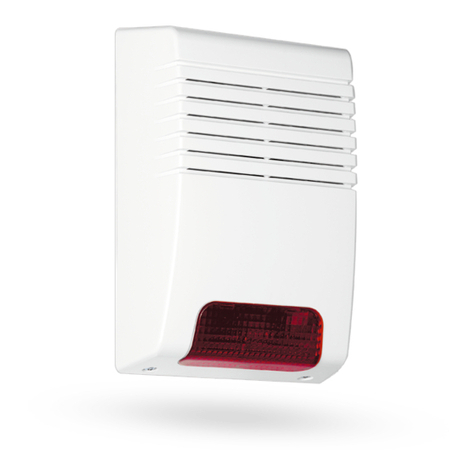
• The JA-60A wireless siren will generate an enrollment signal when its power is switched on (it will enroll to
position A). If you need to enroll a siren which is already powered and it is not possible to easily switch off its power,
you can enroll it the following way: enter the enrolling mode and then enter the 6 digit siren production code (printed
in the siren’s manual). The control panel will “request” the siren to send its enrollment signal. The siren will send the
signal only if it has no current communication with any other control panel (This protects you from enrolling your
neighbor’s siren). Enrollment is completed about five seconds after the code is entered.
Note: if an item was not enrolled after its batteries were installed, it is because the control panel recognized its radio signal as a weak
one. Items are only enrolled if their radio signal has a level which guarantees reliable communication. Check the detector’s batteries
and try to enroll the problematic sensor once more. If it is not accepted by the control panel, you should change the location of the item.
All items should be located 1 m or more from the control panel.
12.2. Hard-wired zone input setting sequence: 60 nn xys
If there is a 65H module in the control panel, wire operated detectors can be connected to the control panel. Setting of the
zone inputs is possible by entering:
60 nn xys
where: nn = zone number: 01 to 16
x= input triggering: 0 = off, 1 = Normally Closed, 2 = balanced loop (EOL resistor 10kΩ), 3 = double
balanced loop (EOL resistors 2x4k7Ω)
y= reaction: 0 = Instant, 1 = Delayed, 2 = Fire, 3 = Panic, 4 = Tamper, 5 = Next delayed
s= address to section, 1 = A, 2 = B, 3 = C (shared common section, which is armed only if both A and B
sections are armed). If the control panel is not split, select s=1; if you select s=2 then this zone will be
automatically bypassed within partial arming. For details about splitting see section 12.21.
Notes:
• If you will not use a particular input, switch it off with x = 0
• Next delayed input (y=5) provides entrance delay only if in the moment of its triggering the entrance delay has been in progress
(activated before by any delayed input). If no delayed input is triggered before next delayed, the triggering will cause instant alarm.
• Addressing of inputs to section C when the control panel is not split has the same effect as addressing to B section (i.e. automatic
bypass while partial arming is used).
Example: to set zone 2 input as a balanced loop with an instant reaction, addressed to A section, enter: 60 02 201
Factory default setting: all hard-wired inputs are switched off.
12.3. Exit / Entrance delay sequence: 2 1 x
To change the duration of the exit and entrance delay (both of them) enter 21x (where xrepresents time in seconds x10).
The delay can be selected from 10 to 90 seconds.
Example: to select an Exit and Entrance delay duration of 20 seconds, enter 212
Factory default setting is 30 seconds
