manuals.online logo
Brands
  1. Home
  2. •
  3. Brands
  4. •
  5. Jaga
  6. •
  7. Heater
  8. •
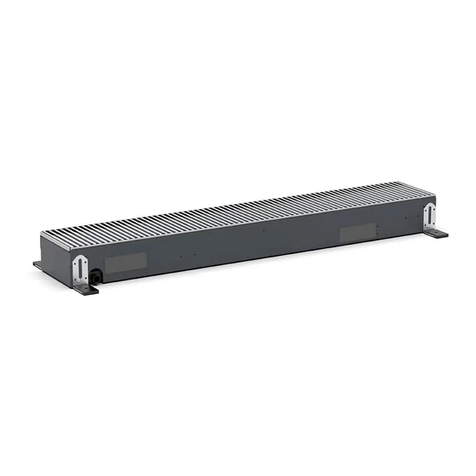
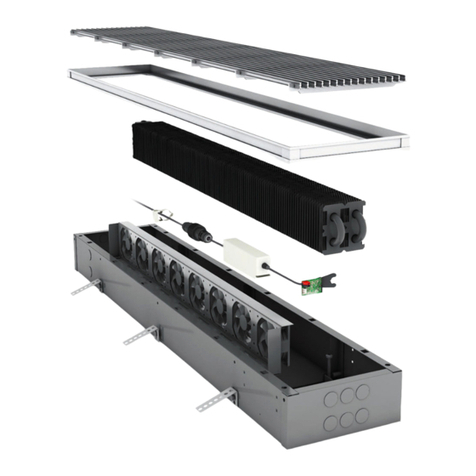
  9. Jaga Knockonwood DBE KNUF User manual

Jaga Knockonwood DBE KNUF User manual

E - 27200.23101001- 22 February 2017 3:53 PM - Jaga N.V.
Mounting instructions
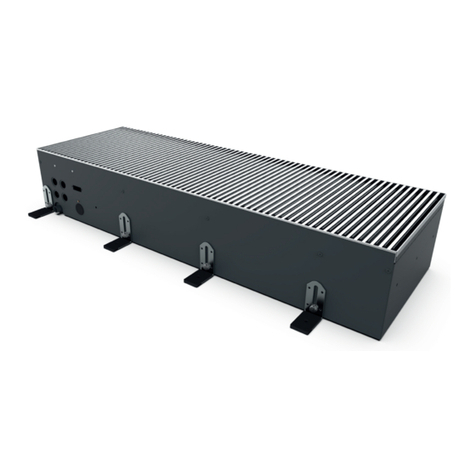
Knockonwood DBE KNUF
230VAC
*
2
L 15
16
230VAC
*
8.5 15
14
9.5
3.8
21
21
12
6
Aansluiten
Install the unit with the connecting side toward the inside of the room. The temperature sensor must extend 2 cm
below the unit
OK!
OK!
± 2 cm
Temp. sensor
Hydraulic connections to the LHS: R 180° L
2 2
230VAC* 230VAC*
1
3
1
3
Hydraulic connections to the left:
Rotate the feet 180°
Standard to the RHS
• use the supplied adapter. A 12V DC supply can be used
• standard connection right
• push the bottom of the flap to enter the valve
Deze handleiding is beschikbaar in het NEDERLANDS:
http://theradiatorfactory.com/KNUF_benl
Ce manuel est disponible en FRANÇAIS:http://theradiatorfactory.com/KNUF_fr
Dieses Handbuch ist erhältlich in DEUTSCH: http://theradiatorfactory.com/KNUF_de
This manual is available in ENGLISH: http://theradiatorfactory.com/KNUF_e
E - 27200.23101001- 22 February 2017 3:53 PM - Jaga N.V.
Mounting instructions
Knockonwood DBE KNUF
A
Installation must only be carried out by skilled technicians. Incorrect installation could cause the unit to run badly, with a consequent dete-
rioration in performance. Always use personal protective equipment.
Hydraulic connections
Mark the attachment points on the floor ac-
cording to the mounting holes of the device
!ATTENTION: when drilling holes do not
damage hidden pipes and wiring.
The type of floor determines what type of
screw or plug should be used
Adapter
Drain cock, air vent and valve are tightened
up in the Jaga factory by hand. While filling
the installation, control on leaks.
* JAGA Pro-key: Code: 5090.1120
Use the supplied Jaga adapter.
• a 12V DC supply can be used
• Consumption at least 1 Watt per unit
• Install according to the national installation standards.
Control panel
OK!
Degrease the surface for mounting of the
Control Panel. Stick the Control Panel,
press 10 seconds.
Install the control panel with the tape fac-
ing the inside of the room
B1
C1
B2
C2
*
B
C
E - 27200.23101001- 22 February 2017 3:53 PM - Jaga N.V.
Mounting instructions
Knockonwood DBE KNUF
Maintenance
Always use the mains switch to isolate the unit from the mains before carrying out any maintenance work on the unit, even if it is for inspec-
tion purposes only. Lock the master switch in zero position.
• maintenance must only be carried out by qualified technicians. The frequency of the cleaning is dependent on the concentration of dust or
dirt into the room. Use suitable work gloves.
• use a vacuum cleaner to clean the heat exchanger and the ventilator.
• clean the casing with a soft cloth dampened with water and a little dish soap. Do not use products based on solvents and detergents.The
wooden casing may be treated with a neutral cleaner. Jaga recommends using the supplied cleaner „Proterra GR 1900“: more info, see
www.hesse-lignal.de.
• if one fan stops working, the entire DBE unit must be replaced. Contact your installer.
• incorrect positioning or installation of the unit may amplify noise levels and vibrations generated during operation.
• do not insert (sharp) objects through the air flow or intake grilles
Checking whether there is air in the water system.
• start the system for a few minutes
• stop the system
• loosen the vent screw on the inlet collector and bleed it
• repeat the operation several times until air is no longer released from the system.
Routine maintenance: cleaning the heat exchanger and the DBE units:
The top part of the coating may be removed to clean the heat exchanger and the DBE units. Follow steps 1,2, and 3.
* ATTENTION ! the control panel is connected to the control unit by means of a coiled cable , do not break the connection or do not damage
the cable.
Q2x
123
adjusting room temperature / water temperature: see the DBEC.11 manual
Room-temperature has been factory set at 21°C
Water-temperature has been factory set at 28°C
http://downloads.theradiatorfactory.com/downloadcenter/software/DBEC11_Manual.pdf
http://downloads.theradiatorfactory.com/downloadcenter/software/JAGA_DBEC11.zip
Before starting up the unit,check if:
• the unit is positioned correctly
• the supply and return pipes of the hydraulic unit are connected and
insulated properly;
• the pipes are clean and bled
• the heat exchanger an DBE units are clean
• the wiring connections are correct
• the screws that secure the conductors are clamped
• the supply voltage is that required
*
E - 27200.23101001- 22 February 2017 3:53 PM - Jaga N.V.
Mounting instructions
Knockonwood DBE KNUF
The letters ‘CE’ appear on our products traded on the extended
Single Market in the European Economic Area (EEA). They signify
that products sold in the EEA have been assessed to meet high
safety, health, and environmental protection requirements.
Packaging and components
Follow these instructions to remove the packaging:
• check for any visible damage
• open the packaging
• check if the manuals are in the package
• remove the packaging material and dispose it in the appropriate
collection points or recycling facilities, in compliance with the local
regulations
SAFEGUARD THE ENVIRONMENT
Dispose of the packaging materials in compliance with the national
or local legislation.
Instruction for transport
Handling guidelines:
ATTENTION!
• movement of the unit must be performed with care, in order to
avoid damage to the external structure and to the internal me-
chanical and electrical components
• also make sure that there are no obstacles or people along the
route, in order to prevent the risk of impact, crushing or tipping
the lifting device
• always use personal protective equipment
• all the operations listed below must be carried out in accordance
with current health and safety regulations, with reference to the
equipment used as well as the procedures followed
• if the unit weighs more than 30 kg and is to be handled manually,
this must be carried out by two persons
• packaged units can be stored by stacking a maximum of four on
top of each other and must be stored in a dry area.
The manufacturer is not responsible for:
Modification, change or alteration of the unit, except as expressly
directed in writing by Jaga n.v. Also, the risk analysis should be com-
pletely or partially re-created.
All changes, which could bring adverse change in the strength, sta-
bility, health or safety should be carried out in consultation and with
written approval from the manufacturer. If there are nevertheless
substantial changes are made without consultation mentioned, lia-
bility expires for JAGA N.V.
Before starting up the unit,check if:
Before starting up, make sure the installation and electrical connec-
tions have been carried out in compliance with the instructions in
this manual. Also make sure that there are no unauthorised persons
in the vicinity of the unit during the above operations.
• the unit is positioned correctly
• the supply and return pipes of the hydraulic unit are connected and
insulated properly;
• the pipes are clean and bled
• the heat exchanger an DBE units are clean
• the wiring connections are correct
• the screws that secure the conductors are clamped
• the supply voltage is that required
Installation guidelines
Installation must only be carried out by skilled technicians. Always
use personal protective equipment.
ATTENTION!Incorrect installation could cause the unit to run badly,
with a consequent deterioration in performance.
• the unit is only to be installed in domestic or similar environments.
• it is prohibited to insert objects through the air inlet and outlet
vents.
• installing and / or using the Jaga Knockonwood DBE is prohibited
in explosive atmospheres or areas where there is due to gases,
vapours or dust explosion
• when the unit is not used for long periods of time, it must be dis-
connected from the mains by opening the mains switch of the sys-
tem, set in place by the installer.
The unit is not designed to be installed (IEC EN 60335-2-40):
• outside
• in areas exposed to frost
• in wet areas
• in areas where there is due to gases, vapours or dust explosion
Follow these installation guidelines:
• mark the attachment points on the floor according to the mount-
ing holes of the device. When drilling holes, do not damage hidden
pipes and wiring.
• the type of floor determines what type of screw or plug should be
used
Hydraulic connections:
It is very important for the water connections to be installed with
care by qualified personnel.
• connect the unit to the hydraulic system with the indicated inlet/
outlet connections. Make sure the connections are air tight with a
sealant.
• the heat exchanger is equipped with an air vent
Once installation is complete:
• bleed the air contained in the circuit
• make sure that there are no water leaks. Drain cock, air vent and
valve are tightened up in the Jaga factory by hand. While filling the
installation, control on leaks.
Electrical connections:
The electrical connection of the unit must be carried out by quali-
fied personnel, in compliance with the regulations applicable in the
country where the unit is installed. Non-conforming electrical con-
nections releases Jaga N.V. from liability concerning damage to ob-
jects and persons. Use the supplied Jaga power supply.
• an installation that does not include the recommended free spac-
es, resulting in difficulty in maintenance and reduced perfor-
mance.
Regular maintenance
Maintenance: cleaning at regular interval is important, (at least once
a year), depending on the use and function of the room
Always use the mains switch to isolate the unit from the mains be-
fore carrying out any maintenance work on the unit, !!
• use a vacuum cleaner to clean the heat exchanger and the venti-
lator.
• clean the casing with a soft cloth dampened with water and a little
dish soap. Do not use products based on solvents and detergents.
The wooden casing may be treated with a neutral cleaner. Jaga
recommends using the supplied cleaner „Proterra GR 1900“: more
info, see www.hesse-lignal.de.
• if one fan stops working, the entire DBE unit must be replaced.
Contact your installer.
Checking whether there is air in the water system.
• start the system for a few minutes
• stop the system
• loosen the vent screw on the inlet collector and bleed it
• repeat the operation several times until air is no longer released
from the system.
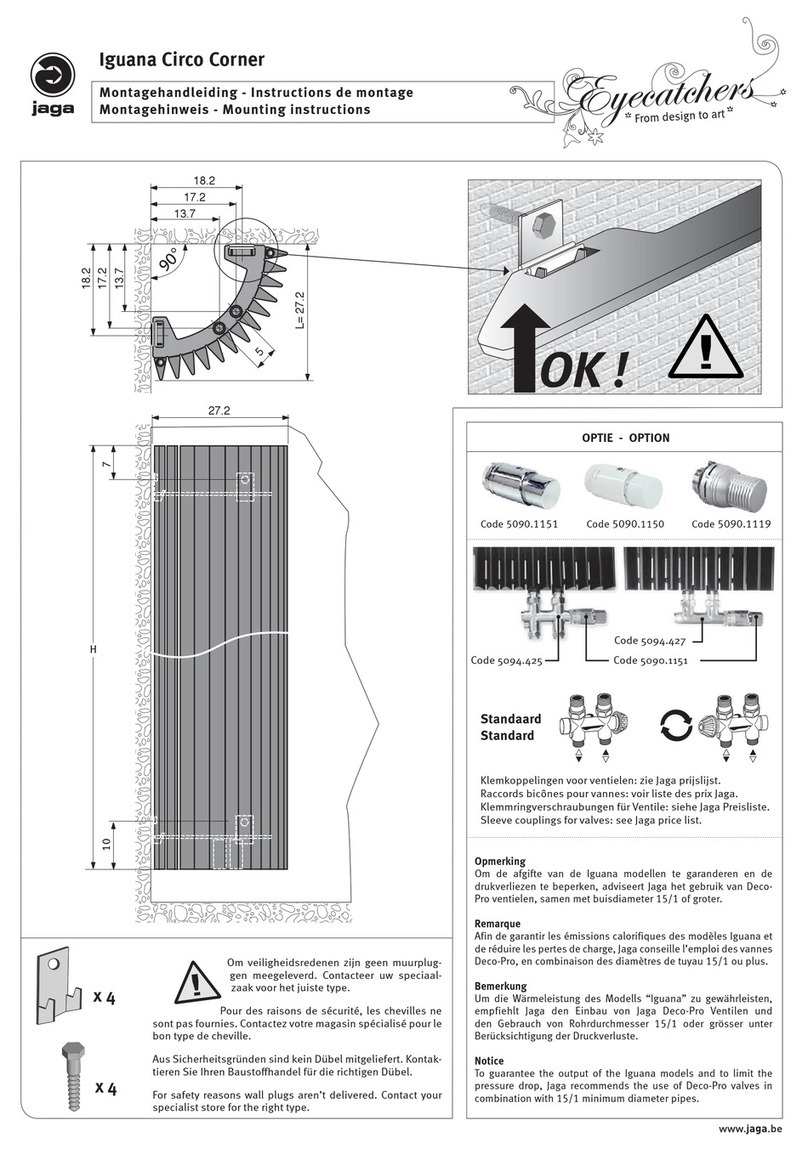
Other Jaga Heater manuals

Jaga Aurora H52-TYPE11 User manual

Jaga

Jaga Aurora H52-TYPE11 User manual

Jaga BRIZA 12 User manual

Jaga

Jaga BRIZA 12 User manual

Jaga BRIZA 041 User manual

Jaga

Jaga BRIZA 041 User manual

Jaga heatwave User manual

Jaga

Jaga heatwave User manual

Jaga LINEA PLUS User manual

Jaga

Jaga LINEA PLUS User manual

Jaga Sani-Ronda User manual

Jaga

Jaga Sani-Ronda User manual

Jaga Clima Quatro Canal H19 User manual

Jaga

Jaga Clima Quatro Canal H19 User manual

Jaga MINI CANAL DBE User manual

Jaga

Jaga MINI CANAL DBE User manual

Jaga IGUANA APLANO APLW User manual

Jaga

Jaga IGUANA APLANO APLW User manual

Jaga AVS User manual

Jaga

Jaga AVS User manual

Jaga CLIMA CANAL HYBRID User manual

Jaga

Jaga CLIMA CANAL HYBRID User manual

Jaga Eyecatchers Iguana Circo User manual

Jaga

Jaga Eyecatchers Iguana Circo User manual

Jaga Eyecatchers Sani Ronda User manual

Jaga

Jaga Eyecatchers Sani Ronda User manual

Jaga BRIZA041 Wall User manual

Jaga

Jaga BRIZA041 Wall User manual

Jaga IGUANA CIRCO Wall User manual

Jaga

Jaga IGUANA CIRCO Wall User manual

Jaga Iguana Arco User manual

Jaga

Jaga Iguana Arco User manual

Jaga Micro Canal User manual

Jaga

Jaga Micro Canal User manual

Jaga MINF User manual

Jaga

Jaga MINF User manual

Jaga Sani Panel User manual

Jaga

Jaga Sani Panel User manual

Jaga Eyecatchers Accolade Sani User manual

Jaga

Jaga Eyecatchers Accolade Sani User manual

Jaga AVS User manual

Jaga

Jaga AVS User manual

Jaga BRIZA 12 User manual

Jaga

Jaga BRIZA 12 User manual

Jaga BRIZA038 User manual

Jaga

Jaga BRIZA038 User manual

Jaga STRADA DBE 2.0 User manual

Jaga

Jaga STRADA DBE 2.0 User manual

Popular Heater manuals by other brands

Goldair GMH230 operating instructions

Goldair

Goldair GMH230 operating instructions

TPI 3470/SCH Series installation instructions

TPI

TPI 3470/SCH Series installation instructions

Prem-I-Air Elite EH1365 manual

Prem-I-Air Elite

Prem-I-Air Elite EH1365 manual

Winterwarm DXA75 installation manual

Winterwarm

Winterwarm DXA75 installation manual

Empire Comfort Systems GWT-25-1SG Installation instructions and owner's manual

Empire Comfort Systems

Empire Comfort Systems GWT-25-1SG Installation instructions and owner's manual

Claudgen ScreenZone RAC0603 Installation and operating manual

Claudgen

Claudgen ScreenZone RAC0603 Installation and operating manual

VOLTOMAT HEATING CAH-110093.2 instruction manual

VOLTOMAT HEATING

VOLTOMAT HEATING CAH-110093.2 instruction manual

Kermi T. 10 Use and Installation Instructions

Kermi

Kermi T. 10 Use and Installation Instructions

KEKAI Golden Tube KT1500 instruction manual

KEKAI

KEKAI Golden Tube KT1500 instruction manual

Myson WHISPA III 12000 RCU Installation, operating, maintenance and after sales manual

Myson

Myson WHISPA III 12000 RCU Installation, operating, maintenance and after sales manual

Vornado Vortex Heater VH2 owner's guide

Vornado

Vornado Vortex Heater VH2 owner's guide

Elnur Gabarron TBB8 Instructions for installation and use

Elnur Gabarron

Elnur Gabarron TBB8 Instructions for installation and use

Protemp PT-16-TTC user manual

Protemp

Protemp PT-16-TTC user manual

Truma Combi D 6 AU operating instructions

Truma

Truma Combi D 6 AU operating instructions

Teesa TSA8030 owner's manual

Teesa

Teesa TSA8030 owner's manual

Hatco FLAV-R-SAVOR FS2HAC Series Installation and operating manual

Hatco

Hatco FLAV-R-SAVOR FS2HAC Series Installation and operating manual

Truma VarioHeat installation instructions

Truma

Truma VarioHeat installation instructions

Truma Ultraheat S 5004 installation instructions

Truma

Truma Ultraheat S 5004 installation instructions

manuals.online logo
manuals.online logoBrands
  • About & Mission
  • Contact us
  • Privacy Policy
  • Terms and Conditions

Copyright 2025 Manuals.Online. All Rights Reserved.