manuals.online logo
Brands
  1. Home
  2. •
  3. Brands
  4. •
  5. Jamara
  6. •
  7. Batteries Charger
  8. •
  9. Jamara Lipo 20 User manual

Jamara Lipo 20 User manual

46/20
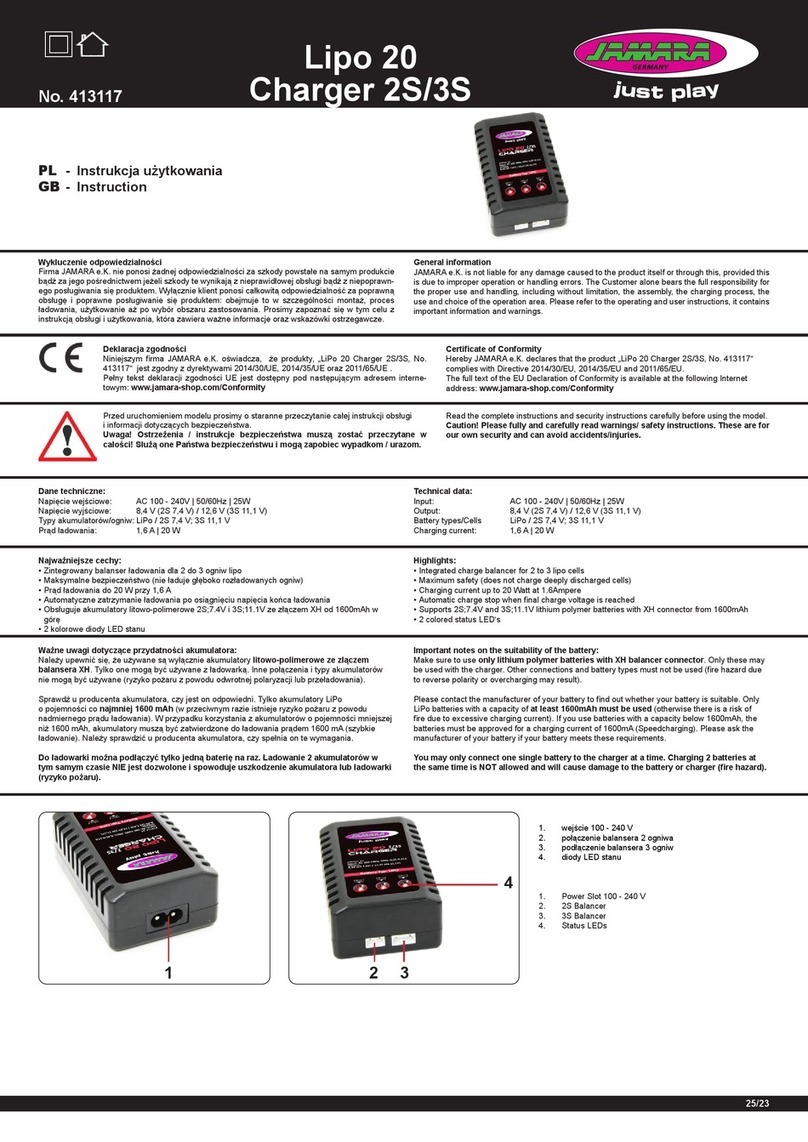
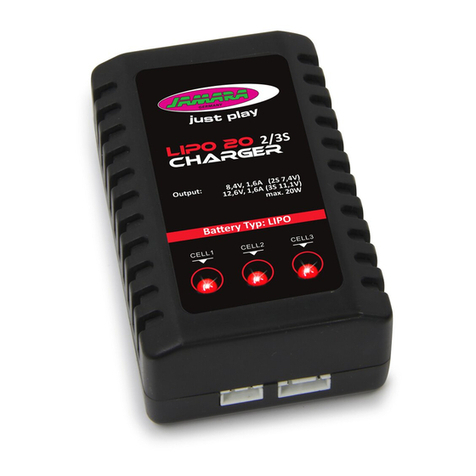
Lipo 20
Charger 2S/3S
No. 413117
1 2 3
4
Déclaration de conformité
Par la présente, JAMARA e.K. déclare que le produit‚ „LiPo 20 Charger 2S/3S,
No. 413117“ est conforme à la Directive 2014/30/EU, 2014/35/EU et 2011/65/EU.
Le texte intégral de la déclaration de conformité CE est disponible via l‘adresse Internet
suivante: www.jamara-shop.com/Conformity
Certicate of Conformity
Hereby JAMARA e.K. declares that the product „LiPo 20 Charger 2S/3S, No. 413117“
complies with Directive 2014/30/EU, 2014/35/EU and 2011/65/EU.
The full text of the EU Declaration of Conformity is available at the following Internet
address: www.jamara-shop.com/Conformity
FR - Remarques générales
La société JAMARA e. K. n’est pas responsable de dommages, que ce soit au niveau du modè-
le ou causé par celui-ci, résultant d’une utilisation non appropriée. Seul le client est responsable
concernant la mise en oeuvre et l’utilisation conforme du matériel; cela va de l’assemblage, en
passant par la charge des accus et allant jusqu’au choix du lieu d’utilisation. Pour cela, veillez à lire
attentivement la notice d’utilisation, elle contient d’importantes informations ainsi que les consignes
de sécurité.
GB - General information
JAMARA e.K. is not liable for any damage caused to the product itself or through this, provided this
is due to improper operation or handling errors. The Customer alone bears the full responsibility for
the proper use and handling, including without limitation, the assembly, the charging process, the
use and choice of the operation area. Please refer to the operating and user instructions, it contains
important information and warnings.
Données techniques:
Input: AC 100 - 240V | 50/60Hz | 25W
Output: 8,4 V (2S 7,4 V) / 12,6 V (3S 11,1 V)
Type d‘accu/Eléments: LiPo / 2S 7,4 V; 3S 11,1 V
Courant de charge: 1,6 A | 20 W
Technical data:
Input: AC 100 - 240V | 50/60Hz | 25W
Output: 8,4 V (2S 7,4 V) / 12,6 V (3S 11,1 V)
Battery types/Cells LiPo / 2S 7,4 V; 3S 11,1 V
Charging current: 1,6 A | 20 W
Highlights:
- Equilibreur de charge intégré pour 2 à 3 cellules lipo
- Sécurité maximale (ne charge pas les cellules profondément déchargées)
- Courant de charge jusqu‘à 20 Watt à 1,6Ampère
- Arrêt automatique de la charge lorsque la tension de charge nale est atteinte
- Supporte les batteries lithium polymère 2S;7.4V et 3S;11.1V avec connecteur XH à partir de 1600mAh
- 2 LED d‘état colorées
Highlights:
- Integrated charge balancer for 2 to 3 lipo cells
- Maximum safety (does not charge deeply discharged cells)
- Charging current up to 20 Watt at 1.6Ampere
- Automatic charge stop when nal charge voltage is reached
- Supports 2S;7.4V and 3S;11.1V lithium polymer batteries with XH connector from 1600mAh
- 2 colored status LED‘s
Remarques importantes sur l‘adéquation de la batterie:
Veillez à n‘utiliser que des batteries lithium-polymère avec connecteur d‘équilibreur XH. Seules ces
batteries peuvent être utilisées avec le chargeur. Les autres connexions et types de batteries ne
doivent pas être utilisés (risque d‘incendie dû à une inversion de polarité ou à une surcharge).
Veuillez contacter le fabricant de votre batterie pour savoir si votre batterie est adaptée. Seules
des batteries LiPo d‘une capacité d‘au moins 1600mAh doivent être utilisées (sinon, il y a un risque
d‘incendie dû à un courant de charge excessif). Si vous utilisez des batteries d‘une capacité inférieu-
re à 1600mAh, elles doivent être homologuées pour un courant de charge de 1600mA (Speedchar-
ging). Veuillez demander au fabricant de votre batterie si celle-ci répond à ces exigences.
Vous ne pouvez connecter qu‘une seule batterie au chargeur à la fois. La charge de 2 batte-
ries en même temps n‘est PAS autorisée et endommagera la batterie ou le chargeur (risque
d‘incendie).
Important notes on the suitability of the battery:
Make sure to use only lithium polymer batteries with XH balancer connector. Only these may
be used with the charger. Other connections and battery types must not be used (re hazard due to
reverse polarity or overcharging may result).
Please contact the manufacturer of your battery to nd out whether your battery is suitable. Only
LiPo batteries with a capacity of at least 1600mAh must be used (otherwise there is a risk of
re due to excessive charging current). If you use batteries with a capacity below 1600mAh, the
batteries must be approved for a charging current of 1600mA (Speedcharging). Please ask the
manufacturer of your battery if your battery meets these requirements.
You may only connect one single battery to the charger at a time. Charging 2 batteries at
the same time is NOT allowed and will cause damage to the battery or charger (re hazard).
FR
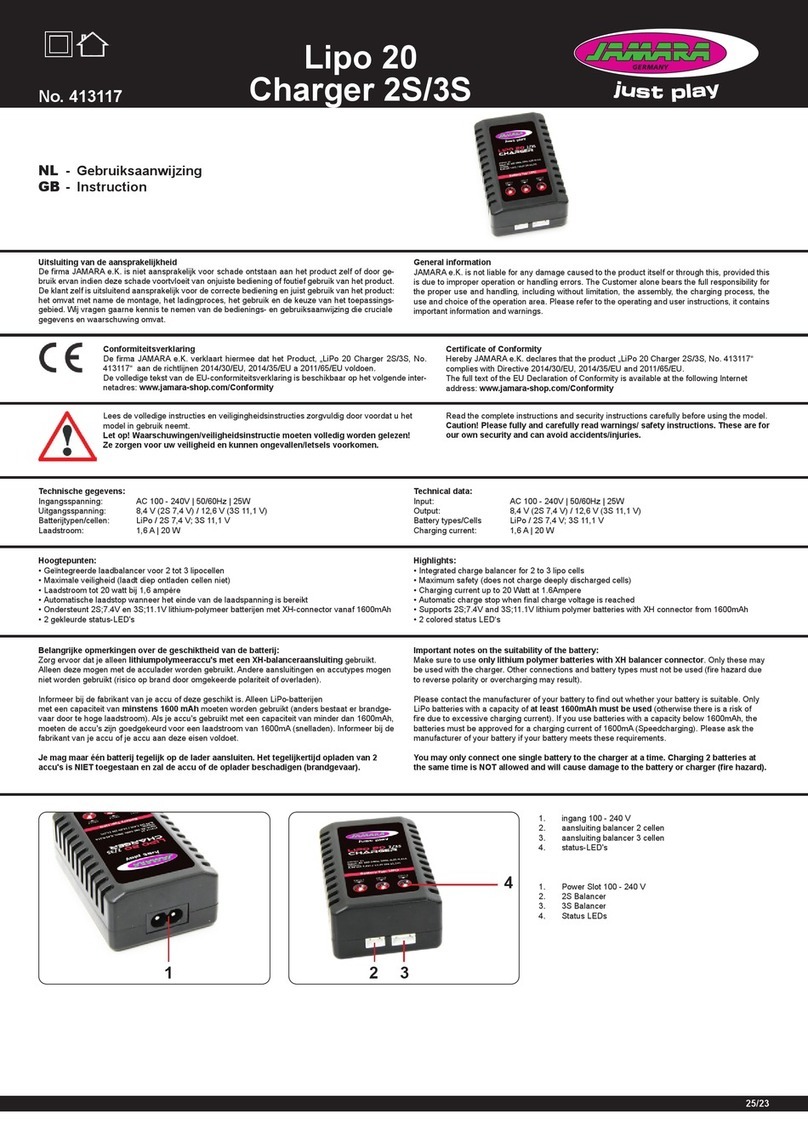
1. Entrée 100 - 240 V
2. Connecteur pour l’équilibreur 2 cellules
3. Connecteur pour l’équilibreur 3 cellules
4. LED d‘état
GB
Technical data:
1. Power Slot 100 - 240 V
2. 2S Balancer
3. 3S Balancer
4. Status LEDs
Avant de mettre en marche toute l‘unité il faut lire attentivement le mode d‘emploi.
Attention! La mise en garde et les consignes de sécurités sont à lire entièrement
pour votre sécurité et éviter tout accidents et blessures.
Read the complete instructions and security instructions carefully before using the model.
Caution! Please fully and carefully read warnings/ safety instructions. These are for
our own security and can avoid accidents/injuries.
FR - Notice d’assemblage
GB - Instruction
JAMARA e.K.
Inh. Manuel Natterer
Am Lauerbühl 5 - DE-88317 Aichstetten
Tel. +49 (0) 75 65/94 12-0 - Fax +49 (0) 75 65/94 12-23
[email protected] ●www.jamara.com
Service - Tel. +49 (0) 75 65/94 12-777
kundenservice@ jamara.com
1 2
DE - Servicehändler | GB - Service centre | FR - Revendeur de service | IT - Centro assistenza | ES - Servicio asistencia | CZ - Servisní centrum
DE - Reitter Modellbau Versand, Patricia Reitter, Degerfeldstrasse 11, 72461 Albstadt, Tel. 07432 9802700, Fax 07432 2009594, [email protected], www.modellbauversand.de
DE - Bay-Tec, Martin Schaaf, Am Bahndamm 6, 86650 Wemding, Tel. 07151 5002192, Fax 07151 5002193, [email protected], www.bay-tec.de
CH - Modellbau Zentral, Peter Hofer, Bersteneggstrasse 2, CH-6460 Altdorf, Tel. +41 (0) 794296225, Fax +41 (0) 418700213, [email protected], www.modellbau-zentral.ch
EU - JAMARA e.K., Manuel Natterer, Am Lauerbühl 5, DE-88317 Aichstetten, Tel. +49 (0) 75 65/94 12-0, Fax +49 (0) 75 65/94 12-23, [email protected], www.jamara.com
CZ - PenTec s.r.o., distributor Jamara for Czech Republic and Slovakia, Veleslavínská 30/19, CZ -162 00 Praha 6, Tel. +420 235 364 664, Mobil +420 739 075 380, servis@topdrony.cz, www.topdrony.cz
FR - Chargement d‘une batterie
1. Branchez le cordon d‘alimentation du chargeur dans une prise de courant appropriée. Les LEDs
s‘allument en vert et indiquent que le chargeur est prêt à être chargé.
2. Connectez maintenant la batterie vide au chargeur. Les batteries 2S de 7,4 V au connecteur à
3 broches ou les batteries 3S de 11,1 V au connecteur à 4 broches. 3S sur le connecteur à 4
broches. Ne forcez pas et faites attention à l‘inversion de polarité. Les LEDs passent au rouge
après quelques secondes et indiquent que les éléments de la batterie sont en train de se charger.
Attention :
Lors de la connexion d‘une batterie 2S, seules les 2 premières LEDs (Cell1-2) passent au
rouge, la LED 3 (Cell 3) reste verte. Lorsque des batteries 3S sont connectées, toutes les
LEDs sont rouges (Cell1-3).
Dès qu‘un élément de la batterie est plein, la LED correspondante passe au vert. Parce que les
cellules cellules sont chargées individuellement de manière équilibrée, il est possible qu‘une
cellule soit complètement chargée avant les autres. que les autres. Laissez toujours la batterie
sur le chargeur jusqu‘à ce que toutes les cellules connectées soient complètement chargées
(vert). (vert) pour permettre au chargeur d‘équilibrer votre batterie.
GB - Charging a battery
1. Plug the power cord of the charger into a suitable socket. The LEDS light up green and indicate
that the charger is ready for charging.
2. Now connect the empty battery to the charger. 7.4V 2S batteries to the 3 pin connector or 11.1V
3S batteries to the 4 pin connector. Do not use force and pay attention to reverse polarity. The
LEDs change to red after a few seconds and indicate that the battery cells are charging.
Attention:
When connecting a 2S battery, only the rst 2 LEDs (Cell1-2) change to red, LED 3 (Cell 3)
will remain green. When 3S batteries are connected, all LEDs are red (Cell1-3).
As soon as a the battery cell is full, the corresponding LED changes to green. Because the cells
are charged individually in a balanced way, it is possible that one cell is fully charged earlier than
the others. Always leave the battery on the charger until all connected cells are fully charged
(green) to allow the charger to balance your battery
Détection d‘une batterie défectueuse.
Lorsque vous connectez une batterie pleine au chargeur, les voyants deviennent rouges pendant
quelques secondes, puis repassent au vert. Cela signie que la batterie est déjà complètement
chargée.
Détection d‘une batterie défectueuse.
Si les LEDs restent vertes lorsqu‘une batterie vide est connectée, cela signie que la batterie est
défectueuse (défaut de cellule ou décharge profonde). Dans ce cas, déconnectez immédiatement la
batterie du chargeur et utilisez une autre batterie.
Detecting a full battery.
When you connect a full battery to the charger, the LEDs will turn red for a few seconds and then
turn green again. This means that the battery is already fully charged.
Detecting a defective battery.
If the LEDs remain green when an empty battery is connected, there is a defect in the battery (cell
defect or deep discharge). In this case, immediately disconnect the battery from the charger and
use another battery.
Consignes de recyclage
Les appareils électriques ne doivent strictement pas être jetés dans les ordures ménagères,
mais doivent être jetés séparément. Vous êtes tenues – dans la possibilité – de déposer vos
piles et appareils électriques dans les centres communaux de collectes. Si des informations
personnelles sont présents sur les appareils électriques, celles-ci doivent être retirés par
vous-même avant tout élimination du produit.
Disposal restrictions
Electrical appliances must not be disposed of in domestic waste and must be disposed of se-
parately. You are obliged to take out the batteries, if possible, and to dispose of the electrical
equipment at the communal collection points. Should personal data be stored on the electrical
appliance you must remove them by yourself.
Informations sur la sécurité
• Le chargement ne doit être e󰀨ectué que par des adultes
• Utilisation uniquement à l‘intérieur.
• Ne jamais exposer le chargeur à la poussière, à la saleté, à l‘humidité et à la lumière
directe du soleil.
• Après utilisation, débranchez toujours le chargeur de la source d‘alimentation et
retirez les batteries connectées.
• N‘ouvrez pas le chargeur pour e󰀨ectuer des réparations. Cela annulerait la garantie
et pourrait être dangereux. Si le chargeur est endommagé ou défectueux,
renvoyez-le à notre service après-vente pour réparation.
• Suivez les instructions du fabricant de la batterie.
Safety Information
• Charging may only be carried out by adults
• Only for indoor use.
• Never expose the charger to dust, dirt, moisture and direct sun light.
• After use always disconnect the charger from the power source and remove any
connected batteries.
• Do not open the charger to do repairs. This will void the guarantee and may be
dangerous. If the charger is damaged or faulty, return it to our service department
for repairs.
• Follow the instructions of the battery manufacturer.
Sous réserve de toute erreur ou modication technique. Copyright JAMARA e. K. 2021
Toute copie ou reproduction, même partielle n‘est possible qu‘avec l‘autorisation de la société JAMARA e. K.
All rights reserved. Copyright JAMARA e.K. 2020
Copying or reproduction in whole or part, only with the expressed permission of JAMARA e.K.
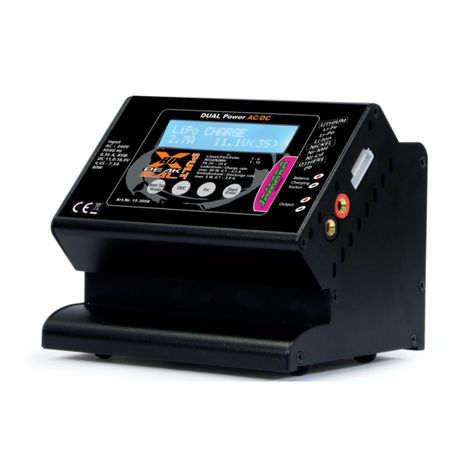
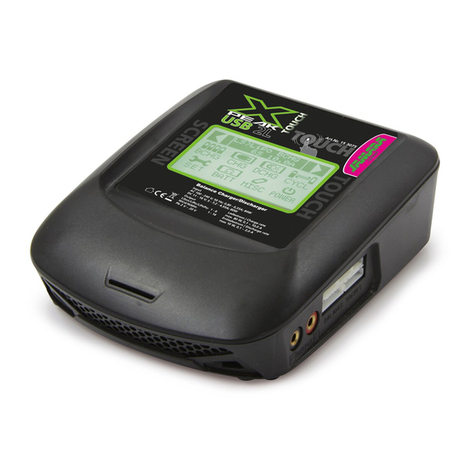
This manual suits for next models

2

Other Jamara Batteries Charger manuals

Jamara X-Peak 90 Touch User manual

Jamara

Jamara X-Peak 90 Touch User manual

Jamara X-Peak Touch USB 2L User manual

Jamara

Jamara X-Peak Touch USB 2L User manual

Jamara X-Peak 80 BAL V2 User manual

Jamara

Jamara X-Peak 80 BAL V2 User manual

Jamara X-Peak Touch USB 2L User manual

Jamara

Jamara X-Peak Touch USB 2L User manual

Jamara Lipo 20 User manual

Jamara

Jamara Lipo 20 User manual

Jamara LiPo 2S User manual

Jamara

Jamara LiPo 2S User manual

Jamara Lipo 20 User manual

Jamara

Jamara Lipo 20 User manual

Jamara X-Peak 80 BAL V2 User manual

Jamara

Jamara X-Peak 80 BAL V2 User manual

Jamara Lipo 20 User manual

Jamara

Jamara Lipo 20 User manual

Jamara X-Peak 80 BAL V2 User manual

Jamara

Jamara X-Peak 80 BAL V2 User manual

Jamara X-Peak 80 BAL Pult Edition User manual

Jamara

Jamara X-Peak 80 BAL Pult Edition User manual

Jamara LiPo 2S User manual

Jamara

Jamara LiPo 2S User manual

Jamara Lipo 20 User manual

Jamara

Jamara Lipo 20 User manual

Jamara Lipo 20 Charger 2S/3S User manual

Jamara

Jamara Lipo 20 Charger 2S/3S User manual

Jamara X-Peak 80 BAL V2 User manual

Jamara

Jamara X-Peak 80 BAL V2 User manual

Jamara Ecological Wind User manual

Jamara

Jamara Ecological Wind User manual

Jamara X-Peak 100 Touch Dual USB User manual

Jamara

Jamara X-Peak 100 Touch Dual USB User manual

Jamara Lipo 20 User manual

Jamara

Jamara Lipo 20 User manual

Jamara Lipo 20 User manual

Jamara

Jamara Lipo 20 User manual

Jamara X-Peak 80 BAL Pult Edition User manual

Jamara

Jamara X-Peak 80 BAL Pult Edition User manual

Jamara Lipo 20 User manual

Jamara

Jamara Lipo 20 User manual

Jamara Ride-on Strong Bull User manual

Jamara

Jamara Ride-on Strong Bull User manual

Jamara Lipo 20 Charger 2S User manual

Jamara

Jamara Lipo 20 Charger 2S User manual

Jamara Lipo 20 413117 User manual

Jamara

Jamara Lipo 20 413117 User manual

Popular Batteries Charger manuals by other brands

Siemens eCharger user guide

Siemens

Siemens eCharger user guide

VOLT TIME Source 2 Installation and setup guide

VOLT TIME

VOLT TIME Source 2 Installation and setup guide

Hitachi Koki UC 24Yjuc24yj Handling instructions

Hitachi Koki

Hitachi Koki UC 24Yjuc24yj Handling instructions

iSun BattPak instructions

iSun

iSun BattPak instructions

Monarch 9464 four station battery charger operating instructions

Monarch

Monarch 9464 four station battery charger operating instructions

Datalogic DL-AXIST Four Slot Battery Charger quick start guide

Datalogic

Datalogic DL-AXIST Four Slot Battery Charger quick start guide

EINHELL 45.137.55 Original operating instructions

EINHELL

EINHELL 45.137.55 Original operating instructions

NOCO Genius GENIUS10 user manual

NOCO Genius

NOCO Genius GENIUS10 user manual

Black & Decker BC40EWB instruction manual

Black & Decker

Black & Decker BC40EWB instruction manual

Daewoo DAMAX 15 user manual

Daewoo

Daewoo DAMAX 15 user manual

KRAUSMANN C2040-2 Operation manual

KRAUSMANN

KRAUSMANN C2040-2 Operation manual

ISDT 608AC instruction manual

ISDT

ISDT 608AC instruction manual

BASETech BTL-4 operating instructions

BASETech

BASETech BTL-4 operating instructions

Deltran Battery Tender WP800 Installation & Mounting Guide

Deltran Battery Tender

Deltran Battery Tender WP800 Installation & Mounting Guide

Sony BC-U2 operating instructions

Sony

Sony BC-U2 operating instructions

Toro Flex-Force Power System 81101 Operator's manual

Toro

Toro Flex-Force Power System 81101 Operator's manual

Sealey CP40MC instructions

Sealey

Sealey CP40MC instructions

GYS BATIUM 25/24 manual

GYS

GYS BATIUM 25/24 manual

manuals.online logo
manuals.online logoBrands
  • About & Mission
  • Contact us
  • Privacy Policy
  • Terms and Conditions

Copyright 2025 Manuals.Online. All Rights Reserved.