manuals.online logo
Brands
  1. Home
  2. •
  3. Brands
  4. •
  5. JK Audio
  6. •
  7. Accessories
  8. •
  9. JK Audio TAP-1 User manual

JK Audio TAP-1 User manual

TAP-1
Telephone Audio + Power Interface
Users Guide
JK Audio, Inc.
2 3
Features
TAP-1 lets you attach an analog telephone to your consumer or
laboratory grade audio equipment or PC sound card using
standard RCA audio input and output jacks. There are three
jacks on the front of TAP-1. The RJ-11 "phone" jack is the
electrical equivilent to the wall jack that you would typically plug
your telephone into. Technically speaking, TAP-1 provides up to
70 milliamps of -48 volts DC to power your telephone and then
separates the telephone audio signal into transmit and receive
voice paths. This is similar in function to the line card on a
telephone company central office switching system. The RCA
jacksprovidehighqualitytransmitandreceivevoicepathstoyour
audioequipment.
The rear panel of the TAP-1 has three adjustments which are
accessible with a small, flat blade screwdriver. The input level
adjustmentcontrolsthevolumeofthesignalgoingthroughTAP-1
and into the phone. The output level adjusts the volume from the
phone to your audio equipment. The null adjustment is used to
finetunethe transmit/ receiveseparation betweenthetelephone
andtheTAP-1. This iscommonly referredto astrans-hybridloss
orechoreturnloss.
Installation
1) Connect a telephone to the front panel RJ-11 jack. DO
NOTCONNECTTHISJACKTOATELEPHONELINE.
2) Connect a signal source (CD player, D/A converter,
signalgenerator..)totheinputjack.
3) Connect the TAP-1 output jack to the input of your
equipment (amplifier line input, tape recorder input,
oscilloscope...).
4) PluginthesuppliedACadaptorandapplypower.
5) Adjust the line input and line output volume controls to
suit your application.
Applications
AsingleTAP-1canbeusedinapplicationssuchas:
+phonetestingandevaluation,
+trainingASRalgorithmsforphonelineuse,
+ simulating phone based services without actual
connection to a phone line.
Service Simulator Example
Input__ __Output
Computer simulating
a central office
Tap-1
4 5
Applications
Two TAP-1s can be used in applications such as:
+hardwired,telephonebasedintercom,
+ getting real "telephone bandwidth" recordings from TV
studiotelephones.
TV Studio Example
Applications
A single TAP-1 can also be used for internet telephone use to
give you the feel of a real telephone while talking over the net.
If you use a cordless telephone you can walk around your
office home without being tied to your computer.
Internet Telephone Example
Input__ __Output
Tap-1
Input__ __Output
Tap-1
Tape recorder
or console
Input__ __Output
Computer connected
to the internet
Tap-1
Sound
card
4 5
Applications
Two TAP-1s can be used in applications such as:
+hardwired,telephonebasedintercom,
+ getting real "telephone bandwidth" recordings from TV
studiotelephones.
TV Studio Example
Applications
A single TAP-1 can also be used for internet telephone use to
give you the feel of a real telephone while talking over the net.
If you use a cordless telephone you can walk around your
office home without being tied to your computer.
Internet Telephone Example
Input__ __Output
Tap-1
Input__ __Output
Tap-1
Tape recorder
or console
Input__ __Output
Computer connected
to the internet
Tap-1
Sound
card
6 7
Hybrid Null Adjust (optional)
The null adjustment allows you to manually optimize the
relationship between the hybrid in your telephone and the hybrid
in the TAP-1. In most applications, this can be left at the factory
setting, or set once and then left alone. If however you are
concernedwithtransmit /receive isolationthenyou shouldfollow
thisprocedure:
1) With a telephone connected and in the off-hook position,
playasinewave,noisesource,orothersuitablesignalinto
theTAP-1lineinputjack. Besuretocoverthemicrophone
of the handset to prevent the acoustical signal from
travelingfromthereceivertothemicrophone.
2) Observe the signal on the output jack of the TAP-1 using a
meter,oscilloscope,oramplifierandspeaker.
3) Adjust the null control to find the minimum (the point
where the signal bottoms out, or is reduced to near zero).
The null adjust is a ten-turn control. Keep turning in one
direction or another to find the null or until you hear or feel a
click. The click means you are at the end of travel and
you must reverse directions.
Specifications
Electrical:
RJ-11
AC Impedance: 510 ohms
DC series resistance: 480 ohms
DC Voltage: -48VDC (open circuit)
DC Current Max: 70 mA (short circuit)
Trans-Hybrid Loss: > 50 dB at 1 kHz
Hybrid Null Adjust: Rear panel recessed control.
Input
Connector: Gold plated RCA jack.
Impedance: 600 ohms
Level: Rear panel recessed control.
Bandwidth: 60 Hz - 15 kHz (+- 3 dB)
120 Hz - 8 kHz (+- 1 dB)
Output
Connector: Gold plated RCA jack.
Impedance: 600 ohms
Level: Rear panel recessed control.
Bandwidth: 180 Hz - 12 kHz (+- 3 dB)
300 Hz - 6 kHz (+- 1 dB)
Physical:
Housing: ABS Plastic
Size: 1.6" high x 5.1" wide x 5.2" deep
Weight: 1 pound
Power: 18 VAC, 160 mA
(120 VAC, UL approved
transformer)
2/00
JK Audio Inc.
2701 N. 45th Road, Sandwich, IL 60548 (815) 786-2929
Warranty
The Model TAP-1 Interface is covered by a 2 year warranty to
be free from defective workmanship and materials. In the
event that the TAP-1 needs repair, you must call us to get an
authorization, and then carefully pack and ship it to us. You will
pay for shipping to us and we will pay for return back to you,
UPS ground. No free repairs will be made if the defect was
caused by misuse, weather conditions, or other cause, except
for defective workmanship or materials. THERE ARE NO
EXPRESS OR IMPLIED WARRANTIES WHICH EXTEND
BEYOND THE WARRANTY HERE MADE.

Other JK Audio Accessories manuals

JK Audio Daptor Three User manual

JK Audio

JK Audio Daptor Three User manual

JK Audio BDRVM3S User manual

JK Audio

JK Audio BDRVM3S User manual

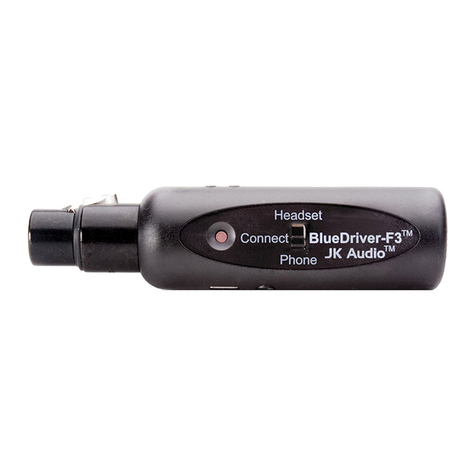
JK Audio BlueDriver-F3 User manual

JK Audio

JK Audio BlueDriver-F3 User manual

JK Audio CellTap User manual

JK Audio

JK Audio CellTap User manual

JK Audio Daptor Three User manual

JK Audio

JK Audio Daptor Three User manual

JK Audio BlueDriver-F3 User manual

JK Audio

JK Audio BlueDriver-F3 User manual

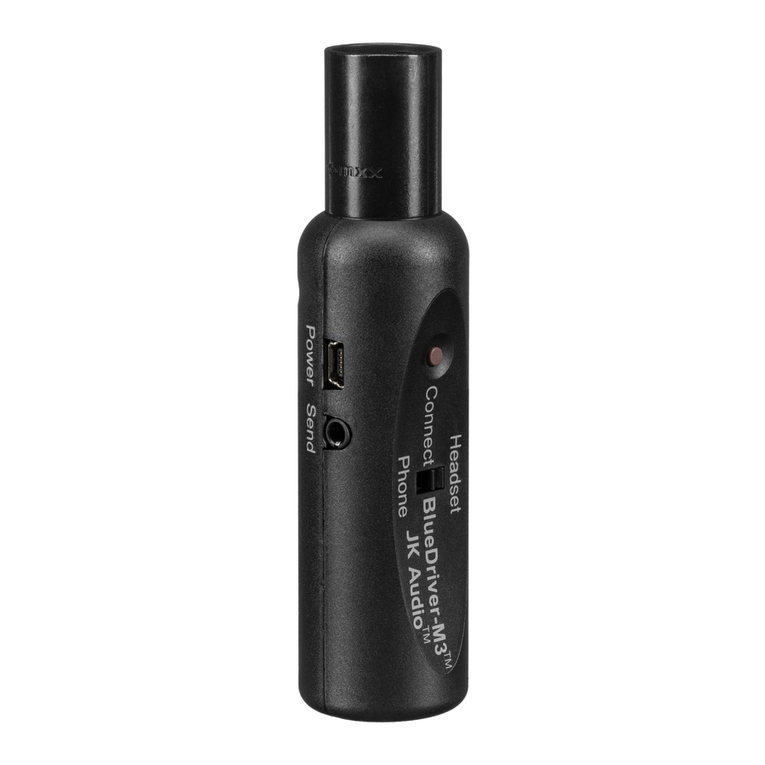
JK Audio BlueDriver-M3 User guide

JK Audio

JK Audio BlueDriver-M3 User guide

JK Audio BlueDriver-F3 User manual

JK Audio

JK Audio BlueDriver-F3 User manual

JK Audio BluePack User manual

JK Audio

JK Audio BluePack User manual

JK Audio BlueDriver-M3 User manual

JK Audio

JK Audio BlueDriver-M3 User manual

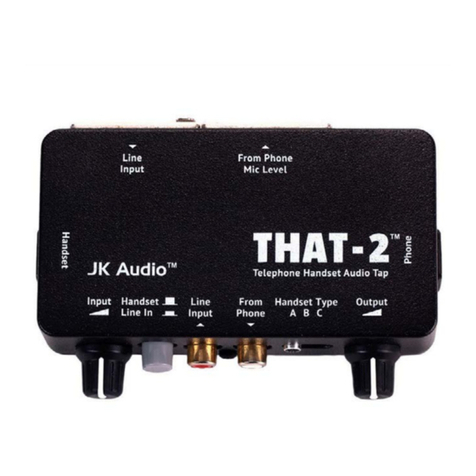
JK Audio that-2 User manual

JK Audio

JK Audio that-2 User manual

JK Audio BlueDriver-M3 User manual

JK Audio

JK Audio BlueDriver-M3 User manual

JK Audio Innkeeper 2 User manual

JK Audio

JK Audio Innkeeper 2 User manual

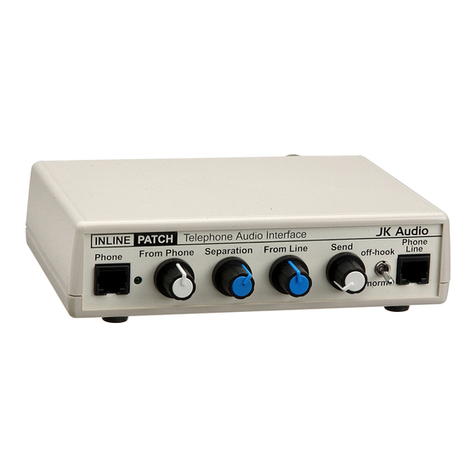
JK Audio InlinePatch User manual

JK Audio

JK Audio InlinePatch User manual

JK Audio InlinePatch User manual

JK Audio

JK Audio InlinePatch User manual

JK Audio ComPack User manual

JK Audio

JK Audio ComPack User manual

JK Audio InlinePatch User manual

JK Audio

JK Audio InlinePatch User manual

JK Audio BlueDriver-M3 User manual

JK Audio

JK Audio BlueDriver-M3 User manual

JK Audio BluePack User manual

JK Audio

JK Audio BluePack User manual

Popular Accessories manuals by other brands

Amphenol Temposonics G Series user manual

Amphenol

Amphenol Temposonics G Series user manual

Orno OR-CR-242 quick start guide

Orno

Orno OR-CR-242 quick start guide

Hioth CT-SMZB2007-HM user manual

Hioth

Hioth CT-SMZB2007-HM user manual

Apogee SQ-420 owner's manual

Apogee

Apogee SQ-420 owner's manual

Vega VEGAPULS Air 41 operating instructions

Vega

Vega VEGAPULS Air 41 operating instructions

PCB Piezotronics ICP 109C11 Installation and operating manual

PCB Piezotronics

PCB Piezotronics ICP 109C11 Installation and operating manual

Procool SP640X quick start guide

Procool

Procool SP640X quick start guide

Lightware LW24 LiDAR Product guide

Lightware

Lightware LW24 LiDAR Product guide

Oregon Scientific WS113 user manual

Oregon Scientific

Oregon Scientific WS113 user manual

Waeco MagicSafe MS650PIR Installation and operating manual

Waeco

Waeco MagicSafe MS650PIR Installation and operating manual

ring Video Doorbell Gen.2 quick start guide

ring

ring Video Doorbell Gen.2 quick start guide

TEKTELIC Communications TUNDRA quick start guide

TEKTELIC Communications

TEKTELIC Communications TUNDRA quick start guide

Amphenol Temposonics T Series Operation manual

Amphenol

Amphenol Temposonics T Series Operation manual

Kasanova MAS020950 instruction manual

Kasanova

Kasanova MAS020950 instruction manual

Axis T8342 installation guide

Axis

Axis T8342 installation guide

ML BT CTEMS Series Installation & maintenance manual

ML

ML BT CTEMS Series Installation & maintenance manual

Dnake DK230 user manual

Dnake

Dnake DK230 user manual

Omron E3NT-R Operation manual

Omron

Omron E3NT-R Operation manual

manuals.online logo
manuals.online logoBrands
  • About & Mission
  • Contact us
  • Privacy Policy
  • Terms and Conditions

Copyright 2025 Manuals.Online. All Rights Reserved.