manuals.online logo
Brands
  1. Home
  2. •
  3. Brands
  4. •
  5. Johnson Controls
  6. •
  7. Security Camera
  8. •
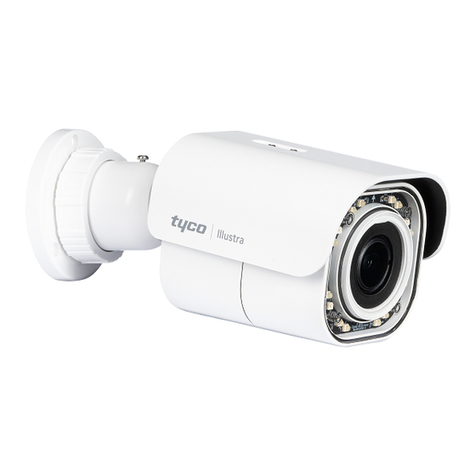
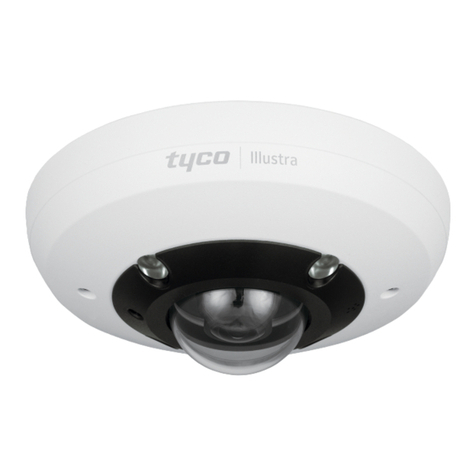
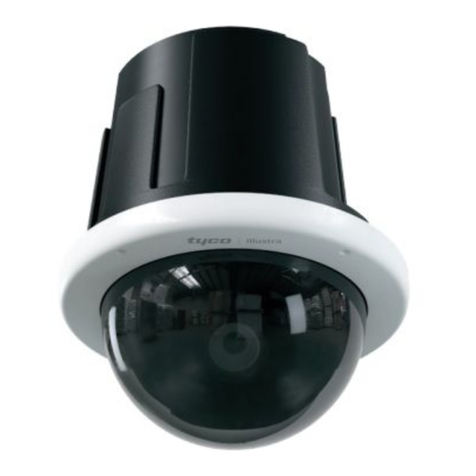
  9. Johnson Controls Tyco Illustra Flex User manual

Johnson Controls Tyco Illustra Flex User manual

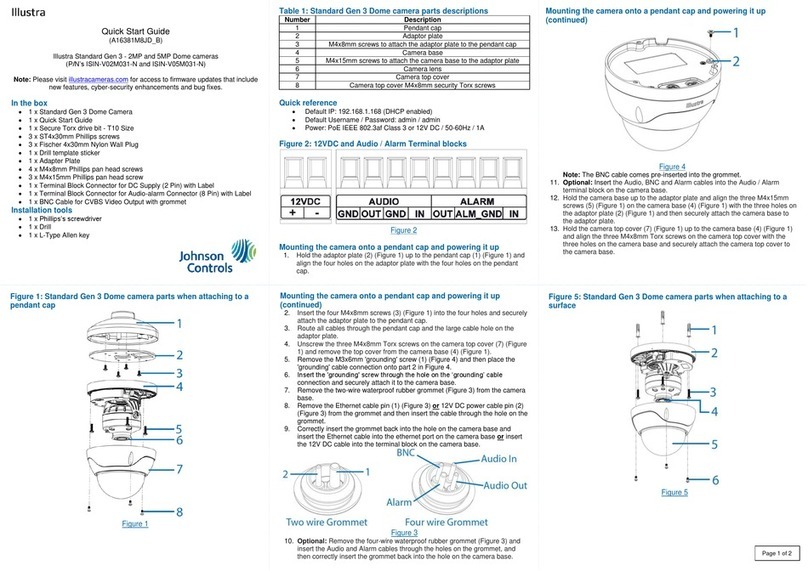
Accessing the connector pins
A. Remove the two screws located on the top cover (1) (Figure 4) to open it.
Figure 4
Security
Quick Start Guide
(8200-1456-10_E0)
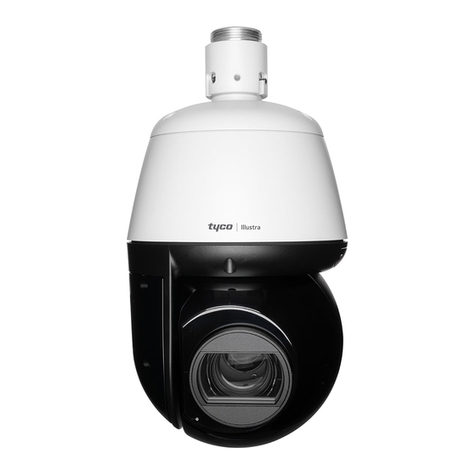
Illustra Flex Gen 2 PTZ Cameras
In the box
1 x Network PTZ Camera
1 x Printed Quick Start Guide
1 x Printed Regulatory document
1 x NTSC/PAL output female BNC cable
1 x 2 position 3mm euro style plug
1 x Torx 20 Security L-Key
1 x Torx 6 Security L-Key
1 x Torx 10 Security L-Key
1 x 12-pin terminal connector for I/O function
1 x Safety cable (Pre-attached to the camera)
Installation tools
1 x Drill
1 x Screw drivers
1 x Wire cutters
Quick reference
Default IP: 192.168.1.168 (DHCP enabled)
Default Username and Password: admin
Note: For PTZ units that include a bubble ensure that all bubble packaging is
removed before powering up the unit. Also, remove the additional packaging inside
the bubble cap.
Pictorial Index of the camera (IFS02P6INWIT / IFS02P6ONWITA)
Figure 1
Table 1: Pictorial index descriptions
Button / connections
Description
1
NPT Pendant Cap
2
Screws (x2) to open and lock the top cover
3
Top cover
4
Camera lens
5
Camera head
Removing the bubble from the camera (IFS02P6ISWTT)
Note: This is only applicable to specific indoor units with bubble.
A. Remove the three screws located on the camera head (1) (Figure 2).
Figure 2
Removing the bubble from the camera (IFS02P6ISWTT) (continued)
B. Carefully remove the bubble unit (1) (Figure 3)
Figure 3
Figure 3: Location and descriptions of the buttons / connections
Figure 5
Security
Installing the rubber cable seal in to the NPT pendant cap
A. Securely place the rubber cable seal (1) (Figure 6) into the NPT pendant cap
(2) (Figure 6).
Figure 6
Connecting the wires
This unit supports one of the following options as power supply:
1. Connect a power source.
AC24V wired to connector and separate RJ45 Ethernet.
And / Or
PoE through RJ45 connector. Indoor units operate with IEEE 802.3at
PoE+ (25W). The Outdoor unit operates with IEEE 802.3bt (51W).
2. Connect any optional audio or digital inputs or outputs.
Note: After connecting all cables ensure that the two screws on the top cover are
securely attached.
Mounting the camera
Refer to the Illustra mounting accessories webpage
https://www.illustracameras.com/products/accessories/mounts for assistance.
The following mount accessory part numbers are applicable with the Illustra
Flex 2MP PTZ camera: IFIRPTZWRECMT, IFIRPTZC2X2, RHOSW, RHOLW,
RHOTR, ROTRF, RHOWCA, ROENDC.
Inserting or removing the micro SD card
Note: For PTZ units that include a bubble you must remove the bubble before
accessing the micro SD card slot.
A. Remove the two screws (1) (Figure 7) located on the micro SD card cover.
B. Carefully pull open the cover to insert (or remove) the micro SD card into
(or from) the camera.
Figure 7
Inserting or removing the micro SD card (continued)
Note: It is advised that you reboot the camera after inserting the micro SD card.
C. Secure the two screws (1) (Figure 7) located on the micro SD card cover.
Installing the mount adaptor on to the NPT pendant cap
A. Place the mount adaptor (1) (Figure 8) on to the NPT pendant cap (2)
(Figure 8) and align the holes on the mount adaptor with the holes on the
NPT pendant cap.
B. Insert the five threaded screws into the five holes and use the Torx security
L-Key to securely attach the screws and the mount adaptor to the NPT cap.
Note: To maintain the waterproof seal only pierce holes that are required for the
installation.
Figure 8
Warnings
1. Installation and service should be performed only by qualified and
experienced technicians and comply with all local codes and rules to
maintain your warranty.
2. Wipe the camera with a dry soft cloth. For tough stains, slightly apply with
diluted neutral detergent and wipe with a dry soft cloth.
3. Do not apply benzene or thinner to the camera, which may cause the
surface of the unit to be melted or lens to be fogged.
4. To meet EU EMC immunity requirements for security equipment the
mains power for equipment powering this unit should be backed up by an
uninterruptible power supply.
5. Avoid operating or storing the unit in the following locations:
a. Near fluorescent lamps or objects with reflections.
b. Under unstable or flickering light sources.
© 2019 Johnson Controls. All rights reserved.
JOHNSON CONTROLS, TYCO and ILLUSTRA are trademarks and/or registered
trademarks. Unauthorized use is strictly prohibited.
This manual suits for next models

1

Other Johnson Controls Security Camera manuals

Johnson Controls Tyco Illustra User manual

Johnson Controls

Johnson Controls Tyco Illustra User manual

Johnson Controls Illustra Standard Gen 3 User manual

Johnson Controls

Johnson Controls Illustra Standard Gen 3 User manual

Johnson Controls Tyco Illustra Essentials Gen4 User manual

Johnson Controls

Johnson Controls Tyco Illustra Essentials Gen4 User manual

Johnson Controls Illustra Flex Gen 4 User manual

Johnson Controls

Johnson Controls Illustra Flex Gen 4 User manual

Johnson Controls Tyco Illustra Pro Gen4 User manual

Johnson Controls

Johnson Controls Tyco Illustra Pro Gen4 User manual

Johnson Controls Tyco Pro Gen2 User manual

Johnson Controls

Johnson Controls Tyco Pro Gen2 User manual

Johnson Controls tyco Illustra Pro User manual

Johnson Controls

Johnson Controls tyco Illustra Pro User manual

Johnson Controls Illustra PRO User manual

Johnson Controls

Johnson Controls Illustra PRO User manual

Johnson Controls tyco Illustra IBPN-M-IS-0 User manual

Johnson Controls

Johnson Controls tyco Illustra IBPN-M-IS-0 User manual

Johnson Controls Holis JSV02-D02-OI01 User manual

Johnson Controls

Johnson Controls Holis JSV02-D02-OI01 User manual

Johnson Controls Tyco Holis JSV User manual

Johnson Controls

Johnson Controls Tyco Holis JSV User manual

Johnson Controls TYCO Illustra Pro IPS02-P07-RT04 User manual

Johnson Controls

Johnson Controls TYCO Illustra Pro IPS02-P07-RT04 User manual

Johnson Controls Tyco Illustra Flex IFS03D1ICWTT Service manual

Johnson Controls

Johnson Controls Tyco Illustra Flex IFS03D1ICWTT Service manual

Popular Security Camera manuals by other brands

Eneo IPD-62M2812P0A user manual

Eneo

Eneo IPD-62M2812P0A user manual

Nite Devil CAM620 manual

Nite Devil

Nite Devil CAM620 manual

MachPower SM-BCW2M-001 Quick installation guide

MachPower

MachPower SM-BCW2M-001 Quick installation guide

Idis DC-T6223HRL Operation manual

Idis

Idis DC-T6223HRL Operation manual

Meari Flight 4T quick guide

Meari

Meari Flight 4T quick guide

Interlogix TVB-5501 installation guide

Interlogix

Interlogix TVB-5501 installation guide

Vitek VT-PTZ10 user manual

Vitek

Vitek VT-PTZ10 user manual

Axis EVI-D30 installation guide

Axis

Axis EVI-D30 installation guide

DivioTec NBR225P user manual

DivioTec

DivioTec NBR225P user manual

Panasonic WV-V1330LK manual

Panasonic

Panasonic WV-V1330LK manual

ZKTeco FC700 installation manual

ZKTeco

ZKTeco FC700 installation manual

Ezviz H3c user manual

Ezviz

Ezviz H3c user manual

Samsung SCC-C6455N user manual

Samsung

Samsung SCC-C6455N user manual

CBC Ganz ZC-NH406P instruction manual

CBC

CBC Ganz ZC-NH406P instruction manual

Arm Electronics C420BCIR100 Specification sheet

Arm Electronics

Arm Electronics C420BCIR100 Specification sheet

TRENDnet TV-IP322WI user guide

TRENDnet

TRENDnet TV-IP322WI user guide

THOMSON 512503 quick start guide

THOMSON

THOMSON 512503 quick start guide

dallmeier Picodome DDF4220HDV Series Configuration guide

dallmeier

dallmeier Picodome DDF4220HDV Series Configuration guide

manuals.online logo
manuals.online logoBrands
  • About & Mission
  • Contact us
  • Privacy Policy
  • Terms and Conditions

Copyright 2025 Manuals.Online. All Rights Reserved.