manuals.online logo
Brands
  1. Home
  2. •
  3. Brands
  4. •
  5. Johnson Controls
  6. •
  7. Security Camera
  8. •
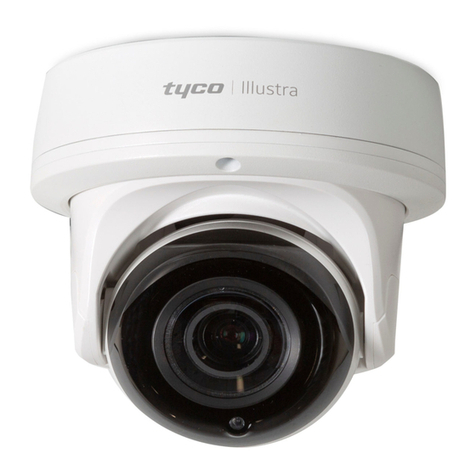
  9. Johnson Controls Tyco Illustra Pro Gen4 User manual

Johnson Controls Tyco Illustra Pro Gen4 User manual

Table 2: Camera interior buttons / connections descriptions
Buttons / Connectors
Description
AC24V Power connector
PoE Ethernet port
Analog out port
Audio and Alarm pins
(See Figure 3 for descriptions)
Reset to factory default (Hold for 5
seconds and then release)
Power LED indicator
Reboots the camera
Security
Quick Start Guide
(8200-2007-01_E)
Illustra Pro Gen4 2MP & 8MP IR PTZ Outdoor camera
(P/N IPS02-P24-OI04 & IPS08-P25-OI04)
In the box
•1 x Illustra IR PTZ Camera
•1 x Printed Quick Start Guide
•1 x Printed Regulatory Document
•1 x NTSC/PAL output female BNC cable
•1 x 2-pin European style terminal block
•1 x Torx 20 security L-Key & 1 x Torx 10 security L-Key
•1 x 12-pin terminal connector for I/O function
•1 x Safety cable (Pre-attached to the camera)
•1 x Mount adaptor
•3 x ¼ 20 UNC security screws
•1 x Rubber grommet
•1 x RJ45 Insert tool
Installation tools
•1 x Screw driver
•1 x Torx 20 security L-Key & 1 x Torx 20 security L-Key
•1 x Drill
•1 x Wire cutters
Figure 1: PG4 IR PTZ camera parts
Figure 1
Table 1: Camera part descriptions
Number
Description
1
NPT Pendant Cap
2
Screw (x2) to open and lock the top cover
3
Top cover
4
SD Card Cover
5
Camera lens
6
Camera head
Quick reference
•Default IP: 192.168.1.168 (DHCP enabled)
•Default Username / Password: admin / admin
•Power: PoE 802.3bt 90w or AC 24V
Note: Before you power up the camera; please ensure that all
packaging has been removed, including packaging located inside
the bubble assembly. As part of the start-up sequence the camera runs
motor calibration, this includes a 15 second 'shake' procedure.
Accessing the camera interior buttons / connections
1. Use the Torx security L-Key to remove the two screws on the
camera top cover (1) (Figure 2).
Figure 2
Figure 3: Audio and alarm pin descriptions
Figure 3
Mounting the camera
Refer to the Illustra mounting accessories webpage
https://www.illustracameras.com/products/accessories/mounts for
assistance. The following mount accessory part numbers are
applicable with the Illustra Pro Gen4 2MP and 8MP IR PTZ camera:
RHOSW, RHOLW, RHOTR, ROTRF, RHOWCA, ROENDC.
Installing the rubber cable seal in to the NPT pendant cap
1. Securely place the rubber cable seal (2) (Figure 5) into the pendant
cap (3) (Figure 6).
Figure 6
2. Place the mount adaptor (1) (Figure 6) on to the NPT pendant cap
(3) (Figure 6) and align the holes on the mount adaptor with the
holes on the NPT pendant cap.
3. Insert the three security screws into the three holes and use the
Torx security L-Key to securely attach the screws and the mount
adaptor to the NPT cap.
Security
Mounting the camera to the RHOSW accessory
1. Hold the large loop on the safety lanyard (2) (Figure 4) up next to
the mounting arm (1) (Figure 4).
2. Ensure that the smaller loop on the safety lanyard is placed
around the mounting arm and then through the hole in the larger
loop so that the safety lanyard is securely attached to the
mounting arm.
3. Remove the safety lanyard screw (3) (Figure 4) on the camera.
4. Place the smaller loop on the safety lanyard around the screw
hole on the camera and then insert the screw to securely attach
the safety lanyard to the camera.
Mounting the camera to the RHOSW accessory (continued)
Figure 4
Inserting or removing the micro SD card
1. Remove the two screws located on the micro SD card cover (4)
(Figure 1).
Figure 5
Inserting or removing the micro SD card (continued)
2. Carefully pull open the cover to access the SD card slot (1)
(Figure 5) and insert (or remove) the micro SD card into (or from)
the camera.
Note: It is advised that you reboot the camera after inserting the
micro SD card.
3. Secure the two screws located on the micro SD card cover.
Note: The USB cable connection slot (2) (Figure 5) for Wi-Fi
configuration is also located under the micro SD card cover.
The Wi-Fi option allows wireless configuration of the camera at
the point of install in conjunction with the Illustra Tools app (Illustra
Wi-Fi dongle required).
Connecting the wires
This unit supports one of the following options as power supply:
1. Connect a power source.
•AC24V wired to connector and separate RJ45 Ethernet.
OR
•PoE through RJ45 connector. The Outdoor unit operates with
IEEE 802.3bt (71W max).
2. Connect any optional audio or digital inputs or outputs.
Note: After connecting all cables ensure that the two screws on
the top cover are securely attached to maintain the waterproof
seal.
Installing the mount adaptor on to the NPT pendant cap
(continued)
Note: To maintain the waterproof seal only pierce holes that are
required for the installation.
Passing the RJ45 connector through the grommet
1. Remove the plug from the grommet (1) (Figure 7) by pulling the stub
(2) (Figure 7) to create a hole in the grommet.
Figure 7
2. Insert the RJ45 cable connector (1) (Figure 8) into the insert tool (2)
(Figure 8).
3. Push the insert tool and cable through the grommet hole (3) (Figure
8).
4. Remove the insert tool from the RJ45 connector and pass the cable
through the NPT cap (4) (Figure 8).
Security
Passing the RJ45 connector through the grommet
(continued)
Figure 8
Warnings
1. Before you power up the camera; please ensure that all
packaging has been removed, including packaging located
inside the bubble assembly.
2. Installation and service should be performed only by qualified and
experienced technicians and comply with all local codes and rules to
maintain your warranty.
3. Wipe the camera with a dry soft cloth. For tough stains, slightly apply
with diluted neutral detergent and wipe with a dry soft cloth.
4. Do not apply benzene or thinner to the camera, which may cause
the surface of the unit to be melted or lens to be fogged.
5. To meet EU EMC immunity requirements for security equipment the
mains power for equipment powering this unit should be backed up
by an uninterruptible power supply.
6. When the camera is powered up and not attached to a mount, or
unsupported mounts, or if the camera is loose in / on a mount then
this may result in motor calibration failure or camera vibration. Motor
calibration runs when the camera boots up.
7. Avoid operating or storing the unit in the following locations:
a. Near fluorescent lamps or objects with reflections.
b. Under unstable or flickering light sources.
© 2022 Johnson Controls. All rights reserved. JOHNSON CONTROLS,
TYCO and ILLUSTRA are trademarks and/or registered trademarks.
Unauthorized use is strictly prohibited.

This manual suits for next models

2

Other Johnson Controls Security Camera manuals
Johnson Controls tyco Illustra Pro User manual

Johnson Controls

Johnson Controls tyco Illustra Pro User manual

Johnson Controls tyco Illustra IBPN-M-IS-0 User manual

Johnson Controls

Johnson Controls tyco Illustra IBPN-M-IS-0 User manual

Johnson Controls Tyco Illustra Flex IFS03D1ICWTT Service manual
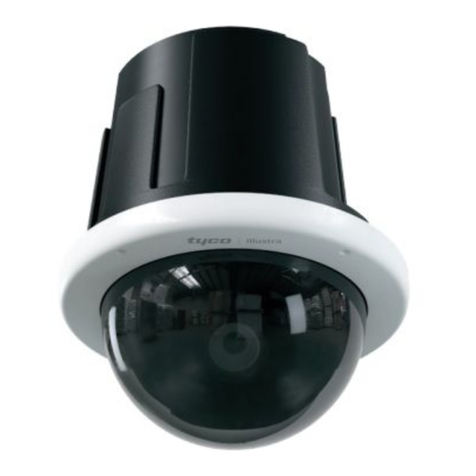
Johnson Controls

Johnson Controls Tyco Illustra Flex IFS03D1ICWTT Service manual

Johnson Controls Illustra Flex Gen 4 User manual

Johnson Controls

Johnson Controls Illustra Flex Gen 4 User manual

Johnson Controls Tyco Illustra Essentials Gen4 User manual

Johnson Controls

Johnson Controls Tyco Illustra Essentials Gen4 User manual

Johnson Controls Holis JSV02-D02-OI01 User manual

Johnson Controls

Johnson Controls Holis JSV02-D02-OI01 User manual

Johnson Controls TYCO Illustra Pro IPS02-P07-RT04 User manual
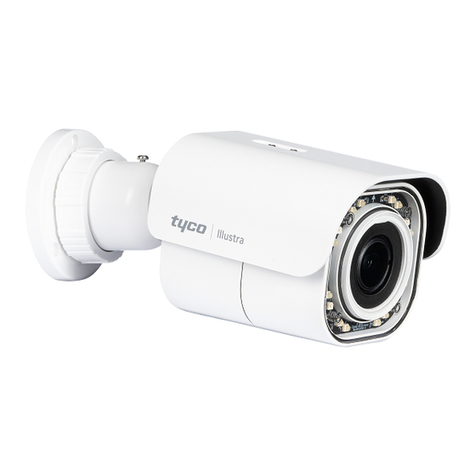
Johnson Controls

Johnson Controls TYCO Illustra Pro IPS02-P07-RT04 User manual

Johnson Controls Illustra PRO User manual

Johnson Controls

Johnson Controls Illustra PRO User manual

Johnson Controls Tyco Illustra Flex User manual

Johnson Controls

Johnson Controls Tyco Illustra Flex User manual

Johnson Controls Tyco Holis JSV User manual

Johnson Controls

Johnson Controls Tyco Holis JSV User manual

Johnson Controls Tyco Illustra User manual

Johnson Controls

Johnson Controls Tyco Illustra User manual

Johnson Controls Tyco Pro Gen2 User manual
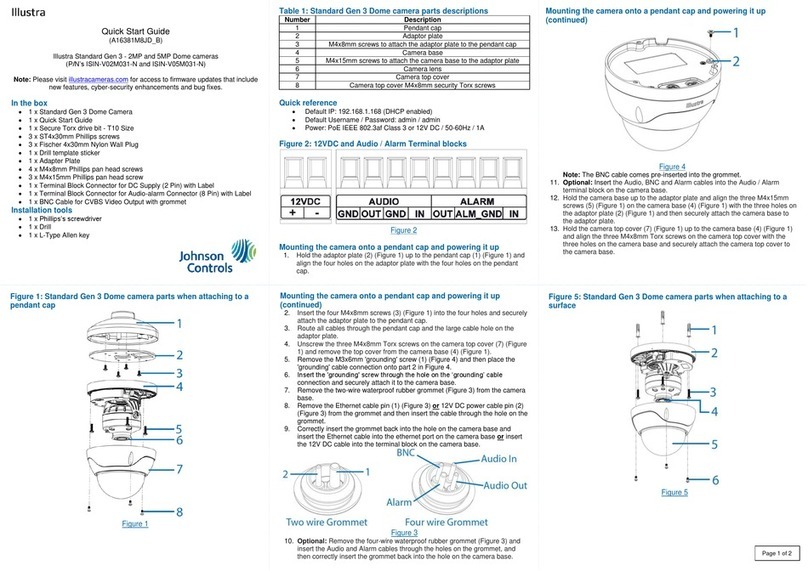
Johnson Controls

Johnson Controls Tyco Pro Gen2 User manual

Johnson Controls Illustra Standard Gen 3 User manual
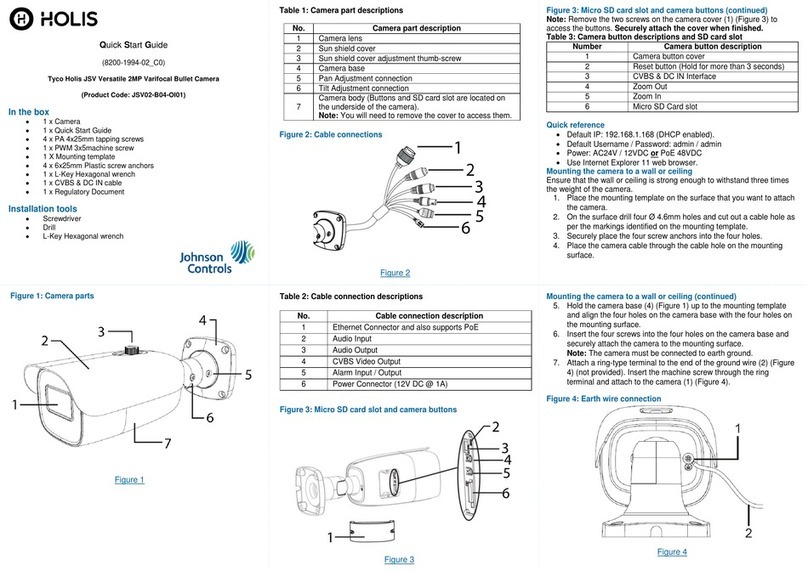
Johnson Controls

Johnson Controls Illustra Standard Gen 3 User manual

Popular Security Camera manuals by other brands

Whistler WIC-5200 user manual

Whistler

Whistler WIC-5200 user manual

FLIR Lorex LNC250 PING Series Quick Mobile Guide

FLIR

FLIR Lorex LNC250 PING Series Quick Mobile Guide

Link V720W instruction manual

Link

Link V720W instruction manual

TecnoVideo 254 SH/24 installation manual

TecnoVideo

TecnoVideo 254 SH/24 installation manual

EverFocus EZ600/B Operation manual

EverFocus

EverFocus EZ600/B Operation manual

Vivotek FD8371EV Quick installation guide

Vivotek

Vivotek FD8371EV Quick installation guide

Silverline 828951 quick start guide

Silverline

Silverline 828951 quick start guide

Visonic TOWER CAM PG2 TOWER CAM PG2 installation instructions

Visonic

Visonic TOWER CAM PG2 TOWER CAM PG2 installation instructions

ALFAtron ALF-25X-4KCAM manual

ALFAtron

ALFAtron ALF-25X-4KCAM manual

Speco HT-7816DNV Specification sheet

Speco

Speco HT-7816DNV Specification sheet

Samsung SNO-1080R user manual

Samsung

Samsung SNO-1080R user manual

Vivotek FD9165-HT-A Quick installation guide

Vivotek

Vivotek FD9165-HT-A Quick installation guide

TRASSIR TR-D3253WDZIR3 quick start guide

TRASSIR

TRASSIR TR-D3253WDZIR3 quick start guide

Zavio D4210 Quick installation guide

Zavio

Zavio D4210 Quick installation guide

Asoni CAM413 user manual

Asoni

Asoni CAM413 user manual

Speco OIPC72B7G owner's manual

Speco

Speco OIPC72B7G owner's manual

Monacor TVCCD-400COL instruction manual

Monacor

Monacor TVCCD-400COL instruction manual

Denver WCT-8010 instruction manual

Denver

Denver WCT-8010 instruction manual

manuals.online logo
manuals.online logoBrands
  • About & Mission
  • Contact us
  • Privacy Policy
  • Terms and Conditions

Copyright 2025 Manuals.Online. All Rights Reserved.