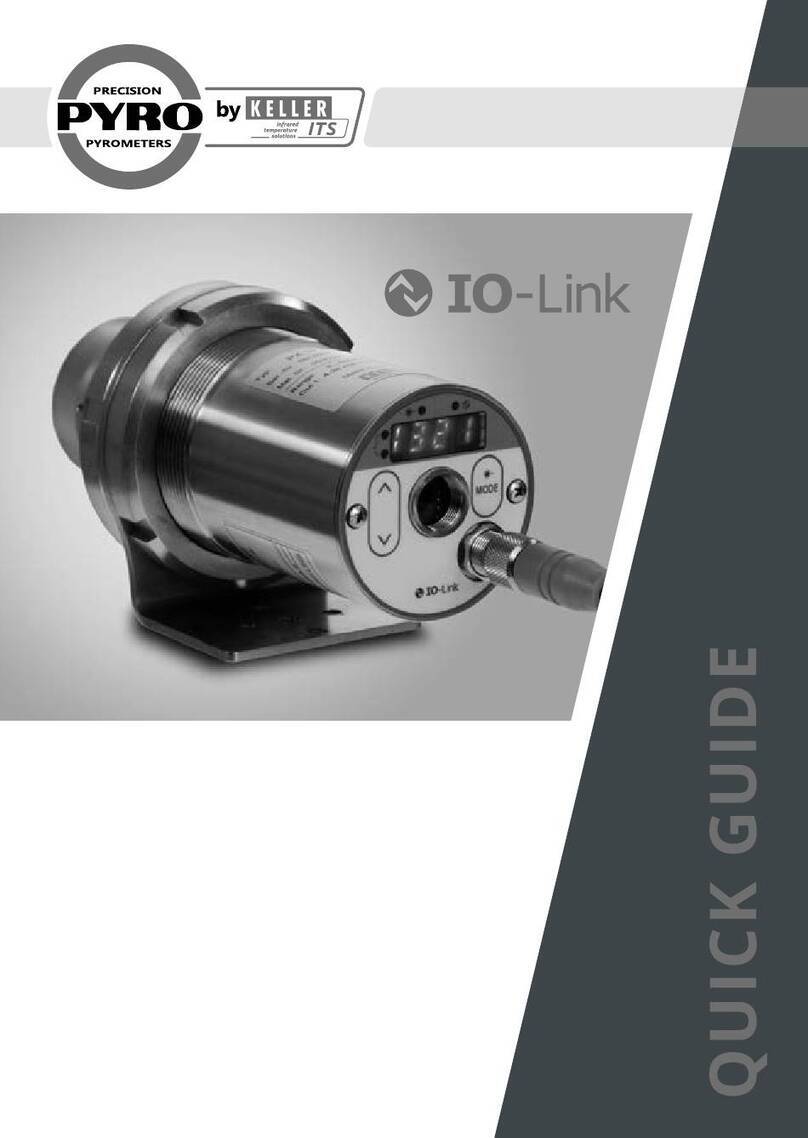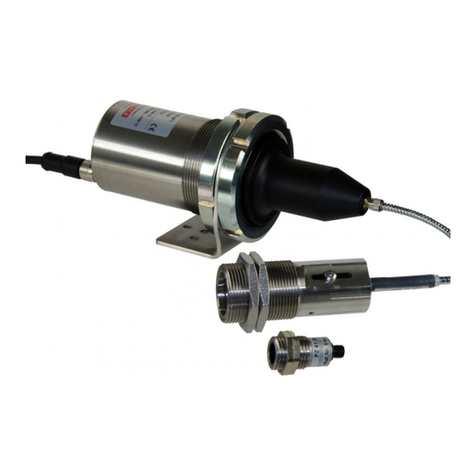
Quick start guide CellaTemp PA
Installation
Das The pyrometer should be mounted, where it is not unnecessarily ex-
posed to smoke, heat or steam. Contamination of the lens leads to a
lower display of the measuring value. Therefore, make sure, that the lens
is always clean. The field of view of the pyrometer must remain free.
Any interference by objects can cause measurement errors.
1. Select a suitable location for the pyrometer. The following criteria
must be observed:
The lens and the field of view of the pyrometer must be free of dirt,
smoke and steam. Otherwise, an air purge must be installed to pro-
tect the pyrometer from contamination.
The permissible operating temperature is 0 - 65 °C. At temperature
above 65 °C, a cooling jacket must be used. As cooling medium,
air or water are possible.
2. Check that the lens is clean. Assemble the pyrometer in the pro-
vided bracket and align the pyrometer to the measuring object. If
necessary, check the cooling medium and the maximum operating
temperature.
3. The pyrometer should be installed at 90 ° to the measured object,
if possible. The angle should not be less than 45 ° from the verti-
cal. The spot must be completely filled by the measured object.
4. Turn on the power supply of the pyrometer.
5. Focus the pyrometer
Pyrometer with through-lens sighting:
Focus the lens until the target and the target marker (distinctly
marked circled spot in the viewfinder) are both clearly visible.
Pyrometer with laser sighting:
Activate the laser spot light by pressing the mode button for 3 s.
Observe the laser safety instruction. Focus the lens until a clear
and round laser point is visible.
Pyrometer with camera
When aiming the pyrometer focus the sensing head until the video
Quick start guide CellaTemp PA
images is sharp.
Pyrometer with fiber optic cable and separate optic
For pyrometers with fiber optics, the measuring head must be fo-
cused. To activate the laser, press the MODE button on the rear
panel for 2 second. Observe the laser safety instruction. For focal
adjustment, loosen the screw of the measuring head and move
the inner tube in order to obtain a sharp spot on the measuring
area.
6. The pyrometer uses the intensity of infrared radiation for non-con-
tact temperature measurements. It is necessary to configure the
pyrometer to the respective emissivity coefficient of the measuring
object to obtain the exact measuring results. The emissivity coeffi-
cient is to set as following:
► Press [▲or▼] until the desired emissivity is shown.
► Release [▲or▼]
> The current temperature value is displayed and the new emis-
sivity coefficient is stored.
Make sure that the function of the pyrometer is correct. All param-
eters can be set directly at the pyrometer. Record the setted pa-
rameters.
7. It is advisable to take the checking of the pyrometer in the mainte-
nance plan.
The pyrometers of the PA 1x series are only measuring exact re-
sults in state of terminal stabilization. The break period is approxi-
mately 15 min after starting the supply voltage.
Shipping, packing and disposal
Inspection after shipping
Unpack and inspect the entire shipment immediately upon receipt to
make sure it is complete and undamaged. If the container/package
shows visible signs of damage, please refuse the shipment. If this is not
possible, accept the shipment on the condition that the freight carriers
delivery record is noted with the extent of the damage in order to file a
claim. Should you discover a concealed loss or damage, report it to the
shipper or freight carrier immediately. If the period for filing claims has
expired, you will no longer be able to make any claims for compensation
of damage or loss..
