8© Kemppi Oy 2019
6.1 Work lights 7
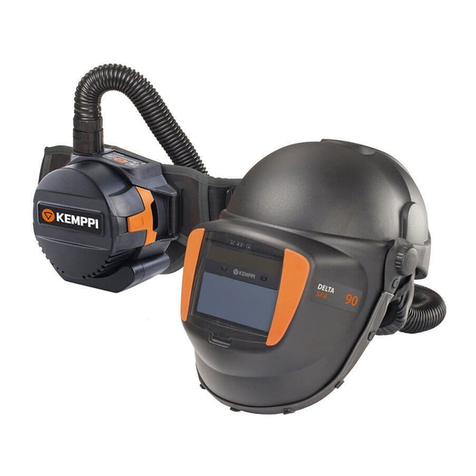
Gamma GTH3 XFA has LED work lights that are powered by
the PFU 210e battery. Press and hold the work light remote
control button until the light turns on.
Note: Make sure both USB connectors are con-
nected.
To replace worn protective lenses on the work lights: 8
1. Remove the worn protective lenses with a
screwdriver.
2. Insert the new protective lenses, starting from
the outer edge.
Note: Note that the left and right protective lenses
are slightly dierent in shape.
6.2 Gap view 9
1. Lift the welding visor up.
2. Push the gap view adjuster to OPEN position
(towards the visor knob).
6.3 Adjusting the viewing angle 9
Turn the viewing angle adjuster to tilt the viewing angle
upwards or downwards.
Tip: When adjusting the helmet upwards, support the hel-
met with the other hand.
6. Using the helmet features
7. Replacing parts
To replace the outer protection plate: 10
1. Use the grooves on the sides to pull the plate out.
2. To insert a new plate, push at the corners to
snap-lock the corner grooves into place.
Before removing the welding lter cassette: 11
Before removing the welding lter cassette, detach the
USB connector(s): either two (XFA), or one on the left (SFA,
100A).
Note: When inserting the USB connector, the wider
side goes up.
Caution: Do not connect the USB connector to any
other device.
To replace the welding lter cassette: 12
1. Remove the cassette by pressing the tab behind
the lower edge of the cassette, and then push-
ing the cassette forward.
2. Change the passive welding lter inside the
cassette if you need a dierent shade value (PFA,
100P).
3. Insert the cassette by rst pushing the upper
edge tabs (1) into place, then the lower edge
into its groove (2).
To replace the grinding visor: 13
1. Pull the grinding visor locks slightly outwards,
and pull the visor out.
2. To insert the visor, align the grooves in the visor
with the visor locks, and snap the visor into its
place.
Note: Make sure both sides snap into their place.
To remove the headband: 14
1. Press and hold down the slide adjuster button (3).
2. Push the headband connector (1) forwards, out
of the distance slide adjuster (2).
To replace the face seal: 15 -16
1. Remove the headband.
2. Open the face seal snap fasteners (5).
3. To remove the face seal, slide the face seal's top
sealing strip (1) out of the groove on the inside
of the helmet (2) and remove the face seal.
4. To attach the face seal back, slide the face seal's
top sealing strip (1) back into the groove on the
inside of the helmet (2). Make sure the face seal
is positioned in the middle.
5. Pass the distance slide adjusters and the air duct
through the openings in the face seal (3, 4).
6. Secure the face seal in place with the snap
fasteners (5).
7. Attach the headband back in place.
To attach the headband: 17
1. Bring the headband connector in front of the
distance slide adjuster.
2. Press down the slide adjuster button while
pushing the headband connector through the
distance slide adjuster.
3. Slide the headband connector in place so that
the slide adjuster pin locks into one of the
grooves in the headband connector.
4. Ensure that the welding helmet is at a convenient
distance from your face and that both sides are
equally positioned.
ENGLISH
