manuals.online logo
Brands
  1. Home
  2. •
  3. Brands
  4. •
  5. Kimball Office
  6. •
  7. Office Equipment
  8. •
  9. Kimball Office Xsite Privacy Door User manual

Kimball Office Xsite Privacy Door User manual

Xsite®1
Proper product installation, in accordance with these instructions, is the responsibility of the installing agent.
If you have any questions concerning these instructions, please call Kimball Office Customer Care.
2494805, - 2013
Assembly Instructions
Privacy Door
Tools Required
Hardware Required
 Phillips Screwdriver
 Cordless Drill
 #2 Phillips bit
 3/16” Allen Wrench
1. Level the panel making sure there is at least 1/2” of space
between the floor and the bottom of the wire way cover.
2. Remove the end trim and wire way covers from both sides of
the panel.
3. Install the top guide by sliding it into the Xsite Traxx located
at the top height of the door and line it up with end of the
panel (Figure A). Make sure both tabs of the guide are inside
the Xsite Traxx channel (Figure B).
4. Attach the alignment bracket to the inside face of the panel
vertical leg next to the door opening. Use two #8 x ½” pan
head self-drilling screws. Make sure the panel leveler is in
the hole in the bracket and resting on the floor (Figure C).
5. Insert bottom guide rod all the way through the slot and cen-
ter hole of the bottom guide channel. Make sure the attach-
ment side of the bottom guide rod is facing the door side of
the panel (Figure D).
Installation
 Privacy Door
 Privacy Door Hardware Kit
Figure A
Figure B
Figure C
Figure D
Tabs
Top Guide
Insert into track at
door height
Center Hole
Insert all the
way up into
guide
Face towards
door side
Bracket must be
flush with the floor
Attach with two
screws
Xsite®2
Proper product installation, in accordance with these instructions, is the responsibility of the installing agent.
If you have any questions concerning these instructions, please call Kimball Office Customer Care.
2494805, - 2013
Assembly Instructions
Privacy Door
6. Starting at an angle, insert the bottom guide channel into the
panel’s bottom cross member and attach it to the frame with
two 1” flat washers and 1/4-20 x 1/2” long truss head ma-
chine screws (Figure E).
7. Install the wire way cover on the door side. It will go be-
tween the door rod guide and the panel.
8. Note: The front face of the door that has the smaller alumi-
num extrusion reveal and the back has the flat head screws.
Position the guide rod bracket on the bottom of the door. The
bracket is oriented with the face that has the vertical slots
towards the back side of the door. It is located on the same
side of the door as the top round plastic glide. Attach with
two #10 x 3/8” pan head screws (Figure F).
9. Attach the two wheel assemblies to the bottom of the door
with four #10 x 3/8” pan head screws (Figure G). The wheels
face toward the front of the door.
10. If the door has the lock option. Attach lock cam to door at
this time. See separate lock assembly instruction.
11. Insert the Privacy door into the top guide and bottom align-
ment bracket at the same time and roll the door approximate-
ly half way in to the open position (Figure H)
Installation (Continued)
Figure F
Figure G
Figure HFigure E
Start to insert guide into
bottom panel cross member
at an angle and then rotate it
to push it all the way up.
Attach bottom guide with
two screws and washers
Roll door into top
Guide and inside
bottom alignment
bracket at the same
time.
Xsite®3
Proper product installation, in accordance with these instructions, is the responsibility of the installing agent.
If you have any questions concerning these instructions, please call Kimball Office Customer Care.
2494805, - 2013
Assembly Instructions
Privacy Door
11. Attach the bottom guide rod to the bottom guide bracket on
the door using the two 1/4-20 x 3/8” long truss head machine
screws and lock washers. Adjust guide rod bracket so that it
is off the floor thru the whole movement of the door and not
touching the wire way cover (Figure I). You may have to
adjust the panel levelers to achieve this.
12. At this time, you can install the door glide stop(s) into the
bottom guide. They are used to adjust the open and stop posi-
tions to your liking (Figure J). If the door has the lock option,
See separate lock assembly instruction.
13. There are two pieces of tape that can be applied to the inside
front of the top guide where the door may touch to help re-
duce noise and friction. They may be used at your discretion.
14. Install the end trim, tiles, and the other wire way cover to
complete the Privacy Door installation (Figure K).
Installation (Continued)
Figure I
Figure J
Figure K
Figure L
Select the best stop
slot location.
Caution: Make sure the #8
screws are no longer than 3/8”.
Lock washers may
be Star design

Other Kimball Office Office Equipment manuals
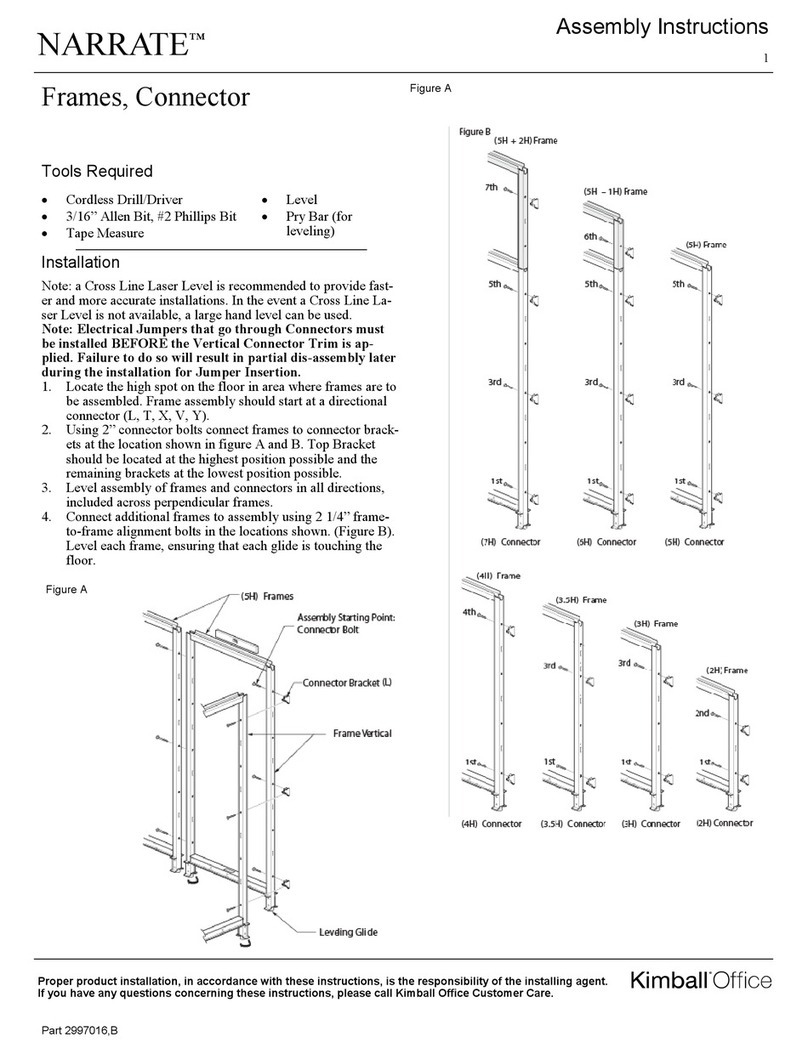
Kimball Office NARRATE User manual

Kimball Office

Kimball Office NARRATE User manual

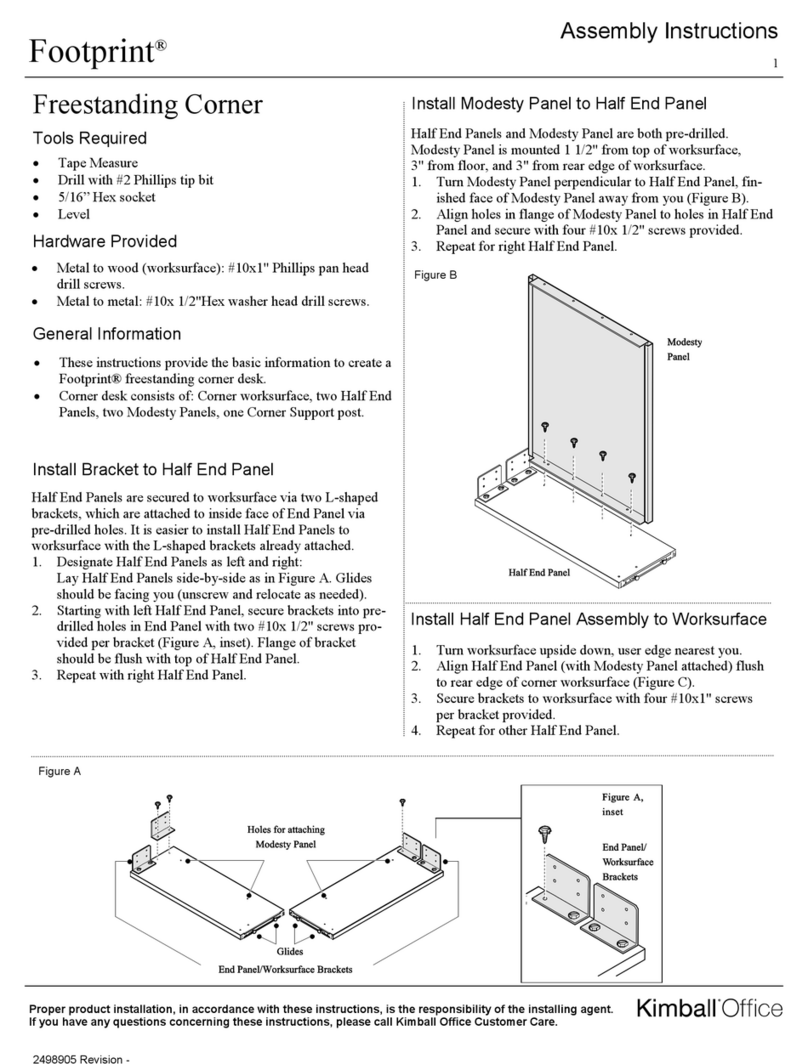
Kimball Office Footprint User manual

Kimball Office

Kimball Office Footprint User manual

Kimball Office Perks Complete Series User manual

Kimball Office

Kimball Office Perks Complete Series User manual

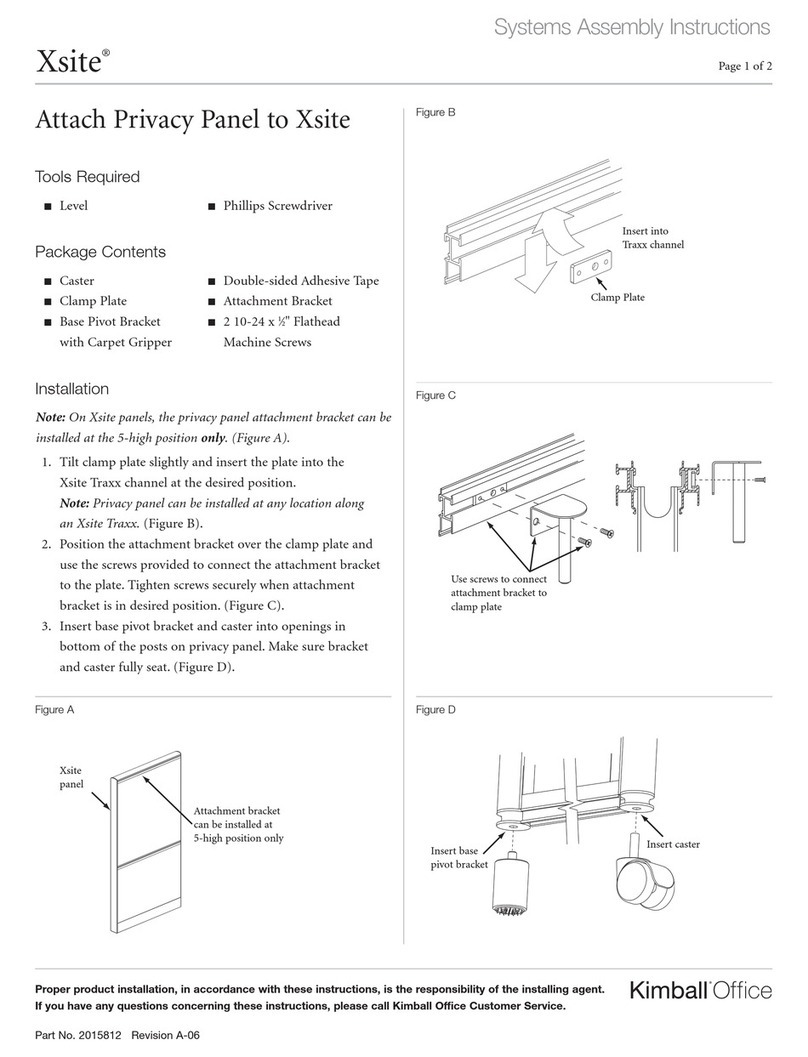
Kimball Office Xsite User manual

Kimball Office

Kimball Office Xsite User manual
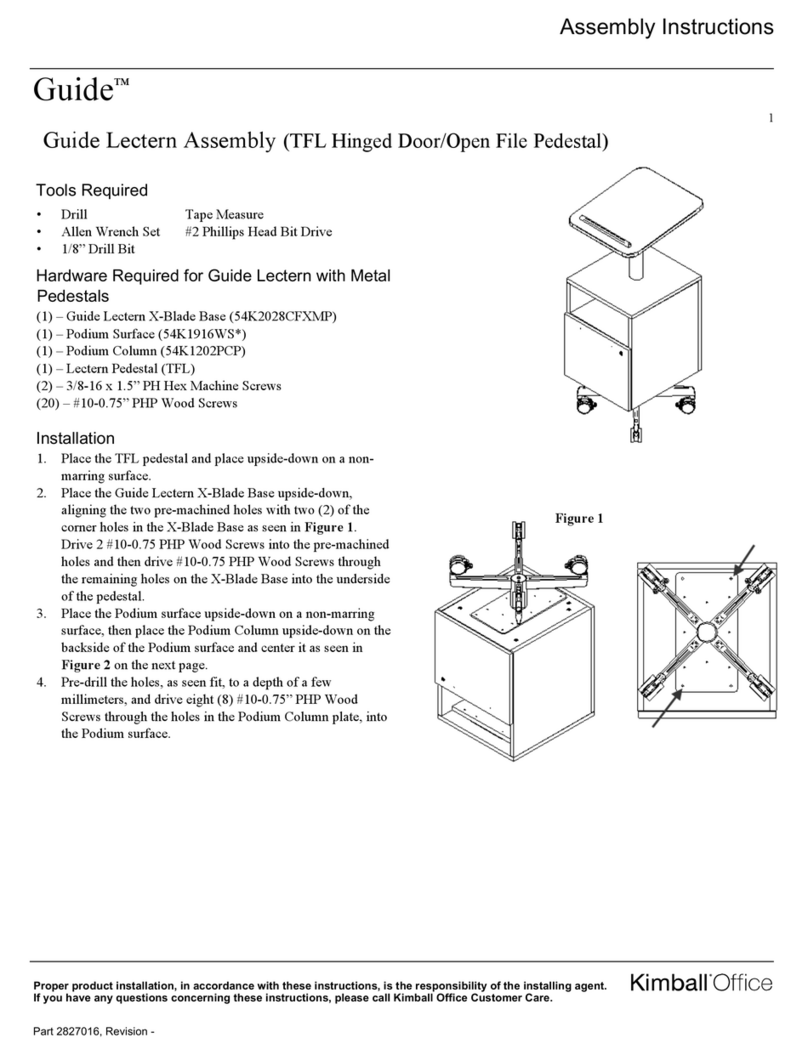
Kimball Office Guide Lectern User manual
Kimball Office

Kimball Office Guide Lectern User manual

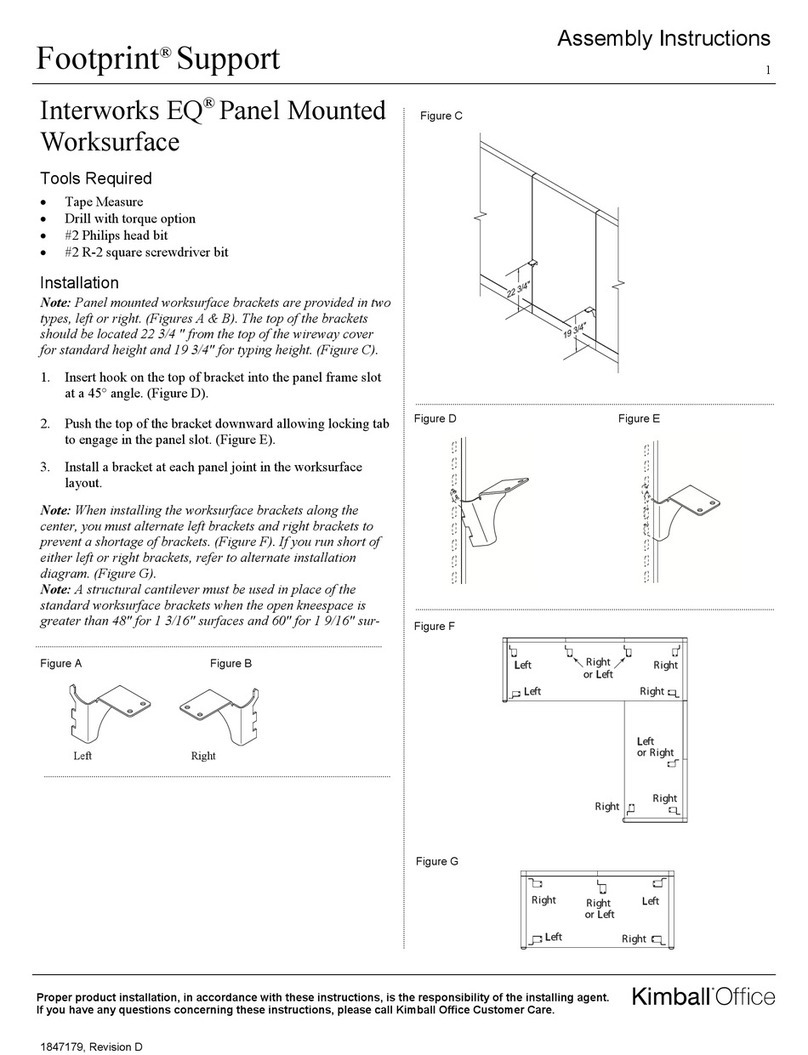
Kimball Office Footprint Interworks EQ User manual

Kimball Office

Kimball Office Footprint Interworks EQ User manual

Kimball Office Xsite Door Kit for Fold Down Tile User manual

Kimball Office

Kimball Office Xsite Door Kit for Fold Down Tile User manual

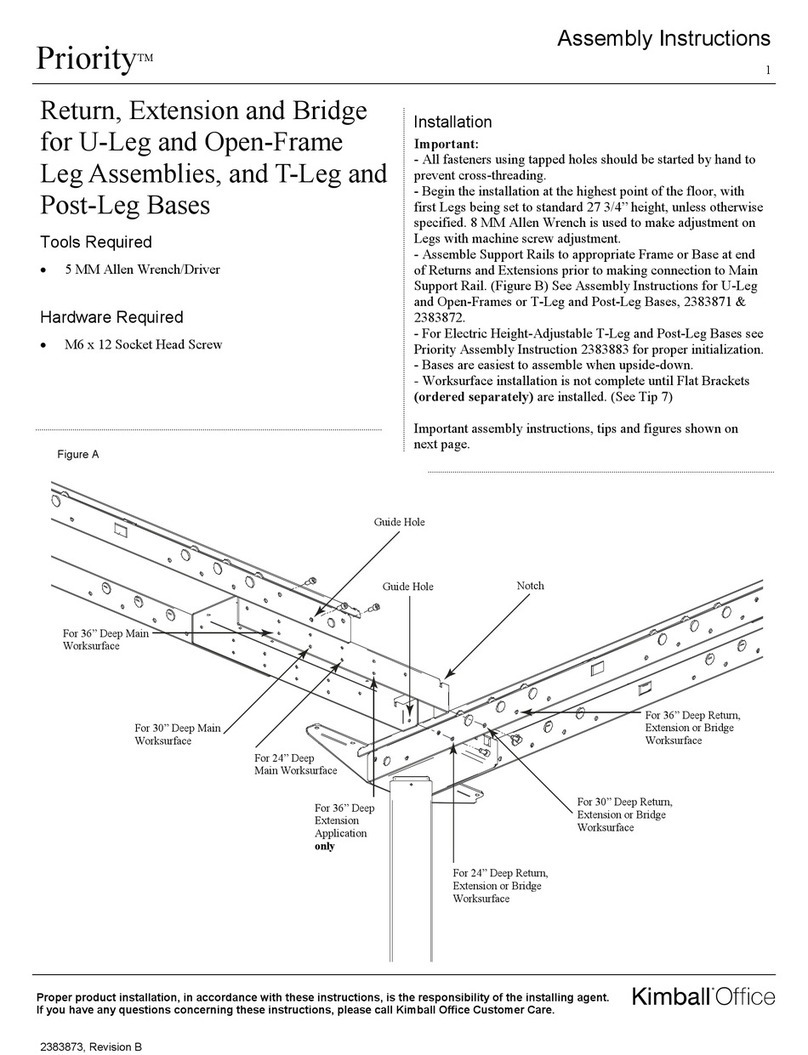
Kimball Office Priority User manual

Kimball Office

Kimball Office Priority User manual

Popular Office Equipment manuals by other brands

hushoffice hushtwin HUS-BX-019 Maintenance and safety manual

hushoffice

hushoffice hushtwin HUS-BX-019 Maintenance and safety manual

silen Space 2 Assembly manual

silen

silen Space 2 Assembly manual

Middle Atlantic Products LD Series instruction sheet

Middle Atlantic Products

Middle Atlantic Products LD Series instruction sheet

SHFL DECK MATE BLACKJACK Service manual

SHFL

SHFL DECK MATE BLACKJACK Service manual

VITRA Stefan Hürlemann Dancing Wall Assembly instructions

VITRA

VITRA Stefan Hürlemann Dancing Wall Assembly instructions

BISLEY Glide V2 Assembly instructions

BISLEY

BISLEY Glide V2 Assembly instructions

fully Haven Assembly instructions

fully

fully Haven Assembly instructions

NanaWall CSW75 owner's manual

NanaWall

NanaWall CSW75 owner's manual

Vivo DESK V000C instruction manual

Vivo

Vivo DESK V000C instruction manual

PolyVision Flow installation guide

PolyVision

PolyVision Flow installation guide

Siemens HIPATH 2000 user guide

Siemens

Siemens HIPATH 2000 user guide

ABB 2TKA002145G1 Installation instruction

ABB

ABB 2TKA002145G1 Installation instruction

DROMEAS LINE operating instructions

DROMEAS

DROMEAS LINE operating instructions

Openplan DSH-L Assembly guide

Openplan

Openplan DSH-L Assembly guide

OCEE DESIGN SASS-0100 quick start guide

OCEE DESIGN

OCEE DESIGN SASS-0100 quick start guide

Levira FALDON Assembly instructions

Levira

Levira FALDON Assembly instructions

Renz RENZ DTP 340A Specifications

Renz

Renz RENZ DTP 340A Specifications

Motorola SB1 Integrator guide

Motorola

Motorola SB1 Integrator guide

manuals.online logo
manuals.online logoBrands
  • About & Mission
  • Contact us
  • Privacy Policy
  • Terms and Conditions

Copyright 2025 Manuals.Online. All Rights Reserved.