manuals.online logo
Brands
  1. Home
  2. •
  3. Brands
  4. •
  5. Kimball Office
  6. •
  7. Office Equipment
  8. •
  9. Kimball Office Xsite User manual

Kimball Office Xsite User manual

Systems Assembly Instructions
Xsite®Page 1 of 2
Attach Privacy Panel to Xsite
Tools Required
■Level ■Phillips Screwdriver
Package Contents
■Caster ■Double-sided Adhesive Tape
■Clamp Plate ■Attachment Bracket
■Base Pivot Bracket ■2 10-24 x 1⁄2" Flathead
with Carpet Gripper Machine Screws
Installation
Note: On Xsite panels, the privacy panel attachment bracket can be
installed at the 5-high position only. (Figure A).
1. Tilt clamp plate slightly and insert the plate into the
Xsite Traxx channel at the desired position.
Note: Privacy panel can be installed at any location along
an Xsite Traxx. (Figure B).
2. Position the attachment bracket over the clamp plate and
use the screws provided to connect the attachment bracket
to the plate. Tighten screws securely when attachment
bracket is in desired position. (Figure C).
3. Insert base pivot bracket and caster into openings in
bottom of the posts on privacy panel. Make sure bracket
and caster fully seat. (Figure D).
Figure B
Figure C
Figure A Figure D
Attachment bracket
can be installed at
5-high position only
Xsite
panel
Clamp Plate
Insert into
Traxx channel
Use screws to connect
attachment bracket to
clamp plate
Insert base
pivot bracket
Insert caster
Proper product installation, in accordance with these instructions, is the responsibility of the installing agent.
If you have any questions concerning these instructions, please call Kimball Office Customer Service.
Part No. 2015812 Revision A-06
Systems Assembly Instructions
Xsite
Printed in U.S.A. © 2006 Kimball International, Inc. T 800.482.1818 F 812.482.8300
Page 2 of 2
Installation (continued)
4. In situations where the base pivot bracket will sit on a
non-carpeted floor, remove the carpet gripper from
the bottom of the base pivot bracket and attach a piece
of the double-sided adhesive tape provided. (Figure E).
5. Tilt the top of the privacy panel towards the Xsite panel
and insert attachment bracket into the hole in top of the
same post on the privacy panel where base pivot bracket
is installed. Rotate the bottom of the privacy panel inward
toward the Xsite panel. (Figure F).
6. For correct operation the privacy panel must be level.
You can adjust the location of the base pivot bracket,
top attachment bracket, and caster to position the panel
correctly. Ensure that the panel is level in the open and
closed positions. When leveled, press down slightly on
panel to engage the carpet gripper or double-sided tape
on bottom of base pivot bracket. (Figure G).
Figure E
Figure F
Figure G
Pry out
carpet
gripper
Attach double-sided
adhesive tape to bottom
of base pivot bracket
Tilt panel to
install onto
attachment
bracket
Insert attachment
bracket into hole in
top of panel post
Level panel in
open and closed
positions
For non-carpeted situations:
Proper product installation, in accordance with these instructions, is the responsibility of the installing agent.
If you have any questions concerning these instructions, please call Kimball Office Customer Service.
Part No. 2015812 Revision A-06

Other Kimball Office Office Equipment manuals
Kimball Office NARRATE User manual

Kimball Office

Kimball Office NARRATE User manual
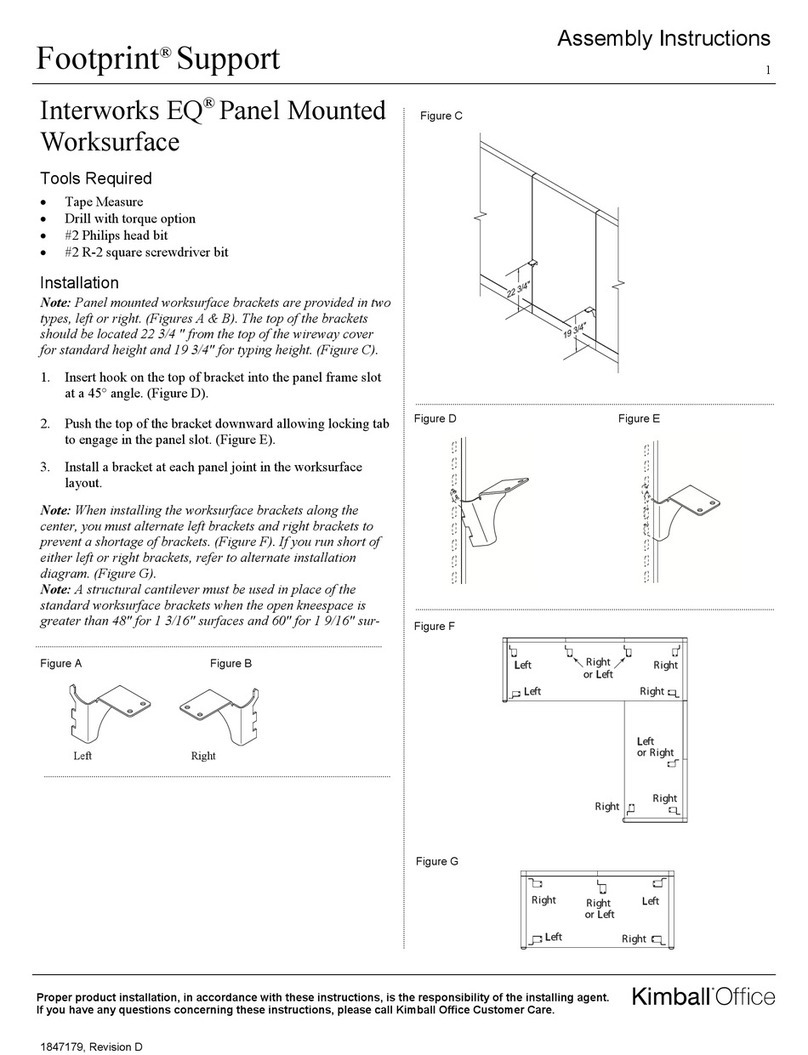
Kimball Office Guide Lectern User manual

Kimball Office

Kimball Office Guide Lectern User manual

Kimball Office Xsite Door Kit for Fold Down Tile User manual

Kimball Office

Kimball Office Xsite Door Kit for Fold Down Tile User manual

Kimball Office Footprint Interworks EQ User manual

Kimball Office

Kimball Office Footprint Interworks EQ User manual

Kimball Office Priority User manual

Kimball Office

Kimball Office Priority User manual

Kimball Office Footprint User manual

Kimball Office

Kimball Office Footprint User manual

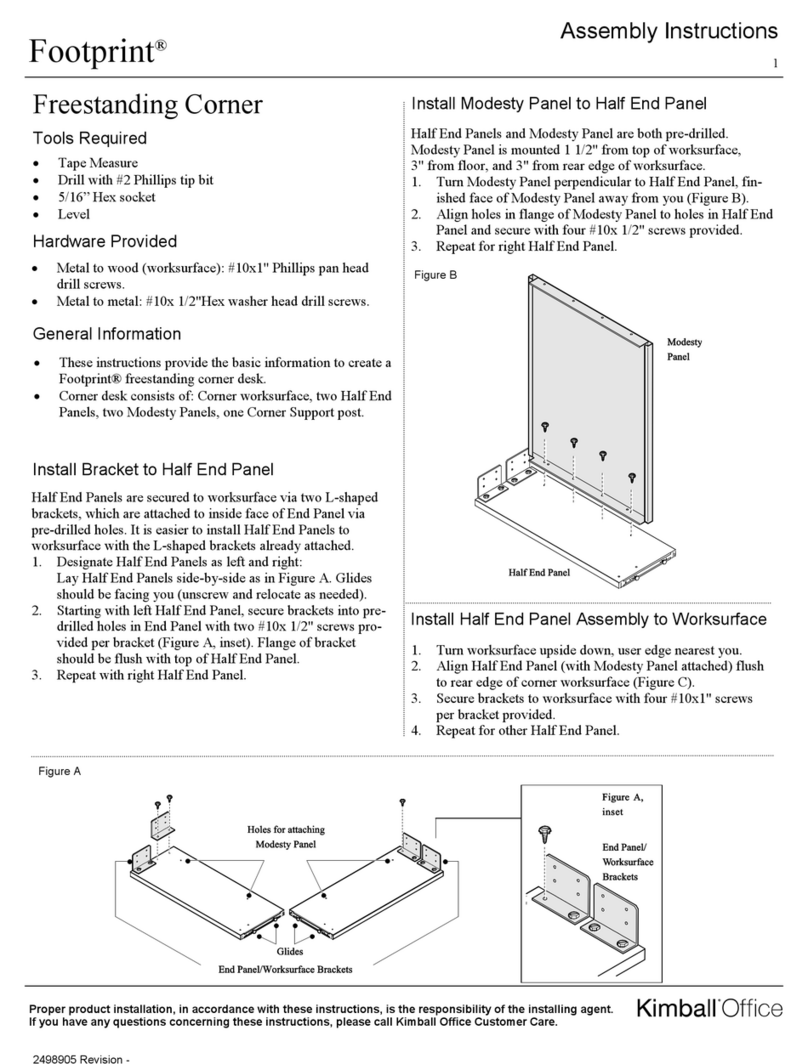
Kimball Office Perks Complete Series User manual
Kimball Office

Kimball Office Perks Complete Series User manual

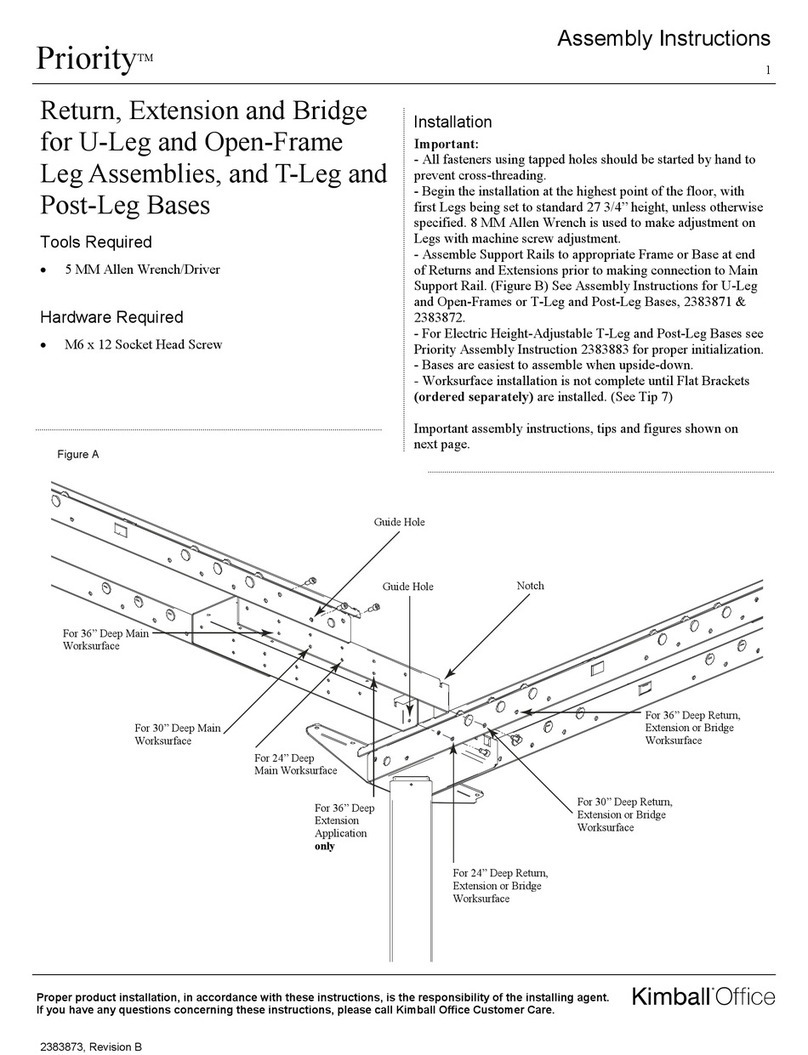
Kimball Office Xsite Privacy Door User manual
Kimball Office

Kimball Office Xsite Privacy Door User manual

Popular Office Equipment manuals by other brands

Formax FD 150 Operator's manual

Formax

Formax FD 150 Operator's manual

Teknion HABCGESL Installation guides

Teknion

Teknion HABCGESL Installation guides

TimeMoto TM-616 Quick installation guide

TimeMoto

TimeMoto TM-616 Quick installation guide

HOMCOM 001-013V00 Assembly & instruction manual

HOMCOM

HOMCOM 001-013V00 Assembly & instruction manual

Attendance on Demand IDpunch 7 user guide

Attendance on Demand

Attendance on Demand IDpunch 7 user guide

SEGUE Sunrise DS Series manual

SEGUE

SEGUE Sunrise DS Series manual

Koplus Kolo Solo Assembly instructions

Koplus

Koplus Kolo Solo Assembly instructions

Steelcase Pathways Privacy Screen Infill Installation/Replacement Instructions

Steelcase

Steelcase Pathways Privacy Screen Infill Installation/Replacement Instructions

BodyBilt Next24 instructions

BodyBilt

BodyBilt Next24 instructions

OfficeSource EVH100BGG Assembly instructions

OfficeSource

OfficeSource EVH100BGG Assembly instructions

Mooreco Visionary Move Mobile 74965 Series Assembly instructions

Mooreco

Mooreco Visionary Move Mobile 74965 Series Assembly instructions

Steelcase V.I.A. FEIJA2V manual

Steelcase

Steelcase V.I.A. FEIJA2V manual

Pantone Color Cue quick start guide

Pantone

Pantone Color Cue quick start guide

Steelcase a3 CeramicSteel Sans installation guide

Steelcase

Steelcase a3 CeramicSteel Sans installation guide

Grandstream Networks UCM6 series Guide

Grandstream Networks

Grandstream Networks UCM6 series Guide

3-form SimpleSpec 200.60-ILTUO installation manual

3-form

3-form SimpleSpec 200.60-ILTUO installation manual

WorkPro FLEX 812-388 Assembly instructions

WorkPro

WorkPro FLEX 812-388 Assembly instructions

Widex SCOLA CLASSMATE User instructions

Widex

Widex SCOLA CLASSMATE User instructions

manuals.online logo
manuals.online logoBrands
  • About & Mission
  • Contact us
  • Privacy Policy
  • Terms and Conditions

Copyright 2025 Manuals.Online. All Rights Reserved.