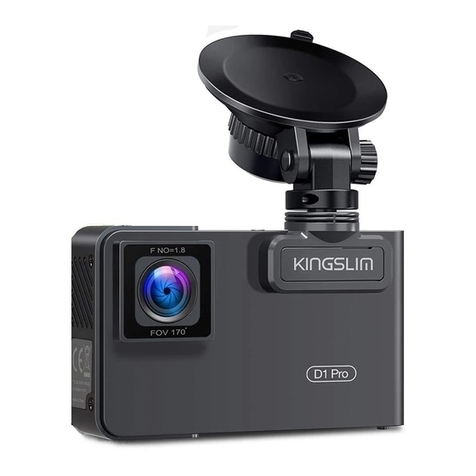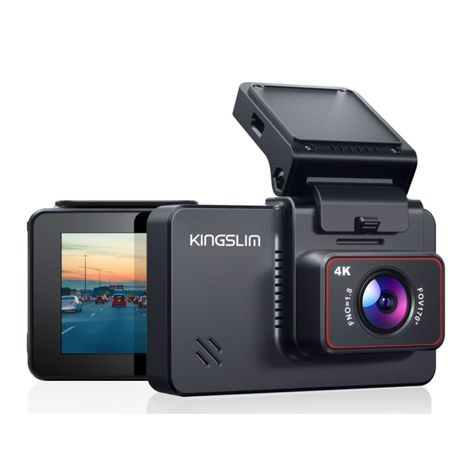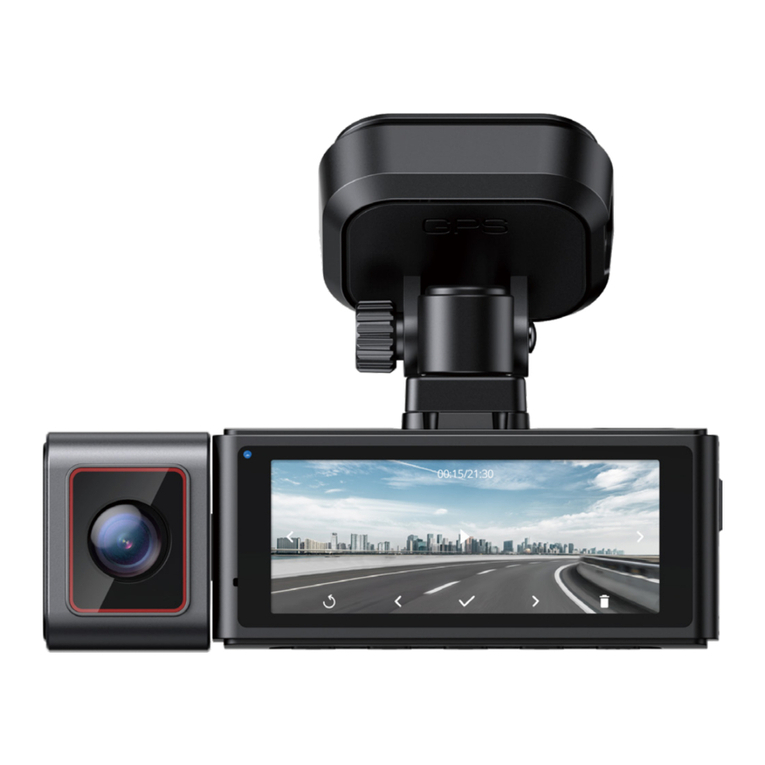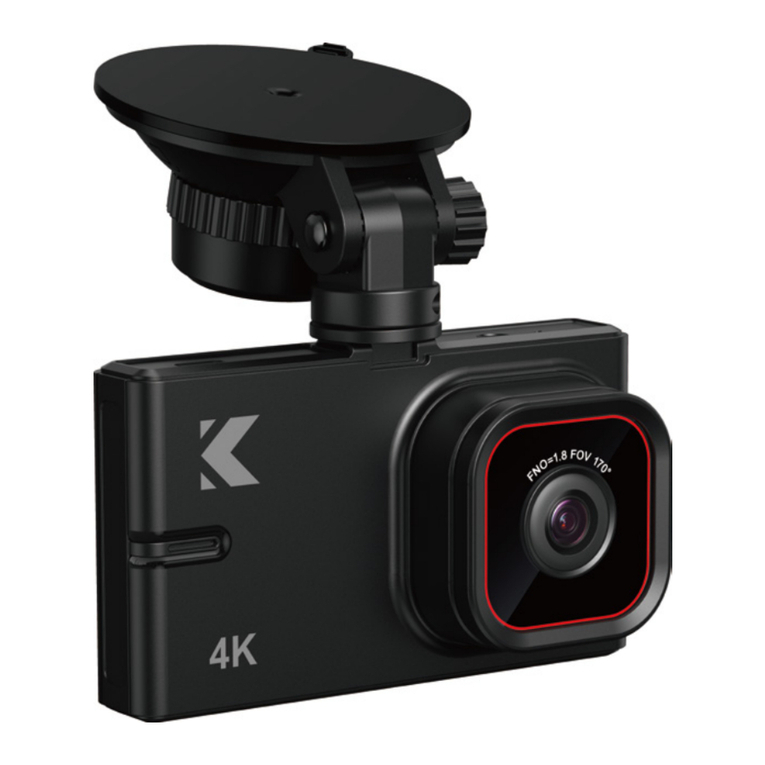
D1 Pro
3 4
D1 Pro
4. Firstly clean the windshield with a dry cloth, secondly put and press the suction
cup on the windshield to make sure there is no air inside the suction cup, last
rotate to fix the bracket. (when install, please don’t let the rearview mirror block
the camera's infrared light.)
5. Adjust the viewing angle of the dash cam to get a good view.
6. Connect the car charger to the car cigarette lighter, then insert the USB end of
the charger into the USB power port of the dash camera, please refer to the
below picture.
7. Attach the electrostatic sticker of GPS to the top edge of the windshield, and
then fix the GPS module on the electrostatic sticker, please refer to the below
picture.
8. Fix the cable with a cable clip at the place where the icon is (please refer to the
below picture), then use the yellow crowbar to hide the cable.
GPS
Cable clip
GPS Electrostatic Stickers
Note:
①After powering on the dash cam through the car charger, the dash cam will
automatically turn on and start recording (if the card has been inserted).
To change settings, please firstly stop recording.
②Please charge for 30 minutes before using this dash cam powered by the
built-in battery.
③The built-in battery is only used to power the "parking monitor" function.
In normal use, please plug the car charger into the cigarette lighter of the car to
power the dash cam. The built-in battery is not recommended as a normal
power supply for the dash cam. This is to avoid parking monitoring failure
caused by running out of battery while the car is parked.
④The camera can also be powered by connecting it to a power source such as
your DC 5V phone adapter via the USB cable. When charging, please shut down
the camera by long pressing the power button.
⑤ Regarding the usage of the cable clip, only one clip is needed to fix the outlet
position of the USB cable which connects to the dash camera's power port, the
remaining cable must be hidden along the top edge of the windshield. Please
hide the cable according to the above picture.
5 6

