manuals.online logo
Brands
  1. Home
  2. •
  3. Brands
  4. •
  5. Knight
  6. •
  7. Indoor Furnishing
  8. •
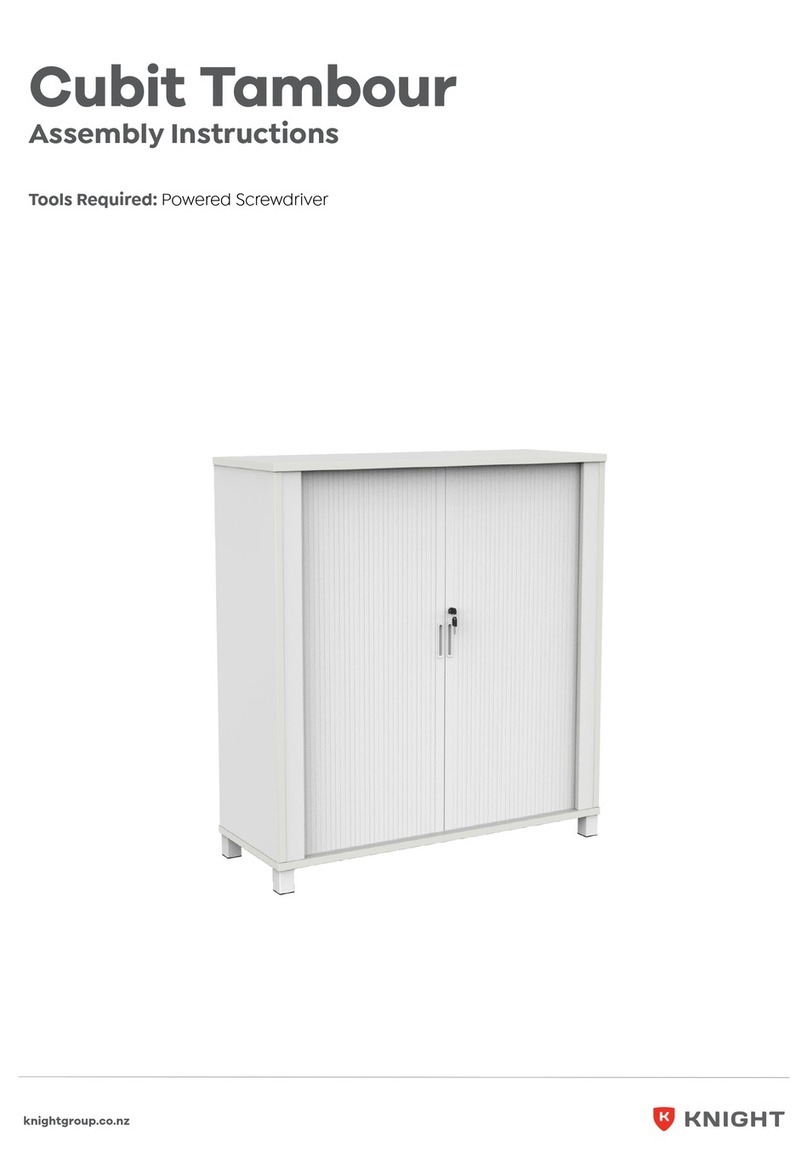
  9. Knight Cubit Tambour User manual

Knight Cubit Tambour User manual

knightgroup.co.nz
Tools Required: Powered Screwdriver
Assembly Instructions
Cubit Tambour
Page 1
Assembly Instructions
knightgroup.co.nz
Cubit Credenza
• To prevent possible scratches or damage,
assemble the credenza on a soft surface such
as a blanket, carpet or packaging.
Recommended
2-person Step
Item Decription Quantity
A Top panel 1
X Left side panel 1
X1 Left side panel 1
Z Right side panel 1
Z1 Right side panel 1
D Back panel 1
D1 Back panel 1
G Bottom panel 1
O Batten 2
E Moveable shelf 2
Item Decription Quantity
c1 6x35 Cam Bolt 44
d1 8x30 Dowel Pin 56
c2 5/8” Cam Cover 44
s1 4x25 Screw 12
m2 Metal Leg 4
p1 Threaded Dowel Pin 10
s20 6x60 Fix Bolt 4
PARTS LIST
Page 2
Assembly Instructions
knightgroup.co.nz
Step 1
Page 2
Assembly Instructions
Cubit Credenza
Preparation for Top panel A, immmovable panel G, Vertical O, Left side panel X, X1, Right side panel Z, Z1,
back panels D, D1.
1. Insert cams bolts (c1) and dowel pins (d1) into panels A, G, X, X1, Z and Z1 as illustrated above.
2. Insert dowel pins (d1) into panel D, D1, O as illustrated above.
Page 3
Assembly Instructions
knightgroup.co.nz
Page 3
Assembly Instructions
Cubit Credenza
Step 3
Insert cam bolts (c1) on panel X1 and Z1 into cams on panels D1, O and tighten in a clockwise direction.
Insert cam bolts (c1) on panel X and Z into cams on panels D, O and tighten in a clockwise direction.
Step 2
Page 4
Assembly Instructions
knightgroup.co.nz
Page 4
Assembly Instructions
Cubit Credenza
Step 5
Insert cam bolts (c1) on panel X, Z, D, O, D1, X1, Z1 and tighten in a clockwise direction, then tighten the two cams of
the panel X depend on the through hole in the panel Y.
Step 4
Note: All the roller doors must place
into the groove of the bottom panel A.
Page 5
Assembly Instructions
knightgroup.co.nz
Page 5
Assembly Instructions
Cubit Credenza
Step 7
Insert threaded dowel pins (p1) into panels D1, X1, and Z1, put the panel E on the top of threaded dowel pins (p1),
place the cam covers (c2) on the top of cams.
Insert cam bolts (c1) on panel G into cams on panels X, X1, D, D1, Z, Z1 & O, and tighten in a clockwise direction.
Then tighten the panel bottom G on the panel X with fix bolt (s20). Attached legs to panel G with provided screws.
Step 6
Page 6
Assembly Instructions
knightgroup.co.nz
Page 6
Assembly Instructions
Cubit Credenza
Complete

Other manuals for Cubit Tambour

1

Other Knight Indoor Furnishing manuals
Knight Eko Cupboard 900H User manual

Knight

Knight Eko Cupboard 900H User manual

Knight Eko Credenza User manual

Knight

Knight Eko Credenza User manual

Knight Cubit System User manual

Knight

Knight Cubit System User manual

Knight Cubit Caddy User manual

Knight

Knight Cubit Caddy User manual

Knight Eko Cupboard 900H User manual

Knight

Knight Eko Cupboard 900H User manual

Knight Active25 User manual

Knight

Knight Active25 User manual

Knight Agile Pro User manual

Knight

Knight Agile Pro User manual

Knight Anvil Bar Leaner User manual

Knight

Knight Anvil Bar Leaner User manual

Knight Ergoplan Reception Hutch User manual

Knight

Knight Ergoplan Reception Hutch User manual

Knight Cubit Boardroom Table User manual

Knight

Knight Cubit Boardroom Table User manual

Knight Cubit Credenza User manual

Knight

Knight Cubit Credenza User manual

Knight Anvil Eclipse Desk User manual

Knight

Knight Anvil Eclipse Desk User manual

Knight Agile Boost Desk User manual

Knight

Knight Agile Boost Desk User manual
Knight Agile Round User manual

Knight

Knight Agile Round User manual

Knight Cubit User manual

Knight

Knight Cubit User manual

Knight Cubit Boardroom Table User manual

Knight

Knight Cubit Boardroom Table User manual

Knight Anvil Workstation User manual

Knight

Knight Anvil Workstation User manual

Knight 57764.00 User manual

Knight

Knight 57764.00 User manual
Knight Anvil Eclipse Workstation User manual

Knight

Knight Anvil Eclipse Workstation User manual

Knight Ergoplan User manual

Knight

Knight Ergoplan User manual

Knight Team Flip User manual

Knight

Knight Team Flip User manual

Knight Eko Workstation User manual

Knight

Knight Eko Workstation User manual

Knight Anvil System User manual

Knight

Knight Anvil System User manual

Knight Cubit Credenza User manual

Knight

Knight Cubit Credenza User manual

Popular Indoor Furnishing manuals by other brands

Costway HW66102 user manual

Costway

Costway HW66102 user manual

KMART 42917816 Assembly instructions

KMART

KMART 42917816 Assembly instructions

Reverie OSO O400 owner's manual

Reverie

Reverie OSO O400 owner's manual

Sears D71 M20299 Use and care guide

Sears

Sears D71 M20299 Use and care guide

The Land of Nod Wrightwood Bunk Bed Assembly instructions

The Land of Nod

The Land of Nod Wrightwood Bunk Bed Assembly instructions

Home Decorators 3700C-SF Assembly instructions

Home Decorators

Home Decorators 3700C-SF Assembly instructions

BROSA Hans 215cm Dining Table Assembly guide

BROSA

BROSA Hans 215cm Dining Table Assembly guide

Timago RELAX Instructions for use

Timago

Timago RELAX Instructions for use

2K Furniture Designs SR6551 Assembly instructions

2K Furniture Designs

2K Furniture Designs SR6551 Assembly instructions

Hooker Furniture 1620-90367-LTBR Assembly instruction

Hooker Furniture

Hooker Furniture 1620-90367-LTBR Assembly instruction

Home Decorators Collection TERRYN TJ-TNV3120WH Assembly instructions

Home Decorators Collection

Home Decorators Collection TERRYN TJ-TNV3120WH Assembly instructions

Coaster 192071 Assembly instructions

Coaster

Coaster 192071 Assembly instructions

Velux Solar SST manual

Velux

Velux Solar SST manual

Akron Street 50-MYS-07-K Assembly instructions

Akron Street

Akron Street 50-MYS-07-K Assembly instructions

SERANO S800BG09 installation guide

SERANO

SERANO S800BG09 installation guide

Hard Head 019613 operating instructions

Hard Head

Hard Head 019613 operating instructions

American Standard Colony Set Two-Handle Centerset Bar Sink Faucet... Specification sheet

American Standard

American Standard Colony Set Two-Handle Centerset Bar Sink Faucet... Specification sheet

Crosswater Optix 10 installation instructions

Crosswater

Crosswater Optix 10 installation instructions

manuals.online logo
manuals.online logoBrands
  • About & Mission
  • Contact us
  • Privacy Policy
  • Terms and Conditions

Copyright 2025 Manuals.Online. All Rights Reserved.