manuals.online logo
Brands
  1. Home
  2. •
  3. Brands
  4. •
  5. Kohler
  6. •
  7. Bathroom Fixture
  8. •
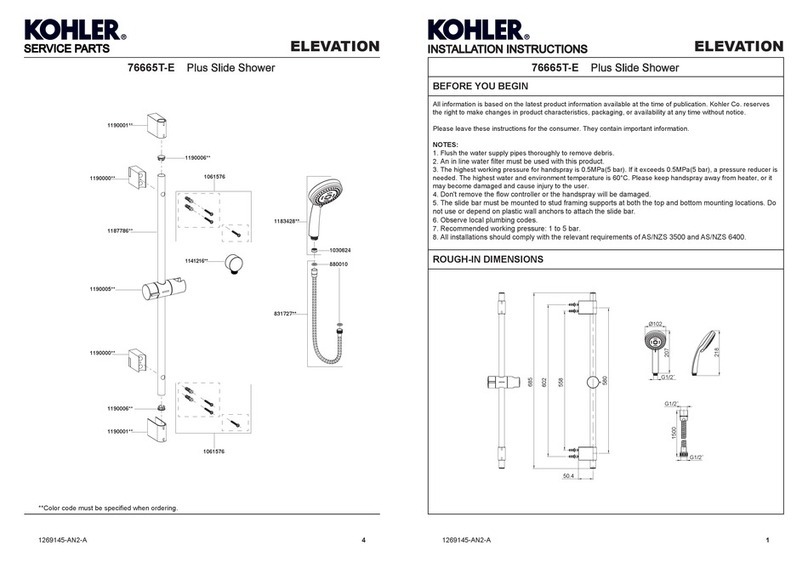
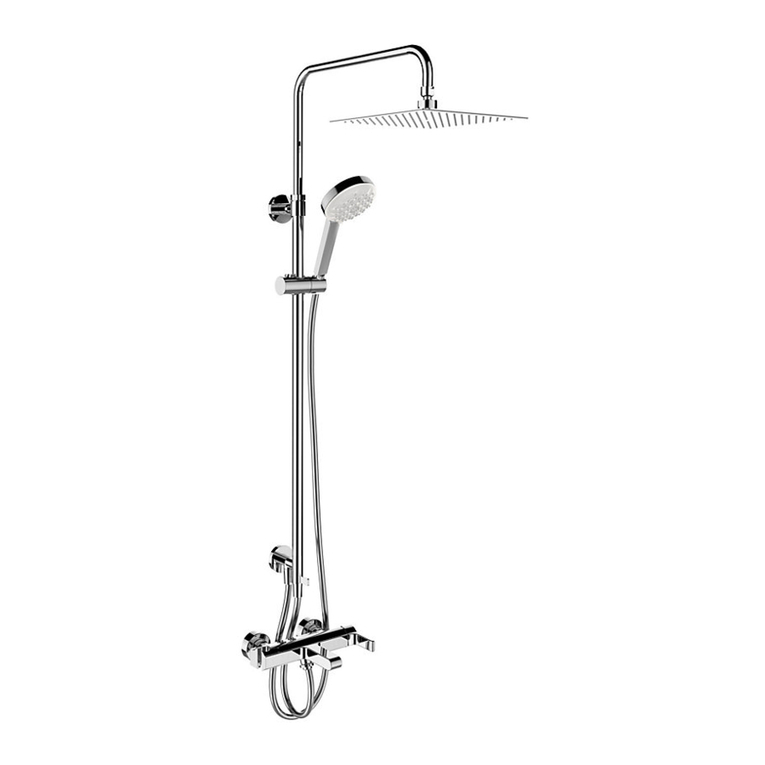
  9. Kohler STRAYT 99166T-C4 User manual

Kohler STRAYT 99166T-C4 User manual

This manual suits for next models

2

Other Kohler Bathroom Fixture manuals

Kohler Underscore Cube User manual

Kohler

Kohler Underscore Cube User manual

Kohler K-4917X Assembly instructions

Kohler

Kohler K-4917X Assembly instructions

Kohler K-895 Assembly instructions

Kohler

Kohler K-895 Assembly instructions

Kohler K-2834 User manual

Kohler

Kohler K-2834 User manual

Kohler K-702205 User manual

Kohler

Kohler K-702205 User manual

Kohler K-691 Assembly instructions

Kohler

Kohler K-691 Assembly instructions

Kohler K-7331 Assembly instructions

Kohler

Kohler K-7331 Assembly instructions

Kohler Mira Logic User manual

Kohler

Kohler Mira Logic User manual

Kohler TOOBI K-15476T User manual

Kohler

Kohler TOOBI K-15476T User manual

Kohler Mastershower K-T9492 User manual

Kohler

Kohler Mastershower K-T9492 User manual

Kohler K-2276 User manual

Kohler

Kohler K-2276 User manual

Kohler Finial K-316 Assembly instructions

Kohler

Kohler Finial K-316 Assembly instructions

Kohler K-1681 User manual

Kohler

Kohler K-1681 User manual

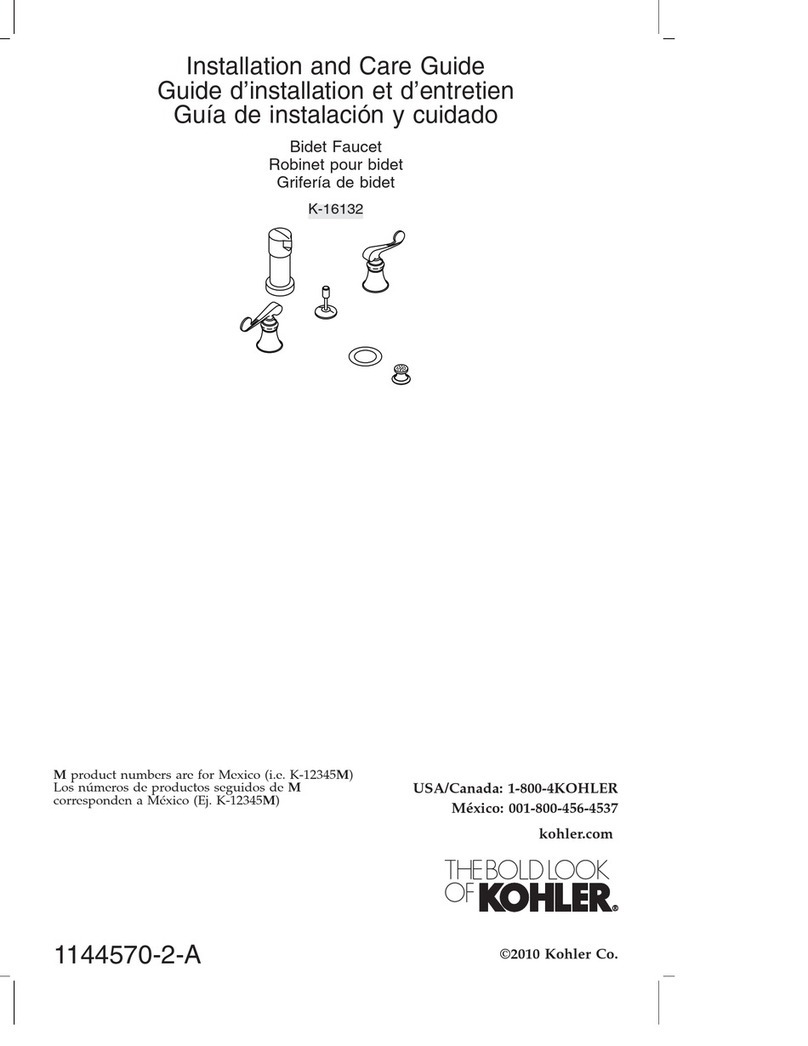
Kohler K-16132 Assembly instructions

Kohler

Kohler K-16132 Assembly instructions

Kohler K-14418 User manual

Kohler

Kohler K-14418 User manual

Kohler SKYLINE K-705880T-FM-SHP User manual

Kohler

Kohler SKYLINE K-705880T-FM-SHP User manual

Kohler K-8501 Assembly instructions

Kohler

Kohler K-8501 Assembly instructions

Kohler K-24985K Assembly instructions

Kohler

Kohler K-24985K Assembly instructions

Kohler K-5250 Operating manual

Kohler

Kohler K-5250 Operating manual

Kohler 10-Jet K-1005-H2 Assembly instructions

Kohler

Kohler 10-Jet K-1005-H2 Assembly instructions

Kohler Mira Store User manual

Kohler

Kohler Mira Store User manual

Kohler K-419 User manual

Kohler

Kohler K-419 User manual

Kohler K-1010 Assembly instructions

Kohler

Kohler K-1010 Assembly instructions

Kohler ODEON 72704T-C4 User manual

Kohler

Kohler ODEON 72704T-C4 User manual

Popular Bathroom Fixture manuals by other brands

Moen 186117 Series installation guide

Moen

Moen 186117 Series installation guide

Hans Grohe Raindance Showerpipe 27235000 Instructions for use/assembly instructions

Hans Grohe

Hans Grohe Raindance Showerpipe 27235000 Instructions for use/assembly instructions

Signature Hardware ROUND SWIVEL BODY SPRAY 948942 Install

Signature Hardware

Signature Hardware ROUND SWIVEL BODY SPRAY 948942 Install

fine fixtures AC3TH installation manual

fine fixtures

fine fixtures AC3TH installation manual

LIXIL HP50 Series quick start guide

LIXIL

LIXIL HP50 Series quick start guide

KOLO ATOL PLUS installation manual

KOLO

KOLO ATOL PLUS installation manual

Hans Grohe PuraVida 15073000 Instructions for use/assembly instructions

Hans Grohe

Hans Grohe PuraVida 15073000 Instructions for use/assembly instructions

Toto TS111B8 Installation and owner's manual

Toto

Toto TS111B8 Installation and owner's manual

Coram Showers OFFSET QUADRANT manual

Coram Showers

Coram Showers OFFSET QUADRANT manual

baliv DU-2010 manual

baliv

baliv DU-2010 manual

odass OD-1710 instruction manual

odass

odass OD-1710 instruction manual

Oxygenics Evolution Easy installation instructions

Oxygenics

Oxygenics Evolution Easy installation instructions

Bradley Express SS Series installation instructions

Bradley

Bradley Express SS Series installation instructions

Helvex TH-974 installation guide

Helvex

Helvex TH-974 installation guide

DURAVIT C.1 C15240 0090 Instructions for mounting and use

DURAVIT

DURAVIT C.1 C15240 0090 Instructions for mounting and use

Sunshower PURE SOLO manual

Sunshower

Sunshower PURE SOLO manual

Heatstore HSTRL500WTN Installation and operating instructions

Heatstore

Heatstore HSTRL500WTN Installation and operating instructions

Delabie Delabie Sporting 714700 manual

Delabie

Delabie Delabie Sporting 714700 manual

manuals.online logo
manuals.online logoBrands
  • About & Mission
  • Contact us
  • Privacy Policy
  • Terms and Conditions

Copyright 2025 Manuals.Online. All Rights Reserved.

1338598-2A-B 1
1338598-2A-B 4
BEFORE YOU BEGIN
All information is based on the latest product information available at the time of publication. Kohler Co. reserves
the right to make changes in product characteristics, packaging, or availability at any time without notice.
Please leave these instructions for the consumer. They contain important information.
NOTES:
1. Flush the water supply pipes thoroughly to remove debris.
2. Inspect the supply tubing for damage. Replace as necessary.
3. Observe local plumbing codes.
4. The minimum inlet water pressure for the diverter is 0.05MPa(0.5bar).
5. Check for leaks before covering the pipes, repairs as needed.
6. The highest working pressure for handshower is 0.5MPa(5bar). If it exceeds 0.5MPa(5bar), a pressure reducer
is needed. The highest water and environment temperature is 60ºC. Please keep handshower and shower arm
away from heater, or it may become damaged and cause injury to the user.
7. Please purchase the matched mounting base 97904T when install the faucet.
INSTALLATION INSTRUCTIONS
99166T-C4/C4DPR/C4DPW Floor-Mount Bath & Shower Faucet99166T-C4/C4DPR/C4DPW Floor-Mount Bath & Shower Faucet
STRAYT
ROUGH-IN DIMENSIONS
*Please purchase the suitable bathtub according to the dimension.
HANDLE OPERATION
Lift the handle gently. Turn clockwise for hot water, counter-clockwise for cold water. Water flows out from spout
when faucet diverter is in the normal position and it’s diverted to handshower when the diverter is pulled down.
STRAYT
SERVICE PARTS
**Color code must be specified when ordering.
*70 Min
50
G1/2˝
241
15º
53.3
*225
*630 Max
855~875
660~680
940~960
120x120
Bathtub
G1/2˝
250
28 28
240
3008316
871128
1345555
1177225
34263
1174121
1084120
836547
3006148
831288
834705**
833438
1220583
3008851**
1082901
65218
1174014
3006930
3006991
3006923**
99166T-C4: 1224841**
99166T-C4DPR: 1224843**
99166T-C4DPW: 1224845**
880010
880010
1297484**
1030624
77420
1240266
831727**
(For other
finishes)
G1/2˝
G1/2˝
1500
Only for 2BL&2BZ For other finishes
G1/2˝
G1/2˝
1500
1248781**
(Only for
2BL&2BZ)
1338598-2A-B 2
INSTALLATION
How to Install the Handshower
Remove the protector from diverter kit(9).
If needed, install the restrictor(10) into the inlet of the handshower(11)
according to installation instruction. Connect hose(12) to diverter kit and
handshower with washers(13). Tighten all the connections.
Hang the handshower on the bracket(14) of the faucet.
How to Install the Faucet
Shut off water supply. Cut away the extending part of the base
protector(1) in accordance with the tile surface. Remove plug(2) from
base. Remove protector(3) from the faucet.
Slide up escutcheon kit(4). Install the faucet. NOTE: Keep the faucet
vertical to base, to avoid damaging the o-ring on the bottom.
Keep the spout pointing to tub. Fix the faucet to the base with screws(5)
and washers(6) through flange(7). Tighten the screws with hex
wrench(8).
Slide down the escutcheon kit, make sure it against the finished floor.
1338598-2A-B 3
CLEANING INSTRUCTIONS
All Finishes: Clean the finish with mild soap and warm water. Wipe entire surface completely dry with clean soft
cloth. Many cleaners may contain chemicals, such as ammonia, chlorine, toilet cleaner etc, which could adversely
affect the finish and are not recommended for cleaning.
Do not use abrasive cleaners or solvents on Kohler faucets and fittings.
INSTALLATION CHECKOUT
Ensure that all coupling nuts are tight. Ensure that the handle is in the off
position.
Turn on the main water supply, and check for leaks. Repair as needed.
Remove the aerator(15) by key(16). Remove the handshower(11). Turn
on faucet handle. Run hot and cold water through spout for about one
minute to remove any debris. Check for leaks at this time. Remove any
debris. Shut off the faucet. Reinstall the aerator and handshower.
8
2
1
3
7
4
6
5
12
13
10
11
14
9
Katalyst Air
Intense Massage
How to Operate the Handshower
Press the buttons of the handshower to change the water flow.
How to Maintain the Handshower
Any debris or mineral build-up may cause the flow stream to become
distorted or reduce the flow rate. To remove the debris or mineral build-up,
run water through the handshower, firmly press or rub your finger back
and forth across the rubber nozzles.
Remove and clean the screen washer.
15
16
11