manuals.online logo
Brands
  1. Home
  2. •
  3. Brands
  4. •
  5. Kospel
  6. •
  7. Water Heater
  8. •
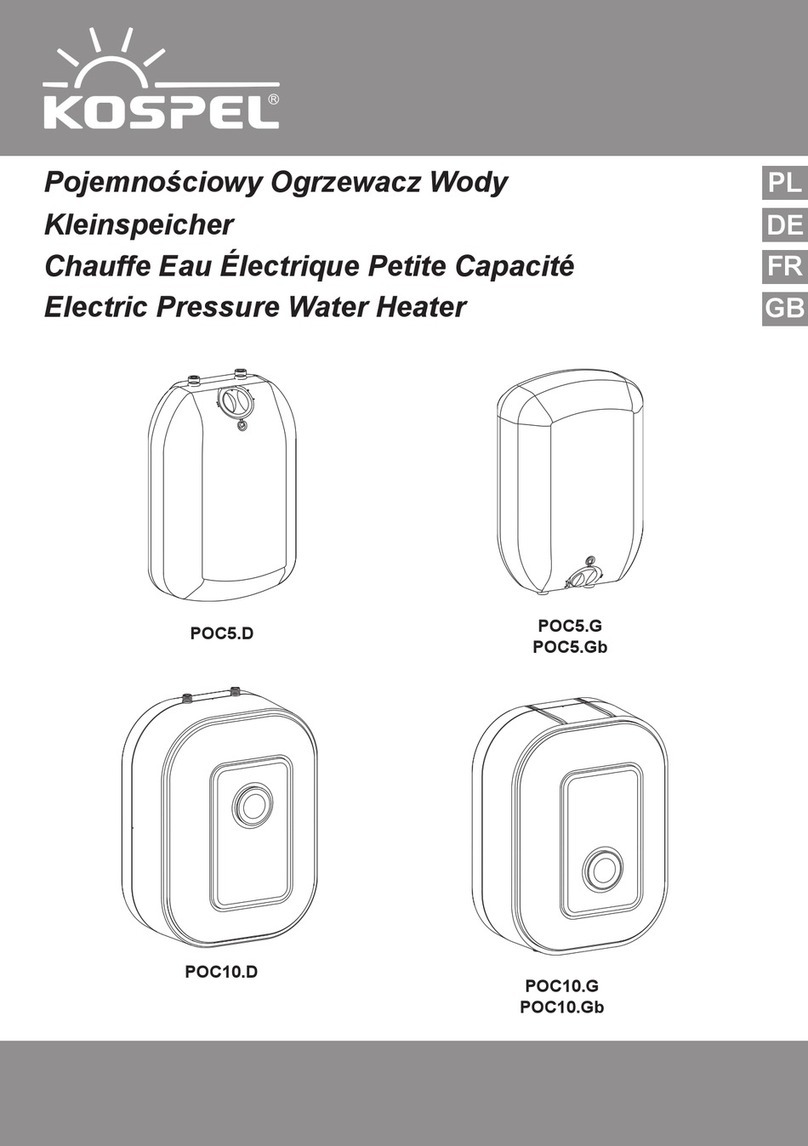
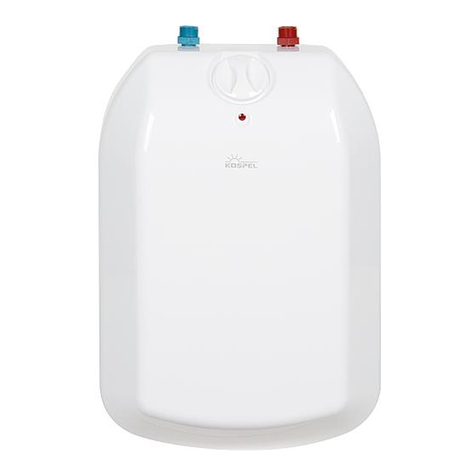
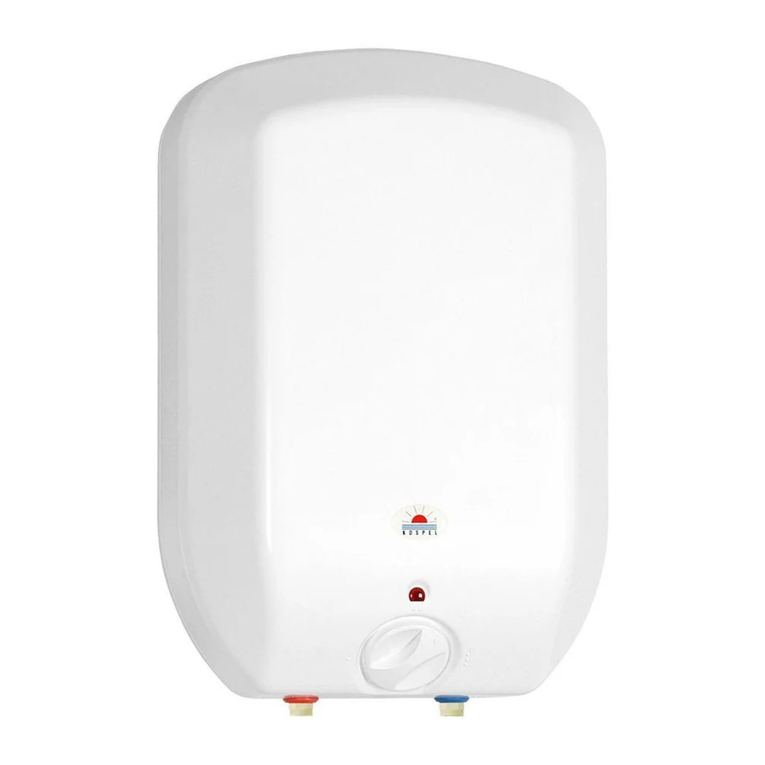
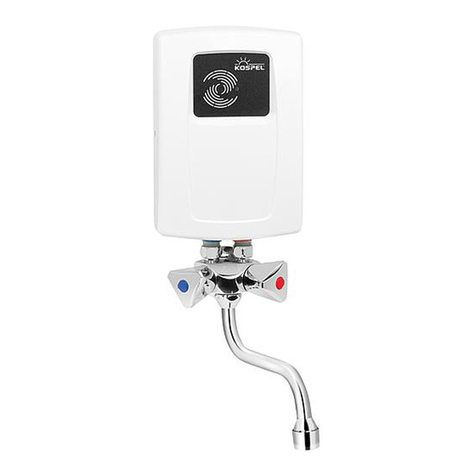
  9. Kospel Luna inox POC.D-5/2 User manual

Kospel Luna inox POC.D-5/2 User manual

Please, read and follow the installation and operating instructions carefully, to ensure the long life and reliable
operation of this appliance.
Kospel S.A. may make minor changes in the appliance if necessary. They will not be exposed in the operating
instruction, so long as the main features of the heater remain the same.
KOSPEL S.A. 75-136 KOSZALIN UL. OLCHOWA 1 POLAND
This product must not be treated as a communal waste. Dismantled appliance ought to be given to an appro-
priate recycling point for electrical and electronic waste. Appropriate disposal of the used product prevents
potential negative influence on the environment, which could occur in case of an improper waste disposal.
In order to obtain more detailed information on the recycling of the product, contact your local authority,
refuse disposal services or the store, where the product has been purchased.
3
ENG-029B/p.351
POC Luna inox - a small storage water heater is suitable for being assembled in a household, a sanitary room,
a laboratory, a workshop etc.
There are 2 versions of POC Luna inox available: over-(G) and under-the-sink(D).
The water heaters are also available with a tap provided by manufacturer. They will operate as a non-pressure
appliance; symbols: POC.Gb-5/2 oraz POC.Db-5/2.
POC.Gb-5/2, POC.Db-5/2 tap
set works as an air vent and
therefore, cannot be connected
to any valve or a connector that
is not recommended by the
manufacturer.
Purpose
Safety and faultless
work conditions
- in order to make use of the appliance it must be properly installed,
- you must not put the heater on if it is not full with water
- the appliance should be vented (see 'Venting') before the activation and each time after a decay of water,
- do not open the heater casing while power is on,
- the appliance can be connected only to a plug-in socket with a safety pin,
- an extension cord must not be used to connect the heater with a socket,
- water at 400C temp. may bring forth the feeling of burning (especially with children); remember that the fit-
tings (e.g. a tap, pipes) also reach high temperature while working,
- while assembling the POC.G-5/2 or POC.D-5/2 water heater, a safety valve has to be fitted right before the
appliance on water mains supply pipe; if the water pressure is higher than 0,6 MPa, a pressure reductor has
to be fitted on the water mains supply pipe before the safety valve,
- the outlet must not be clogged while water is on and no other appliance should be adjusted to it,
4
1
Connection to a water supply
Water heaters fitted under pressure POC.G-5/2 end POC.D-5/2 are prepared to work on the system with water
pressure not exceeding 0,6Mpa. If the water pressure in the system is higher than 0,6 Mpa, a pressure reductor
has to be fitted before the safety valve on the cold water supply pipe. An occasional leak may appear from the
safety valve - it does not mean that there is a fault; it is a normal state of the appliance. You mustn’t block the
pipe as it might cause a malfunction. Safety valve as well as the outlet pipe can not be installed in a room with
temperatures below zero. Between the water heater and the safety valve no cut-off valve can be placed.
Fig.1 Pressure assembly of the
waterheatertothewater
mains
a)-POC.G-5/2waterheater
b)-POC.D-5/2waterheater
 [3] - inletpipe(coldwater)
 [4] - outletpipe(hotwater)
 [5] - hotwateroutlet
 [6] - safetyvalve
 [7] - pressurereductor(incasethewater
pressureishigherthan0,6Mpa)
 [8] - cut-offvalve
 [9] - coldwaterinlet
a) b)
Installation
5
ENG-029B/p.351
The appliance should be moun-
ted in such a way that an easy
access is assured.
2
Fig.2 Non-pressure assembly to
thewaterheatertothewater
mains
a)–waterheaterPOC.Gb-5/2
b)–waterheaterPOC.Db-5/2
 [5] - hotwateroutlet
 [9] - coldwaterinlet
 [10] - connectingtubes(madeofmetal)
 [11] - watersupply
 [12] - reductionfrom1/2"to3/8"
 [13] - tap
Assembly
1. Mount the heater on the wall
according to two options given
below:
a) fix two (stretching) pins ø 8 into
the wall with a 140 mm-distance
between them (fig.1a, 1b, 2a 2b),
- screw the fixing screws in such
a way that there will be no more
than a 4 mm-slot between a wall
and a screw head,
- hang the heater on the fixed
screws,
b) fix the special hanger to the wall
(fig.3 [14]) and hang the water
heater. In case of assembly of
the POC.Gb, a 712mm spacing
3
Fig.3 Installation of the water
heater POC.Gb-5/2 with
useofahanger
 [13] - tap
 [14] - hanger
a) b)
between axes of fixing pins and the tap has to be kept (fig.3).
2. According to fig. 1 or 2 bring the domestic water and the electricity
supply, to the point where the heater is to be mounted. In the water
heater:
a) POC.G or POC.D connect cold water to the inlet pipe [3] accord-
ing to scheme on fig.1 and hot water outlet to the outlet pipe [4].
On the cold water inlet supply pipe a mandatory safety valve [6] has
to be installed with a rated pressure of 0,6 MPa.
b) Connect the POC.Gb or POC.Db heater to the tap (with metal tubes
fig.2a or flexible connectors (hoses)fig.2b) - placing gaskets on the nuts
beforehand. In case of POC.D, please, pay attention to the markings
on the tap and right connection of flexible connectors (fig. 5). Flexible
tap connectors has thread 3/8”– a reductor from 1/2” to 3/8” must be
used.
3. After connecting the appliance to water installation, open hot water
tap (red colour) and wait until the heater container is filled with water
(when water starts running from the tap).
4. Check connections for their tightness.
6
The heater connection to electric mains
The appliance can be supplied with alternating voltage of 230V~. A cord with a plug should be connected to
a plug-in socket with a safety pin only.
Electrical system should fulfil IEC-60364 standards.
Do not use extension cords
to connect the heater with a
socket.
4
Fig.4Wiringdiagram
 E1 - heatingbox
 F1 - thermalcut-out
 K1 - temperaturecontroller
 XP - supplucordwithaplug
 X1 - terminals
 H1 - heatingindicator
Venting 1. Take the plug out of the socket.
2. Open hot water tap and wait until it flows from a tap.
3. Set the temperature regulation knob at desired position.
4. Put the plug into a socket.
If the inseparable supply cord
will become damage, it should
be replaced at the manufacturer
or in special repair shop or by
a qualified person in order to
avoid all risks.
'Heating'
7
ENG-029B/p.351
Operating On the front part of the heater casing there is a knob intended for tem-
perature setting (fig. 5).
The knob set as on the figure 5 indicates the 'switch off' position.
Water temperature setting should be chosen smoothly from „•'' position to
„•••''(~700C). When the diod (indicating 'heating') is on, it means water
is being heated.
If the appliance is mounted in a place where temperature drops below
00C, you should choose one of two options given beneath:
1. leave the heater switched on; choose „ ''position - the heater automati-
cally keeps water temperature stable (70C),
2. totally empty the heater out of water
- over-the-sink version (POC.G-5/2 i POC.Gb-5/2) - dismount cold water
connecting tube between the tap and the heater; open the hot water
5
Fig.5 Workindicators
 [1] - signallamp"heatingon"
 [2] - temperatureknob
In case of a water supply failure
(lack of water in a system) the
tap ought to be immediately
shut off and a knob of the tem-
perature controller turned to a
'switch off' position (fig. 5). The
heater should be vented again
(see 'Venting') after the water
supply is back to normal.
tap,
- under-the-sink version (POC.D-5/2 i POC.Db-5/2) - unscrew flexible connectors (hoses), remove the appli-
ance from the wall (hooks) and turn it 1800 round.
Safety valve must regularly opened in order to remove deposit and ensure it is not blocked. To perform this
maintenance, check, if the safety valve works properly: turn the lever or the turning knob of the valve to open the
water outflow from the outlet pipe. If there is no water outflow, the valve is faulty and the water heater cannot
be operated. (reffers to water heater in a pressure assembly to the water mains, fig.1).
8
Technical data
Faults
In case the appliance does not
heat water, check for possible
reasons.
Type POC.D-5/2 POC.Db-5/2 POC.G-5/2 POC.Gb-5/2
Capacity l 5
Voltage 220 - 240V~
Rated power W 2000
Rated current A 8,7
Temperature range °C 23 - 70
Pressure rating MPa 0,6
Dimensions (height x width x depth) mm 427 x 285 x 163
Weight (without water) kg 4,4
Safety class IP24
Water supply pipe section G 3/8" G 1/2"
Water heater fittings G 1/2"
No.. Fault Reason Remedies
1. The heater does not heat water.
A signal lamp does not work.
Supply power system failure.
A temperature controller failure.
Check safety fuses.
Replace the temperature controller (service)
2. The heater does not heat water.
A signal lamp works.
Heating box failure. Replace the damaget unit. (service)
a thermal cut-out failure Turn off or exchange the thermal cut-out
3. The heater heats water. A signal lamp does not work. Replace the lamp. (service)
9
ENG-029B/p.351
Set contents
POC.D-5/2POC.Db-5/2 POC.G-5/2 POC.Gb-5/2
Water heater 1 pcs. 1 pcs. 1 pcs. 1 pcs.
Tap set - 1 pcs. - 1 pcs.
Connecting pipe - - - 2 pcs.
Reduction converter from 1/2" to 3/8" - 2 pcs. - -
Fixing screws 2 sets 2 sets 2 sets 2 sets
Hanger 1 pcs. 1 pcs. 1 pcs. 1 pcs.
Safety Valve 1 pcs. - 1 pcs. -
This appliance is not intended
for use by persons (including
children) with reduced physical,
sensory or mental capabilities or
lack of experience and know-
ledge, unless they have been
given supervision or instruction
concerning use of the appliance
by a person responsible for their
safety.
Children should be supervised
to ensure that they do not play
with the appliance.
10

This manual suits for next models

3

Other Kospel Water Heater manuals

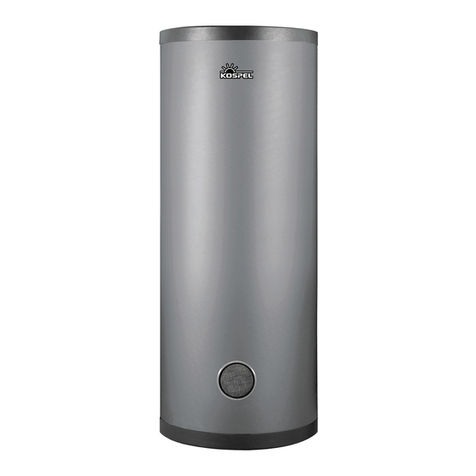
Kospel SWVPC-200/100 User instructions

Kospel

Kospel SWVPC-200/100 User instructions

Kospel PPH2 User manual

Kospel

Kospel PPH2 User manual

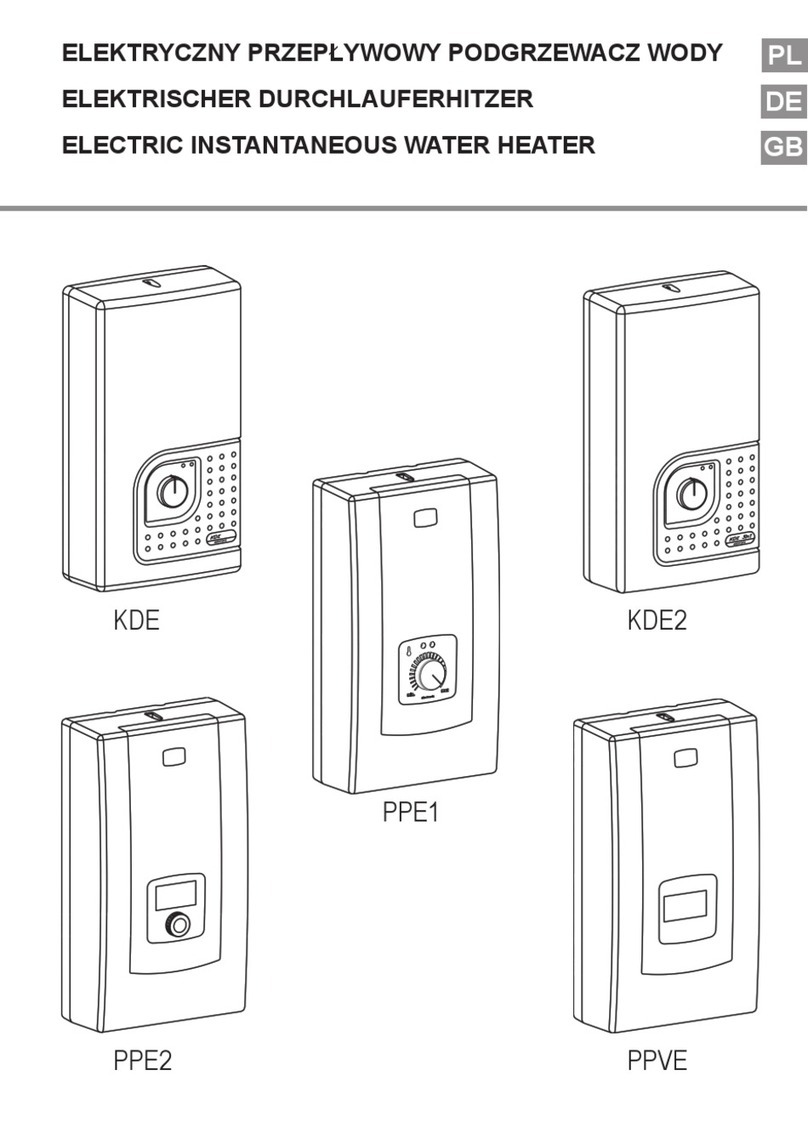
Kospel EPJ.P Series User manual

Kospel

Kospel EPJ.P Series User manual

Kospel EPS2 User manual

Kospel

Kospel EPS2 User manual

Kospel SP180 User manual

Kospel

Kospel SP180 User manual

Kospel EKP.LN2M User manual

Kospel

Kospel EKP.LN2M User manual

Kospel EPJ User manual

Kospel

Kospel EPJ User manual

Kospel EPO.D-5 User manual

Kospel

Kospel EPO.D-5 User manual

Kospel POC.D.5 User manual

Kospel

Kospel POC.D.5 User manual

Kospel SE140 User manual

Kospel

Kospel SE140 User manual

Kospel EPS2-3,5 User manual

Kospel

Kospel EPS2-3,5 User manual

Kospel EPO Amicus 4 User manual

Kospel

Kospel EPO Amicus 4 User manual

Kospel KDE User manual

Kospel

Kospel KDE User manual

Kospel SP180 User instructions

Kospel

Kospel SP180 User instructions

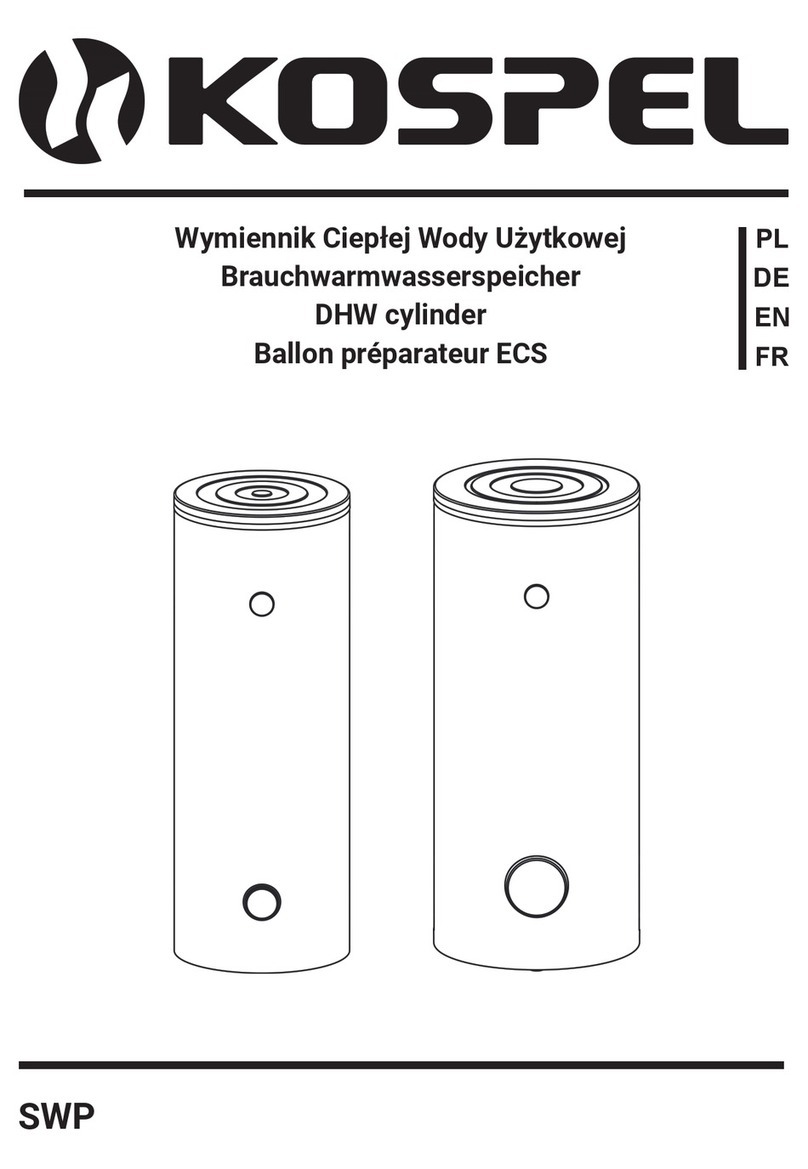
Kospel SWP Series User manual

Kospel

Kospel SWP Series User manual

Kospel PPH2 User manual

Kospel

Kospel PPH2 User manual

Kospel PPE1 User manual

Kospel

Kospel PPE1 User manual

Kospel OSV Series User manual

Kospel

Kospel OSV Series User manual

Kospel KDE User instructions

Kospel

Kospel KDE User instructions

Kospel SWP User manual

Kospel

Kospel SWP User manual

Kospel SP180 User manual

Kospel

Kospel SP180 User manual

Kospel SVK User manual

Kospel

Kospel SVK User manual

Kospel EPO2 User manual

Kospel

Kospel EPO2 User manual

Kospel EPS - 3,5 User manual

Kospel

Kospel EPS - 3,5 User manual
Popular Water Heater manuals by other brands

Bosch T2400S 8 ND 23 Training and Service Information For After Sales

Bosch

Bosch T2400S 8 ND 23 Training and Service Information For After Sales

WaterLogic WL350 manual

WaterLogic

WaterLogic WL350 manual

clage CFX-U Operating and installation instructions

clage

clage CFX-U Operating and installation instructions

Rinnai Circ-Logic RL75i Installation and operation manual

Rinnai

Rinnai Circ-Logic RL75i Installation and operation manual

Noritz GQ-C5032WZ US installation manual

Noritz

Noritz GQ-C5032WZ US installation manual

Truma Therme installation instructions

Truma

Truma Therme installation instructions

Rheem STELLAR 4A Series Owner's guide and installation instructions

Rheem

Rheem STELLAR 4A Series Owner's guide and installation instructions

American BCL380T1206NOX instruction manual

American

American BCL380T1206NOX instruction manual

Atmos InterSystem HE26 Installation and servicing instructions

Atmos

Atmos InterSystem HE26 Installation and servicing instructions

Burco 76500 Instructions for use

Burco

Burco 76500 Instructions for use

Paloma PH-28 installation instructions

Paloma

Paloma PH-28 installation instructions

Beko CT M 30 instruction manual

Beko

Beko CT M 30 instruction manual

A.O. Smith Promax Tall ECT-30 Specification sheet

A.O. Smith

A.O. Smith Promax Tall ECT-30 Specification sheet

SuperGreen IR-3000 Operation & installation manual

SuperGreen

SuperGreen IR-3000 Operation & installation manual

Eccotemp i12 Series Use and care guide

Eccotemp

Eccotemp i12 Series Use and care guide

KAIROS THERMO DR-2 Instruction manual for authorized service personnel

KAIROS

KAIROS THERMO DR-2 Instruction manual for authorized service personnel

Reflex Storatherm Heat Combi HC 1 Series operating instructions

Reflex

Reflex Storatherm Heat Combi HC 1 Series operating instructions

Rheem II Series Service instructions

Rheem

Rheem II Series Service instructions

manuals.online logo
manuals.online logoBrands
  • About & Mission
  • Contact us
  • Privacy Policy
  • Terms and Conditions

Copyright 2025 Manuals.Online. All Rights Reserved.