manuals.online logo
Brands
  1. Home
  2. •
  3. Brands
  4. •
  5. Kramer
  6. •
  7. Transmitter
  8. •
  9. Kramer TP-590Txr User manual

Kramer TP-590Txr User manual

TP-590TXR Quick Start (P/N: 2900-300864QS REV 2)
P/N:
2900- 300864QS
Rev:
2
Scan for full manual
TP-590TXR Quick Start Guide
This guide helps you install and use your TP-590TXR for the first time.
Go to www.kramerav.com/downloads/TP-590TXR to download the latest user manual and check if firmware
upgrades are available.
Step 1: Check what’s in the box
TP-590TXR HDMI Line Transmitter
4 Rubber feet
1 Bracket set
1 Power supply (48V DC)
1 Quick start guide
Step 2: Get to know your TP-590TXR
#
Feature
Function
1
USB Connector
Connect to the USB host, (for example, a laptop).
2
POE STATUS LED
Lights green when power is supplied over the HDBT link.
3
LINK LED
Lights green when the HDBT link is valid.
4
IN LED
Lights green when an HDMI active signal device is connected.
5
ON LED
Lights green when the device receives power.
#
Feature
Function
1
HDMI IN Connector
Connect to the HDMI source.
2
IR 3.5mm Mini Jack Connector
Connect to an external infrared transmitter or sensor.
3
RS-232 3-pin Terminal Block
Connect to an RS-232 controller, (for example, a PC to control the projector).
4
AUDIO IN 3.5mm Mini Jack
Connect to the stereo, analog audio source.
5
HDBT OUT RJ-45 Connector
Connect to the HDBT IN RJ-45 connector on the HDBT receiver.
6
SETUP 4-way DIP-switch
Sets the device behavior (see Step 4).
7
CONTROL
RS-232 3-pin
Terminal Block
Connect to the serial controllerto control this device.
8
ETHERNET
RJ-45 Connector
Connect to the Ethernet controller to control this device or to a LAN to transfer network traffic.
9
RESET Switch
Press and hold for 5 seconds to reset the device to factory default settings.
Press and immediately release to power-cycle the device (Reset).
10
PROG Mini USB Connector
Connect to a PC to perform firmware upgrades.
11
48V DC Power Connector
Connect to the power supply.
Step 3: Install TP-590TXR
Install TP-590TXR using one of the following methods:
•Attach the rubber feet and place the unit on a flat surface.
•Fasten a bracket (included) on each side of the unit and attach it to a flat surface.
For more information go to www.kramerav.com/downloads/TP-590TXR.
•Mount the unit in a rack using an optional RK-T2B rack adapter.
Step 4: Connect the inputs and outputs
Always switch OFF the power on each device before connecting it to your TP-590TXR. For best results, we recommend that you
always use Kramer high-performance cables to connect AV equipment to TP-590TXR.
Setting the DIP Switches
Set the DIP-switches using the table on the right. The
ON/OFF positions are as follows:
•Switch down = ON
•Switch up = OFF
Note: Changes to the DIP-switches only take effect
on power-up.
Function
Status
1
Range mode
Off—Extended range (provides increased range
at a reduced bandwidth)
On—Normal range (factory default)
2
Audio source
priority
Off—Embedded audio (factory default)
On—Analog audio
3
EDID lock
Off—Automatic EDID acquisition (factory
default)
On—Lock (locks the current EDID so that
changes on the output do not result in changes
to the EDID)
4
Audio mode
selection
Off—Auto (factory default)
On—Manual
Step 5: Connect the power
Connect the 48V DC power supply to TP-590TXR and plug it into the mains electricity.
Safety Instructions
Caution:
There are no operator serviceable parts inside the unit.
Warning:
Use only the Kramer Electronics power supply that is provided with the unit.
Warning:
Disconnect the power and unplug the unit from the wall before installing.
See www.KramerAV.com for updated safety information.
Step 6: Operate TP-590TXR
Operate TP-590TXR via:
•Remotely, using Protocol 3000
commands via RS-232 or
Ethernet
•Embedded web pages via the
Ethernet
•Remotely, using an IR remote
control transmitter
Default Parameters
Parameter
Value
Name
KRAMER_
Model
TP-590TXR
IP Address
192.168.1.39
UDP Port
50000
TCP Port
5000
Network Mask
255.255.0.0
Gateway Address
192.168.0.1
RS-232 Baud Rate
115200
Audio delay input switching on newsignal
0 seconds
Audio delay input switching on signal loss (leave 5V on)
5 seconds
Audio delay input switching on cable unplug
0 seconds
Video delay power off 5V on signal loss
15 minutes
HDCP Mode
Followoutput
Protocol 3000 Commands
Command
Description
Command
Description
#
Protocol handshaking
LOCK-EDID?
Get EDID lock state
AUD-EMB?
Get audio in video embedding status
LOGIN
Set/get protocol permission
AUD-SIGNAL?
Get audio input signal status
LOGOUT
Cancel current permission level
AV-SW-MODE?
Get auto switch mode
MODEL?
Read device model
AV-SW-TIMEOUT
Set/get video auto-switch timeout
NAME
Set/get machine (DNS) name
BUILD-DATE?
Read device build date
NAME-RST
Reset machine name to factory default
(DNS)
CPEDID
Copy EDID data from the output to the input
NET-DHCP
Set/get DHCP mode
DIR
List files in device
NET-GATE
Set/get gateway IP
DISPLAY?
Valid / Invalid output
NET-IP
Set/get IP address
ETH-PORT
Set/get Ethernet port protocol
NET-MAC?
Get MAC address
FACTORY
Resets the device to factory default
NET-MASK
Set/get subnet mask
FS-FREE?
Get file system free space
PASS
Set/get Password
GEDID
Read EDID data
PRIORITY?
Get priority for all channels
GET
Get file
PROT-VER?
Get device protocol version
HDCP-MOD
Set/get HDCP mode
RESET
Reset device
HDCP-STAT?
Get HDCP signal status
SECUR
Start / Stop Security
HELP
Get command list or help for specific
command
SIGNAL?
Get input signal lock status
LDEDID
Write EDID data to input
SN?
Read device serial number
LDFW
Load new firmware
UPGRADE
Perform firmware upgrade
LOAD
Load new firmware
VERSION?
Read device firmware version
Using the Embedded Web Pages
The TP-590TXR can be operated remotely using the
embedded web pages. Access the web pages from the
control computer using a web browser and an Ethernet
connection.
Before attempting to connect:
•Ensure that your browser is supported.
•Ensure that JavaScript is enabled.
Note: In the event that a Web page does not update
correctly, clear your Web browser’s cache.
Note: Only one instance of the web pages can be open at a
time.
To browse the TP-590TXR web pages:
1. Open your Internet browser.
2. Type the IP number of the device (default =
192.168.1.39) in your browser.
If authentication is enabled, the following window
appears.
3. Enter the valid username and password to access the
web pages.
Following a successful logon, the Default page
appears.
#
Item
Description
1
Video & Audio
Settings
Viewthe current video and audio
settings.
2
Reveal Button
Click to reveal the Page Selection
panel.
4. Click the Reveal button to open the left hand side
page panel.
5. Select the required page from the Page Selection
Panel to configure the device:
Video & Audio Settings Page: Modify the video and
timeout parameters.
Device Settings Page:
•View some of the device characteristics (for example,
model and web version)
•Edit IP settings
•Load and save configurations
•Reset the device to factory default settings
EDID Management Page:
•Copy EDID data to either or both of the inputs
•Lock the EDID on each input independently
Note: Do not power up the display before locking the EDID.
Firmware Upgrade Page:
•View the current firmware version
•Upgrade the firmware
Authentication Page: Assign or change logon
authentication details.
About Page: View the Web page version and Kramer
Electronics Ltd company details.

Other Kramer Transmitter manuals

Kramer TP-752T User manual

Kramer

Kramer TP-752T User manual

Kramer TP-551N User manual

Kramer

Kramer TP-551N User manual

Kramer TP-205A User manual

Kramer

Kramer TP-205A User manual

Kramer TP-594Txr User manual

Kramer

Kramer TP-594Txr User manual

Kramer TP-210 User manual

Kramer

Kramer TP-210 User manual

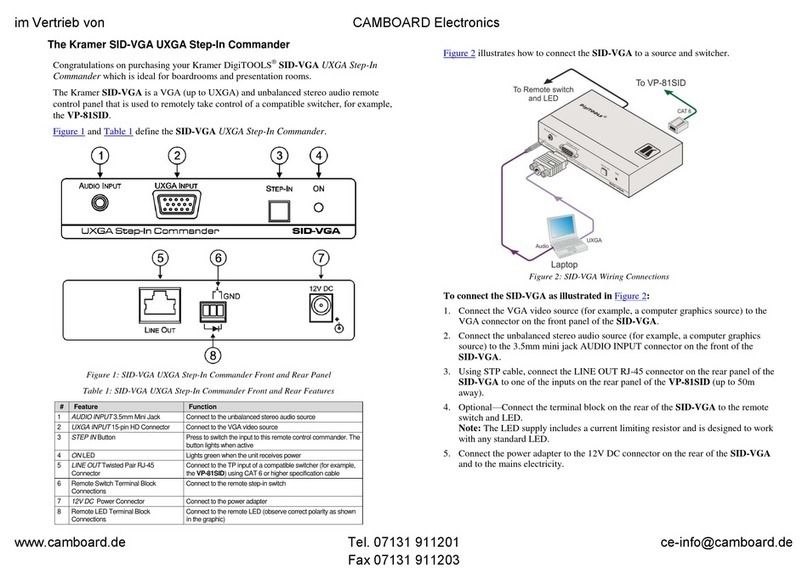
Kramer SID-VGA User manual

Kramer

Kramer SID-VGA User manual

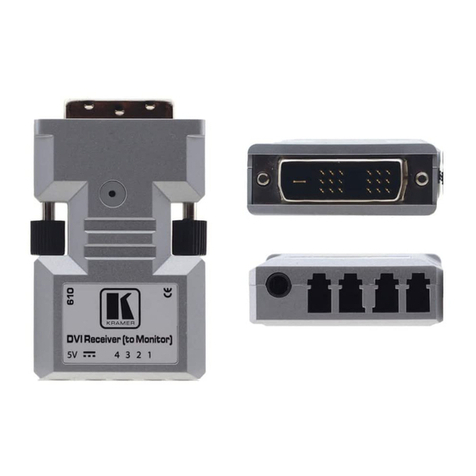
Kramer 610T User manual

Kramer

Kramer 610T User manual

Kramer VP-5R User manual

Kramer

Kramer VP-5R User manual

Kramer TP-114 User manual

Kramer

Kramer TP-114 User manual

Kramer TP-112HD User manual

Kramer

Kramer TP-112HD User manual

Kramer Cobra T2 User manual

Kramer

Kramer Cobra T2 User manual

Kramer TP-583T User manual

Kramer

Kramer TP-583T User manual

Kramer F-121UK User manual

Kramer

Kramer F-121UK User manual

Kramer WP-20 User manual

Kramer

Kramer WP-20 User manual

Kramer PT-572HDCP+ User manual

Kramer

Kramer PT-572HDCP+ User manual

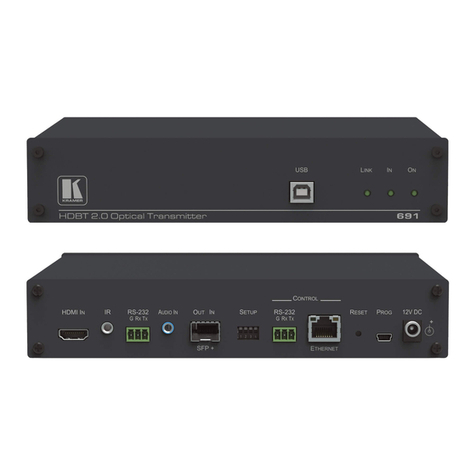
Kramer 691 User manual

Kramer

Kramer 691 User manual

Kramer WP-580Txr User manual

Kramer

Kramer WP-580Txr User manual

Kramer TP-121EDID User manual

Kramer

Kramer TP-121EDID User manual
Kramer TP-15 User manual

Kramer

Kramer TP-15 User manual

Kramer TP-780T User manual

Kramer

Kramer TP-780T User manual

Kramer 691 User manual

Kramer

Kramer 691 User manual

Kramer TP-205A User manual

Kramer

Kramer TP-205A User manual

Kramer TOOLS TP-104 User manual

Kramer

Kramer TOOLS TP-104 User manual

Kramer TP-581T User manual

Kramer

Kramer TP-581T User manual
Popular Transmitter manuals by other brands

Honeywell 5800MICRA installation instructions

Honeywell

Honeywell 5800MICRA installation instructions

Elsema FMT-401 Series manual

Elsema

Elsema FMT-401 Series manual

Ascon tecnologic H6 Series manual

Ascon tecnologic

Ascon tecnologic H6 Series manual

Michell Instruments Easidew user manual

Michell Instruments

Michell Instruments Easidew user manual

Clicker K1 instructions

Clicker

Clicker K1 instructions

Nitek FTS344000S00 installation manual

Nitek

Nitek FTS344000S00 installation manual

Sony MDR-RF875R Service manual

Sony

Sony MDR-RF875R Service manual

MRC PTX-PRO User and technical manual

MRC

MRC PTX-PRO User and technical manual

Williams Sound TGS 863 Manual and user guide

Williams Sound

Williams Sound TGS 863 Manual and user guide

Lectrosonics LMb instruction manual

Lectrosonics

Lectrosonics LMb instruction manual

ENFORCER SK-919TDWS-BQ installation manual

ENFORCER

ENFORCER SK-919TDWS-BQ installation manual

Intek MT-446ES instruction manual

Intek

Intek MT-446ES instruction manual

Weatronic BAT 60 quick guide

Weatronic

Weatronic BAT 60 quick guide

PR electronics 6333A installation guide

PR electronics

PR electronics 6333A installation guide

Shure AD2 user guide

Shure

Shure AD2 user guide

Risco RWX73M manual

Risco

Risco RWX73M manual

MTS Systems Level Plus LP Series Safety manual

MTS Systems

MTS Systems Level Plus LP Series Safety manual

CZH CZH-05B instruction manual

CZH

CZH CZH-05B instruction manual

manuals.online logo
manuals.online logoBrands
  • About & Mission
  • Contact us
  • Privacy Policy
  • Terms and Conditions

Copyright 2025 Manuals.Online. All Rights Reserved.