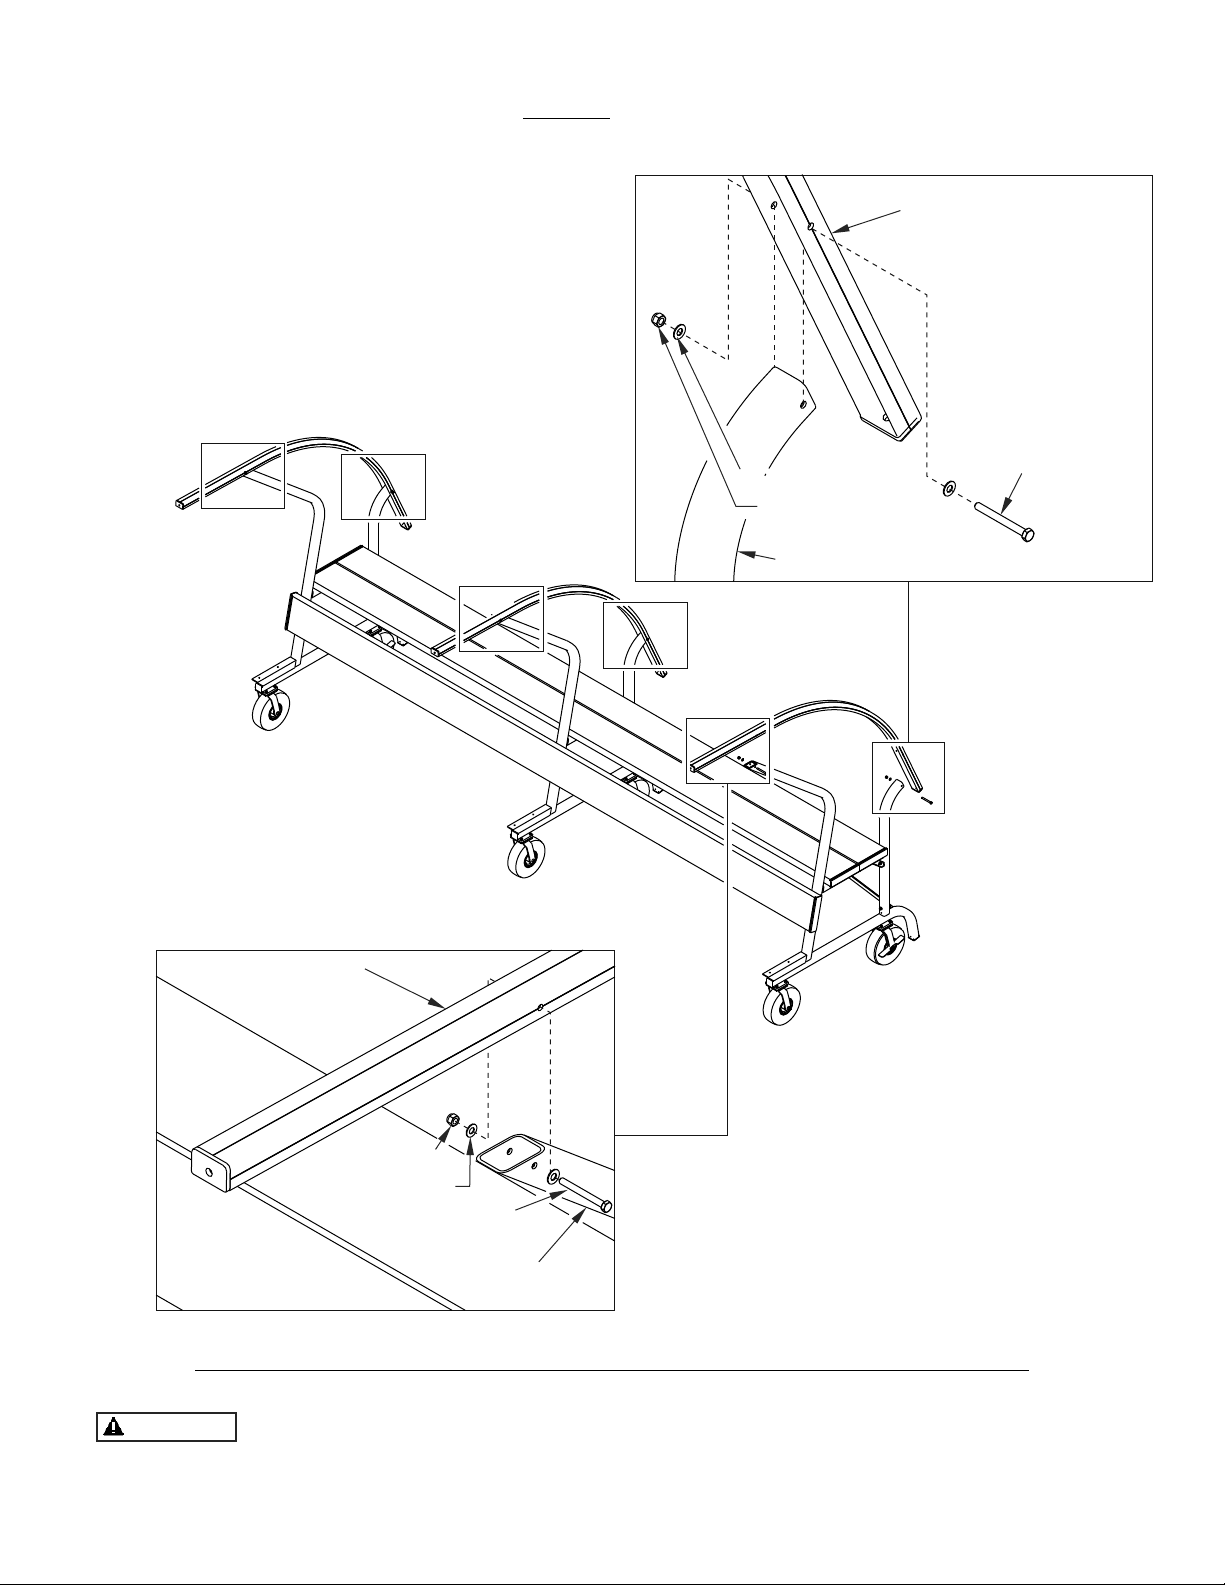
3/8” X 2-1/2” Eye Bolt (Part# TZ421) (4)
3/8” Lock Nut (Part# TZ197) (4)
3/8” Flat Washer (Part# TZ189) (4)
Note: Hardware is packed separately in one or more boxes. Open all boxes and layout all sealed hardware
packs before beginning assembly.
(Part#JZ269)Anchor Hdw
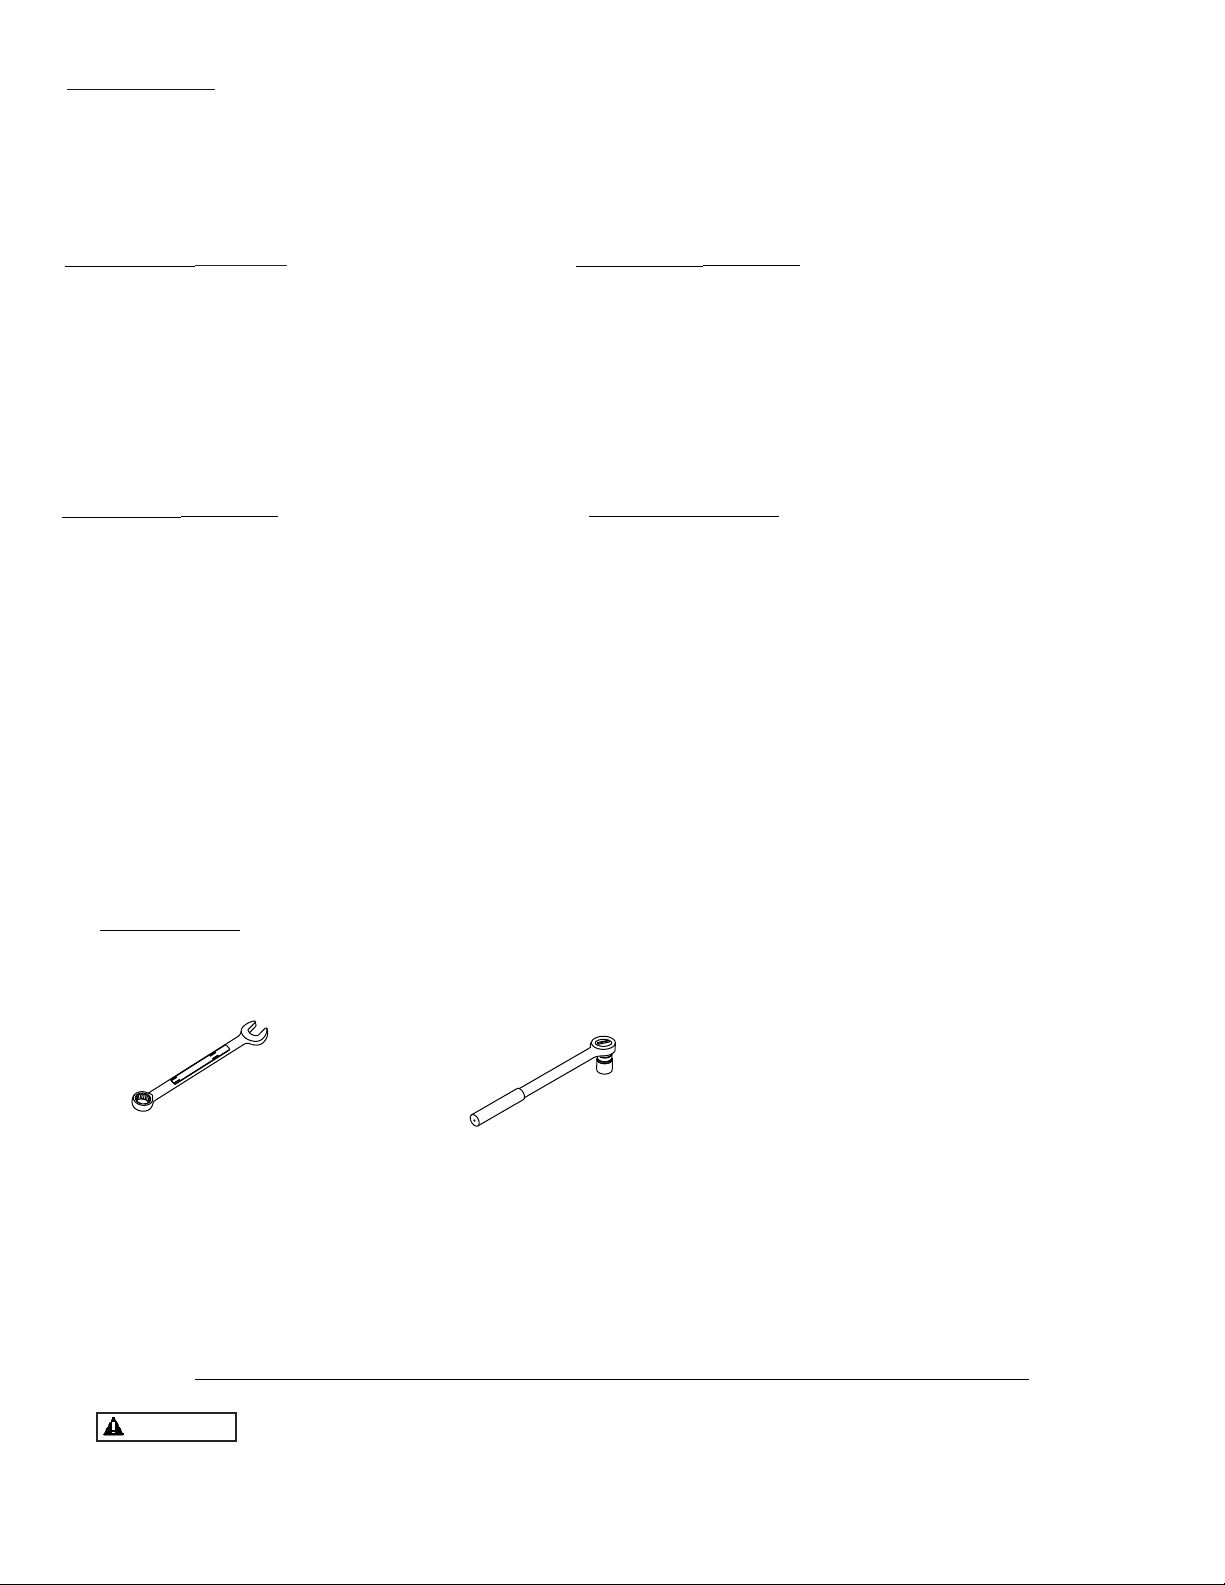
Ratchet with
1/2”, 9/16”, & 3/4” Socket
Assembly Tools
1/2”, 9/16”, & 3/4” Wrench
NZ448 Rev. 01/16/20
5/16“ X 2-3/4” Carriage Bolt (Part# TZ191) (4)
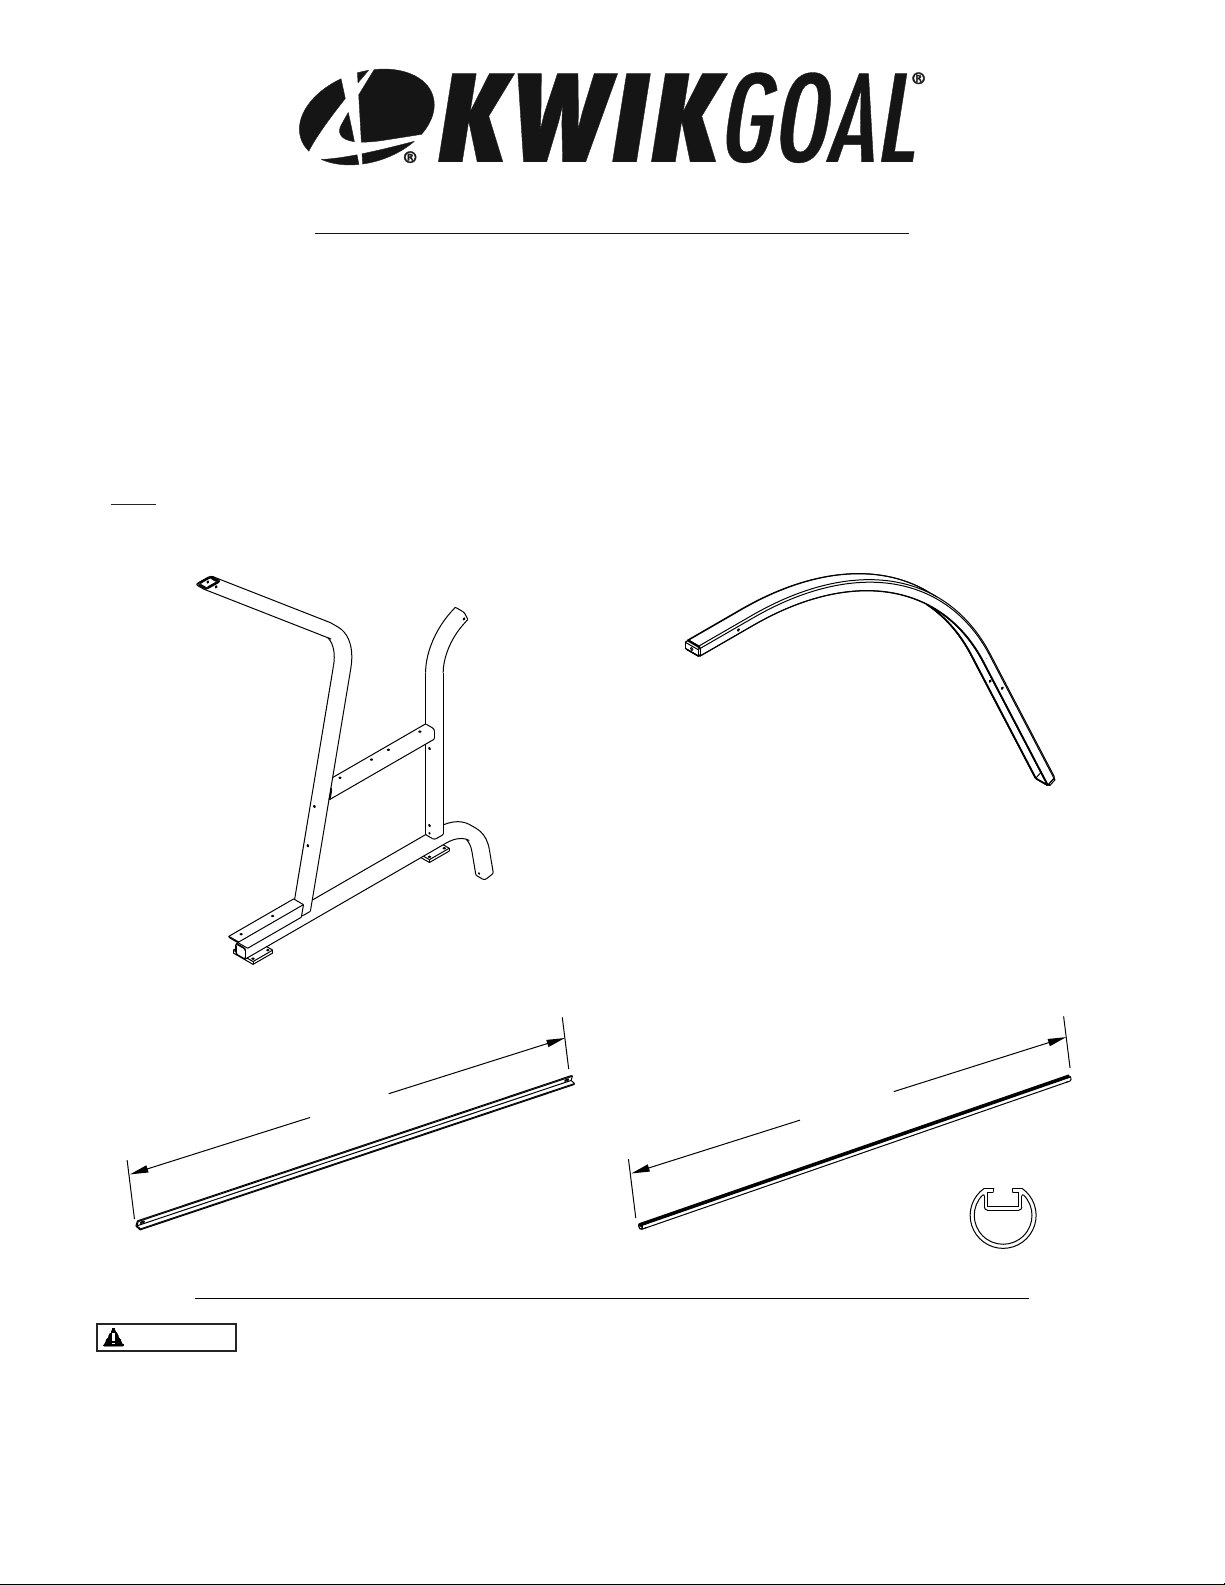
Shelter Hdw (Part# JZ177)
5/16” X 1-1/4” Hex Bolt (Part# TZ311) (24)
5/16” X 3” Carriage Bolt (Part# TZ172) (2)
5/16“ Lock Nut (Part#TZ5) (30)
5/16” Flat Washer (Part# TZ4) (30)
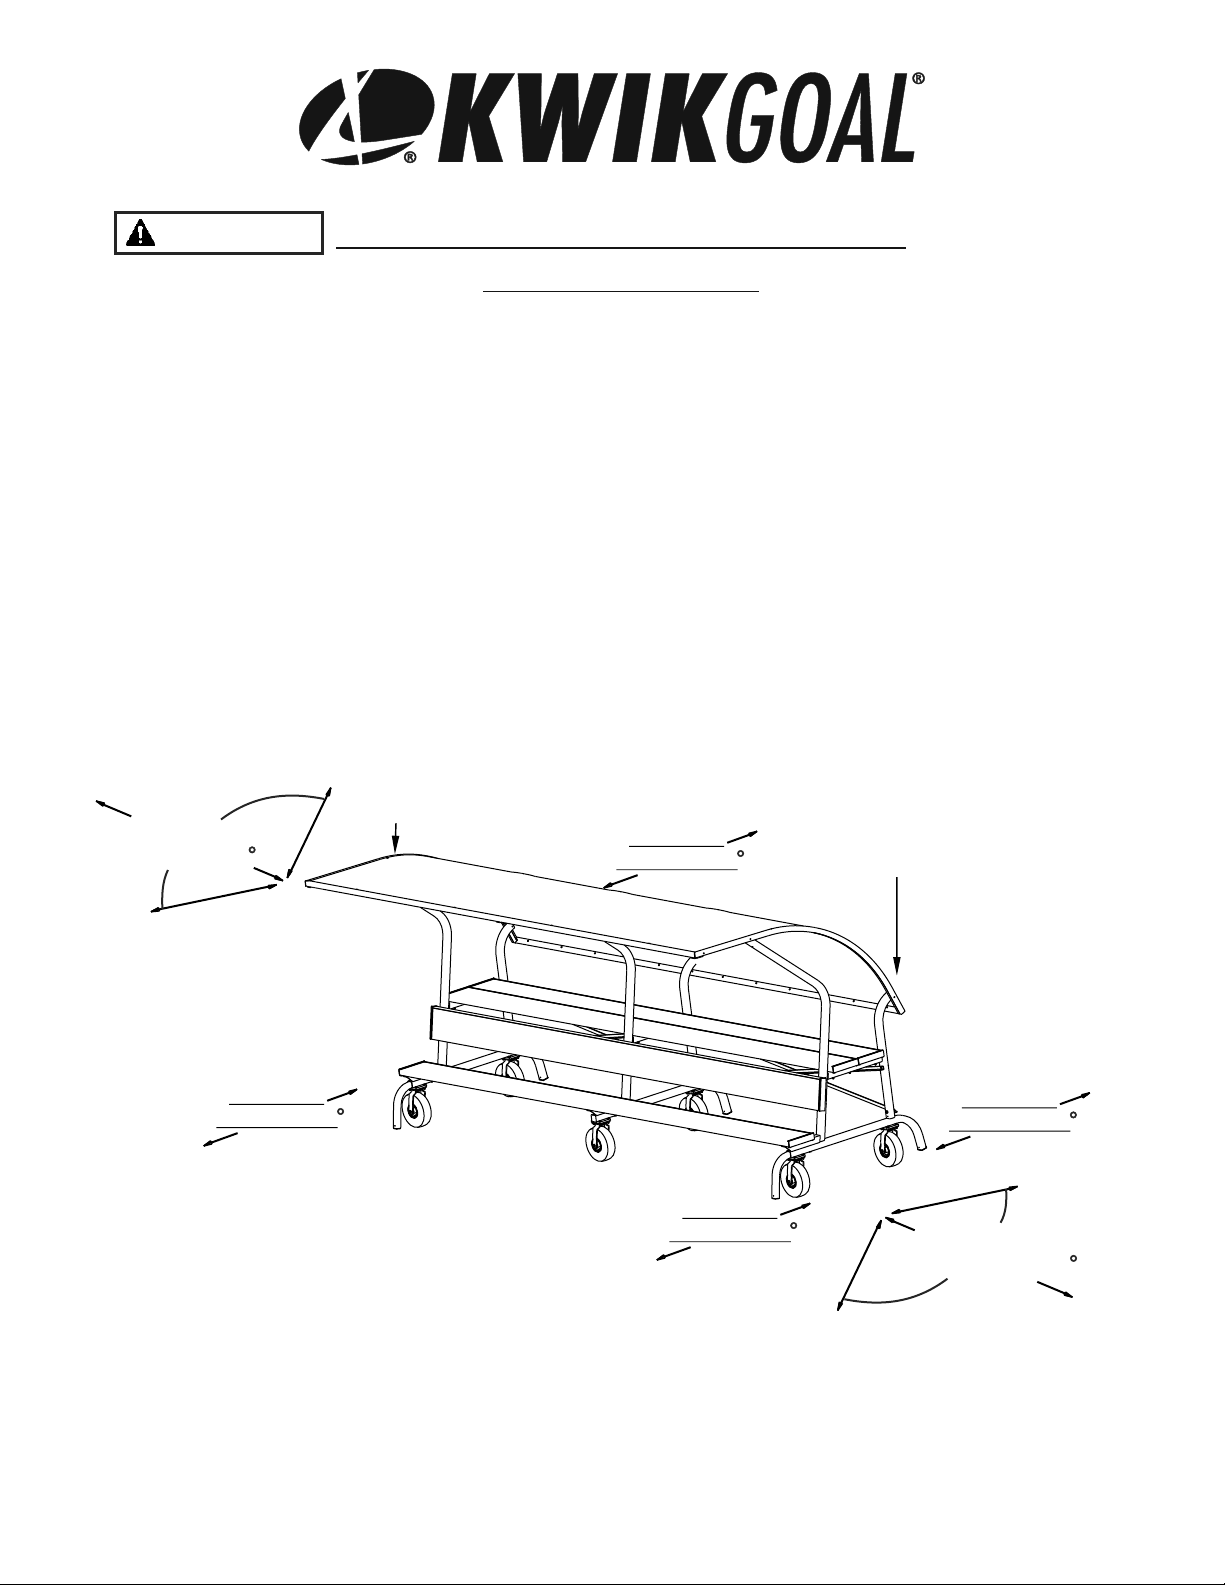
Bench Hold Down (Part# UZ475) (24)
5/16” Flat Washer (Part# TZ4) (24)
5/16” X 1-1/4” Carriage Bolt (Part# TZ350) (6)
Bench Hdw (Part# JZ178)
5/16” X 3” Carriage Bolt (Part# TZ172) (18)
5/16“ Lock Nut (Part#TZ5) (24)
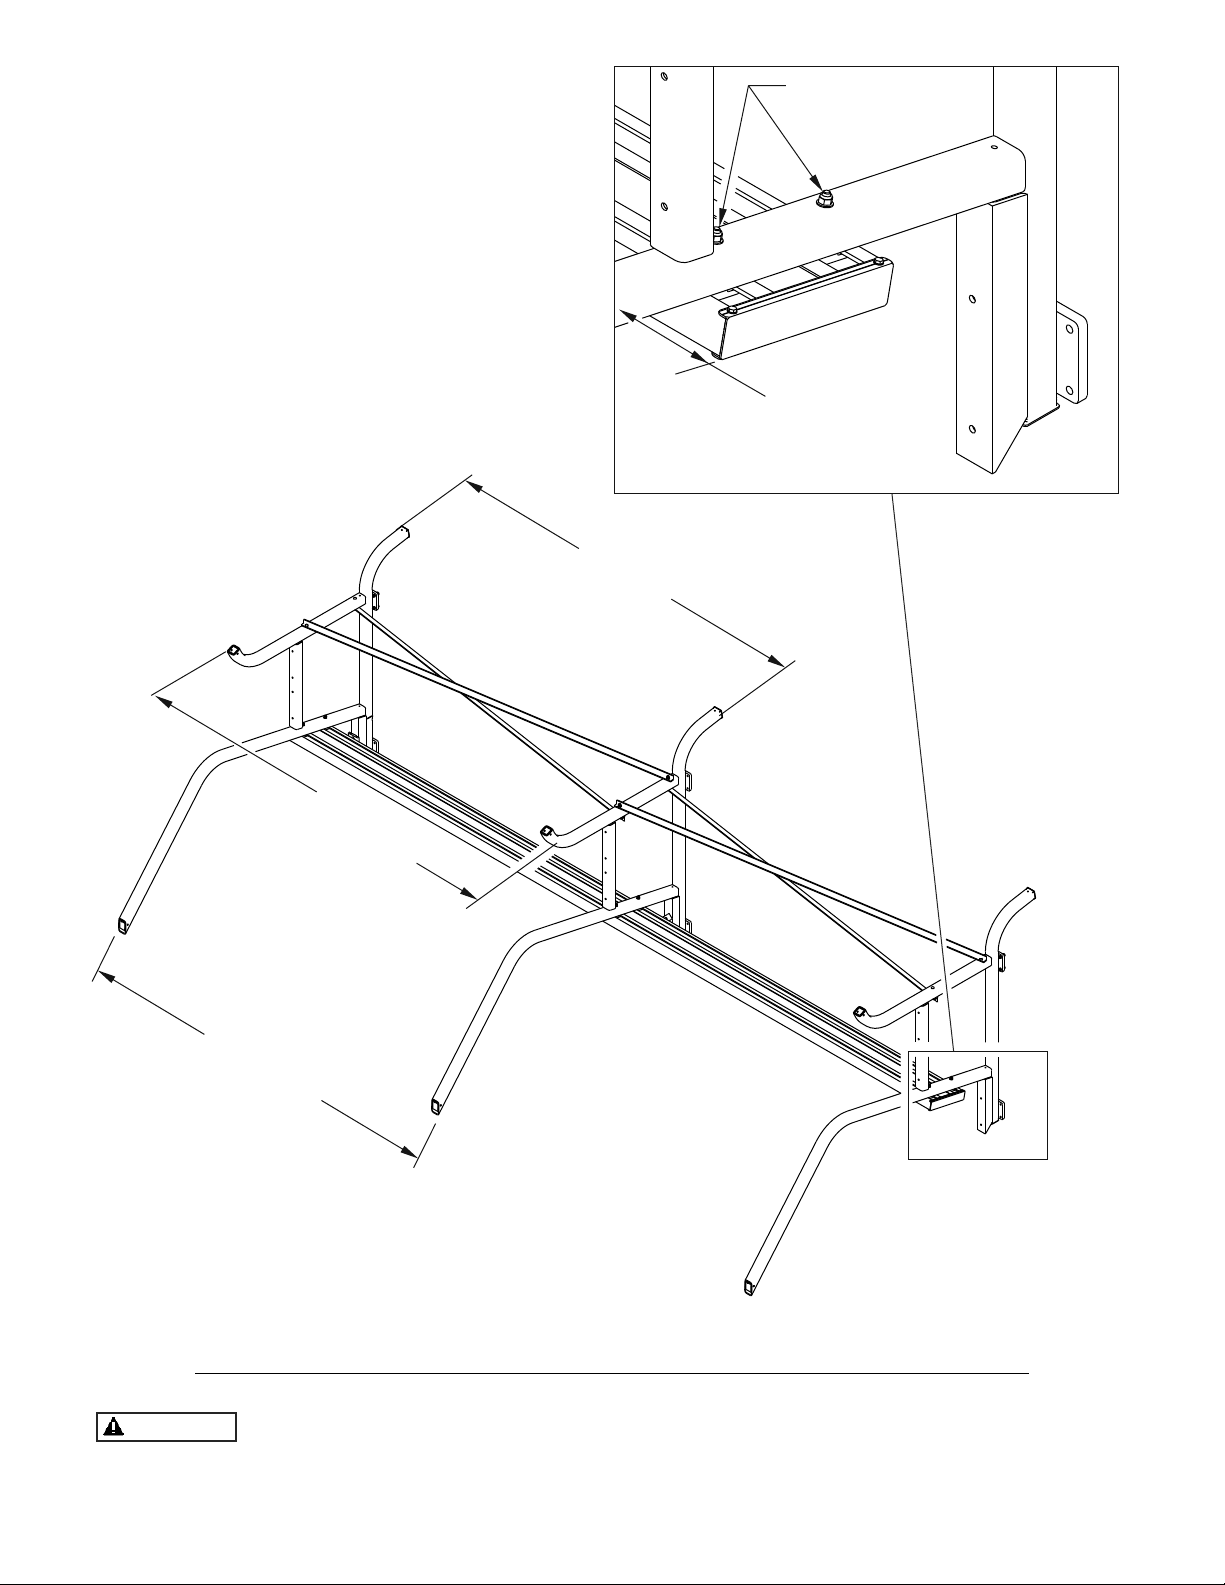
Top Hdw (Part# JZ266)
5/16” Flat Washer (Part# TZ4) (12)
5/16” Lock Nut (Part# TZ321) (6)
5/16” X 3” Hex Bolt (Part# TZ183) (6)
3/8” Square Nut (Part# TZ247) (6)
3/8” Lock Washer (Part# TZ65) (6)
3/8” x 7/8” Hex Bolt (Part# TZ249) (6)
3/8” Flat Washer (Part# TZ60) (6)
Crossbar Cap (Part# VZ676) (4)
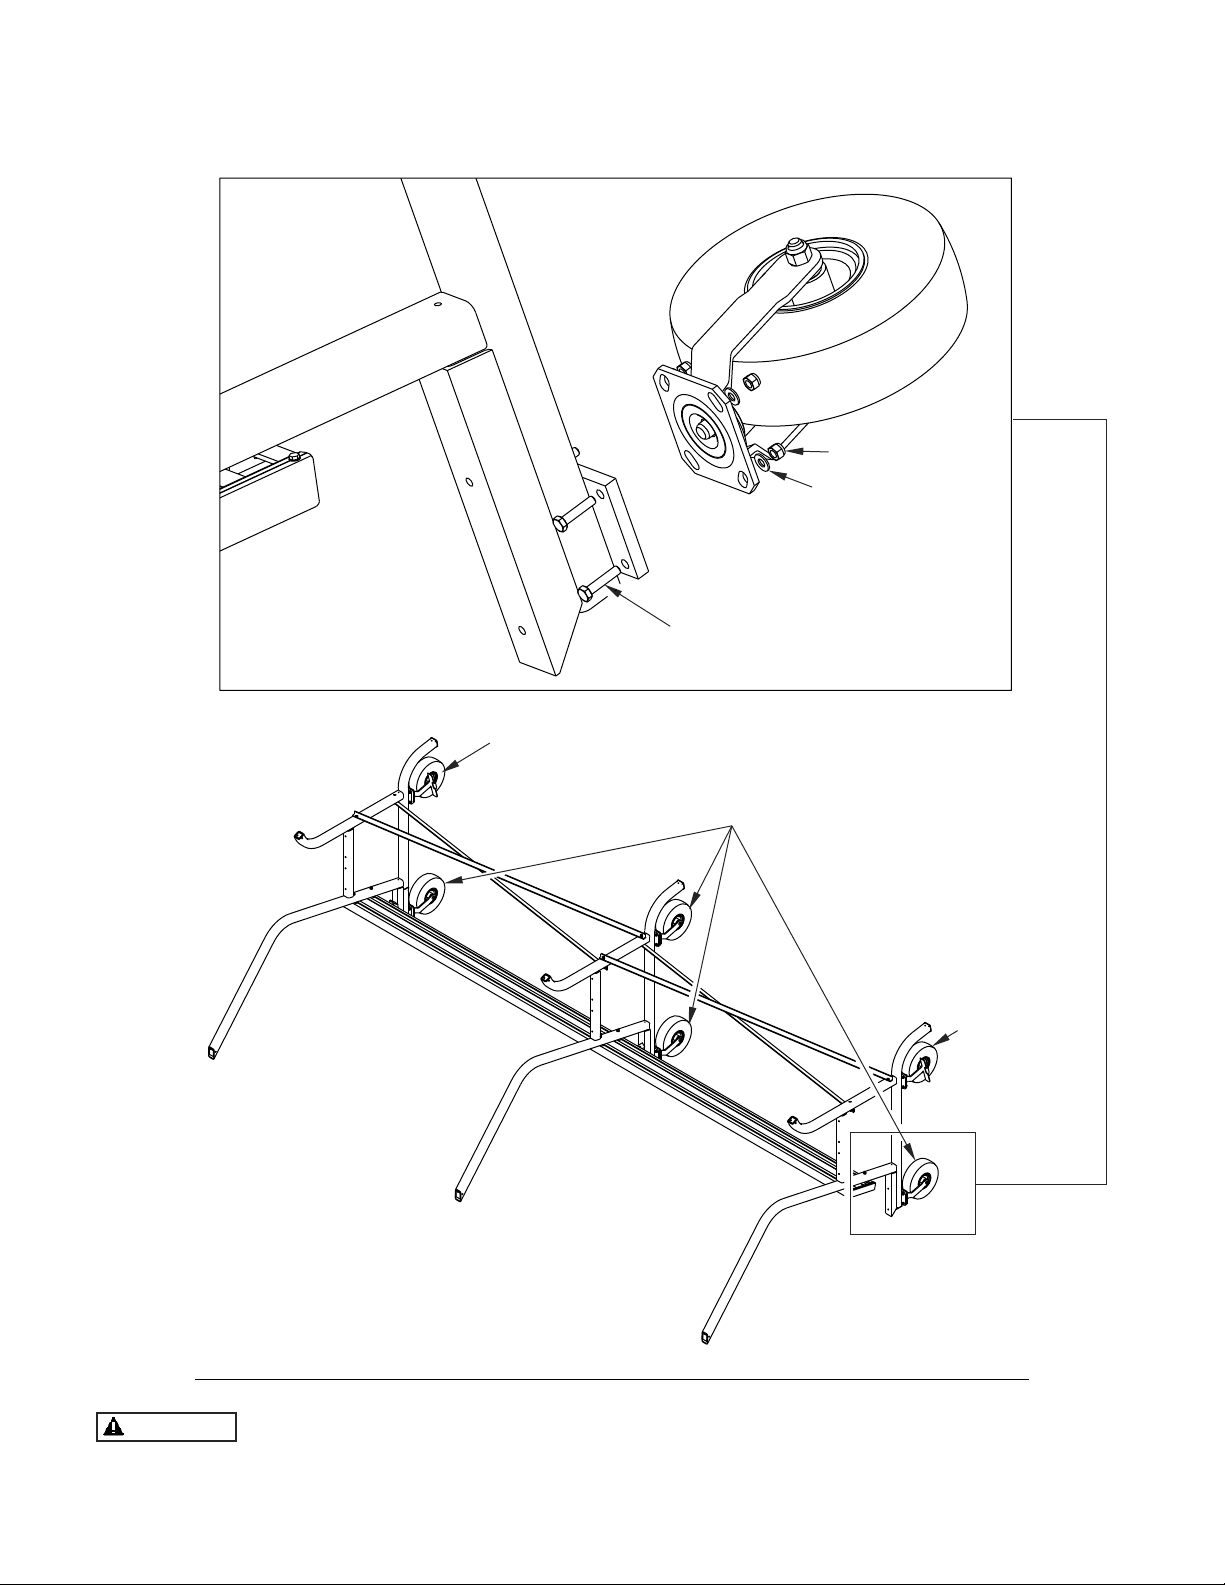
THIS UNIT MUST BE ANCHORED ACCORDING TO THESE INSTRUCTIONS AT ALL TIMES
Parts Continued
THIS EQUIPMENT MUST BE STORED IN A SECURED, SHELTERED AREA WHEN NOT IN USE
OR IN THE THREAT OF HIGH WINDS. ANY WEATHER DAMAGE TO THIS EQUIPMENT WILL
NOT BE COVERED UNDER KWIK GOAL’S PRODUCT GUARANTEE. DO NOT LEAVE THIS
EQUIPMENT UNATTENDED.
WARNING