manuals.online logo
Brands
  1. Home
  2. •
  3. Brands
  4. •
  5. Kwikset
  6. •
  7. Lock
  8. •
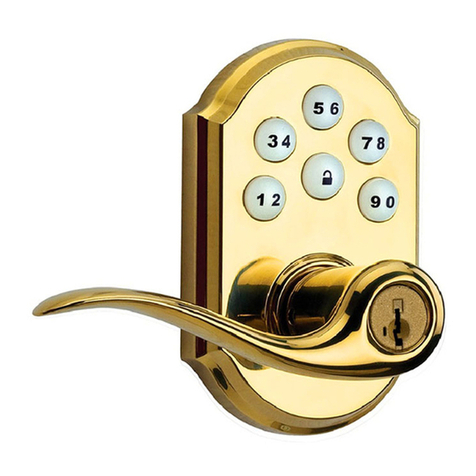
  9. Kwikset Henley 300HYL 15 User manual

Kwikset Henley 300HYL 15 User manual

wood block
Installation Guide
www.kwikset.com
*Tools
Passage
(Hall/ Closet)
Privacy
(Bed/ Bath)
Entry
(Keyed)
Dummy
(Non-Rotating)
*Tools will depend on install type
53800 / 01
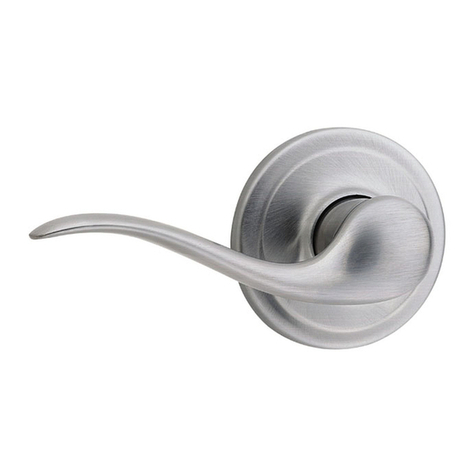
This manual can be used to install a variety of levers.
Please determine your function type prior to installation.
1-800-327-5625
Scroll to the bottom if you need help in preparing your door
A
Install levers (concealed screws)
3
Door edge NOT
chiseled
Door edge chiseled
Hold the latch in front of the door hole, with
the latch face ush against the door edge.
If the latch holes are centered in the door hole,
no adjustment is required. Proceed to step 2.
If the latch holes are NOT centered, adjust
latch. See “Latch Adjustment” (step 2C).
Latch Adjustment (only if needed)
Move the pin to
extend the latch.
not centered
centered
wood block
slant of latch bolt
faces door frame
slant of latch bolt
faces door frame
Use hammer
and wood
block to tap in
latch without
damaging it.
door frame
Remove plates
Install drive-in collar
door frame
A
B
C
or
1Adjust the backset of the latch (if needed)
Install latch
2
BC
DF
Push bolt to install
exterior lever.
interior
interior interior
E
interior
Keep turn button
horizontal as shown.
interior
Tip: Pull lever
slightly away
from door to see
where screws insert.
Make sure the
pre-installed lever
adapter is still on
the chassis.
interior
IMPORTANT: If installing a passage
lock on an entry door, make sure
the lever without the screw holes
is on the exterior side of the door.
If small bolt of latch enters strike hole, reposition strike.
small bolt in
strike hole
small bolt NOT
in strike hole
If latch is loose in the strike,
adjust the strike tab so it
grips the latch bolt better
when the door is closed.
tab
Close door, test latch operation and make adjustments as needed:
A
B
C
A
B
D
A
B
Install levers (exposed screws)
3
Install strike to door frame
4
C
E
Privacy locks only
Lever handle faces
away from latch.
Option 1: Install privacy/passage levers
exterior
interior
Hole must be on the side
for privacy levers.
Keep parallel
to the door
edge.
Save the bedroom/bathroom
emergency unlock tool for
future use.
Option 2: Install entry levers
exterior
Keep parallel
Option 3: Install dummy (non-rotating) levers
A CB
Note: Locking function may
dier per lock/lever.
A
Press latch bolt
to install lever.
1/8 in
3 mm
2-1/8"
54 mm
1/8"
3 mm
1"
25 mm
1/8"
3 mm
2-1/8"
54 mm
1/8 in
3 mm
1"
1/8"
3 mm
2-1/8 in
54 mm
1/8"
3 mm
1"
25 mm
1/8"
3 mm
2-1/8"
54 mm
1/8"
3 mm
1 in
25 mm
Drill holes in door
Select the template that allows you to place
the template on the EXTERIOR side of door.
Fold template along fold line and place fold
line along the edge of door. Place centerline
approximately 38 in (97 cm) from the oor.
Mark hole on the face of the door.
Select desired backset before marking
hole. If there is another hole in the
door, or if you are drilling double
doors, make sure to keep the backset
consistent.
Mark hole on the edge of the
door. Select door thickness before
marking hole.
Drill from one side until the point
of drill just breaks through, then
complete hole from the other side
to prevent splintering.
Exterior
Floor
*Call Kwikset to order a
service kit for 2-1/4 in
(57 mm) thick doors.
or
35 mm–57 mm*
54 mm
1 in
25 mm
For consumers requiring the door
prep template, please visit:
https://images.kwikset.com/is/content/BDHHI/drilling-instructions_knob
B
A
B
C
D
A
C
Through door
2 in [51 mm] deep
2 in [51 mm] deep
Preparing Your Door
Use template to mark holes on door
1-3/8 in–2-1/4 in
2-1/8 in
2-3/4 in (70 mm)
2-3/8 in (60mm)
in
1/8"
3 mm
B
A
C
D
E
1/8"
3 mm
1/8"
3 mm
1/8"
3 mm
1/8 in
3 mm
1/8"
3 mm
Determine which latch will be installed and prepare door edge
Latch with drive-in collar
Proceed to Step 2.
Latch with rectangular faceplate
or
If latch is not pre-assembled
with desired faceplate, assemble
it as shown.
If desired faceplate is not
supplied with the latch, please
contact Consumer Support.
1 in
25 mm
1/8 in
3 mm
3/32"
2 mm
2x
1"
25 mm
1/8"
3 mm
3/32"
2 mm
1"
25 mm
1/8"
3 mm
3/32"
1"
25 mm
1/8"
3 mm
3/32"
2 mm
2x
1"
25 mm
1/8"
3 mm
3/32 in
2 mm
2x
WARNING: This Manufacturer advises that no lock can provide complete security by itself. This lock
may be defeated by forcible or technical means, or evaded by entry elsewhere on the property. No lock
can substitute for caution, awareness of your environment, and common sense. Builder’s hardware
is available in multiple performance grades to suit the application. In order to enhance security and
reduce risk, you should consult a qualied locksmith or other security professional.
Register your product at www.kwikset.com/productregistration
Rate your product at www.kwikset.com/reviews
©2022 Spectrum Brands, Inc.
B
A
C
D
E
Chisel
Mark holes
1 in [25 mm]
deep
A
B
C
Locate center of strike hole:
Measure back from door stop, 1/2 thickness of door.
5/8 in [16mm] deep
5/8 in [16mm] deep
E
F
G
DKeep level and trace.
Chisel
Mark holes (2x)
1 in [25mm] deep
Prepare door frame for strike

This manual suits for next models

3

Other Kwikset Lock manuals

Kwikset Convert 914C Z-wave plus User manual

Kwikset

Kwikset Convert 914C Z-wave plus User manual

Kwikset Smartcode 910 User manual

Kwikset

Kwikset Smartcode 910 User manual

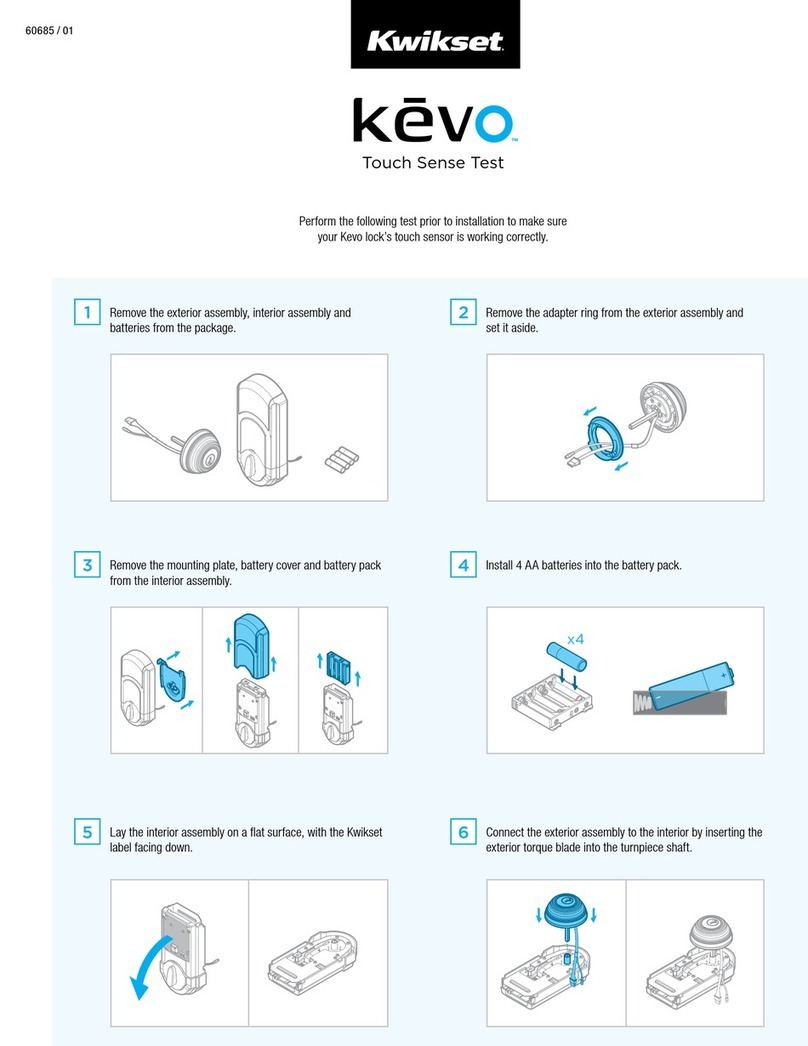
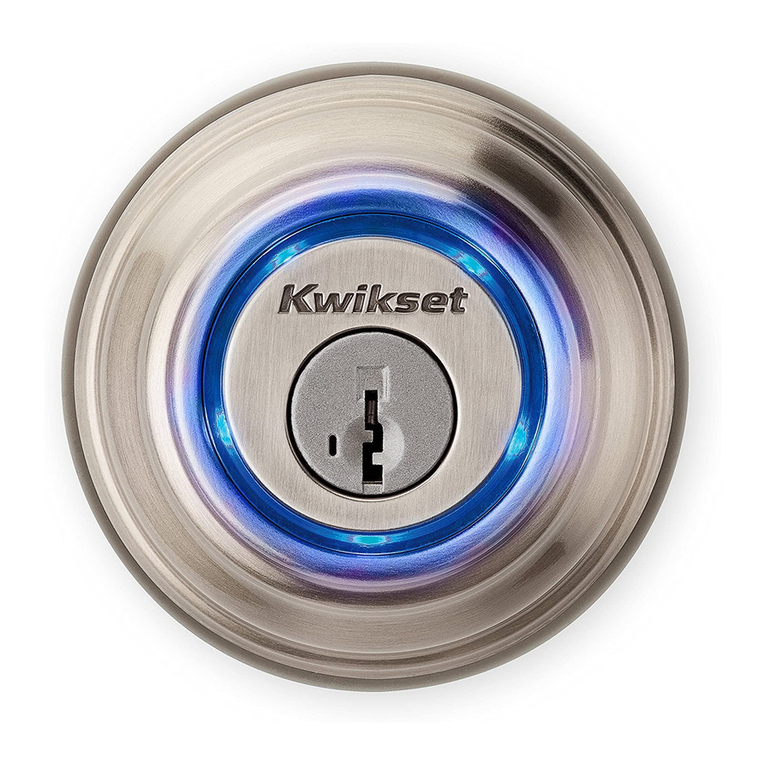
Kwikset Kevo Installation guide

Kwikset

Kwikset Kevo Installation guide

Kwikset 24896/04 User manual

Kwikset

Kwikset 24896/04 User manual

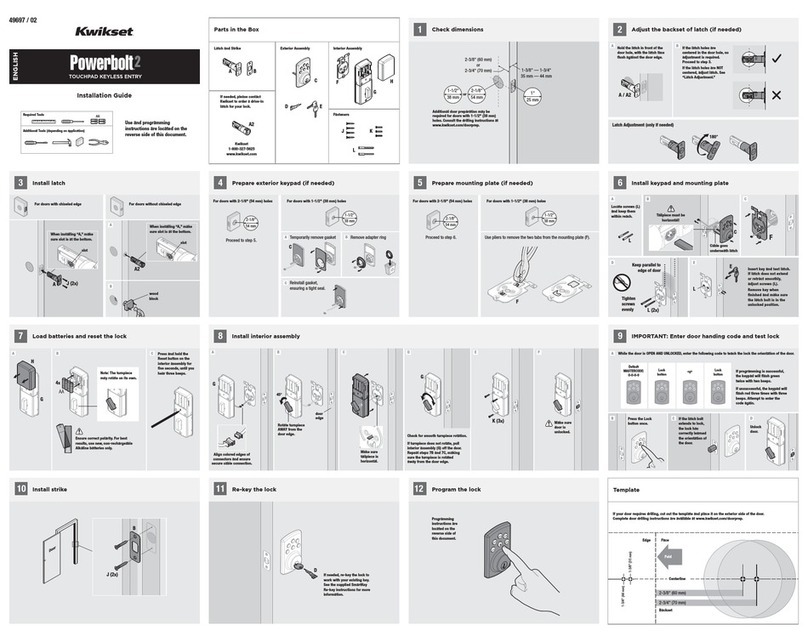
Kwikset Powerbolt2 User manual

Kwikset

Kwikset Powerbolt2 User manual

Kwikset SmartCode 913 User manual

Kwikset

Kwikset SmartCode 913 User manual

Kwikset HomeConnect 620 User manual

Kwikset

Kwikset HomeConnect 620 User manual

Kwikset Smartcode 914 User manual

Kwikset

Kwikset Smartcode 914 User manual

Kwikset Powerbolt 240 User manual

Kwikset

Kwikset Powerbolt 240 User manual

Kwikset Powerbolt 250 User manual

Kwikset

Kwikset Powerbolt 250 User manual

Kwikset SmartCode 913 User manual

Kwikset

Kwikset SmartCode 913 User manual

Kwikset OBSIDIAN User manual

Kwikset

Kwikset OBSIDIAN User manual

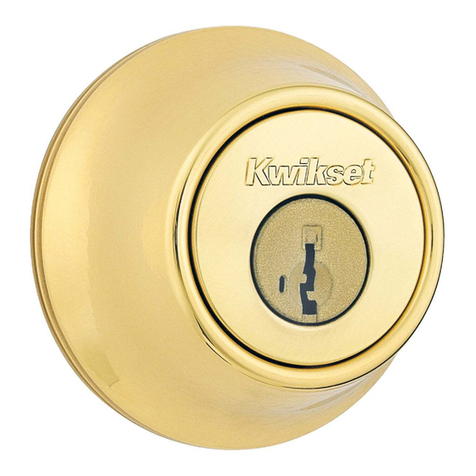
Kwikset Deadbolt Series User manual

Kwikset

Kwikset Deadbolt Series User manual

Kwikset Kevo Convert User manual

Kwikset

Kwikset Kevo Convert User manual

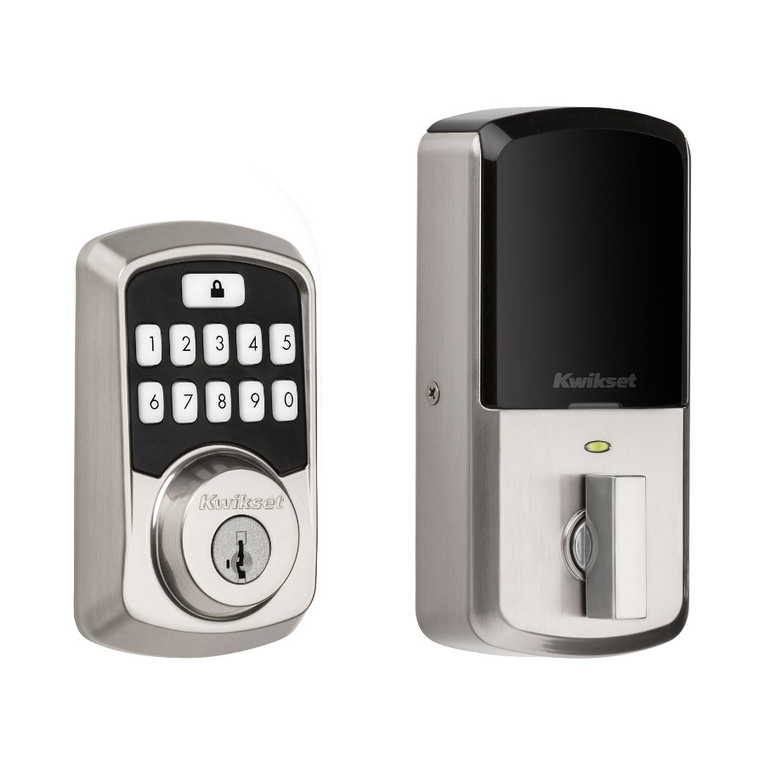
Kwikset Aura User manual

Kwikset

Kwikset Aura User manual

Kwikset Halo Touch User manual

Kwikset

Kwikset Halo Touch User manual

Kwikset SMARTCODE 916 User manual

Kwikset

Kwikset SMARTCODE 916 User manual

Kwikset HALO TOUCH 959TRL Installation and operating manual

Kwikset

Kwikset HALO TOUCH 959TRL Installation and operating manual

Kwikset SMARTKEY User manual

Kwikset

Kwikset SMARTKEY User manual

Kwikset Smartcode 914 Operating instructions

Kwikset

Kwikset Smartcode 914 Operating instructions

Kwikset SMARTCODE 916 User manual

Kwikset

Kwikset SMARTCODE 916 User manual

Kwikset Smartcode 888 User manual

Kwikset

Kwikset Smartcode 888 User manual
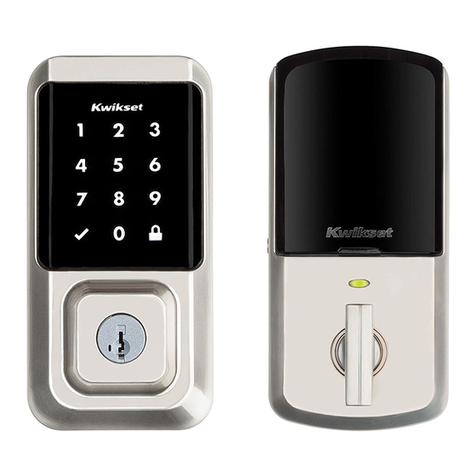
Kwikset SmartKey Series User manual

Kwikset

Kwikset SmartKey Series User manual

Kwikset Smartcode 914 User manual

Kwikset

Kwikset Smartcode 914 User manual
Popular Lock manuals by other brands

M-LOCKS E-Pass EP8050HL user manual

M-LOCKS

M-LOCKS E-Pass EP8050HL user manual

Mesa MSL-300 operating instructions

Mesa

Mesa MSL-300 operating instructions

CDVI V1SR quick start guide

CDVI

CDVI V1SR quick start guide

Promet PLS-3.2 user manual

Promet

Promet PLS-3.2 user manual

MAV 1061 Installation and Removal Instructions

MAV

MAV 1061 Installation and Removal Instructions

Safety 1st OutSmart HS271 user guide

Safety 1st

Safety 1st OutSmart HS271 user guide

Proxess MX Series Service manual

Proxess

Proxess MX Series Service manual

Simons Voss Technologies SmartHandle Handbok

Simons Voss Technologies

Simons Voss Technologies SmartHandle Handbok

RIB ACG9152 quick start guide

RIB

RIB ACG9152 quick start guide

Assa Abloy OneSystem 819N Quick manual

Assa Abloy

Assa Abloy OneSystem 819N Quick manual

idatastart HCX Product guide

idatastart

idatastart HCX Product guide

Yakima SKS Series Installation

Yakima

Yakima SKS Series Installation

KTM Power Parts 61412925020 Information

KTM Power Parts

KTM Power Parts 61412925020 Information

iLoq D10 Series Mounting and care instructions

iLoq

iLoq D10 Series Mounting and care instructions

Domotime HL.ACFP instruction manual

Domotime

Domotime HL.ACFP instruction manual

U-tec Ultraloq UL3 user manual

U-tec

U-tec Ultraloq UL3 user manual

Vemus Kilitronik miniK 10 operating manual

Vemus

Vemus Kilitronik miniK 10 operating manual

Lockwood ASSA ABLOY Induro installation instructions

Lockwood

Lockwood ASSA ABLOY Induro installation instructions

manuals.online logo
manuals.online logoBrands
  • About & Mission
  • Contact us
  • Privacy Policy
  • Terms and Conditions

Copyright 2025 Manuals.Online. All Rights Reserved.