2
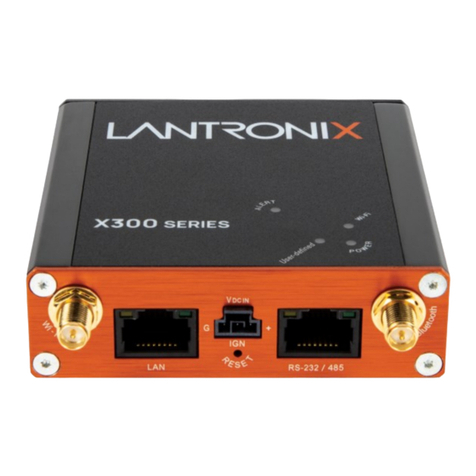
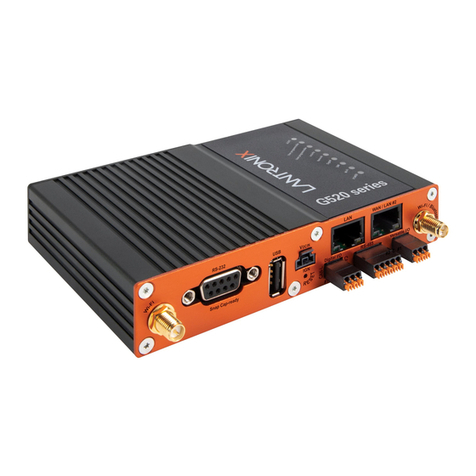
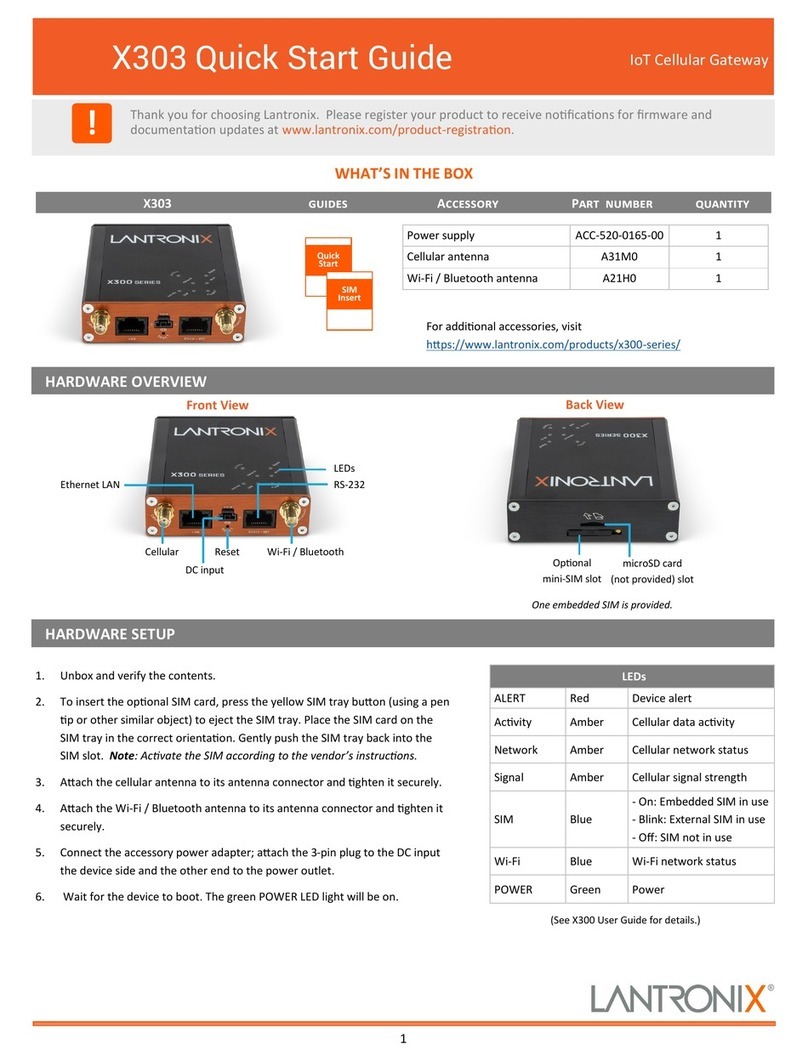
X303 Quick Start Guide IoT Cellular Gateway
© 2023 Lantronix, Inc. Lantronix is a registered trademark of Lantronix, Inc. All other trademarks are the property of their respecve
owners. Specicaons subject to change without noce. 895-0065-00 Rev. C
SSID Lantronix-<model>-<serial-number>
WPA/WPA2 Key W1rele$$
admin admin
root L@ntr0n1x
Note: Change the inial password for both the root and admin users
before conguring the gateway.
Note: The DHCP client must be enabled on your computer to obtain a
valid IP address from the gateway. Refer to your computer’s operang
system documentaon if you need details.
- In the computer’s Wi-Fi network sengs, select
the gateway’s Wi-Fi access point SSID and click Connect. Enter the default
WPA/WPA2 key when prompted.
Aach one end of a Cat5 cable to the unit’s
LAN port and the other end to the computer’s LAN port.
1. To log into the Web Admin interface, open a web browser and type
the unit’s LAN IP address, 192.168.1.1, in the URL eld.
2. On the rst login, enter the root user name and password. It will
prompt you to change all passwords at once.
1. Log into the Web Admin interface and click the menu.
2. Click the buon to display the Network Setup page,
where you can congure the LAN, Cellular, and Wireless LAN
(access point) network interfaces.
3. To congure the cellular connecon, scroll to the Cellular secon.
On the General Sengs tab next to SIM to use, select
or as the primary SIM to use. If is
selected, click the External SIM sengs tab and congure it.
4. Click . If you changed the LAN address, select and click
to avoid rolling back the conguraon.
Note: Use the Lantronix Connecvity Services SIM Management Portal
to manage the provided SIM card.
Scan for product informaon
www.lantronix.com/mylantronix/
Visit www.lantronix.com/technical-support
