manuals.online logo
Brands
  1. Home
  2. •
  3. Brands
  4. •
  5. LEGRAND
  6. •
  7. Lighting Equipment
  8. •
  9. LEGRAND 0 405 10 User manual

LEGRAND 0 405 10 User manual

• Feu à led autonome avec signalisation sonore • Luz de LED autónoma con señalización sonora
• Autonome led-verlichting met auditieve indicatiel • Lampada a LED autonoma con segnalazione acustica
• Standalone LED light with audible signal • Luz de led autónoma com sinalização sonora
• LED Leuchtmelder mit akustischem Alarm
0 405 10
A5 V
A4 V
50 24
35 24
LE04992AC
U
3 x
•I en veille
•I en stand-by
•I on standby
•I im Ruhezustand
•I en vigilancia
•I in stand-by
•I em standby
α
230 V
NiCd
2,4 V
800 mAh
11 mA
0,9 W 1,5 mm2
•Flash blanc
•Witte lichtflits
•White flash
•WeißBlinklicht
•Flash blanco
•Flash bianco
•Flash branco
2 - 150 cd α = 15° - 10°C
+ 55°C
IP
IK kg
55 dB/1 m
•(Mise hors service possible)
•Buiten dienst stellen mogelijk
•Disabling possible
•Ausschalten möglich
•Desactivación posible
•Messa fuori servizio possibile
•Colocação fora de serviço possível
IP 65
IK 07
60 mm 122 mm 84 mm 300 g
•Protection : Classe II
•Bescherming : Klasse II
•Protection: Class II
•Schutz: Klasse II
•Protección: clase II
•Protezione: classe II
•Protecção: classe II
•Fonctions de tests approfondis des batteries (mensuel et trimestriel) et de l'électronique.
•Uitvoerige testfuncties van de batterijen (maandelijks en driemaandelijks) en van de elektronica
•In-depth testing functions for batteries (monthly and quarterly) and electronics
•Funktionen für eingehendere Prüfungen der Batterien (monatlich und vierteljährlich) und der Elektronik
•Funciones de pruebas detalladas de baterías (mensual y trimestral) y de la electrónica.
•Funzioni di test approfonditi delle batterie (mensile e trimestrale) e dell'elettronica
•Funções de testes aprofundados das baterias (mensal e trimestral) e da eletrónica
•Charge de la batterie :
•Opladen van de batterij:
•Battery charge:
•Batterieaufladung:
•Carga de la batería:
•Ricarica della batteria:
•Carga da bateria
30 heures impérativement
30 uur absoluut te respecteren
30 hours mandatory
unbedingt 30 Stunden
30 horas obligatoriamente
30 ore obbligatoriamente
30 horas imperativamente
•Autonomie sur absence secteur :
• Autonomie zonder stroomvoeding:
•Battery life in the absence of AC power supply:
•Autonomie bei Stromausfall
•Autonomía en ausencia de red:
•Autonomia con assenza di corrente di rete:
•Autonomia em ausência de alimentação:
4 jours en veille + 5 mn d'alarme générale
4 dagen in stand-by + 5 minuten algemeen alarm
4 days in stand-by mode + 5 minutes of general alarm
4 Tage im Stand-by + 5 Minuten allgemeiner Alarm
4 días en espera + 5 minutos de alarma general
4 giorni di stand-by + 5 minuti di allarme generale
4 dias em standby + 5 minutos de alarme geral
•Attention : Remplacer la batterie par une batterie de même type et mettre au rebut la batterie usagée conformément aux instructions de recyclage en vigueur.
•Opgelet: De batterij vervangen met een batterij van hetzelfde type en de versleten batterij afvoeren conform de geldende regels voor recyclage.
•Caution: Replace the battery with the same type of battery, and dispose of the used battery in accordance with the recycling regulations in force.
•Achtung: Die Batterie ist durch ein Modell desselben Typs zu ersetzen und die gebrauchte Batterie ist gemäß den geltenden Richtlinien für Recycling zu entsorgen.
•Atención: Sustituir la batería por una del mismo tipo y desechar la batería usada conforme a las instrucciones de reciclaje vigentes.
•Attenzione: Sostituire la batteria con una batteria dello stesso tipo e gettare nei rifiuti la batteria scarica in conformità con le istruzioni di riciclaggio in vigore.
•Atenção: substituir uma bateria por uma bateria do mesmo tipo e eliminar a bateria usada em conformidade com as instruções de reciclagem em vigor.
nb cd > 2 > 20 > 40 > 75 >150
t on (ms) 11 22 44 44 88
T (s) 1
switch
High
Low 1 2 3 4
ON PAPEN
HI
LO
1 2 3 4
ON PAPEN
HI
LO
1 2 3 4
ON PAPEN
HI
LO
1 2 3 4
ON PAPEN
HI
LO
1 2 3 4
ON PAPEN
HI
LO
1 2 3 4
ON PAPEN
HI
LO
1 2 3 4
ON PAPEN
HI
LO
1 2 3 4
ON PAPEN
HI
LO
1 2 3 4
ON PAPEN
HI
LO
1 2 3 4
ON PAPEN
HI
LO
1 2 3 4
ON PAPEN
HI
LO
1 2 3 4
ON PAPEN
HI
LO
1 2 3 4
ON PAPEN
HI
LO
1 2 3 4
ON PAPEN
HI
LO
1 2 3 4
ON PAPEN
HI
LO
1 2 3 4
ON PAPEN
HI
LO
1 2 3 4
ON PAPEN
HI
LO
1 2 3 4
ON PAPEN
HI
LO
1 2 3 4
ON PAPEN
HI
LO
1 2 3 4
ON PAPEN
HI
LO
1 2 3 4
ON PAPEN
HI
LO
1 2 3 4
ON PAPEN
HI
LO
1 2 3 4
ON PAPEN
HI
LO
1 2 3 4
ON PAPEN
HI
LO
1 2 3 4
ON PAPEN
HI
LO
•I en alarme
•I bij alarm
•I in alarm state
•I auf Alarm
•I con alarma
•I in allarme
•I em alarme
(mA) 16 17 21 30 45
1 2 3 4
ON PAPEN
HI
LO
1 2 3 4
ON PAPEN
HI
LO
s
0
t on
T
2
• Volume de couverture • Volume coverage • Volumen de cobertura • Volume de cobertura
• Volumebereik • Abdeckvolumen • Volume di copertura
-90
-80
-70
-60
-50
-40
-30
-20
-10
0
10
20
30
40
50
60
70
80
90
50,00 100,00 150,00 175,00125,00 200,00 225,00 250,00
-90
-80
-70
-60
-50
-40
-30
-20
-10
0
10
20
30
40
50
60
70
80
90
25,00 75,00
α (°)
m
cd
•Distance (m / 0,4 lux min)
• Afstanden
•Distance
•Distanzen
•Distancia
•Distanze
•Distâncias
•Intensité lumineuse (cd)
•Lichtintensiteit
•Light intensity
•Lichtstärke
•Intensidad luminosa
•Intensità luminosa
•Intensidade luminosa
switch : 2 cd
•Distance (m / 0,4 lux min)
• Afstanden
•Distance
•Distanzen
•Distancia
•Distanze
•Distâncias
•Intensité lumineuse (cd)
•Lichtintensiteit
•Light intensity
•Lichtstärke
•Intensidad luminosa
•Intensità luminosa
•Intensidade luminosa
switch : 150 cd
•Raccordement •Connection •Conexión •Ligação
•Aansluiting •Anschluss •Collegamento
• Contact
• Contact
• Contact
•Kontakt
•Contacto
•Contatto
•Contacto
• Etat
• Toestand
•Status
•Status
•Estado
•Stato
•Estado
• Ouvert
• Open
• Open
•Oen
•Abierto
•Aperto
•Aberto
• En alarme
• In alarm
•Alarm mode
•Alarm
•En alarma
•In allarme
•Em alarme
• Fermé
• Gesloten
•Closed
•Geschlossen
•Cerrado
•Chiuso
•Fechado
• En veille
• In stand-by
•Stand-by mode
•Stand-by
•En espera
•In stand-by
•Em standby
*
•IMPORTANT :
L’installation doit être réalisée conformément aux exigences de la NF C 15 -100
• Alimentation secteur 230 V~ B.T.
• Câble rigide : 1,5 mm2
• Parafoudre de protection : cf catalogue général Legrand
• Dispositif de sectionnement : disjoncteur bipolaire 1 A
•BELANGRIJK :
De installatie moet worden gerealiseerd volgens de geldende vereisten
•IMPORTANT:
The system must be installed in accordance with the requirements in force.
•Wichtig:
Die Installation hat gemäß den geltenden Anforderungen zu erfolgen
•IMPORTANTE:
La instalación debe realizarse conforme a las exigencias vigentes.
•IMPORTANTE:
L'installazione deve essere realizzata in conformità con i requisiti in vigore.
•IMPORTANTE:
A instalação deve ser realizada em conformidade com as exigências em vigor
B-B+PN B-B+PN
B+
B-
230 V ~
230 V ~
•Câble 1 paire de catégorie C2 (NF C 32-070) 9/10e.
•9/10e (0,64 mm2 ).
1,5 mm2.
* *
1,5 mm2.
3
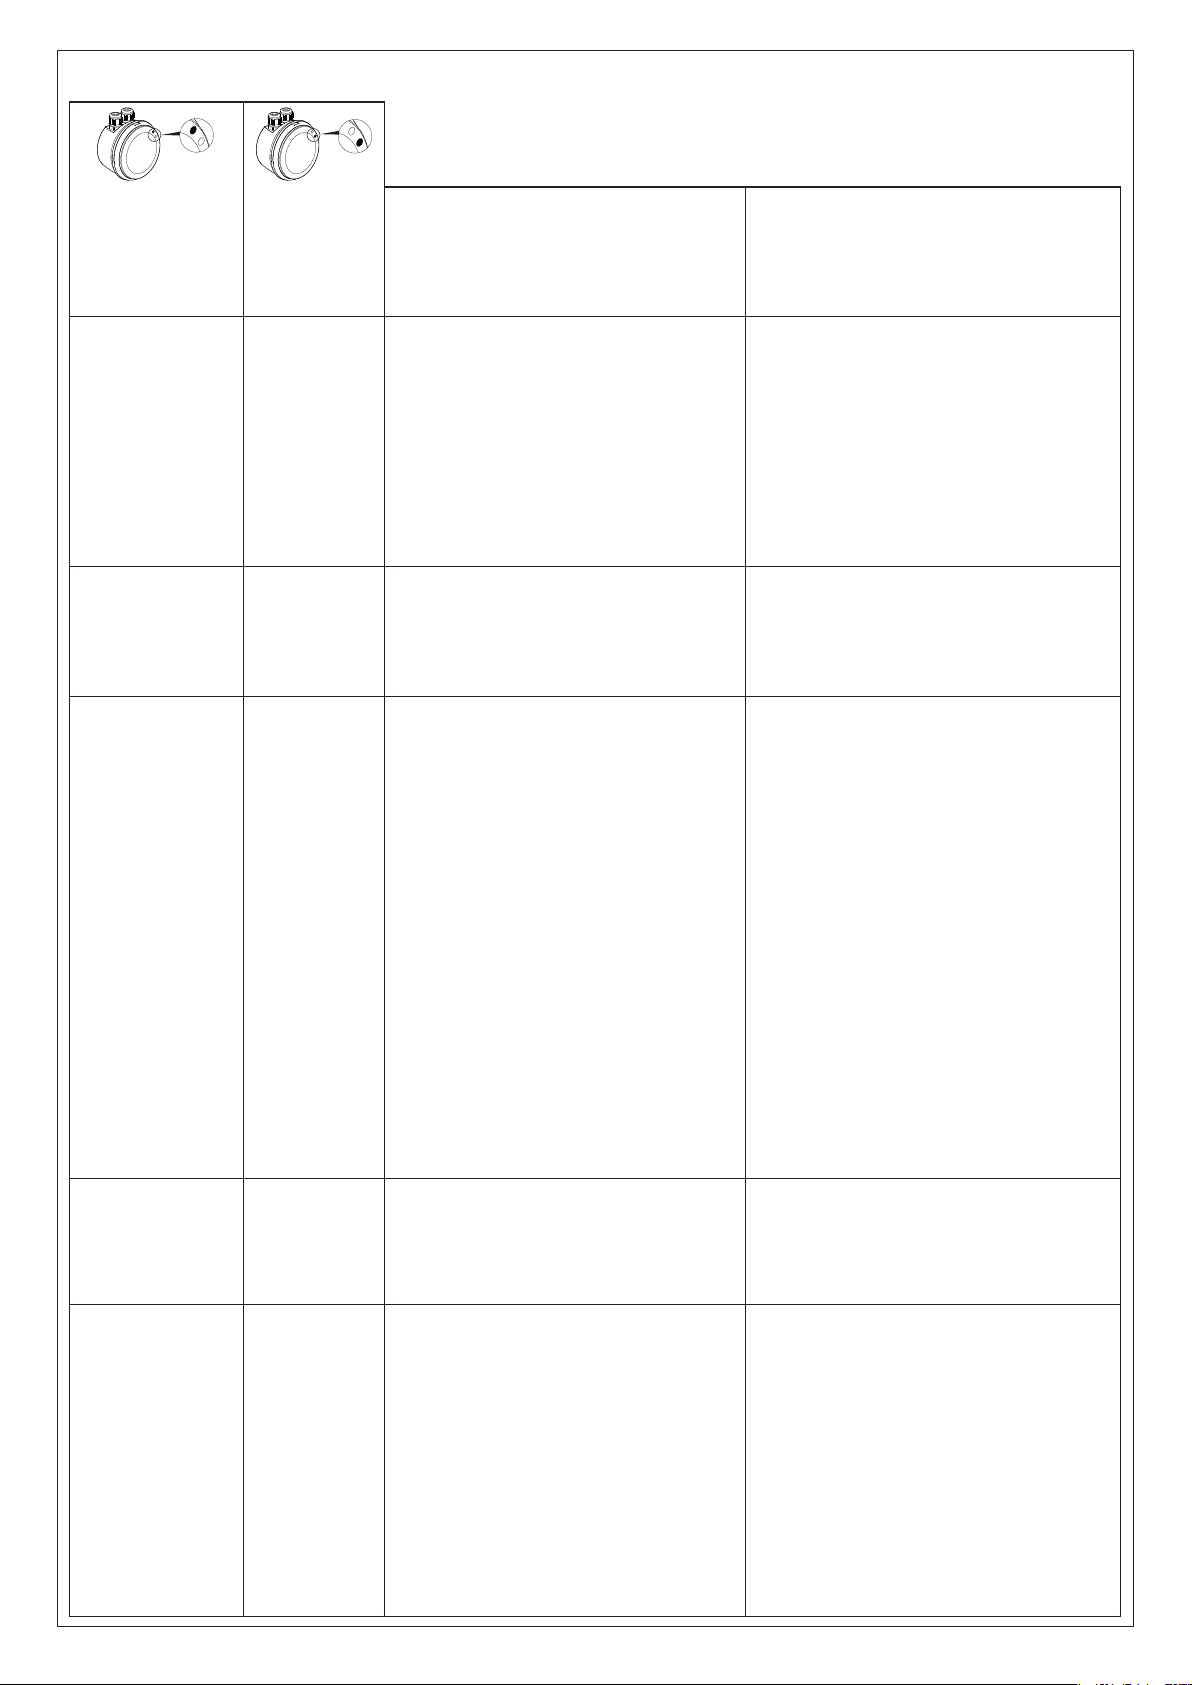
• Signalisation visuelle • Visual signalling • Señalización visual • Sinalização visual
• Visuele indicatie • Leuchtanzeige • Segnalazione visiva
• Voyant Vert
• Groene indicatielamp
• Green indicator
• Grüne Leuchtdiode
• Indicador verde
• Spia verde
• Indicador verde
• Voyant Jaune
• Gele indicatielamp
• Yellow indicator
• Gelbe Leuchtdiode
• Indicador amarillo
• Spia gialla
• Indicador amarelo
• État du produit
• Toestand van het product
•Product status
•Produktstatus
•Estado del producto
•Stato del prodotto
•Estado do produto
• Action
•Actie
•Action
•Tätigkeit
•Acción
•Azione
•Ação
• ÉTEINT
• GEDOOFD
•OFF
•AUS
•APAGADO
•SPENTA
•APAGADO
• ÉTEINT
• GEDOOFD
•OFF
•AUS
•APAGADO
•SPENTA
•APAGADO
• Secteur absent : produit fonctionnant sur batterie
ou produit non fonctionnel.
• Geen voeding van het net: product werkt op batterij of
product niet operationeel.
•No mains power: product operating on battery or
product inoperative.
•Keine Netzspannung: das Produkt arbeitet mit Batterie
oder ist außer Betrieb.
•Ausencia de corriente: el producto funciona con la
batería o no funciona.
•Rete assente: prodotto funziona da batteria o prodotto
non funzionante
•Alimentação ausente: produto funcionando com bateria
ou produto não funcional.
• Reconnecter le secteur, Vérier qu'aprés 30h de charge, le
produit passe en fonctionnement normal.
• Net opnieuw aansluiten. Controleren dat na 30 uur opladen
het product overschakelt op normale werking.
•Reconnect the mains power supply. Check that the product
switches to normal operation after charging for 30 hours.
•Netzstecker anschließen. Prüfen, ob das Produkt nach einer
30-stündigen Auadung in den Normalbetrieb übergeht.
•Conectar de nuevo a la red. Vericar que, tras 30 h de carga,
el producto pasa al funcionamiento normal.
•Ricollegare la rete. Controllare che dopo 30 ore di ricarica, il
prodotto passi al funzionamento normale.
•Reconectar a alimentação. Vericar que após 30 h de carga,
o produto passa para um funcionamento normal.
• ÉTEINT ou ALLUMÉ
• GEDOOFD OF BRANDT
•OFF OR ON
•AUS ODER EIN
•APAGADO O ENCENDIDO
•SPENTA O ACCESA
•APAGADO OU ACESO
• ALLUMÉ
• BRANDT
•ON
•EIN
•ENCENDIDO
•ACCESA
•ACESO
• Défaut électronique.
• Elektronische storing
•Electronic fault
•Elektronikfehler
•Fallo electrónico
•Guasto elettronico
•Defeito eletrónico
• Remplacer le produit.
• Het product vervangen.
•Replace the product.
•Das Produkt tauschen.
•Sustituir el producto.
•Sostituire il prodotto.
•Substituir o produto.
• ÉTEINT
•GEDOOFD
•OFF
•AUS
•APAGADO
•SPENTA
•APAGADO
• CLIGNOTANT
•KNIPPEREND
•FLASHING
•BLINKEND
•PARPADEANTE
•LAMPEGGIANTE
•INTERMITENTE
• Défaut chargeur ou batterie débranchée ou décharge
approfondie des batteries.
•Storing van lader of batterij afgekoppeld of diepe
ontlading van de batterijen.
•Charger fault or battery disconnected or batteries deeply
discharged
•Fehler am Ladegerät oder abgeklemmte Batterie oder
Batterien zu stark entladen.
•Fallo en el cargador, batería desconectada o baterías
completamente agotadas.
•Guasto caricabatteria o batteria scollegata o scarica
profonda delle batterie.
•Defeito carregador ou bateria desligada ou descarga
aprofundada das baterias.
• Vérier le raccordement des batteries. Vérier qu'après 30h
de charge, le produit passe en fonctionnement normal.
Sinon remplacer les batteries.
Si le défaut persiste, remplacer le produit.
•De aansluiting van de batterijen controleren. Controleren
dat na 30 uur opladen het product overschakelt op
normale werking. Anders de batterijen vervangen.
Als de storing blijft bestaan, het product vervangen.
•Check the battery connections. Check that the product
switches to normal operation after charging for 30 hours.
If not, replace the batteries.
If the fault persists, replace the product.
•Den Batterieanschluss überprüfen. Prüfen, ob das Produkt
nach einer 30-stündigen Auadung in den Normalbetrieb
übergeht. Ansonsten die Batterien tauschen.
Bleibt der Fehler bestehen, ist das Produkt zu tauschen.
•Comprobar la conexión de las baterías. Vericar que, tras
30 h de carga, el producto pasa al funcionamiento normal.
Si no es el caso, sustituir las baterías.
Si el fallo persiste, sustituir el producto.
•Controllare il collegamento delle batterie. Controllare che
dopo 30 ore di ricarica, il prodotto passi al funzionamento
normale. Altrimenti sostituire le batterie.
Se il guasto persiste, sostituire il prodotto.
•Vericar a ligação das baterias. Vericar que após 30 h de
carga, o produto passa para funcionamento normal.
Caso contrário, substituir as baterias.
Se o defeito persistir, substituir o produto.
• ALLUMÉ
• BRANDT
•ON
•EIN
•ENCENDIDO
•ACCESA
•ACESO
• ÉTEINT
• GEDOOFD
•OFF
•AUS
•APAGADO
•SPENTA
•APAGADO
• Produit sous tension : Fonctionnement normal.
•Product onder spanning: Normale werking.
•Product is powered: Normal operation.
•Produkt eingeschaltet: Normalbetrieb.
•Producto con tensión: funcionamiento normal.
•Prodotto alimentato: Funzionamento normale.
•Produto sob tensão: Funcionamento normal.
• ALLUMÉ
• BRANDT
•ON
•EIN
•ENCENDIDO
•ACCESA
•ACESO
• CLIGNOTANT
• KNIPPERENDL
•FLASHING
•BLINKEND
•PARPADEANTE
•LAMPEGGIANTE
•INTERMITENTE
• Secteur présent avec batterie déchargée.
• Voeding van het net aanwezig met lege batterij.
•Mains power present with discharged battery.
•Netzspannung vorhanden mit entladener Batterie.
•Presencia de corriente con batería agotada.
•Rete presente con batteria scarica.
•Alimentação presente com bateria descarregada.
• Vérier qu'après 30h de charge, le produit passe en
fonctionnement normal. Sinon remplacer les batteries.
• Controleren dat na 30 uur opladen het product
overschakelt op normale werking. Anders de batterijen
vervangen.
•Check that the product switches to normal operation after
charging for 30 hours. If not, replace the batteries.
•Prüfen, ob das Produkt nach einer 30-stündigen Auadung
in den Normalbetrieb übergeht. Ansonsten die Batterien
tauschen.
•Vericar que, tras 30 h de carga, el producto pasa al
funcionamiento normal. Si no es el caso, sustituir las
baterías.
•Controllare che dopo 30 ore di ricarica, il prodotto passi al
funzionamento normale. Altrimenti sostituire le batterie.
•Vericar que após 30 h de carga, o produto passa para
funcionamento normal. Caso contrário, substituir as
baterias.
•Assemblage •Assembly •Montaje •Montagem
•Assemblage •Zusammenbau •Montaggio
•Attention : Vérifier qu'il n'y a pas de fil entre le connecteur du CI et le bornier.
•Opgelet: Controleren dat er geen draad is tussen de connector van de printplaat en de klemmenstrook.
•Caution: check that there are no wires between the PCB connector and the terminal block.
•Achtung: Überprüfen Sie, ob sich auch kein Draht zwischen dem Steckverbinder der Leiterplatte und der Klemmenleiste bendet.
•Atención: Comprobar que no haya ningún cable entre el conector del CI y la regleta de terminales.
•Attenzione: Controllare che non ci siano li tra il connettore del circuito stampato e la morsettiera.
•Atenção: Vericar que não há os entre o conector do CI e a caixa de terminais.
P
N
B+
B-
P
N
B+
B-
1
•Mise en / hors service du buzzer
•In/ buiten dienst stellen van de zoemer
•Enabling/disabling the buzzer
•Ein-/ Ausschalten des Summers
•Activación/desactivación de la alarma
•Messa in/fuori servizio del cicalino
•Colocação em/fora de serviço do buzzer
•Attacher les câbles secteur avec le collier fourni.
•De stroomvoedingskabels bevestigen met de bijgeleverde beugel.
•Attach the AC power supply cables using the cable tie supplied.
•Die Netzkabel mit dem beigestellten Kabelbinder befestigen.
•Sujetar los cables de red con la abrazadera suministrada.
•Attaccare i cavi della corrente di rete con il collare fornito.
•Amarrar os cabos de alimentação com a abraçadeira fornecida.
2
•S'assurer que les ls des batteries sont bien rangés en dessous du CI dans les compartiments batteries.
•Zich ervan vergewissen dat de draden van de batterijen zich in goede orde bevinden onder de printplaat in het
batterijencompartiment.
•Ensure that the battery wires are stowed in the battery compartments under the PCB.
•Sicherstellen, dass die Batteriekabel unterhalb der Leiterplatte in den Batteriefächern angeordnet sind.
•Asegurarse de que los cables de las baterías estén correctamente colocados debajo del CI (circuito impreso) en
los compartimentos de baterías.
•Controllare che i li delle batterie siano disposti correttamente al di sotto del circuito stampato nei vani batterie.
•Garantir que os fios da bateria estão bem arrumados em cima do CI nos compartimentos da bateria.
1 2 3 4
ON PAPEN
HI
LO
P
N
B+
B-
P
N
B+
B-
3
P
N
B+
B-
P
N
B+
B-
4
•Utiliser si besoin des presse-étoupes à entrées multiples.
•Gebruik indien nodig wartels met meerdere ingangen.
•If necessary, use multigate grommets.
•Nach Bedarf Kabelverschraubungen mit mehrfachem Eingang benutzen.
•En caso necesario, utilizar prensaestopas de varias entrada.
•Se necessario, utilizzare dei pressacavi ad ingresso multiplo.
•Se necessário, utilizar prensa-estopas de entradas múltiplas.
•Démontage •Disassembly •Desmontaje •Desmontagem
•Demontage •Demontage •Smontaggio
P
N
B+
B-
0
1
12
3
4
230 V~

Other LEGRAND Lighting Equipment manuals

LEGRAND LCS 0 337 53 User manual

LEGRAND

LEGRAND LCS 0 337 53 User manual

LEGRAND URA21LED User manual

LEGRAND

LEGRAND URA21LED User manual

LEGRAND URA ONE Series User manual

LEGRAND

LEGRAND URA ONE Series User manual

LEGRAND G5 VISION 61774 User manual

LEGRAND

LEGRAND G5 VISION 61774 User manual

LEGRAND CP Electronics Vitesse Modular User manual

LEGRAND

LEGRAND CP Electronics Vitesse Modular User manual

LEGRAND WP2 LED User manual

LEGRAND

LEGRAND WP2 LED User manual

LEGRAND 0 580 10 User manual

LEGRAND

LEGRAND 0 580 10 User manual

LEGRAND MyHOME MHKIT1 Quick start guide

LEGRAND

LEGRAND MyHOME MHKIT1 Quick start guide

LEGRAND Kenall SENSCAPE SPG18 User manual

LEGRAND

LEGRAND Kenall SENSCAPE SPG18 User manual

LEGRAND 025626 User manual

LEGRAND

LEGRAND 025626 User manual

LEGRAND adorne ADWR700MMTU User manual

LEGRAND

LEGRAND adorne ADWR700MMTU User manual

LEGRAND 0 883 05 User manual

LEGRAND

LEGRAND 0 883 05 User manual

LEGRAND Kenall CAE Series User manual

LEGRAND

LEGRAND Kenall CAE Series User manual

LEGRAND BH4NDWE User manual

LEGRAND

LEGRAND BH4NDWE User manual

LEGRAND 0 648 88 User manual

LEGRAND

LEGRAND 0 648 88 User manual

LEGRAND Kenall MRIMAS Series User manual

LEGRAND

LEGRAND Kenall MRIMAS Series User manual

LEGRAND Bulkhead 265 LED User manual

LEGRAND

LEGRAND Bulkhead 265 LED User manual

LEGRAND HKT1 User manual

LEGRAND

LEGRAND HKT1 User manual

LEGRAND 0 648 88 User manual

LEGRAND

LEGRAND 0 648 88 User manual

LEGRAND Adorne APCC User manual

LEGRAND

LEGRAND Adorne APCC User manual

LEGRAND CONNECTRAC User manual

LEGRAND

LEGRAND CONNECTRAC User manual

LEGRAND 0 648 88 User manual

LEGRAND

LEGRAND 0 648 88 User manual

LEGRAND KENALL MILLENIUM METREX METSW Series User manual

LEGRAND

LEGRAND KENALL MILLENIUM METREX METSW Series User manual

LEGRAND 0 880 61 User manual

LEGRAND

LEGRAND 0 880 61 User manual

Popular Lighting Equipment manuals by other brands

nedis WIFILAC30WT quick start guide

nedis

nedis WIFILAC30WT quick start guide

GLP Light Operator 48 user manual

GLP

GLP Light Operator 48 user manual

EuroLite LED BAR-6 user manual

EuroLite

EuroLite LED BAR-6 user manual

DPM PL986 manual

DPM

DPM PL986 manual

DORIC LEDFRJ Series user manual

DORIC

DORIC LEDFRJ Series user manual

Ryobi P785 Operator's manual

Ryobi

Ryobi P785 Operator's manual

HEPER LL2036.758-US Installation & maintenance instructions

HEPER

HEPER LL2036.758-US Installation & maintenance instructions

American DJ Mega Par Profile System User instructions

American DJ

American DJ Mega Par Profile System User instructions

SGM P-6 user manual

SGM

SGM P-6 user manual

Ovation C19 user manual

Ovation

Ovation C19 user manual

Displays2go DGLED25AND user manual

Displays2go

Displays2go DGLED25AND user manual

Arlec ABL104 installation instructions

Arlec

Arlec ABL104 installation instructions

American DJ Laser Widow owner's manual

American DJ

American DJ Laser Widow owner's manual

Clevertronics L10 Cleverfit Pro Installation & maintenance instructions

Clevertronics

Clevertronics L10 Cleverfit Pro Installation & maintenance instructions

ZOLAR Toliman 30S user manual

ZOLAR

ZOLAR Toliman 30S user manual

Philips Hue Runner user manual

Philips

Philips Hue Runner user manual

SAC ALL INCLUDED Series manual

SAC

SAC ALL INCLUDED Series manual

EuroLite CPE-40 user manual

EuroLite

EuroLite CPE-40 user manual

manuals.online logo
manuals.online logoBrands
  • About & Mission
  • Contact us
  • Privacy Policy
  • Terms and Conditions

Copyright 2025 Manuals.Online. All Rights Reserved.