LEHNER AgroDos Datasheet
LEHNER
AgroDos-001
AgroDos®
Operating instructions with parts list
Controller LAS PSM
Software from Version 1.1 onwards
Status: September 2012
Serial number: ...................................................................
Software version: ...............................................................
Translation of original operating instructions

Operating instructions
2
LEHNER Maschinenbau GmbH
Haeuslesaecker 14
D-89198 Westerstetten, Germany
Tel.: +49 7348 9596-22
Fax: +49 7348 9596-40
www.lehner.eu
This document is not allowed to be distributed, duplicated or utilised, nor is its
content allowed to be communicated, without express permission.
Contraventions shall require compensation in damages. All rights reserved in
the event of patent, utility model or design registration.

Operating instructions
3
Table of Contents
1. What you should know.......................................................6
1.1 Foreword ....................................................................................... 6
1.2 About these operating instructions................................................ 6
1.3 Intended use ................................................................................. 7
1.4 Designated use ............................................................................ 7
1.5 Warranty........................................................................................ 8
1.6 About your safety .......................................................................... 9
1.7 Technical data of AgroDOS®............................................................ 10
2. Taking AgroDos® into operation.....................................11
2.1 Preparing the implement holder .................................................. 11
2.2 Mounting AgroDos® .................................................................... 12
2.3Installingshtails ......................................................................... 14
2.4 Installing hoses ........................................................................... 15
2.5 Electrical connection ................................................................... 15
2.6 Operating additional spreaders (electrical connection) ............... 15
2.6.1 Electrical connection of the AgroDos® 12 litre variant............. 16
2.6.2 Electrical connection of the AgroDos® 22 litre variant............. 17
2.6.3 Electrical connection of the AgroDos® 70 litre variant............. 17
2.7 Operating additional spreaders (mechanical connection) ........... 18
2.7.1 Mechanical connection of the AgroDos® 22 litre variant ......... 18
2.7.2 Mechanical connection of the AgroDos® 70 litre variant ......... 19
3. Operating AgroDos® ........................................................20
3.1 Controls on the control panel ...................................................... 20

Operating instructions
4
3.2 The display.................................................................................. 21
3.3 Switching on/off........................................................................... 21
3.4 Automatic dosing......................................................................... 22
3.5 Changing the setting ................................................................... 23
3.6 Manual mode .............................................................................. 24
3.7 Residual discharge...................................................................... 25
3.8 Error message............................................................................. 26
3.9 Troubleshooting........................................................................... 27
4. Basic settings and displays.............................................28
4.1 Making settings ........................................................................... 28
4.2 Language .................................................................................... 28
4.3 Displaying product lists and deleting products ............................ 29
4.4 Quantity adaptation ..................................................................... 30
4.5 Calibrating the wheel sensor....................................................... 30
4.6 Setting signal for electronic lifting gear control (EHR)................. 31
4.7 EHR function ............................................................................... 32
4.8 Spreading tables and calibration procedure................................ 33
5. Maintenance and cleaning ...............................................35
5.1 Maintenance................................................................................ 35
6. Appendix ...........................................................................37
6.1Identication ................................................................................ 37
6.2 Spreader spare parts list ............................................................. 38
6.2.1 AgroDos® 70 litre variant......................................................... 38
6.2.2 AgroDos® 22 litre variant......................................................... 40
6.2.3 AgroDos® 12 litre variant (container) ...................................... 41

Operating instructions
5
6.2.4 AgroDos® 12 litre and 22 litre variant (electric motor)............. 42
6.3 Spare parts list rotary feeder....................................................... 43
6.4 AgroDos® spreading table for GOLDOR BAIT ........................... 44
6.5 AgroDos® spreading table for Nemathorin ................................. 45
6.6 AgroDos® spreading table for Physiostart.................................. 46
6.7 EC Declaration of conformity ...................................................... 47

Installation instructions What you should know
6
1. What you should know
1.1 Foreword
Thank you for placing your trust in us. We congratulate you on your decision.
With the AgroDos®, you have acquired a high-quality and innovative product.
Thanks to its advanced design, meticulous material selection, state-of-the-
art manufacturing techniques and the precision work of our employees, this
equipmentmeetsallefciency,quality,reliabilityandvaluerequirements.
The AgroDos® has been registered with the Julius Kühn Institute for applica-
tion of pesticide, and has been entered in the corresponding register.
Maintaining and servicing in accordance with the operating instructions en-
sures the safety of the device and maintains the value of your AgroDos®.
1.2 About these operating instructions
This operating manual forms part of the AgroDos® and must always be read-
ily available. All persons who work with the AgroDos® must read and follow
the operating manual.
They will learn about the technical details and how to control the machine and
optimise its performance.
Warning notices
Warningnoticesintheseoperatinginstructionsareidentiedasfollows:
Danger!
Warning against immediate danger. Non-observance of
appropriate measures may result in death and severe
personal injury or serious damage to property.
Warning!
Warning of possible danger. Death, severe personal
injury or serious damage to property are possible.
Caution!
Warning of possible dangerous situations. Slight per-
sonal injury or damage to property is possible.

Installation instructions
What you should know
7
Important!
For application instructions and other useful informa-
tion.
1.3 Intended use
The AgroDos®is exclusively intended for applying granulated pesticides,
granulated fertilizer or seed.
The spreader is only allowed to be used within the scope of its designated
use. The output rate is between 4 and 40 kg/ha.
Special rotary feeders are available if different output rates are required. In
this regard, please contact the product specialists at Lehner.
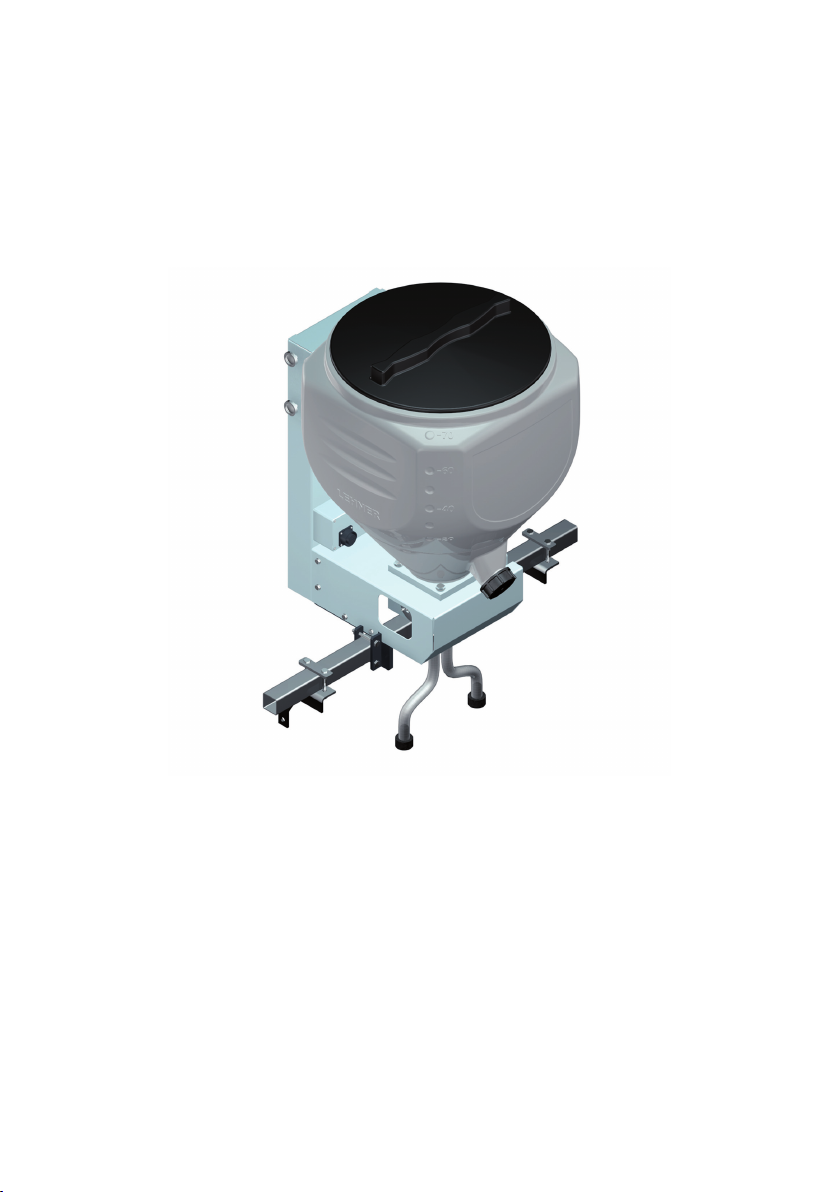
1.4 Designated use
The spreader consists of a frame, hopper (capacity 12, 22 or 70 litres, de-
pending on variant), dosing device with two rotary feeder valves (standard 5.9
cm³/revolution), electronic control panel and drive motor.
Additionalequipment:TwoshtailsforapplyingGOLDORBAIT.
Comply with the application regulations of the spreading material manufactur-
ers with regard to other pesticides or fertilizers.
At the time of manufacture, we are not aware of any negative effects from the
seed, the pesticide or the fertilizer on the materials of the spreader.

Installation instructions What you should know
8
1.5 Warranty
We offer a 24 month warranty on the AgroDos®.
Caution!
Danger of short circuit
Faulty or incorrectly sized plugs and cables can lead
to malfunctions. Only use original plugs and cables, or
ones approved by the manufacturer.
Any changes to cable or plug connections without factory approval automati-
cally invalidates the warranty. Motors may not be opened or dismantled.
Warranty repairs must be coordinated with the manufacturer before any work
is started.
For replacement parts, additional expenses are automatically charged for any
changes made to cables and plugs by the customer. Replacement parts are to
be returned carriage paid.
Rusted bearings are not subject to the manufacturer's warranty.
On receipt:
Check your AgroDos®upon receipt for any damage caused in transit. Any
such damage must be reported to the manufacturer within 24 hours of receipt.

Installation instructions
What you should know
9
1.6 About your safety
• Carefully read and observe these operating instructions before use.
Always keep these instructions to hand at the point of use.
• Observe the accident prevention regulations, safety and operating regu-
lations and the regulations for environmental protection.
• Observe all applicable standards and guidelines.
• Observe the safety instructions in these operating instructions.
• Wear appropriate working and protective clothing.
• Disconnect the electrical power supply for maintenance work.
• Do not start up the AgroDos®ifithasanysafety-relateddeciencies.
Immediatelyresolveanysafety-relateddeciencies.
• Keep out of the spreading zone. Make sure that no other persons or
animals are in the spreading zone.
• Do not touch the container during operation.
• Disconnect the mains plug before repair, maintenance and cleaning
work on the AgroDos®.
• Comply with the safety instructions on the pesticide or fertilizer that you
are using.
• Comply with the regulations of the spreading material manufacturer.
• It is essential to comply with the instructions of the spreading material
manufacturer in question.
• Spreading tables and additional information about the spreading mate-
rial used can be requested from the spreading material manufacturer in
question.
• During all working procedures, make sure that no pesticide is spilled
onto the ground.
• After completing work, always perform a complete residual discharge of
the spreader.
• Lehner Agrar GmbH declines any liability for storage and application of
the spreading material.
Installation instructions What you should know
10
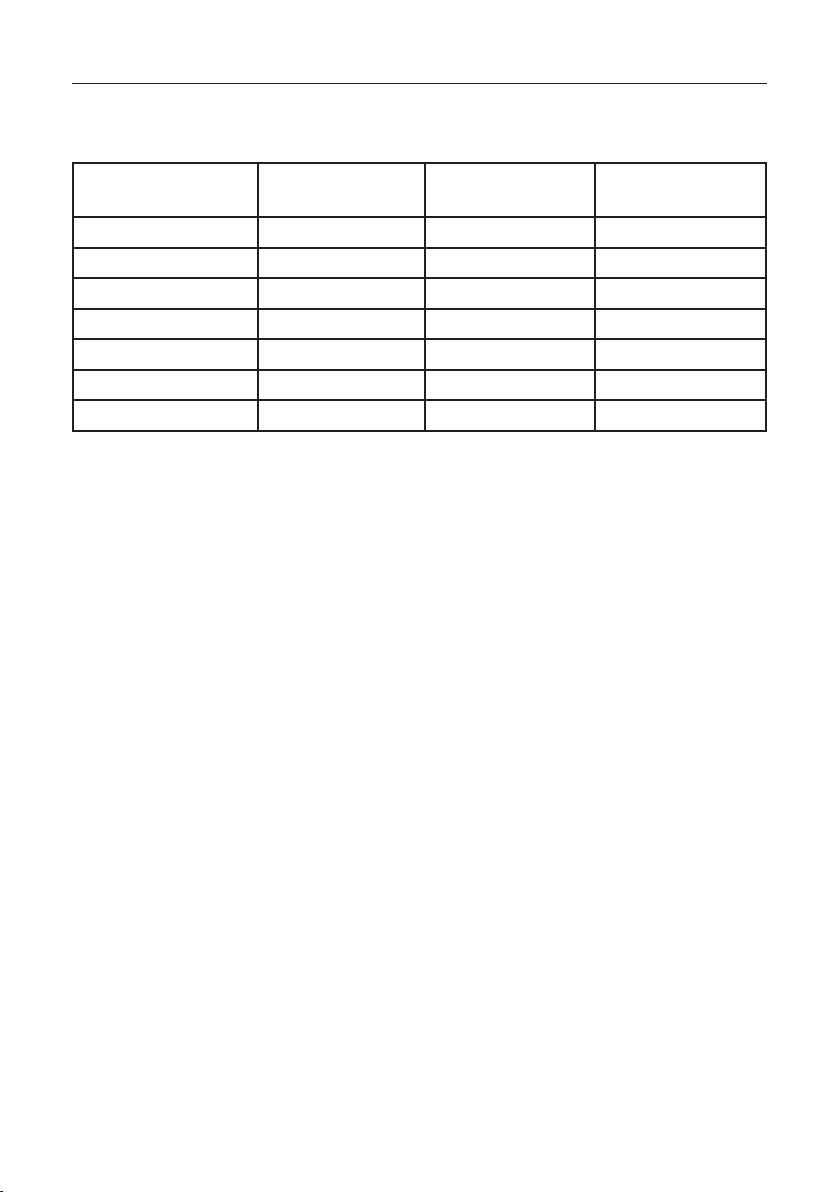
1.7 Technical data of AgroDOS®
AgroDos®
12 litre variant
AgroDos®
22 litre variant
AgroDos®
70 litre variant
Length [mm] 462 mm 425 mm 554 mm
Width [mm] 250 300 mm 489 mm
Height [mm] 480 mm 535 mm 788 mm
Weight, empty [kg] 10 kg 11 kg 22 kg
Weight, full [kg] approx. 20 kg approx. 30 kg approx. 80 kg
Standard drive Straight drive Bevel drive Bevel drive
Drive variant Bevel drive
Table of contents
Other LEHNER Spreader manuals

LEHNER
LEHNER SuperVario X Guide

LEHNER
LEHNER SuperVario Guide

LEHNER
LEHNER MiniVario E Datasheet

LEHNER
LEHNER POLARO User manual

LEHNER
LEHNER SuperVario User manual

LEHNER
LEHNER POLARO Datasheet

LEHNER
LEHNER POLARO E Datasheet

LEHNER
LEHNER Vento User manual

LEHNER
LEHNER POLARO User manual

LEHNER
LEHNER VINERO Datasheet


Popular Spreader manuals by other brands


Fisher
Fisher POLY-CASTER 78601 owner's manual

TurfEx
TurfEx RS7200 Owner's/operator's manual

Ferris
Ferris Pathfinder Series Operator's manual

Fayat Group
Fayat Group DYNAPAC S100 operation & maintenance

Art's-Way Manufacturing
Art's-Way Manufacturing X700 Operator's manual & parts list

EASTMAN
EASTMAN CR 500 instruction manual


