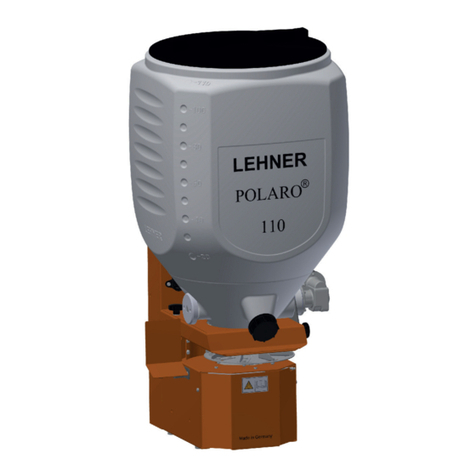
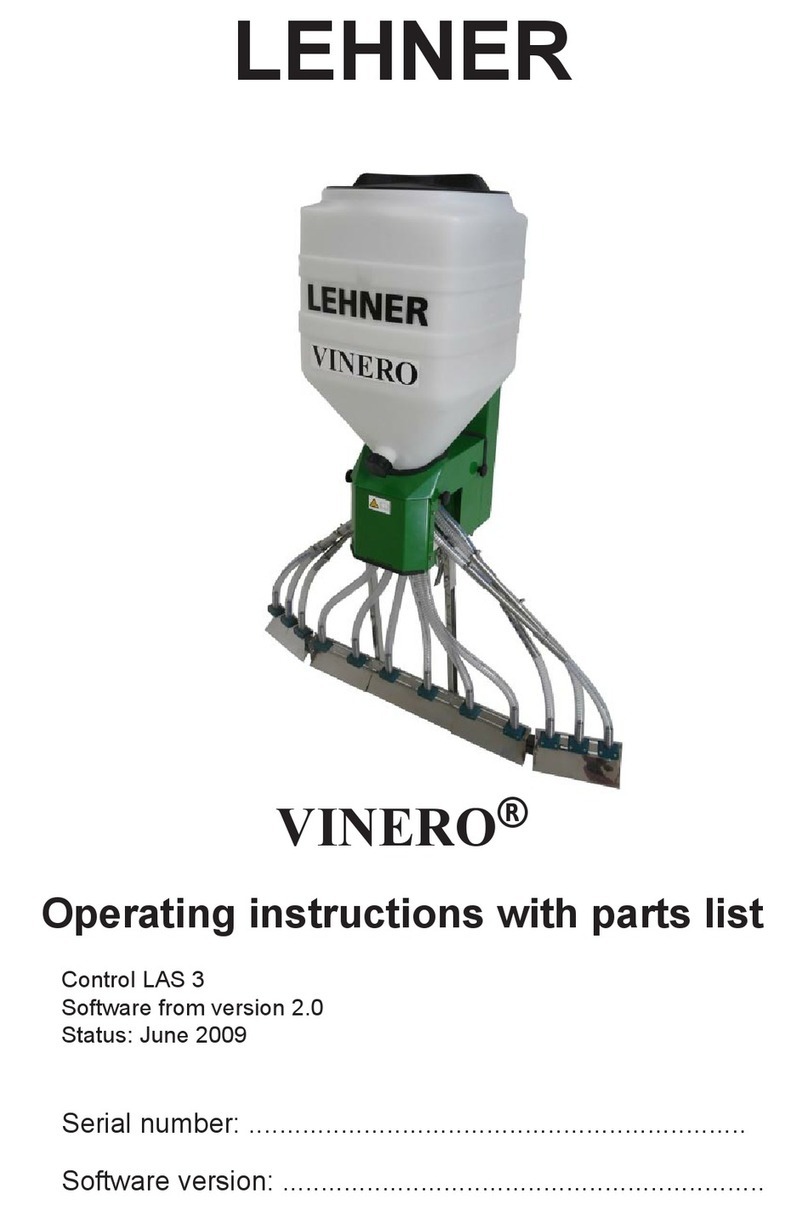
LEHNER POLARO User manual

Operating manual with parts list
POLARO®
Last updated: April 2016
Serial number:..................................................
Original operating manual

Publisher's information
2 / 31 1.0 POLARO®
Publisher's information
LEHNER Maschinenbau GmbH
Haeuslesaecker 14
D-89198 Westerstetten
Tel.: +49 7348 95 96 22
Fax: +49 7348 959 640
www.lehner.eu
This document must not be distributed, duplicated or utilised, nor may its content be communicated without express
permission. Compensation will be sought for all breaches. All rights reserved in the event of patent, utility model or
design registration.
English

Table of contents
POLARO®1.0 3 / 31
Table of contents
1 What you should know..................................................................... 5
1.1 Foreword........................................................................................ 5
1.2 About this operating manual.......................................................... 5
1.3 Warnings........................................................................................ 5
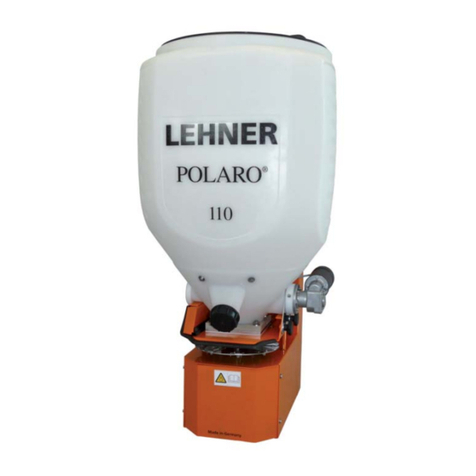
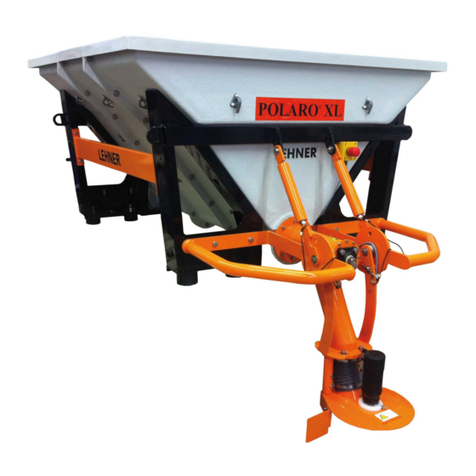
1.4 Description of the POLARO®........................................................ 5
1.5 Technical data for POLARO®........................................................6
1.6 Intended use.................................................................................. 6
1.7 Reasonably predictable misuse..................................................... 6
1.8 Warranty......................................................................................... 6
1.9 About your safety...........................................................................7
2 Mounting and start-up.......................................................................8
2.1 Mounting the frame........................................................................8
2.2 Mounting the hopper...................................................................... 8
2.3 Electrical connection...................................................................... 9
2.4 Fill the spreading material hopper............................................... 10
3 Operating the POLARO®................................................................ 11
3.1 Controls on the control panel.......................................................11
3.2 Switching spreading disc and agitator on and off........................ 11
3.3 Setting the speed.........................................................................12
3.4 Adjusting the slider opening.........................................................12
3.5 Opening/closing the slide.............................................................12
3.6 Setting the spreading width......................................................... 13
4 Settings............................................................................................. 14
4.1 Turning down............................................................................... 14
4.2 Determining the spreading width................................................. 14
5 Maintenance/Cleaning..................................................................... 15
5.1 Maintenance................................................................................. 15
5.2 Cleaning....................................................................................... 16
5.3 Transport and storage..................................................................16
6 Appendix........................................................................................... 17

Table of contents
4 / 31 1.0 POLARO®
6.1 EC Declaration of conformity....................................................... 17
6.2 Identification................................................................................. 18
6.3 Distribution box reference list...................................................... 19
6.4 POLARO® spare parts list...........................................................20
6.5 Spare parts list for control unit.....................................................22
6.6 List of spare parts for hopper, 110 litre, with motor flange........... 24
6.7 List of spare parts for hopper, 170 litre, with motor flange...........26
6.8 Spare parts list for saline agitator, 110 litre Hopper.....................28
6.9 Spare parts list for saline agitator, 170 litre Hopper.....................30
6.10 POLARO error message list........................................................ 31

What you should know
POLARO®1.0 5 / 31
1 What you should know
1.1 Foreword
Congratulations on purchasing the POLARO®, a high-quality and innovative product. Thank you for this expression
of confidence.
Thanks to its advanced design, meticulous material selection, state-of-the art manufacturing techniques and the
precision work of our employees, this equipment meets all efficiency, quality, reliability and value requirements.
Maintaining and servicing in accordance with the operating instructions ensures the safety of the device and main-
tains the value of your POLARO®.
1.2 About this operating manual
This operating manual is an important component of the POLARO® and must always be kept close to hand. It must
be read, understood and followed by everybody who works with the POLARO®.
Keep the operating manual in a safe place. If you sell your POLARO®, always pass this operating manual on to the
buyer.
1.3 Warnings
Warnings in this operating manual are identified as follows:
Danger!
Warning against immediate danger.
Non-observance of appropriate measures may result in death or severe personal injury
or serious damage to property.
Warning!
Warning of possible danger.
Death or severe personal injury is possible.
Caution!
Warning of possible dangerous situations.
Slight personal injury or damage to property is possible.
1.4 Description of the POLARO®
The POLARO® is a spreader for spreading winter salt, grit, sand and granulated fertilisers. It consists of a solid
frame, a hopper for the material to be spread and the electrical components.
The frame includes the spreading disc with slider/dosing equipment. The electrical components comprise the dri-
ve motor, speed sensor, distribution control box, control console cable, control cable, battery cable, control console
and breakaway safety cut-off.
A separate motor drives a slow-running agitator for grit, sand, smooth flowing salt or granulated fertiliser. As an al-
ternative for slow-flowing or damp salt, a special saline agitator is available as an accessory. This agitator is mount-
ed in an upright position in the hopper.
The speed of the spreading plate and disc can be regulated from a control panel in the driver's cab.
Advice
The POLARO® can be mounted on the front or rear of the carrying vehicle.
Note the gross weight of the filled spreader.
What you should know
6 / 31 1.0 POLARO®
1.5 Technical data for POLARO®
POLARO® 70 POLARO® 110 POLARO® 170
Dimensions L/W/H 570/485/870 mm 570/485/1050 mm 700/626/1070 mm
Net weight 29 kg 138 kg 42 kg
Capacity 70 l 110 l 170 l
Salt capacity 90 kg 130 kg 220 kg
Operating voltage 12 - 15 Volt
Fuse 25 Ampere
Power of drive motor (spreading disc) 60 W
Power of mixer motor 150 W
Speed range 40 to 600 rpm
Standard speed of agitator 54 rpm
Speed of saline agitator 27 - 29 rpm
Power consumption of motor Starting: up to 25 A
Normal operation: up to 13 A
Operating temperature -10°C to +70°C
Storage temperature -30 °C to +70°C
Length of battery cable 3 m 5 m 5 m
Length of control panel cable 2 m
Length of control cable 3 m 6 m 6 m
1.6 Intended use
The POLARO® is a spreader for spreading winter salt, grit, sand and granulated fertilisers.
1.7 Reasonably predictable misuse
POLARO® must only be used on approved carrier vehicles with suitable on-board electrical systems and sufficient
structural integrity.
POLARO® must only be used for approved media. The device must not be used for spreading crop protection prod-
ucts.
1.8 Warranty
Subject to proper use, LEHNER Agrar GmbH provides a 6-month guarantee and a 24-month warranty period on
the POLARO®.
Prior to any work being carried out, repairs under guarantee must be agreed with LEHNER Agrar GmbH.
For replacement parts, additional expenses are charged for any changes made to cables and plugs by the cus-
tomer.
Replacement parts are to be returned carriage paid.
Any changes to cable or plug connections without factory approval automatically invalidate the entire guarantee.
Rusted bearings are not subject to the manufacturer's warranty. Motors must not be opened or dismantled.
On receipt:
Check your POLARO® for any damage caused in transit.
Any such damage must be reported to the manufacturer within 24 hours of receipt.

What you should know
POLARO®1.0 7 / 31
1.9 About your safety
Read through this operating manual carefully before starting operation. Comply with the instructions, warnings and
safety information. Always keep this manual to hand at the point of use.
•Observe the accident prevention regulations, safety and operating regulations and the regulations for environ-
mental protection.
•Observe all applicable standards and guidelines.
•Observe the safety instructions.
•Avoiding injury to personnel or damage to vehicles incurring liability.
•Before operation, check that the hopper is correctly seated in its mounting and that the spreader is safely and
correctly attached to the carrier vehicle.
•Do not operate the spreader if there are technical safety defects.
•Make sure that technical safety defects are rectified immediately.
•When travelling on public roads and tracks used by agricultural vehicles, follow the applicable rules of the road.
•There must be no other persons in the spreading zone.
•Switch off the motor before carrying out any troubleshooting and cleaning work.
•Disconnect the electrical power supply for maintenance work.
•Do not reach into the hopper during operation.
•Never reach into the rotating or blocked spreading disk whilst the motor is running.
•It is essential to comply with the instructions of the spreading material manufacturer in question.
•Spreading tables and additional information about the spreading material used can be requested from the
spreading material manufacturer in question.
•LEHNER Agrar GmbH cannot accept any liability for the storage and application of the spreading material.

Mounting and start-up
8 / 31 1.0 POLARO®
2 Mounting and start-up
2.1 Mounting the frame
Warning!
Risk of injury due to weight of component
This can cause injuries.
The spreader is significantly heavier when the hopper is full.
Attention must therefore be paid to the proper mounting of the spreader on the carrier vehicle,
and to the carrying capacity of the vehicle tailgate or other panels. If necessary, fit with assis-
tance.
Warning!
Danger of excessive loads!
This can cause injuries.
The load carrying capacity shall be based on the regulations for load bearing equipment.
Warning!
Risk of injury.
Do not operate the spreader if there are technical safety defects.
The POLARO® can be mounted on the front or rear of the tractor, off-road vehicle or ATV.
The POLARO® can be mounted using an auxiliary bracket. Mounting holes are provided on the back of the frame-
work. for this purpose.
Remove the hopper before mounting the spreader.

The recommended discharge height is 0.40 - 1.00 m.
For information on disassembly, see Chapter 5.1, "Maintenance".
Advice
Dispose of packaging materials properly or save them for return to the manufacturer.
Retain the special pallet, as it is ideal for transporting the spreader.
2.2 Mounting the hopper

Mounting and start-up
POLARO®1.0 9 / 31
Warning!
Risk of damage to equipment by the use of grit and sand.
Risk of injury and damage to the spreader.
As an alternative for slow-flowing salt, a refined salt agitator is available as an accessory. This
agitator is not suitable for grit or sand.
1. Mount the hopper
2. Check that the hopper is well seated in the hopper platform (see arrow).
3. Check that the POLARO® is securely fixed.
2.3 Electrical connection
Caution!
Danger of short circuit
Ensure that the cables are routed without tension, kinking or chafing, and that they are not
routed around sharp edges.
Caution!
Risk of functional failure
Faulty cables or cables with incorrect dimensions can lead to malfunctions and damage to the
device. Only use original cables, or ones approved by the manufacturer.
Always push on the cap and lock it to protect electrical connections against damage.
Caution!
Damage to electrical system
During all work on the battery, please comply with the regulations of the vehicle manufacturer
in question.
Use only original cables or cables approved by the manufacturer, otherwise the complete warranty will be invalidat-
ed. Changes to cables undertaken by the customer shall be subject to additional charges in the event of repairs.
1. Mount support for the control panel in the vehicle cabin.
2. Plug the control panel cable into the three-pin socket 1 of the carrier vehicle.
If such a socket (1) is not available, use the battery cable supplied:
■Connect terminal (2) to the negative terminal of the battery (not to the bodywork).
■Connect terminal (3) (with fuse (4)) to the positive terminal of the battery.
■Lay the end of the cable with socket (1) in the carrier vehicle.
3. Plug the spreader cable into the 16-pin plug of the control panel.
To ensure an optimum electrical power supply, use the supplied battery cable.

Mounting and start-up
10 / 31 1.0 POLARO®
Caution!
Danger of short circuit
Observe the installation instructions of the adapter manufacturer
When fitting a 12/24 V adapters (available as accessory) it is necessary to connect a separate on/off switch in the
24 V supply cable, as the adapter consumes current in the standby mode.
Your device is now ready to operate.
2.4 Fill the spreading material hopper
Caution!
Health risk
Comply with the regulations of the spreading material manufacturer.
Caution!
Risk of injury.
Never open the hopper or touch the spreading disc when the drive motor is running.
1. Fill the hopper with spreading material immediately before starting work.
2. After filling, close the hopper.

Operating the POLARO®
POLARO®1.0 11 / 31
3 Operating the POLARO®
3.1 Controls on the control panel
6
1 2 3
54
1On/off button
2Display
3Rotary control for spreading disc speed
4Slider closed indicator
5Slider open indicator
6Start/Stop button
3.2 Switching spreading disc and agitator on and off
Danger!
Risk of injury by accident
When travelling on public roads and streets, observe the road traffic regulations.
Warning!
Risk of injury.
The drive motor starts immediately when switched on.
Make sure that no-one is in the danger area when you switch the system on.
Warning!
Risk of injury.
Do not operate the spreader if there are technical safety defects.
Operate the On/Off button on the front
of the control panel.
The speed of the spreader disc is
shown on the display.
170
When the spreader is switched off, the slider closes automatically.

Operating the POLARO®
12 / 31 1.0 POLARO®
Autostart/automatic freewheeling
If a motor is difficult to start due to heavy loads, the motor starts up to 10 times in alternating directions. For this, the
slider must be open so that the material flows out.
If the agitator or spreading plate cannot break free as a
result, the motor is automatically switched off. The follow-
ing message appears on the display:
E2
Warning!
Risk of injury due to unexpected starting of the agitator or spreading disk
Switch off the motor before troubleshooting.
To eliminate the blockage:
1. Switch off the device.
2. Manually turn the spreading disc or empty the hopper.
For more information, see Chapter , "Troubleshooting".
3.3 Setting the speed
The speed of the spreading disc is in-
finitely variable using the knob on the
control panel.
170
The figure shown on the display is the actual speed of the spreading disc.
3.4 Adjusting the slider opening
1. Make sure that the slider is closed.
2. Set the slider control on the spreader unit to the required dosage.
With setting 0 the slider is almost closed and on 20 it is fully open. Within this range, the slider opening is infinitely
adjustable.
3.5 Opening/closing the slide
Before opening the slider, make sure that the POLARO® is switched off, as otherwise it will immediately start
spreading material.
Press the Start/Stop button on the control panel to open
or close the slider.

Operating the POLARO®
POLARO®1.0 13 / 31
Slider closed Slider open
This symbol indicates whether the slider is open or closed.
If the spreader is switched off without first closing the slider, the controller automatically closes the slider.
Slider adjustment
The slider elements are spaced to prevent clogging of the spreading material. To prevent the slider from mov-
ing across the opening and closing it in the case of vibrations and impacts, a pulse about every 60 seconds regu-
lates the slider position according to the Open or Closed setting. This only happens, however, when the device is
switched on.
For information on troubleshooting, see Chapter , "Troubleshooting".
3.6 Setting the spreading width
The spreading width depends on the condition of the spreading material and the speed of the spreading disk. The
more coarse the spreading material, the larger the possible spreading width.
The manufacturer also offers an optional drive motor for working widths of up to 12 metres. Please enquire about
this separately.

Settings
14 / 31 1.0 POLARO®
4 Settings
4.1 Turning down
1. Put the spreader in the carton or put the carton over the spreader to catch the spreading material.
2. Due to the suction effect, the speed of the spreading disc used in practice must be set.
3. Weigh out the ejected spreading material at various slide positions until the suitable slide position is determined.
4.2 Determining the spreading width
Obtain the reference value for the spreading width from the information supplied by the relevant spreading material
supplier.
1. Spread on a firm surface.
2. Weigh spreading material or sweep up a swath lateral to the direction of travel and assess the lateral distribu-
tion.
With setting 0 the slider is almost closed and on 20 it is fully open. Now by turning down again with a modified scale set-
ting, the correct value can be found. When starting spreading, however, the ejected quantity and the lateral distribution
must be checked.

Maintenance/Cleaning
POLARO®1.0 15 / 31
5 Maintenance/Cleaning
5.1 Maintenance
Warning!
Risk of injury.
Disconnect the power supply before starting maintenance, repair and cleaning work.
Warning!
Heavy component weight
This can cause injuries.
If necessary, remove with assistance.
Warning!
This can cause injuries.
Always wear goggles, dust mask and gloves when using compressed air for cleaning purpos-
es.
Comply with the regulations of the spreading material manufacturer.
After use, empty the material hopper and clean vehicle with brush or compressed air.
Dosing device/slide
The dosing device and slide should be inspected and cleaned at regular intervals depending on use and the spread-
ing material used.
If using very fine spreading material in particular, the slide unit may clog.
1. Disconnect agitator plug.
2. Unscrew upper and lower knurled screws (1) on both sides.
3. Remove the hopper 2.
4. Unscrew the four nuts (3) using a 17 mm spanner.
5. Remove hopper platform 4 and pull the dosage slider 5 out from the top.
6. Clean the slide unit with a brush or compressed air.
7. Fit parts in reverse order.
Standard lubricant can be applied to the bottom edge to assist with hopper installation.
Drive motor
The drive motor of the spreading disc should be cleaned and greased at the end of the season. This extends the
service life of the motor. Carry out the maintenance work correctly, otherwise the manufacturer's warranty may be
invalidated.

Maintenance/Cleaning
16 / 31 1.0 POLARO®
1. Disconnect agitator plug.
2. Undo screw (1) on spreader disc (2) and pull spreader disc (2) out in upward direction.
3. Remove plastic washer (thick).
4. Remove screws 3 from below and remove drive motor 4 with spacer and two guide rails 5.
5. Take plastic washer (thin) off motor shaft.
6. Clean motor shaft and contact surface of plastic washer and apply thin coat of standard copper paste.
7. Fit parts in reverse order.
5.2 Cleaning
Warning!
Risk of injury.
Disconnect the power supply before starting maintenance, repair and cleaning work.
Warning!
Heavy component
This can cause injuries.
Always wear goggles, dust mask and gloves when cleaning. Comply with the regulations of the
spreading material manufacturer.
The tank can be almost fully emptied by means of the residual discharge.
1. Unscrew the hopper.
2. Clean spreader and hopper with a brush or compressed air.
5.3 Transport and storage
For transportation, only the trolley available as a special accessory should be used.
Warning!
Risk of injury from stored device falling over.
Place the device on a clean, dry surface with an adequate load capacity. For extended peri-
ods, the device may only be stored completely empty.

Appendix
POLARO®1.0 17 / 31
6 Appendix
6.1 EC Declaration of conformity
EC Declaration of Conformity
In accordance with the EC Machinery Directive 2006/42/EC, app. II, 1.A
Manufacturer:
LEHNER Agrar GmbH
Häuslesäcker 5-9
89198 Westerstetten
Person resident in the Community who is entitled to assemble the relevant technical documents:
Jürgen Beck-Graf
LEHNER Agrar GmbH
Häuslesäcker 5-9
89198 Westerstetten
Description and identification of the machine:
Product: POLARO®
Type: 70/110/170
Function: The POLARO® is a spreader for distributing road salt, gravel, sand, fertilizer or granulates
of various kinds. It is produced in three sizes. These differ in the hopper capacity, 70, 110 and 170 litres. A
manually operated slide sets a constant flow rate of the medium being spread. A separate motor drives a
slowly rotating agitator, which can be installed both horizontally and vertically. The agitator keeps the
spreading material mobile. The speed of the spreading disc, and thus the spreading width and the slide
(open/close), is controlled from the operator's cab by means of a control panel.
It is expressly declared that the machine is in accordance with all relevant provisions of the following
EC Directives:
2006/42/EC EC Machinery Directive 2006/42/EC
2004/108/EC (Electromagnetic Compatibility) Directive 2004/108/EC of the European
Parliament and the Council dated 15 December 2004 on the harmonisation of
legal regulations in the member states regarding electromagnetic
compatibility and replacing Directive 89/336/EEC
Source of the applied harmonised standard acc. to Article 7, para. 2:
EN ISO 12100-2:2003-11 Safety of Machinery –Basic concepts; general principles for design –
Part 2 Technical principles
EN ISO 14121-1:2007 Safety of Machinery –Risk assessment –Part 1: Principles
(ISO14121-1:2007)
EN 50498:2010 Electromagnetic compatibility - Product family standard for electronic
equipment installed subsequently in vehicles
EN ISO 14982:2009 Electromagnetic compatibility - Agricultural and forestry machinery
Source of the applied other technical standards and specifications:
EN ISO 12100-1:2003-11 Safety of Machinery –Basic concepts; general principles for design –
Part 1: Basic terminology, methodology
Westerstetten, 01.02.2012
Place, date Signature
Helmut Lehner
CEO

Appendix
18 / 31 1.0 POLARO®
6.2 Identification
The serial number of the spreader is applied to the rear of the frame.
Note the serial number in this operating manual so that it is readily available for inquiries.

Appendix
POLARO®1.0 19 / 31
6.3 Distribution box reference list
POLARO Standard LAS
Control cable Junction box
white
brown
green
grey
pink
blue
black
red
blue
rot
blue
rot
blue-short
red-long
rot-short
blue-long
violet
yellow
white/green
grey/pink
red/blue
yellow/brown
brown/green
white/yellow
sensor
slide motor
spreading disc motor
Mixer motor
free ’not assigned’
white -12v
green signal
brown +12 v

Appendix
20 / 31 1.0 POLARO®
6.4 POLARO® spare parts list
3
6
19
18
7
1
2
4
5
4
5
8
9
10
11
14
13
15
16
17
12
7
Other manuals for POLARO
2
This manual suits for next models
3
Table of contents
Other LEHNER Spreader manuals

LEHNER
LEHNER SuperVario User manual

LEHNER
LEHNER MiniVario E Datasheet

LEHNER
LEHNER SuperVario X Guide

LEHNER
LEHNER POLARO E Datasheet

LEHNER
LEHNER Vento User manual

LEHNER
LEHNER VINERO Datasheet

LEHNER
LEHNER POLARO User manual

LEHNER
LEHNER AgroDos Datasheet

LEHNER
LEHNER SuperVario Guide

LEHNER
LEHNER Polaro L Datasheet
Popular Spreader manuals by other brands

Fisher Engineering
Fisher Engineering TEMPEST S150A installation instructions

H&S
H&S W3243 Operator's manual

Agri-Fab
Agri-Fab 175 owner's manual

PERFORMANCE ADVANTAGE COMPANY
PERFORMANCE ADVANTAGE COMPANY K5026-JL installation instructions

Andersons
Andersons Model2000 manual

SealMaster
SealMaster R-1 owner's manual