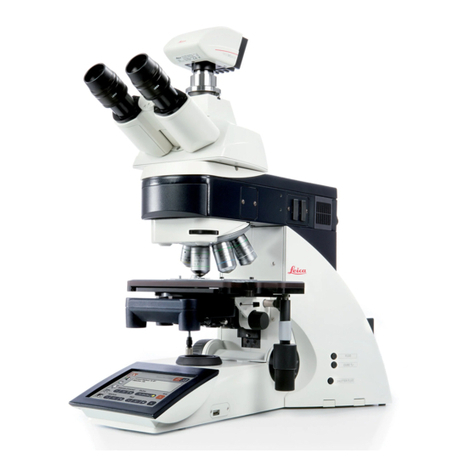
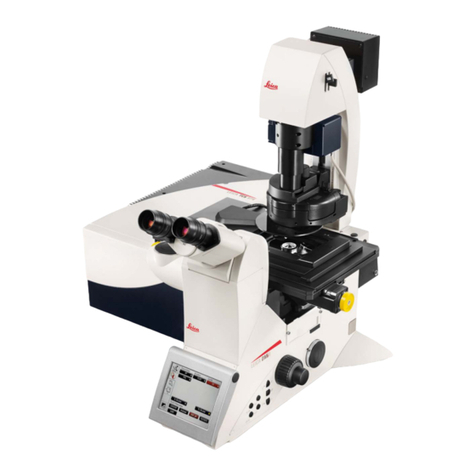
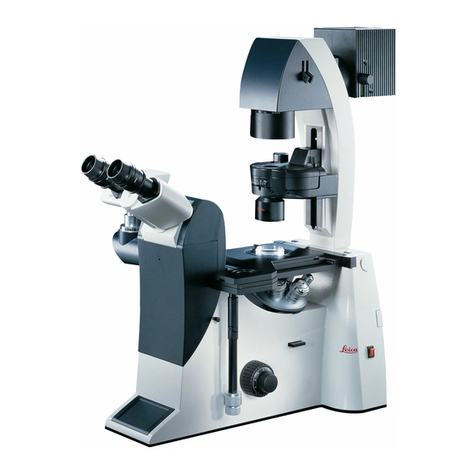
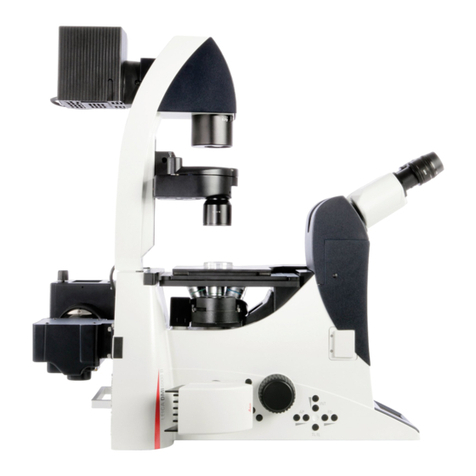
Leica DMi8A User manual

1
Leica DMi8A Quick Guide

2
Optical Microscope Quick Start Guide
The following instructions are provided as a Quick Start Guide for powering up, running
measurements, and shutting down Leica’s DMi8A Inverted Optical Microscope.
Table of Contents
Leica DMi8A Quick Guide ........................................................................................................... 1
Optical Microscope Quick Start Guide ....................................................................................... 2
Instrument Information ......................................................................................................................... 3
Preparing the Machine ........................................................................................................................... 3
Physical Setup ...................................................................................................................................... 3
Computer Setup .................................................................................................................................... 3
Computer Setup .................................................................................. Error! Bookmark not defined.
Operating the Microscope ...................................................................................................................... 4
Navigation ............................................................................................................................................ 4
Adjusting the Filtering Parameters ....................................................................................................... 4
Getting Results ........................................................................................................................................ 6
Taking Pictures ..................................................................................................................................... 7
Editing Pictures .................................................................................. Error! Bookmark not defined.
Finishing Up ............................................................................................................................................ 8
Turning off the System ....................................................................... Error! Bookmark not defined.
Before Leaving ................................................................................................................................... 10
Warning:
Althoughopticalmicroscopyhasnoinherentdangertousage,
onlyuserswhohavereceivedtrainingbyqualifieddepartmentstafforfaculty
arepermittedtousethisequipment.ContacttheDMSEfortraining
information.
Notice:
Italicizedwordsindicateexternalbuttonsintherealworld.Bolded
wordsindicatebuttonswithinthecomputersystem.

3
Instrument Information
Contrast Fields: Bright Field, Dark Field, Differential Interference Contrast, Polarizing-Contrast
Magnification: 5X, 10X, 20X, 50X, 100X
Focus Increments: .05 µm .1 µm, .7 µm, 1.5 µm, 5.0µ
Stages: 150 mm x 200 mm
Preparing the Machine
Physical Setup
1) Turn on the optical microscope then turn on the computer
a. The power switch is on the CTR advanced box
2) Wait a few moments for the DMi8A to self-align and go
through its boot-up sequence
Computer Setup
1) Double click on the LAS V4.7 computer icon
a. The icon is the Leica Application Suite as to which the
DMi8A connects to.
2) If you only see black or white on the live feed, adjust the light
intensity to see your sample.
a. Small knob on the left of the optical microscope
Figure:TheMainMenufortheOpticalMicroscope.Areasofinteresthavebeen
markedwithanarrow.
Figure:TheIconfortheLeica
ApplicationSuiteprogram.Thisicon
linkstothesoftwareforLeica’s

4
Operating the Microscope
Navigation
1) Adjust the specimen to where you want to be using the X and Y controls
a. Rotary Knobs: Top = X; Bottom = Y
b. Can be done on computer w/ Mic2
c. Can be done w/ manual stage adjustment
2) Adjust the Zoom Levels on the microscope
a. Available magnifications: 5x, 10x, 25x, 50x, 100x
Adjusting the Filtering Parameters
Depending on the properties of your sample and its environment,
different combinations of camera controls and scanning fields may
be more viable than others when looking for the highest photo
resolution. In order to make your sample more visible and colored to
the proper extent, take a look at the following variables:
Scanning Fields
The different scanning fields reflect numerous forms of illumination techniques used within
advanced microscopes. Incorrect illumination of the sample can lead for sophisticated
microscopes to take blurry pictures even though they are more than well-equipped. Use the
following table to determine which scanning field is best for your particular sample:
Scanning Fields Advantages Disadvantages
Bright Field
Shows the specimen dark on
a light background
ꞏAllows for viewing
specimens that are unstained,
transparent, and have a high
reflection index
ꞏ Has a low contrast index
and typically needs to be
stained for proper viewing
Figure:TheX‐Y‐ZControllerforthe
microscope.Thelargertwoknobs
controltheX‐Yaxis(respectively),and
thesmallerknobcontrolstheZ‐axis.
Figure:TheavailablemagnificationsfortheDMi8A.The
selectedmagnificationishighlightedorange.
5
Camera Controls
Despite the importance of scanning fields for proper illumination of your sample, the camera
parameters are equally consequential for getting the right tone and color balance within your
picture. Any large perturbations can lead to washed out greys taking over your picture with no
discernible sample features. Take a look at the following to determine which parameters are best
for how you want your picture to appear:
Dark Field
Shows the specimens light on
a dark background.
ꞏWell suited for live and
unstained samples with a low
reflection index or close to its
environment
ꞏ Must be very strongly
illuminated which may cause
damage to samples
DIC
Highlights the otherwise
invisible features of a sample
ꞏ Very useful for observing
unstained samples that need
to be stained with the other
scanning fields
ꞏ Enhanced light and shadow
may slightly distort the
appearance of the sample
Polarizing-Contrast
Uses polarizing light to
enhance images of
birefringent materials
ꞏ Allows for qualitative
analysis of anisotropic
specimen. Used primarily
within optical mineralogy
ꞏ Very difficult to perform
any quantitative analysis.
Should only be use on very
specific materials
Camera Controls Increase Effect Decrease Effect
Brightness
Illumination of the sample
ꞏYour sample will
appear lighter
ꞏYour sample will appear
darker
Figure:ThelistofScanningFields
availableforthemicroscope
Figure:Thelistofexposure
adjustmentsavailable.Thecolor
adjustmentisalongside
thebottomofthetab.

6
Note: Not all camera controls will be available depending on the scanning field selected.
Selecting the Easy Camera button within the tab provides less user-inputted options but a
simpler experience. If you are having issues restoring the camera, press the Reset camera icon.
Getting Results
Gain
Signal Intensity on the
detector
ꞏBrighter images with
more noise
ꞏDimmer images with less
noise
Saturation
Intensity of the color to
white
ꞏImages will have more
purer colors
ꞏImages will have more
washed up colors
Gamma
Factor between linear and
non-linear light perception
ꞏHarder to differentiate
between brighter colors
ꞏHarder to differentiate
between darker colors
Color
Actual color of the sample
as recorded by the detector
ꞏCloser to the sample’s
actual color
ꞏCloser to black and white
Figure:TheNavigatortabwithafewannotationoptions
forimagedisplayresizing

7
After figuring out the best field and camera parameters for your live view, taking and annotating
pictures is the next step for making your work more discernible to others. The Leica Application
Suite has basic tools that can be useful for the analysis of the microstructures within your
sample. With methods such as X-Y-Z stitching available, intricate and complex photos can be
made. If need be, post-processing image correction along with any annotations can be applied to
your image for any second thoughts on the way that the image’s camera controls were captured.
Taking and Saving Pictures
1) On the right side of the window, adjust your image size to your desired dimensions
o This can be done with the Zoom In, Zoom Out, etc. icons
2) Select the Show Navigator tab.
3) In the Navigator tab, find and left click on your data folder.
o If properly selected, you should see a red dot on the folder
4) Close out of the Navigator tab and press Acquire Image
o Acquire Image is located on the lower left corner of the screen.
5) Name your file, select the type of image, and press Save.
Figure:TheBrowsetabshowingboththehighlighted
image,directory,andimagedata

8
Editing Pictures
1) WithintheProcesstab,selecttheEnhancewindow.
2) Fromhere,youcanchangethefollowingparametersofthephoto:
Brightness,Contrast,Gamma,Hue,Saturation,Intensity,Color,
Black/WhiteLevels.
a. Forthemajorityofthevariables,theyarenowrepresentedas
1’sor0’stodisplaywheretheoriginalimagewasbefore
correction.
3) Thistabalsoallowsforphysicalchangestothephotothrough:
a. Orientation:AllowsforflippingalongtheX‐Yaxisoradegree
basedrotation
Analyzing Pictures
1) Atthetopofthescreen,selecttheInteractivewindowwithinthe
Analysistab
2) Here,youwillseeanassortmentoftoolsaslisted:
SelectionTool:Allowsfortheselectionofanymeasurementsontheimage
DistanceLineTool:Findthedistancebetweentwopointsonyoursurface
SegmentLineTool:Findthedistancebetweenamultitudeofpointsonyoursurface.
AreaLineTool:Findthesurfaceareaswithinauser‐definedgeometry
AngleTool:Findtheanglebetweendifferentfeaturesonyoursample
CircleTool:Createsacircleusingtwopointstocreateanarcofvariablelength

9
CountTool:Figureouthowmanyofsomethingthereisonthesample
ParallelLineTool:Createparallellinesonyoursample
CrossTool:Createsacrossonyoursample
ShapeTool:Createsarectangleoratriangleonyoursample.
Note:Rightclickingonthetooliconwillrevealmoreoptionsfordata‐gathering.Suchas
showingeitherthediameterofacircleoritsarea=
3) Propertiesallowsfortheparametersofthetoolannotations.Theyfunctionvery
similarlytothesettingswithinAnnotatingPictureswithacoupleofadditions.
a. DisplayLabels:Allowsforthedisplayingofelementssuchasunitsornumbers
b. LabelOffset:Determineshowfarawayyouwantthelabelfromthemark
4) WithintheAutomaticandGrainExpertwindows,youcanfollowthecomputer‐
promptedstepstoautomaticallyanalyzeyourpictureandgenerateareportbasedon
yourpreferencesforprocessing.
5) Whencompletedsettinguptheoperation,pressonRunMeasurementtobeginthe
computer‐analysisandreportgeneration.
Example: Simple Automatic Processing in Phase Measurement
1) SelectyourImagetoMeasure
a. Inthemenu,chooseyourphotothenpressAppend
2) Adjustyourthreshold
a. Usingthecolorwheel,adjustthehueandthesaturationofthecolorsuntilyour
phasesareproperlyselected.Clickinganddraggingonthecurveadjuststhehue
whileclickingandmovingonthecurveadjuststhesaturation.
3) ClickonRunMeasurementtogetinformationonthephasedistributioninyourimage.
Finishing Up

10
Before Leaving
1) Reset all objective magnifications to their lowest value.
2) Make sure that all equipment is turned off
a. Power off Sequence: Optical Microscope -> Computer
3) Clean up any and all messes created by the microscope to ensure a neat environment.
Tips and Tricks
Have curves in your path that you want to analyze?
Hold the LMB on the mouse and move for a continuous path to see your total distance.
Want to see two image parameters that aren’t normally together?
Click and hold on an empty space of the menu to pop it out of its location. Press X to return it.
FAQ
There’s no image showing up on the live feed
My guided stitching failed
Apertures on Side
Table of contents
Other Leica Microscope manuals

Leica
Leica DM IRM User manual

Leica
Leica DM750 M User manual

Leica
Leica DIGILUX 1 User manual

Leica
Leica DI C800 Manual

Leica
Leica BF200 User manual

Leica
Leica DM R Series User manual

Leica
Leica DMI Series User manual

Leica
Leica Sp5 WLL STED Operation instructions

Leica
Leica MC120 HD User manual

Leica
Leica M205A Manual

Leica
Leica SP5 confocal User manual

Leica
Leica F12 I User manual

Leica
Leica DM1000 LED User manual

Leica
Leica M220 F12 User manual

Leica
Leica TCS SP5 X User manual

Leica
Leica ES2 User manual

Leica
Leica TCS SP8 User manual

Leica
Leica SP8 User manual

Leica
Leica TCS SP5 X User manual

Leica
Leica SP8-X User manual