Leica GRX1200 series User manual

GRX1200 Series
Getting Started
Version 3.0
English

2GPS1200Introduction
Introduction
Purchase Congratulations on the purchase of a GRX1200 Series instrument.
)To use the product in a permitted manner, please refer to the detailed safety directions in the
User Manual.
Product identification The type and the serial number of your product are indicated on the type plate.
Enter the type and serial number in your manual and always refer to this information when
you need to contact your agency or Leica Geosystems authorized service workshop.
Symbols The symbols used in this manual have the following meanings:
Trademarks • Windows is a registered trademark of Microsoft Corporation
• CompactFlash and CF are trademarks of SanDisk Corporation
• Bluetooth is a registered trademark of Bluetooth SIG, Inc
All other trademarks are the property of their respective owners.
Type: _________________________
Serial No.: _________________________
Type Description
)Important paragraphs which must be adhered to in practice as they enable
the product to be used in a technically correct and efficient manner.

Table of Contents GPS1200 3
Table of Contents
In this manual Chapter Page
1 How to Use this Manual 4
2Overview 6
3 Configuration 12
3.1 Configure Receiver Communication Settings 12
3.1.1 Overview 12
3.1.2 Default settings 13
3.1.3 Startup Configurator 15
3.2 Access the Receiver via FTP connection 26
3.3 Access the Receiver with LEICA GPS Spider 27
3.4 Configuring and Monitoring a GRX1200 Series Reference Station
with Web Interface 31
3.4.1 Overview 31
3.4.2 Activating the Web Interface 33
3.4.3 Web Interface Connection 34
3.4.4 Changing the Web Interface language 60
4 Firmware Upgrade 62
5 Using the Web Interface 66
5.1 Introduction 66
5.2 Adjusting the Receiver Settings 70

4GPS1200How to Use this Manual
1 How to Use this Manual
)It is recommended to set up the product while reading through this manual.
Path Control Panel/Phone and Modem Options/Modems stands for this working sequence:
From a menu select Control Panel, then Phone and Modem Options and then Modems.
Fields, options and
buttons
Fields, options and buttons are printed in bold, for example:
Index The index is at the back of the manual.
Validity of this manual This manual applies to all GRX1200 Series instruments. Differences between the various
models are marked and described.
Available
documentation
Field: Maximum Port Speed
Option: 115200
Button: OK
Name of documentation Description
GPS1200 User Manual Provides an overview of the system together with technical data
and safety directions.
Name of documentation Description
GPS1200 Technical Refer-
ence Manual
Overall comprehensive guide to the system and program func-
tions. Included are detailed descriptions of special soft-
ware/hardware settings and software/hardware functions
intended for technical specialists.

How to Use this Manual GPS1200 5
Format of the documen-
tation
The GPS1200 CD contains the entire documentation in electronic format. All manuals are
also available in printed form except for the GPS1200 Technical Reference Manual.
Equipment List For GPS
Networks and Reference
Stations
Describes items and setup of permanent GPS reference
stations.
GPS Reference Stations
and Networks - An intro-
ductory guide
Explains priciples of GPS reference stations.
Name of documentation Description

6GPS1200Overview
2Overview
Description The GRX1200 Series Installation Guide
• explains the configuration steps necessary to bring a GRX1200 Series receiver into
service.
• explains the different configuration and operation options of GRX1200 Series receivers
as requirements may vary from installation to installation.
• gives recommendations for standard setup scenarios.
Tools for configuration
and operation
GRX1200 Series receivers can be configured and operated using
• a web browser plus a Web Interface. Refer to paragraph "Terminology" for and explana-
tion of the terms.
• LEICA GPS Spider.
The differences are:
Type Web Interface LEICA GPS Spider
Firmware version v2.1 or higher Any
Connection between
computer and receiver
Ethernet
OR
Serial cables
Any combination of
• Serial connection
• Modem connection
• Ethernet connection

Overview GPS1200 7
Use • Configuration of one
receiver
• Operation of one receiver
Simultaneous configuration,
operation and communica-
tion with one or many
receivers.
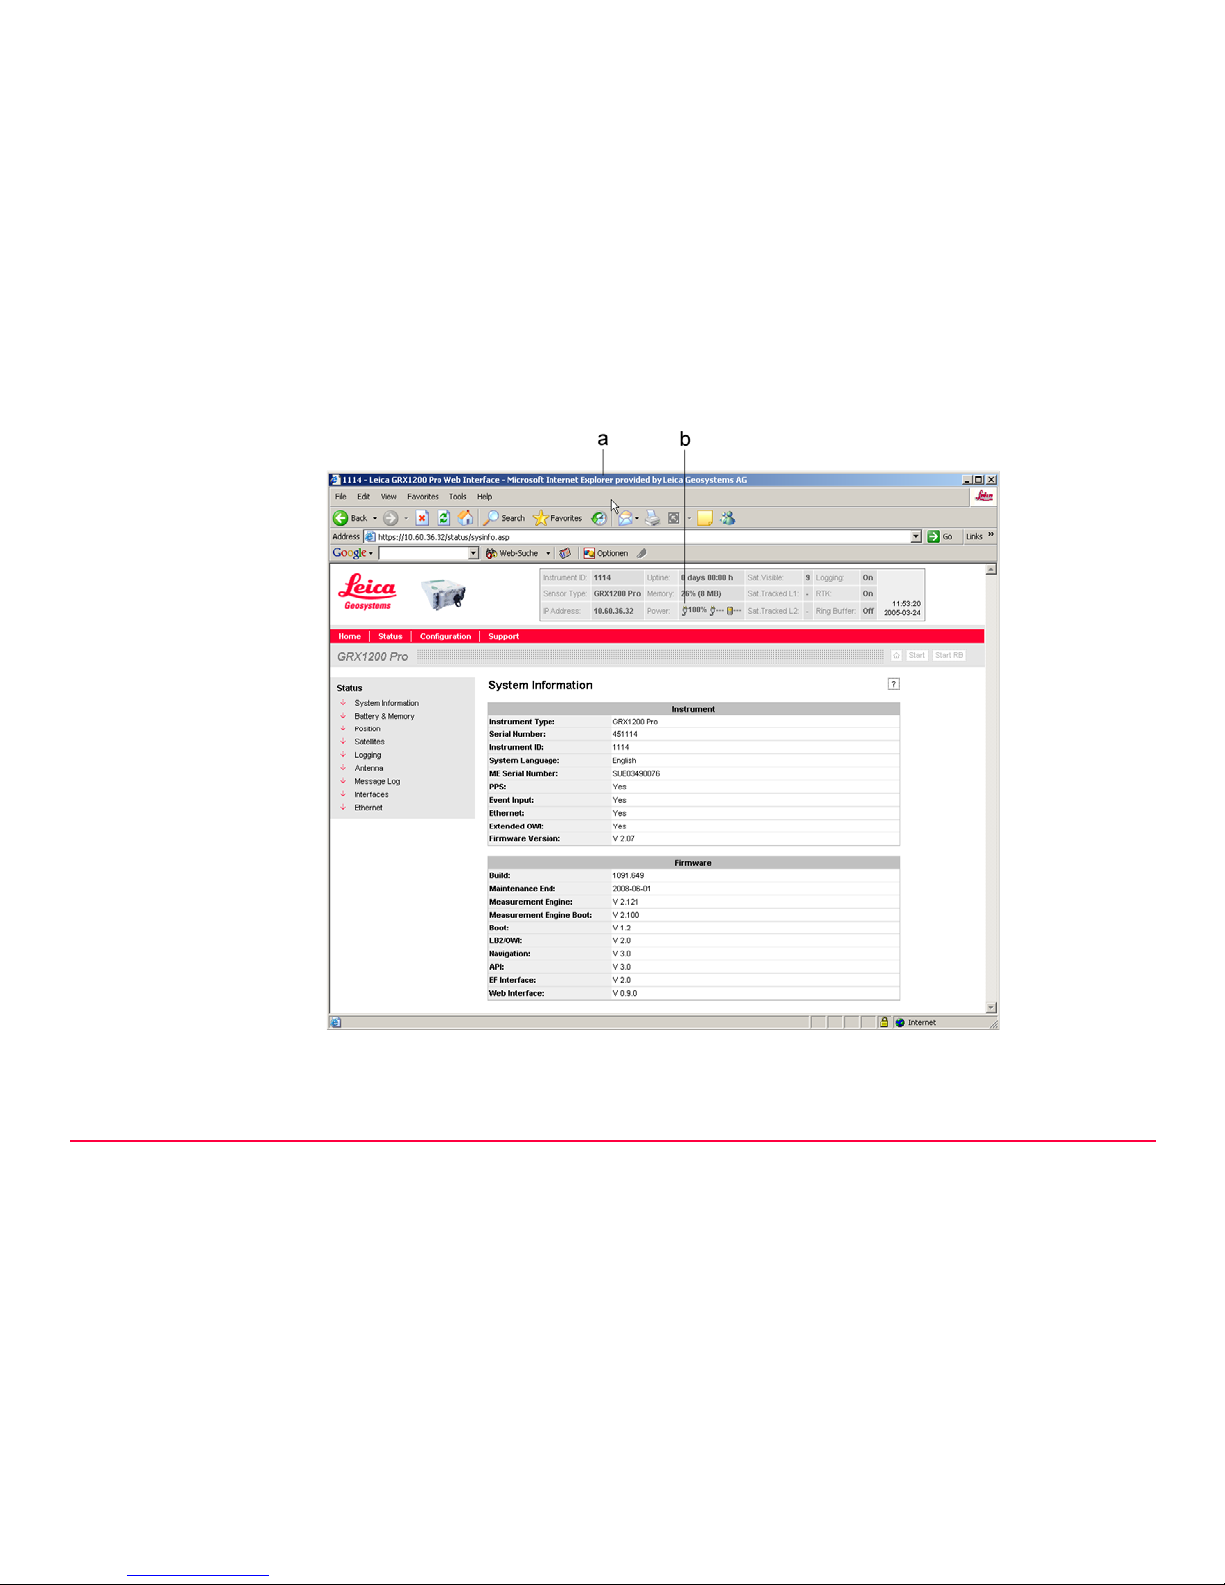
)Some settings are available both in the Web Interface and in LEICA GPS Spider. If
such settings are configured in the Web Interface, and then an Upload Settings or
Start is done from LEICA GPS Spider, these will be overwritten. In this case use the
Web Interface exclusively for settings that are not available in LEICA GPS Spider, eg.
activating a BINEX data stream. If LEICA GPS Spider and the Web Interface are both
used for the same receiver, please note that Start and Stop should always be done
from LEICA GPS Spider. For more information, please refer to the GRX1200 and
LEICA GPS Spider online help.
Features Everything needed for
receiver setup, for example:
More advanced features than
Web Interface, for example:
• To provide conventional
RTK corrections through
one or more of its ports.
• To transfer raw data auto-
matically from the receiver
to a central data storage.
• To log raw data onto the
CompactFlash card.
• To manage a whole
network of reference
stations.
• To stream GPS data to
other users.
• To supply network RTK
corrections.
Type Web Interface LEICA GPS Spider

8GPS1200Overview
Terminology Term Description
Web browser For example Internet Explorer. Refer to the diagram below.
Interface The procedures, codes and protocols that enable two entities to
interact for an exchange of data.
Web Interface Kind of an entry form to define receiver relevant settings. Runs in a
web browser. Refer to the diagram below.

Overview GPS1200 9
a) Web browser
b) Web Interface

10GPS1200Overview
Requirements • When using the web browser, firmware v2.1 or higher must be loaded on the GRX1200
Series receiver.
• The receiver must be connected to a power supply.
• For a complete configuration into service, the reference station antenna must be set up
and connected.
• CompactFlash card, depending on the configuration method. Refer to the GPS1200 User
Manual and the Equipment List For GPS Networks and Reference Stations for informa-
tion on how to set up reference station hardware.

Overview GPS1200 11

12GPS1200Configuration
3 Configuration
3.1 Configure Receiver Communication Settings
3.1.1 Overview
Configuration methods The basic port and address settings of a receiver for connecting with web browser or LEICA
GPS Spider
• are pre-configured with default settings.
• can be configured using the Startup Configurator.
Next step
Type Default settings Startup Configurator
Format Pre-configured in receiver Editable ASCII text file to be put
on CompactFlash card
Use • To connect from LEICA GPS
Spider to the receiver.
• To change the default
settings.
• To configure receiver from the
Web Interface over Ethernet.
• To query information from the
receiver.
IF information is required on THEN
default settings Refer to "3.1.2 Default settings".
Startup Configurator Refer to "3.1.3 Startup Configurator".

Configuration GPS1200 13
3.1.2 Default settings
Serial ports
Ethernet These settings are applicable to GRX1200 Pro/GRX1200 GG Pro.
Type Setting
Baud rate 115200
Parity None
Data bits 8
Stop bit 1
Flow control None
PPP on port RX Off
Type Setting
IP address 192.168.0.3
Network mask 255.255.255.0
Gateway 1.1.1.1
IP Port numbers NET1: 5001
NET2: 5002
NET3: 5003
Access ranges All open

14GPS1200Configuration
PPP These settings are valid for all GRX1200 Series receivers.
Interfaces
Web Interface
Super Administrator
FTP server
Type Setting
IP address for PPP 192.168.1.3, fixed
Type Setting
Serial ports Remote interface
NET ports Remote Interface
Type Setting
User name Admin
Password 12345678
Type Setting
User name PUK
Password The Personal UnblocKing code as generated by Leica Geosys-
tems.
Type Setting
User name Admin
Password 12345678

Configuration GPS1200 15
3.1.3 Startup Configurator
Description The Startup Configurator is an ASCII file-based
• configuration
• extraction
of the basic port and address settings of a GRX1200 Series receiver.
Type Configuration Extraction
Use To set settings. To query current settings.
File name StartupConfig.ini GetConfig.ini
Directory on
Compact-
Flash card
\SYSTEM \SYSTEM
Procedure • GRX1200 Series receiver is
turned on.
• GRX1200 Series receiver is
turned on.
• While powering up, it looks for the
file on the CompactFlashcard.
• While powering up, it writes its
current settings to the file.
• It reads the contents.
• It uses the settings once the
startup is finished.
Example file On GPS1200 CD On GPS1200 CD

16GPS1200Configuration
Configure port and
address settings step-
by-step
Explanation of
file contents
Refer to paragraph "File contents for
StartupConfig.ini/ GetConfig.ini".
Refer to paragraph "File contents for
StartupConfig.ini/ GetConfig.ini".
Type Configuration Extraction
Step Description
1. Copy the StartupConfig.ini file from a GPS1200 CD to a PC.
)Modify the read only property of the file so the sensor can write to the file.
2. Modify the StartupConfig.ini file as required using any text editor on a PC.
3. Copy the StartupConfig.ini file to the \SYSTEM directory of the CompactFlash
card.
)Check the contents of the CompactFlash card. It should then look like this:

Configuration GPS1200 17
4. Remove the CompactFlash card from the PC.
5. Make sure the receiver is switched off.
6. Insert the CompactFlash card into the CompactFlash card compartment of the
receiver.
7. Turn the receiver on.
)The receiver reads the file contents and applies the settings.
)Once the settings have been applied successfully, the StartupConfig.ini file is
deleted.
Step Description

18GPS1200Configuration
Query port and address
settings step-by-step Step Description
1. Copy the GetConfig.ini file from a GPS1200 CD to a PC.
OR
Create an empty ASCII file called GetConfig.ini on a PC. The content of the file
does not matter, but the filename has to be exactly GetConfig.ini.
)When using the GetConfig.ini file from the CD, the read only property of the file
need to be modified so the sensor can write to this file.
2. Copy the GetConfig.ini file to the \SYSTEM directory of the CompactFlash card.
3. Remove the CompactFlash card from the PC.
4. Make sure the receiver is switched off.
5. Insert the CompactFlash card into the CompactFlash card compartment of the
receiver.
6. Turn your receiver on.
)The receiver writes its current settings to the file.
7. Wait until the red LED beside the CompactFlash card compartment has stopped
flashing.
8. Remove the CompactFlash card.
9. Insert the CompactFlash card into a PC or card reader.
10. Read or modify the contents of the GetConfig.ini file in the \SYSTEM directory.
)The the GetConfig.ini file looks exactly the same as the StartupConfig.ini file, only
the name is different.
)Rename the GetConfig.ini file to StartupConfig.ini in case it is to be used for
receiver configuration in fututre.

Configuration GPS1200 19
File contents for
StartupConfig.ini/
GetConfig.ini
This is an example of the contents of a configuration file. Example files can be found on the
GPS1200 CD in Gps1200\GPS1200_SampleData\Startup Configurator_(GRX1200)\.
Example from file Explanation
)The format of all lines in the StartupConfig.ini file has to be exactly as shown, except
for comment lines starting with #. All settings are case sensitive.
########################
# Author: Leica Geosystems AG
##########################
Header
• Standard header when querying settings
using GetConfig.ini.
• Header can be edited and expanded.
• Can be used to keep track of the author,
version or the history of the configuration files.
• All lines starting with # are comments and are
ignored by the receiver when it reads the file.
# Sensor
##########################
VersionNr:5.00,=
SerialNr:451114,=
Sensor
• Firmware version and serial number of the
receiver.
• In a StartupConfig.ini file, =, > and < can be
used to configure conditional usage of the set-
tings.
• For example, to tell the receiver to only use of
the StartupConfig.ini if the firmware version is
higher than v2.1 use VersionNr:2.10,>

20GPS1200Configuration
# MAC-Address
###########################
MAC-Address:00:c0:1b:05:3f:73
MAC address
•Media Access Control address.
• Applicable for the GRX1200 Pro/GRX1200
GG Pro.
• A hardware address that uniquely identifies
each receiver's network adaptor.
• The MAC address is often required by net-
work administrators when assigning a static IP
address to a receiver within a network.
)The MAC address cannot be set, but only
queried.
# ComPortDevice
###########################
ComPortDevice:2,Remote,Siemens
MC45,,
ComPortDevice
• Set devices with standard configuration on a
serial port.
• Define Com port, Interface, Device, PIN, PUK
# ComPort
###########################
ComPort:1,115200,None,8,1,None
ComPort:2,115200,None,8,1,RTS_CTS
-> [Siemens MC45]
ComPort:3,115200,None,8,1,None
ComPort:Rx,115200,None,8,1,None
ComPort
• Settings for port number, baud rate, parity,
data bit, stop bit and flow control for each
ComPort.
• When querying the ComPort settings, any
device configured for that port is listed.
• The ComPortDevice set on a port has to be
listed with the port
Example from file Explanation
Table of contents
Other Leica Receiver manuals

Leica
Leica GS15 User manual

Leica
Leica GR10 Quick start guide

Leica
Leica RVL100 User manual

Leica
Leica Zeno 20 3.75G Android User manual

Leica
Leica Viva GNSS User manual

Leica
Leica GR30 Reference guide

Leica
Leica GPS900 Series Product manual

Leica
Leica GR10 User manual

Leica
Leica GR30 User manual

Leica
Leica GS18 User manual

Leica
Leica iCON gps 60 Manual

Leica
Leica GS10 User manual

Leica
Leica GS14 User manual

Leica
Leica GMX902 GG User manual

Leica
Leica TPS400 Series User manual

Leica
Leica GS16 User manual

Leica
Leica GPS1200 Series User manual

Leica
Leica iCON gps 70 User manual

Leica
Leica Zeno 10 User manual

Leica
Leica Viva GNSS User manual