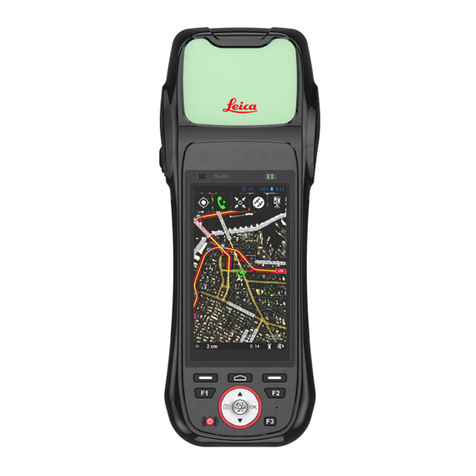
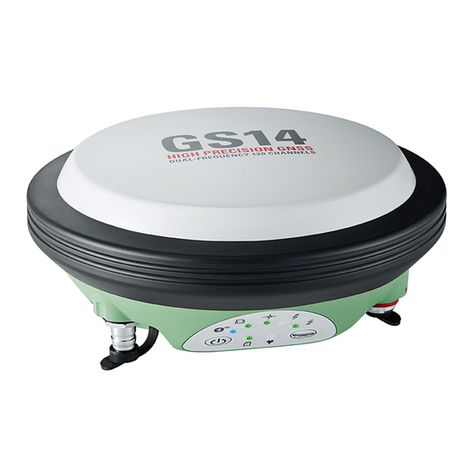
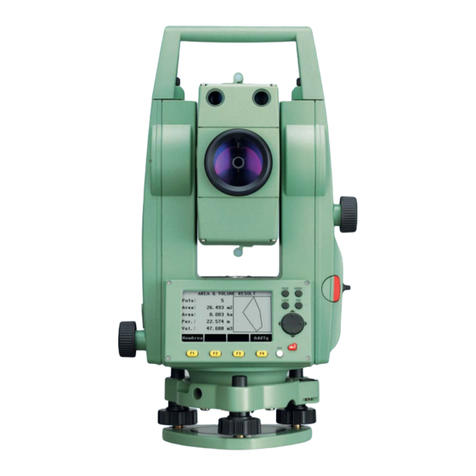
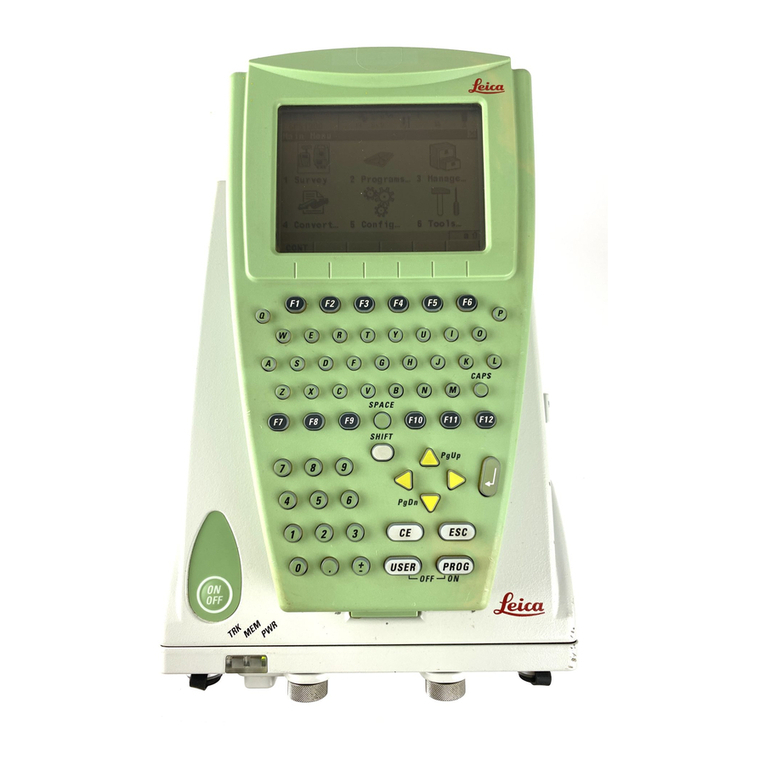
Leica GPS900 Series Product manual

Leica GPS900
Technical Reference Manual
Version 1.0
English

Introduction GPS900 2
Introduction
Purchase Congratulations on the purchase of a GPS900 Series instrument.
)To use the product in a permitted manner, please refer to the detailed safety directions in
the User Manual.
Product identification The type and the serial number of your product are indicated on the type plate.
Enter the type and serial number in your manual and always refer to this information when
you need to contact your agency or Leica Geosystems authorized service workshop.
Symbols The symbols used in this manual have the following meanings:
Trademarks • Windows and Windows CE are a registered trademark of Microsoft Corporation
• Bluetooth is a registered trademark of Bluetooth SIG, Inc
All other trademarks are the property of their respective owners.
Type: _________________________
Serial No.: _________________________
Type Description
)Important paragraphs which must be adhered to in practice as they enable
the product to be used in a technically correct and efficient manner.

Table of Contents GPS900 3
Table of Contents
In this manual Chapter Page
PART 1 - The System
1 Managing, Creating, Editing Jobs 11
1.1 Accessing Job Management 11
1.2 Creating a New Job 13
1.3 Editing an Existing Job 14
2 Managing, Creating, Editing Points/Data 16
2.1 Accessing Data Management 16
2.2 Creating a New Point 18
2.3 Editing an Existing Point 21
2.4 Viewing the Data Log 25
2.5 Point Sorting 27
2.6 Terminology 29
3 Managing, Creating, Editing Codes/Codelists 38
3.1 Overview of Codelists 38
3.2 Accessing Codelist Management 40
3.3 Creating/Editing a Codelist 41
3.4 Accessing Code Management 42
3.5 Creating/Editing a Code 44
3.6 Managing Job Codes 46
3.7 Terminology 48

Table of Contents GPS900 4
4 Managing, Creating, Editing Coord Systems 54
4.1 Overview of Coordinate Systems 54
4.2 Accessing Coordinate System Management 57
4.3 Creating/Editing a Coordinate System 59
4.4 Transformations 61
4.4.1 Accessing Transformation Management 61
4.4.2 Creating/Editing a Transformation 63
4.5 Ellipsoids 65
4.5.1 Accessing Ellipsoid Management 65
4.5.2 Creating/Editing a Ellipsoid 67
4.6 Projections 68
4.6.1 Accessing Projection Management 68
4.6.2 Creating/Editing a Projection 71
4.7 Geoid Models 72
4.7.1 Overview of Geoid Models 72
4.7.2 Accessing Geoid Model Management 73
4.7.3 Creating a Geoid Model from the Internal Memory 75
4.8 CSCS Models 76
4.9 Terminology 77
5 Converting Data - Copy, Export, Import 80
5.1 Copying Points Between Jobs 80
5.2 Exporting Data from a Job 82
5.3 Importing Data to a Job 85
6 Configuring the Antenna 89
7 Configuring the Codes and their Attributes 91
8 Configuring the Coordinate Quality Control 93

Table of Contents GPS900 5
9ConfiguringtheDisplayMask 95
10 Configuring the HOT Keys and the USER Menu 98
11 Configuring the Instrument Identification 100
12 Configuring the Language 101
13 Configuring the Local Time Zone 102
14 Configuring the Point Occupation Settings 103
15 Configuring the Radio Channel 105
16 Configuring the Satellite Cut Off Angle 107
17 Configuring the Screen Display 108
18 Configuring the Units and Formats 111
19 Using the Tools - Activating Licence Keys 118
20 Using the Tools - Calculating with Calculator 121
20.1 Overview of Calculator 121
20.2 Using the Calculator in RPN Mode 122
20.3 Using the Calculator in Standard Mode 124
20.4 Description of Softkeys 126
20.5 Configuring the Calculator 130
21 Using the Tools - Formating Objects 132
22 Using the Tools - Transferring Objects 133

Table of Contents GPS900 6
23 Using the Tools - Uploading Software 135
24 Using the Tools - Viewing Data 138
25 Understanding MapView 141
25.1 Overview of MapView 141
25.2 Configuring MapView 143
25.3 MapView Components - The Softkeys 146
25.4 MapView Components - The Screen Area 147
25.5 MapView Components - The Toolbar 148
25.6 MapView Components - The Point Symbols 149
26 Understanding HOT Keys, USER key, STATUS Key 150
26.1 The HOT Keys 150
26.2 The USER Key 151
26.3 The STATUS Key 152
26.3.1 The Status Menu 152
26.3.2 Status Satellite Information 153
26.3.3 Status Real-Time Data Input 155
26.3.4 Status Current Antenna Position 159
26.3.5 Status Battery Level and Memory Usage 161
26.3.6 Status System Information 163
26.3.7 Status Radio Information 164

Table of Contents GPS900 7
PART 2 - The Applications
27 Working with COGO 166
27.1 An Overview of the Program 166
27.2 Starting the Program 167
27.3 Calculating with Inverse 170
27.4 Calculating with Intersections 172
27.5 Calculating with Lines 177
27.6 Calculating with Arcs 180
27.7 Configuring the Program 184
28 Working with Determine Coord System 185
28.1 An Overview of the Program 185
28.2 Starting the Program 190
28.3 Determining a New Coord System using the Normal Method 192
28.4 Updating an Existing Coord System using the Normal Method 200
28.5 Determining a New Coord System using the One Pt. Local. Method 201
28.6 Configuring the Program 208
29 Working with GPS Resection 209
29.1 An Overview of the Program 209
29.2 Starting the Program 210
29.3 Using the Program 211
30 Working with Reference Line 215
30.1 An Overview of the Program 215
30.2 Starting the Program 217
30.3 Measuring to a Reference Line/Arc 220
30.4 Staking to a Reference Line/Arc 225
30.5 Configuring the Program 231

Table of Contents GPS900 8
31 Working with Setup Reference 234
31.1 An Overview of the Program 234
31.2 Starting the Program 235
31.3 Using the Program 236
32 Working with Stakeout 240
32.1 An Overview of the Program 240
32.2 Starting the Program 242
32.3 Staking the Points 245
32.4 Staking the Digital Terrain Model (DTM) 249
32.5 Understanding the Stakeout Icons in MapView 252
32.6 Configuring the Program 254
33 Working with Survey 258
33.1 Starting the Program 258
33.2 Surveying the Points 260
33.3 Surveying the Auto Points 261
33.4 Configuring the Program - Setting the Logging Method 263
33.5 Configuring the Program - Setting the Display Mask 265
Appendix A Menu Tree 267
Appendix B Memory Types 270
Appendix C Directory Structure of the Memory Device 271
Appendix D Pin Assignments and Sockets 273
D.1 RX900 273
D.2 ATX900 274

PART 1 - The System GPS900 10
PART 1 - The System

Managing, Creating, Editing Jobs GPS900 11
1 Managing, Creating, Editing Jobs
1.1 Accessing Job Management
Access .
Managing jobs Listed are all jobs stored in the internal memory. Jobs:
• structure surveying projects.
• contain all points and codes that are recorded and stored.
• can be downloaded to LGO for viewing or for data transfer to a further program.
• can be uploaded from LGO, for example, for real-time stake out operations.
• are stored in internal memory.
The default job A job called Default is available on RX900 after formatting the internal memory or deleting
all jobs from MANAGE Jobs.
CONT (F1)
To select a job and continue.
NEW (F2)
To create a job.
EDIT (F3)
To edit the highlighted job.
DEL (F4)
To delete the highlighted job.
DATA (F5)
To view, edit and delete points stored with
the job.

Managing, Creating, Editing Jobs GPS900 12
The active job The active job is the one data is stored to. One job is always considered the active job. After
formatting the internal memory, the job Default is used until a user defined job is created
and selected.

Managing, Creating, Editing Jobs GPS900 13
1.2 Creating a New Job
Creating a new job
step-by-step Step Description
1. .
2. In MANAGE Jobs highlight a job. The settings of this job are applied to the new
job.
3. NEW (F2) to access MANAGE New Job.
4. MANAGE New Job, General page
Name. A unique name for the new job. The name may be up to 16 characters
long and may include spaces. Input required.
Creator. The person’s name who is creating the new job. Input optional.
5. PAGE (F6) changes to the Codelist page.
6. MANAGE New Job, Codelist page
Codelist. Choosing a codelist copies the codes to the job.
7. PAGE (F6) changes to the Coord System page.
8. MANAGE New Job, Coord System page
Coord System. Choosing a coordinate system attaches it to the job. If it is not
known which coordinate system to use, select Coord System: WGS 1984.
All other fields on this screen are output fields. They depend on the transforma-
tion type of the selected coordinate system.
9. STORE (F1) creates the new job and returns to MANAGE Jobs.

Managing, Creating, Editing Jobs GPS900 14
1.3 Editing an Existing Job
Editing an existing job
step-by-step Step Description
1. .
2. In MANAGE Jobs highlight a job to be edited.
3. EDIT (F3)
4. MANAGE Edit Job: Job Name, General page
Name. Rename the job.
The remaining functionality on this page is identical with the creation of a new
job.
)DATA (F5) accesses MANAGE Data: Job Name. To view, edit and delete points
stored with the job. Selected sort and filter settings apply.
)SHIFT LOG (F5) accesses MANAGE Data Log: Job Name. To view, edit and delete
points stored with the job. Points are sorted by time in one list.
5. PAGE (F6) changes to the Codelist page.
6. Are codes stored in the job?
• If no, continue with step 7.
• If yes, continue with step 9.
7. No codes are stored in the job.
MANAGE Edit Job: Job Name, Codelist page
Codelist: None This default setting can be changed. Choosing a codelist copies
the codes to the job.

Managing, Creating, Editing Jobs GPS900 15
8. PAGE (F6) changes to the Coord System page. Continue with step 11.
9. Codes are stored in the job.
MANAGE Edit Job: Job Name, Codelist page
Codelist. If codes had been copied from a System RAM codelist, the name of the
codelist is displayed. If codes have been typed in, then the name of the active
job is displayed.
)CODES (F4) views codes currently stored in the job.
10. PAGE (F6) changes to the Coord System page.
11. MANAGE Edit Job: Job Name, Coord System page
The functionality on this page is identical with the creation of a new job.
12. STORE (F1) stores the changes and returns to the screen from where MANAGE
Edit Job: Job Name was accessed.
Step Description

Managing, Creating, Editing Points/Data GPS900 16
2 Managing, Creating, Editing Points/Data
2.1 Accessing Data Management
Access step-by-step
Managing points • The points listed on the page belong to the currently active job. The order of the points
depend on the active sort settings.
• Data is a generic term for points.
• Data management is the administration of data stored in the active job. This includes
• viewing data with their related information.
• editing data.
•creatingnewdata.
• deleting existing data.
• sorting existing data.
)GPS900 does not have an averaging functionality.
Step Description
1. .
2. In MANAGE Jobs highlight a job.
3. DATA (F5) to access MANAGE Data: Job Name.

Managing, Creating, Editing Points/Data GPS900 17
CONT (F1)
To accept the screen entries and continue.
NEW (F2)
To create a point.
EDIT (F3)
To edit the highlighted point.
DEL (F4)
To delete the highlighted point.
MORE (F5)
To display information about the codes if
stored with any point, the time and the date
of when the point was stored and the 3D
coordinate quality and the class.
PAGE (F6)
To change to another page on the screen.
SHIFT LOG (F4)
To view points and free codes stored with
the job sorted by time.
SHIFT FILT (F5)
To define sort settings.

Managing, Creating, Editing Points/Data GPS900 18
2.2 Creating a New Point
Access step-by-step
Creating a new point
step-by-step
Step Description
1. .
2. In MANAGE Jobs highlight a job.
3. DATA (F5) to access MANAGE Data: Job Name.
Step Description
1. MANAGE Data: Job Name, Points page.
2. NEW (F2) to access MANAGE New Point.
3. MANAGE New Point, Coords page.
Enter a point ID and the coordinates.
)COORD (F2) to view other coordinate types.
)Negative geodetic coordinates are interpreted as being of the opposite hemi-
sphere or other side of the central meridian. For example, entering -25 °N will be
stored as 25 °S, entering -33 °E will be stored as 33 °W.
)NORTH (F3) or SOUTH (F3). Available for local geodetic or WGS 1984 geodetic
coordinates when Local Lat or WGS 1984 Lat is highlighted. Changes between
North and South latitude.
)EAST (F3) or WEST (F3). Available for local geodetic or WGS 1984 geodetic coor-
dinates when Local Long or WGS 1984 Long is highlighted. Changes between East
and West longitude.

Managing, Creating, Editing Points/Data GPS900 19
)SHIFT ELL H (F2) or SHIFT ORTH (F2). Available for local coordinates. Changes
between the ellipsoidal and the orthometric height.
4. PAGE (F6) changes to the Code page.
5. MANAGE New Point, Code page
The setting for Thematc Codes in CONFIGURE Coding determines the availability of
the subsequent fields and softkeys.
• For Thematc Codes: With Codelist:
The codes from the job codelist are used.
Point Code. All point codes of the job codelist can be selected.
The description of the code is shown as an output field.
The attributes are shown as output, input or choicelist fields depending on
their definition.
• For Thematc Codes: Without Codelist:
Codes for points can be typed in but not selected from a codelist.
Code. The code to be stored with the point. A check is performed to see if a
point code of this name already exists in the job. If so, the according attributes
are shown. Attribute n. Up to four attribute values are available.
6. Is Thematc Codes: With Codelist?
•Ifyes,continuewith the next row.
• If no, continue with step 7.
)NEW-A (F2) allows additional attributes to be created for this point code.
Step Description

Managing, Creating, Editing Points/Data GPS900 20
)NAME (F3) or VALUE (F3)
Available for attributes for which an attribute name can be typed in.
To highlight Attribute n or the field for the attribute value. The name of Attribute
n can be edited and an attribute value can be typed in.
7. STORE (F1) stores the new point entered and all associated information and
returns to MANAGE Data: Job Name, Points page.
)It may happen that a point with the same point ID exists in the job. In that case,
a new point ID has to be typed in.
Step Description
Other manuals for GPS900 Series
1
Table of contents
Other Leica Receiver manuals

Leica
Leica GRX1200 series User manual

Leica
Leica GMX902 GG User manual

Leica
Leica Zeno 10 User manual

Leica
Leica GS10 User manual

Leica
Leica GR30 User manual

Leica
Leica GR10 User manual

Leica
Leica GR30 Reference guide

Leica
Leica Viva GNSS User manual

Leica
Leica GR10 Quick start guide

Leica
Leica GMX902 GG User manual