manuals.online logo
Brands
  1. Home
  2. •
  3. Brands
  4. •
  5. Leviton
  6. •
  7. Home Automation
  8. •
  9. Leviton 35249 User manual

Leviton 35249 User manual

PK-A3125-10-00-0B
The duplex receptacles included in this assembly are covered by U.S. Patent Nos.
7,355,117; 7,820,909; 7,868,719; 8,242,362 and corresponding foreign patents.
Floor Boxes - Double-Gang
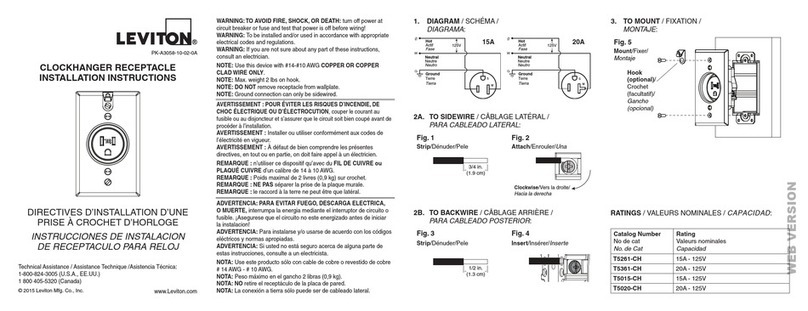
Cat. No. 35249
Rated: 15A - 125V
Cat. No. 35349
Rated: 20A - 125V
Installation Instructions
WARNING: TO AVOID FIRE, SHOCK, OR DEATH; TURN OFF POWER AT CIRCUIT
BREAKER OR FUSE AND TEST THAT THE POWER IS OFF BEFORE WIRING!
WARNING: TO AVOID FIRE, SHOCK OR DEATH: USE A DIVIDER IN A FLOOR BOX
WITH HIGH VOLTAGE AND LOW VOLTAGE WIRING AND ENSURE DIVIDER IS IN
PLACE BEFORE INSTALLATION.
• To be installed and/or used in accordance with appropriate electrical codes and
regulations.
• If you are unsure about any part of these instructions, contact an electrician.
• Use this device with copper or copper clad wire only.
• Electrical box is not suitable for masonry applications.
• Suitable for wood finished floors, tile, vinyl and industrial carpet 3/8" (1.0 cm)
thickness only. Clean floor surfaces before mounting. Use all purpose sealing
compound (not provided) as shown.
• Use only electrical mounting box provided.
!WARNINGS AND CAUTIONS
Floor Boxes with 2 Duplex Receptacles
(Cat. Nos. 35249-TFx, 35349-TFx)
Floor Boxes with 1 Duplex Receptacle and 1 Duplex QuickPort®Insert
(Cat. Nos. 35249-TLx, 35349-TLx)
Screw Cap
Rubber O-Ring
(pre-assembled on screw caps)
Brass Plate
or Nickel Plate
Gasket
(2) Duplex
(4) #6 x 1"
(2) Mounting
(2) Shell
(4) O-Seal Washer
(4) Screw #6-32
Bracket
Head Screw
(4) Phillips Pan
(molded plastic)
Receptacle
(Cat. No. 35349-TF
depicted)
Screw
(Brass or Nickel Plate)
Mounting
Screw
FOR CANADA ONLY
For warranty information and/or product returns, residents of Canada should contact Leviton
in writing at Leviton Manufacturing of Canada Ltd to the attention of the Quality Assurance
Department, 165 Hymus Blvd, Pointe-Claire (Quebec), Canada H9R 1E9 or by telephone
at 1 800 405-5320. NOTE: For low voltage installations, follow the instructions that
come with your Leviton QuickPort®modules (sold separately).
For Technical Assistance Call: 1-800-824-3005 (U.S.A Only) www.leviton.com
LIMITED 10 YEAR WARRANTY AND EXCLUSIONS
Leviton warrants to the original consumer purchaser and not for the benefit of anyone else that
thisproductatthetimeofitssalebyLevitonisfreeofdefectsinmaterialsandworkmanshipunder
normalandproperusefortenyearsfromthepurchasedate.Leviton’sonlyobligationistocorrect
such defects by repair or replacement, at its option. For details visit www.leviton.com or call
1-800-824-3005. This warranty excludes and there is disclaimed liability for labor for removal
of this product or reinstallation. This warranty is void if this product is installed improperly
or in an improper environment, overloaded, misused, opened, abused, or altered in any
manner, or is not used under normal operating conditions or not in accordance with any
labels or instructions. There are no other or implied warranties of any kind, including
merchantability and fitness for a particular purpose, but if any implied warranty is
required by the applicable jurisdiction, the duration of any such implied warranty, including
merchantability and fitness for a particular purpose, is limited to ten years. Leviton is not
liable for incidental, indirect, special, or consequential damages, including without
limitation, damage to, or loss of use of, any equipment, lost sales or profits or delay
or failure to perform this warranty obligation. The remedies provided herein are the
exclusive remedies under this warranty, whether based on contract, tort or otherwise.
© 2016 Leviton Mfg. Co., Inc.
15A - 125V
G
W
Cat. No. 35249
G
W
Cat. No. 35349
20A - 125V
NEMA
Configurations
Bare Floor Installation Carpet Installation
Divider
Duplex
QuickPort®Insert
Mounting
Screw
Line
Voltage
Installation
Failure to use a divider in a floor
box with high voltage and low
voltage wiring can cause fire, shock
or death. Ensure divider is in place
before installation.
WARNING
Low
Voltage
Installation
QuickPort®
snap-in
module
Insert QuickPort®snap-in modules
as shown: "UP" on connector must
face "UP" on duplex QuickPort®insert.
NOTE
Divider
Screw Cap
(Brass or Nickel Plate)
Brass Plate
or Nickel Plate
Gasket
Duplex
Duplex
QuickPort
®
Insert
(4) #6 x 1"
(2) Mounting
(2) Shell
(4) O-Seal Washer
(4) Screw #6-32
(Brass or Nickel Plate)
Bracket
Head Screw
(4) Phillips Pan
(molded plastic)
Receptacle
(Cat. No. 35349-TL
depicted)
Screw
Mounting
Screw
Rubber O-Ring
(pre-assembled on screw caps)
WEB VERSION
4" 4- "
17 32
Neutral
(White)
Hot (Black)
Grounding
Screw
(Green)
Cat. No. 35349-TF
depicted
STEP 1 STEP 5
ADJUST AND TIGHTEN MOUNTING BRACKETS TO FLOOR BOX MOUNT COVER PLATE
IMPORTANT NOTE: Oval adjustment hole on bracket MUST be mounted to floor box.
Remove desired knockouts in floor box before mounting.
BARE FLOOR CARPET
NOTE: Ensure mounting brackets on the floor box are fully in the "DOWN" position.
Securely torque mounting bracket screws 12-14 in-lbs prior to floor installation.
NOTE:
The floor box will be recessed (below floor surface),
when mounted properly. Follow steps for correct installation.
STEP 2 CUT CARPET (if applicable), and FLOOR
A) Cut a 4" x 4-17/32" hole in carpet in desired
location.
CAUTION:
Do not cut carpet opening larger than
recommended dimensions. A larger opening
may compromise the integrity of the seal.
A) Place floor cut out template on floor in
desired location and trace.
B) Cut mounting area for floor box.
NOTE: Remove debris and clean
floor surfaces before mounting.
B) Place floor cut out
template (centered)
and trace.
C) Cut mounting
area for floor
box.
Carefully cut template along dotted line
BARE FLOOR CARPET
STEP 3 MOUNT FLOOR BOX, RECEPTACLE AND SHELL
B) Pull conductors. Wire and mount
receptacles.
C) Place plastic shells
over devices.
A) Mount box.
* Use sealing
compound
under brackets
STEP 4 SEAL DEVICE ACCORDING TO APPLICATION
BARE FLOOR CARPET
Sealing compound Sealing compound
Sealing
compound
• Apply sealing compound
• Add O-seal washers to cover plate screws
• Place gasket
• Apply sealing compound (2 places)
• Add O-seal washers to cover plate screws
Note: Gasket is not required for carpet
installations.
O-seal
washer
O-seal
washer
Gasket Carpet
NOTE: Use screw cap when not in use. O-rings are pre-assembled to screw caps.
Apply an all purpose silicone lubricant to O-ring before assembly. Torque
screw cap to 20 in-lb.
NOTE: Torque mounting plate screws to 9 in-lb.
PK-A3125-10-00-0B
Floor Cut Out
Template
R 1/4" Typ
4-5/32"
"61/5-3
2-3/16"
2-13/16"
4-3/16"
WEB VERSION

This manual suits for next models

1

Other Leviton Home Automation manuals

Leviton smartlockpro GFCI Manual

Leviton

Leviton smartlockpro GFCI Manual

Leviton Decora Smart DZ15R User manual

Leviton

Leviton Decora Smart DZ15R User manual

Leviton T5261-CH User manual

Leviton

Leviton T5261-CH User manual

Leviton 35249 User manual

Leviton

Leviton 35249 User manual

Leviton Intellect ZL070-B00 User manual

Leviton

Leviton Intellect ZL070-B00 User manual

Leviton ZLD1Z-I0W User manual

Leviton

Leviton ZLD1Z-I0W User manual

Leviton Decora Smart DZPA1 User manual

Leviton

Leviton Decora Smart DZPA1 User manual

Leviton Decora Smart DG15S User manual

Leviton

Leviton Decora Smart DG15S User manual

Leviton 5250 User manual

Leviton

Leviton 5250 User manual

Leviton 47604-F6 User manual

Leviton

Leviton 47604-F6 User manual

Leviton 5480 User manual

Leviton

Leviton 5480 User manual

Leviton smartlockpro GFNT1 User manual

Leviton

Leviton smartlockpro GFNT1 User manual

Leviton TWR20-W User manual

Leviton

Leviton TWR20-W User manual

Leviton IUM1H User manual

Leviton

Leviton IUM1H User manual

Leviton WSG15-0DZ User manual

Leviton

Leviton WSG15-0DZ User manual

Leviton ODCØP-S0W User manual

Leviton

Leviton ODCØP-S0W User manual

Leviton UPB 5A00-1 User manual

Leviton

Leviton UPB 5A00-1 User manual

Popular Home Automation manuals by other brands

KUNDO Central Home Unit user manual

KUNDO

KUNDO Central Home Unit user manual

Velux GPU Electric manual

Velux

Velux GPU Electric manual

MySmartBlinds Smart Switch user manual

MySmartBlinds

MySmartBlinds Smart Switch user manual

Elko Smart user guide

Elko

Elko Smart user guide

Silux Control Thermo Stabilzer Operation manual

Silux Control

Silux Control Thermo Stabilzer Operation manual

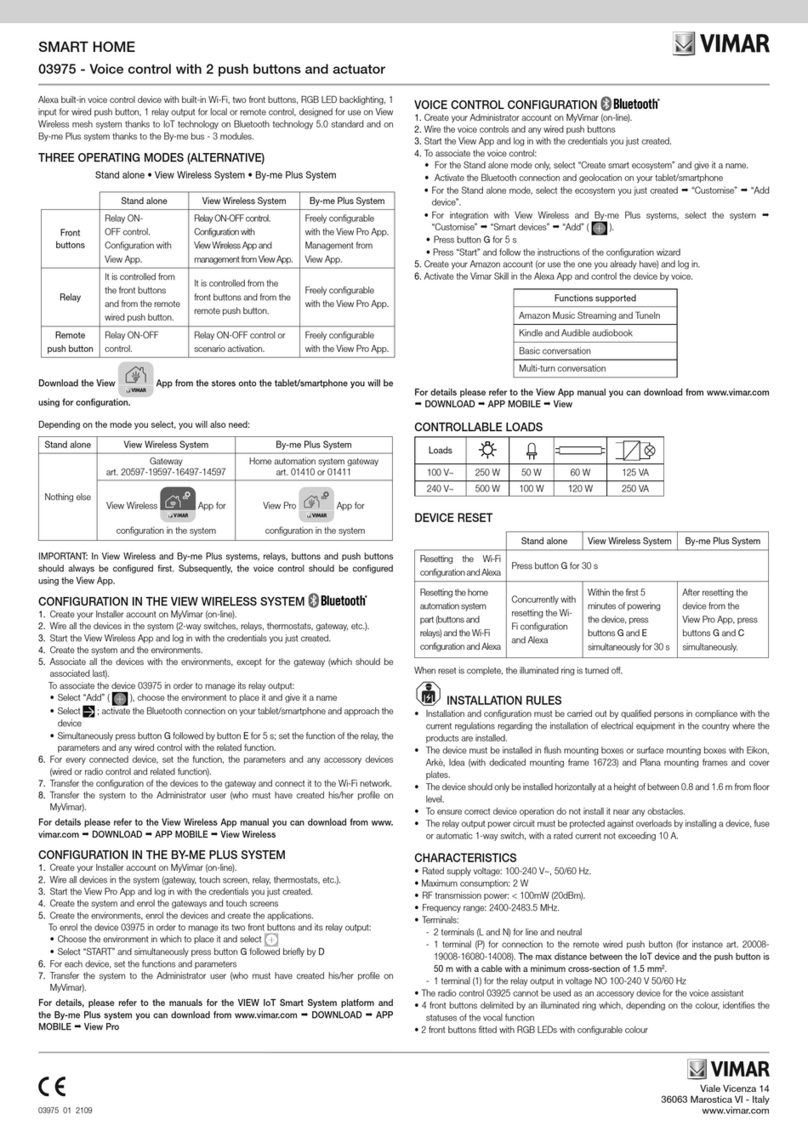
Vimar SMART HOME 03975 manual

Vimar

Vimar SMART HOME 03975 manual

Ezquest Plug n' Charge X73692 installation instructions

Ezquest

Ezquest Plug n' Charge X73692 installation instructions

Villeroy & Boch C5850000 Installation instruction

Villeroy & Boch

Villeroy & Boch C5850000 Installation instruction

Wozart Smart Plug installation guide

Wozart

Wozart Smart Plug installation guide

SOMFY Tilt Only 50 WF RTS Installation & programming guide

SOMFY

SOMFY Tilt Only 50 WF RTS Installation & programming guide

Revogi SOW512-D06 Quick instruction guide

Revogi

Revogi SOW512-D06 Quick instruction guide

Lutron Electronics Caseta Pico PD-6WCL installation guide

Lutron Electronics

Lutron Electronics Caseta Pico PD-6WCL installation guide

Secure Home DualBrite SH-5318 owner's manual

Secure Home

Secure Home DualBrite SH-5318 owner's manual

LEGRAND Mosaic 766 66 manual

LEGRAND

LEGRAND Mosaic 766 66 manual

FIBARO Home Center HCL installation manual

FIBARO

FIBARO Home Center HCL installation manual

Cove SIMPLE 1 user manual

Cove

Cove SIMPLE 1 user manual

Minoston MP21Z manual

Minoston

Minoston MP21Z manual

Harmony Starter Kit user guide

Harmony

Harmony Starter Kit user guide

manuals.online logo
manuals.online logoBrands
  • About & Mission
  • Contact us
  • Privacy Policy
  • Terms and Conditions

Copyright 2025 Manuals.Online. All Rights Reserved.