manuals.online logo
Brands
  1. Home
  2. •
  3. Brands
  4. •
  5. Logia
  6. •
  7. Weather Station
  8. •
  9. Logia LOWSC715FWB10 User manual

Logia LOWSC715FWB10 User manual

WIRELESS PM2.5/PM10
AIR QUALITY ADD-ON
SENSOR
USER GUIDE
LOWSA100AQW
Thank you for purchasing the Logia Wireless PM2.5/PM10 Air Quality Add-On Sensor.
This User Guide is intended to provide you with guidelines to ensure that operation of
this product is safe and does not pose risk to the user. Any use that does not conform
to the guidelines described in this User Guide may void the limited warranty.
Please read all directions before using the product and retain this guide for reference.
This product is intended for household use only. It is not intended for commercial use.
This product is covered by a limited one-year warranty. Coverage is subject to limits and
exclusions. See warranty for details.
SAFETY PRECAUTIONS
WARNING! Please read all safety precautions and instructions carefully before
using this product. Failure to properly follow the guidelines established here could
result in serious injury or damage to the product.
• Do not cover the ventilation holes with any items such as newspapers, curtains, etc.
• Do not clean the unit with abrasive or corrosive materials.
• Do not tamper, alter, or modify the device.
• Only use fresh new batteries in the product. Do not mix new and old batteries.
• This product is not a toy. Keep out of the reach of children.
• This product is designed for use in the home only as indication of air quality. This product is
not to be used for medical purposes or for public information.
• Do not place the device near open flames or heat sources. Fire, electric shock, product
damage, or injury might occur.
• Only use attachments or accessories with this product specified by the manufacturer.
• Do not submerge the unit in water. Dry the product with a soft cloth if liquid spills on it.
• Do not subject the unit to excessive force, shock, duct, extreme temperature, or humidity.
• This product is only suitable for mounting at height less than 6.6 ft. (2 m).
• Do not tamper with the unit’s internal components. Tampering with the product will void
the warranty.
• This product should not be placed in direct sunlight, rain, snow, or other weather conditions.
• When inserting the batteries, make sure that the positive and negative polarities match with
the markings in the compartment.
• Do not mix standard, alkaline, and rechargeable batteries together.
• Dispose of old batteries responsibly and in accordance with local regulations.
• Do not subject your battery to high or low extreme temperatures or low air pressure at high
altitude during use, storage, or transportation.
• Replacement of an old battery with an incorrect type of battery can result in damage to
the product, leakage of flammable liquid or gas, or an explosion. Make sure to follow
guidelines listed in the manual to properly replace the battery.
™
OPERATION
INSTALLING THE BATTERIES
1. Use a screwdriver (not included) and remove battery door.
2. Insert the three (3) AA rechargeable batteries (included) into the battery compartment.
3. Screw the battery door back in place.
OPERATING THE SENSOR
• Move the channel slider to set the sensor to a channel.
NOTE: If there is more than one sensor in use, make sure
to assign a dierent channel number to each one for measurements to properly display
on main console.
• Press the MODE button to toggle between PM2.5 and PM10.
• For manual detection, press the CHECK button to get an updated measurement of PM2.5
or PM10 readings.
• In case of malfunction, use a pin to press the RESET button to restart the sensor.
View the chart below to familiarize yourself with health guidelines that should be followed
during dierent air quality levels.
ADJUSTING THE INTERVAL TIME OF MEASUREMENT
NOTE: When powered by a DC adapter, the sensor will automatically update readings every
minute. When powered by batteries, the sensor will update readings every 10 minutes
by default.
1. Press and hold the CHECK button until the display starts to flash.
2. Press the MODE button to choose between interval times: 10, 20, or 30 minutes.
3. Press the CHECK button to save the new setting.
PAIRING THE SENSOR TO MAIN DISPLAY CONSOLE
• After the sensor is powered on, it will enter pairing mode for 10 minutes.
• Make sure the display console (not included) is also on, and the two devices should
automatically connect.
• Once connection is successful, the signal strength indicator and PM2.5/PM10
information will appear on the display console.
NOTES: To reassign a sensor, switch the channel using the channel slider, then use a pin to
press the RESET button to restart the sensor.
Updated data from the sensor is transmitted to the paired main display console at a fixed
interval of 60 seconds.
ච3
Hazardous Good
PM2.5 PM10 Healthy persons Elderly, children,
pregnant women
Persons with chronic
disease or heart disease
0~35 0~50 Continue with normal activities Continue with normal activities Continue with normal activities
36~53 51~75 Continue with normal activities Continue with normal activities Continue with normal activities
54~70 76~100 Reduce prolonged or strenuous
outdoor physical exertion
Minimize prolonged or strenuous
outdoor physical exertion
Minimize prolonged or strenuous
outdoor physical exertion
71~150 101~350 Avoid prolonged or strenuous
outdoor physical exertion Minimize outdoor activity Avoid outdoor activity
151~250 351~420 Minimize outdoor activity Avoid outdoor activity Avoid outdoor activity
251+ 420+ Avoid outdoor activity Avoid outdoor activity Avoid outdoor activity
1. LCD display
2. MODE button
3. CHECK button
4. Wall mounting holder
LCD DISPLAY
A. PM2.5/PM10 display mode
B. PM2.5/PM10 concentration value
C. PM2.5/PM10 concentration level
D. Sensor channel number
E. Transmission signal
F. Battery level indicator
5. Channel slider (CH 1 – 4)
6. RESET button
7. Battery compartment
8. Micro-USB charging port
1
2 3 4 5 6
7
8
A
D
E
F
B
C
PRODUCT OVERVIEW
SPECIFICATIONS
Product type: Weather/environment sensor
Product length: 3.2"
Product width: 1.6"
Product height: 4.7"
Product weight: 0.57 lbs.
Packaging length: 3.5"
Packaging width: 2.0"
Packaging height: 5.1"
Operating temperature range: -14 °F – 104 °F (-10 °C – 40 °C)
Operating humidity range: RH 1% to 90%
RF frequency: 915 MHz
RF transmission range: 300'
Number of channels: 4
Mass concentration precision:
PM2.5: ±15 μg/m³ @ 0 to 100 μg/m³ (at 77 °F (25 °C))
±15% @ 100 to 1000 μg/m³ (at 77 °F ±41 °F (25 °C ±5 °C))
PM10: ±30 μg/m³ @ 0 to 100 μg/m³ (at 77 °F (25 °C))
±30% @ 100 to 1000 μg/m³ (at 77 °F ±41 °F (25 °C ±5 °C))
Mass concentration range: 1 to 1000 μg/m³
Mass concentration resolution: 1 μg/m³
Power source required: Yes
Power source: 3 x 1.2 V AA rechargeable Ni-MH batteries (included) or
micro-USB cable (not included)
Location: Indoor use only
Installation required: No
Adult assembly required: No
Additional tools required: Screwdriver
Country of origin: China
Warranty included: Yes
Warranty length: 1 year
LOGIA is a trademark of C&A IP Holdings LLC in the US, Canada, China, and the EU.
All other products, brand names, company names, and logos are trademarks of their respective owners, used merely to identify their respective products, and are not
meant to connote any sponsorship, endorsement, or approval.
Distributed by C&A Marketing, Inc., 114 Tived Lane East, Edison, NJ 08837. Made in China.
© 2021. C&A IP Holdings LLC. All Rights Reserved.
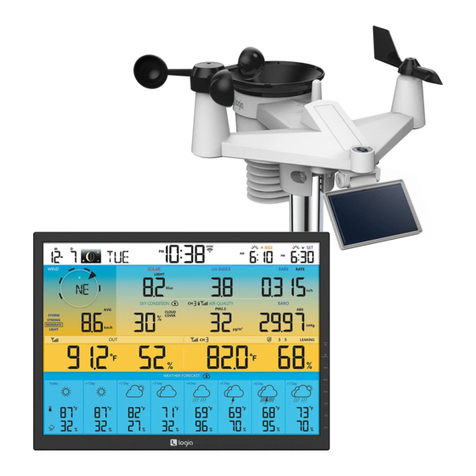
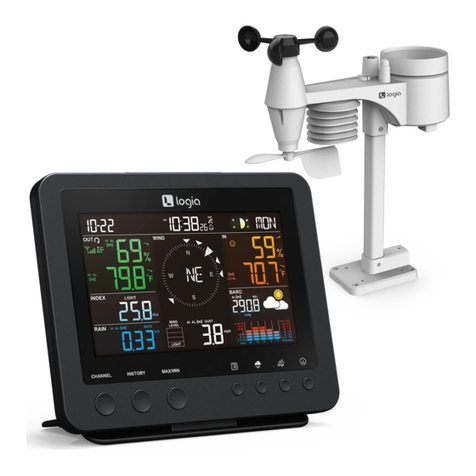
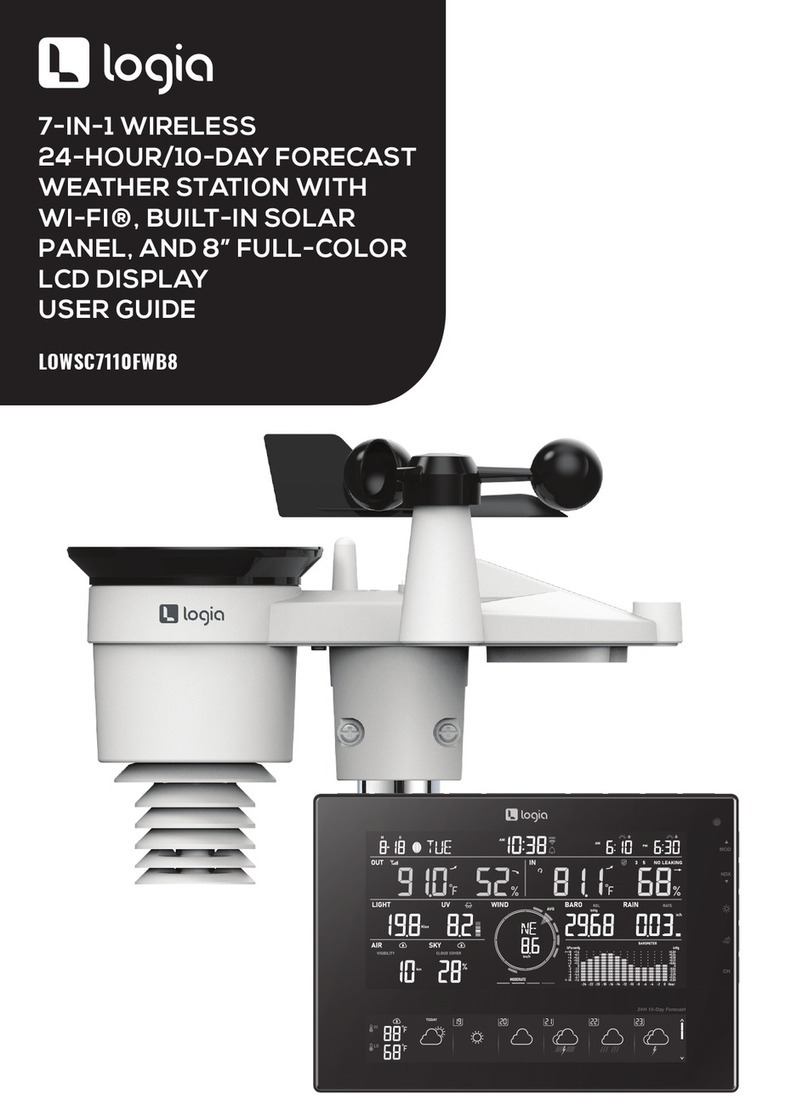
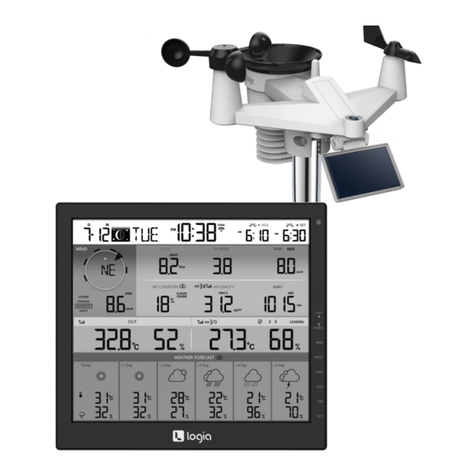
COMPATIBLE LOGIA WEATHER STATIONS
MOUNTING THE SENSOR
• To mount the sensor to a wall at a slant angle, insert a screw into the wall and hang the
sensor on it.
• To mount the sensor to a wall at a vertical angle, insert a screw into the wall, connect the
sensor to the mounting adapter (included), and use it to hang the sensor on the screw.
CHARGING THE BATTERY
• When the battery level indicator shows this icon meaning “Low Battery” you can
connect the sensor to a micro-USB cable (not included) to charge it.
• The micro-USB icon will appear on the display when the sensor is being charged by
micro-USB cable.
REPLACING THE BATTERIES
1. Unscrew and remove the battery door.
2. Pull the black ribbon to remove the batteries all at once.
3. Insert three (3) new AA rechargeable batteries into the battery compartment.
4. Screw the battery door back in place.
NOTE: When the sensor’s battery power is below 20%, the detection function will no longer
operate until device is charged.
Slant Vertical
QUESTIONS OR PROBLEMS? CONTACT US!
Email: [email protected] or call: 833-815-0568
WARRANTY INFORMATION
Visit www.logiaweatherstations.com to view our limited time warranty.
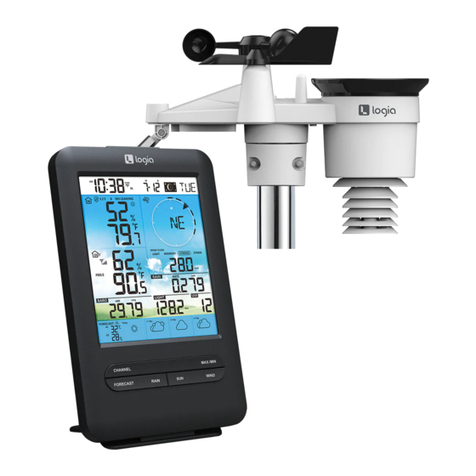
7-in-1 Wireless 6-Day Forecast Weather Station with Wi-ިand
Everlasting Solar Cell
Model #: LOWSC715FWB
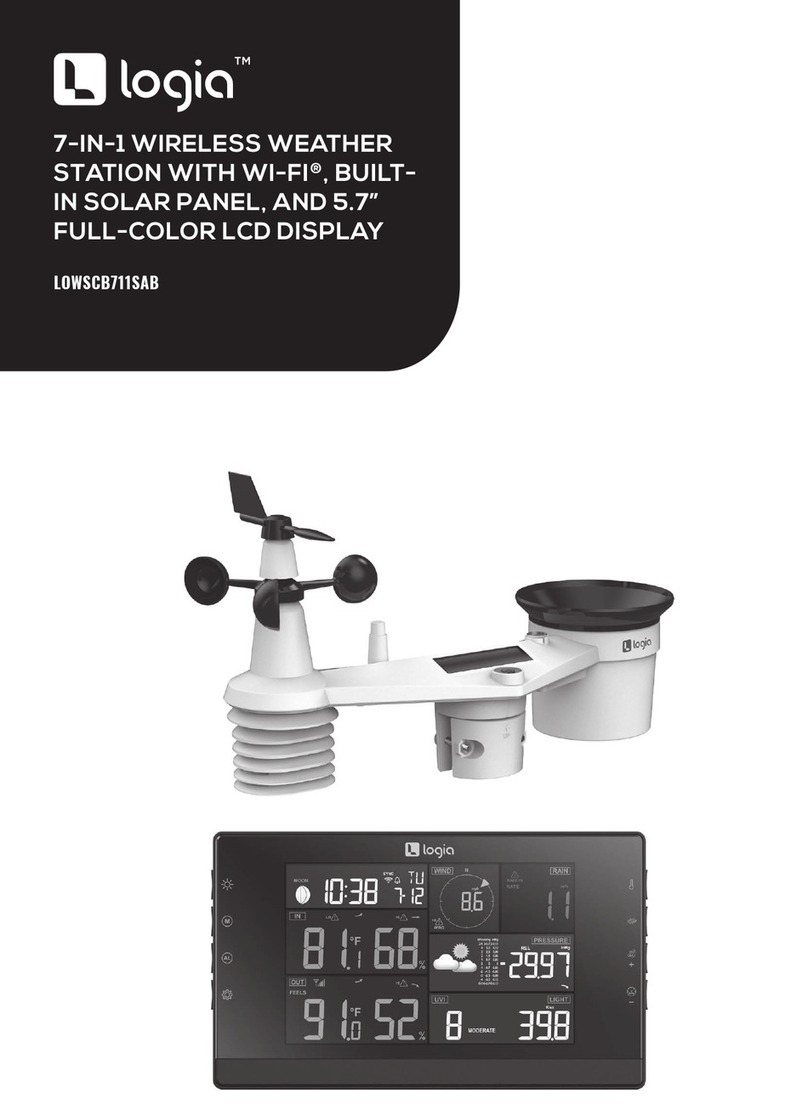
7-in-1 Wireless 8-Day Forecast Weather Station with Wi-fi®,
Everlasting Solar Cell, and Ultra-Wide Display
Model #: LOWSC715FWB19
7-in-1 Wireless 6-Day Forecast Weather Station with Wi-fi®,
Everlasting Solar Cell, and Ultra-Wide Display
Model #: LOWSC715FWB10
FORECAST MAX / MIN CH RAIN WIND SUN SKY AIR
Visit www.logiaweatherstations.com for the most updated list of compatible
Logia weather stations.

Other manuals for LOWSC715FWB10

1

This manual suits for next models

4

Other Logia Weather Station manuals

Logia LOWSL710FWB7 User manual

Logia

Logia LOWSL710FWB7 User manual

Logia LOWSC713SWB User manual

Logia

Logia LOWSC713SWB User manual

Logia LOWSCB711SAB User manual

Logia

Logia LOWSCB711SAB User manual

Logia LOWSC715FWB10 User manual

Logia

Logia LOWSC715FWB10 User manual

Logia LOWSC710B User manual

Logia

Logia LOWSC710B User manual

Logia LOWSB510PB User manual

Logia

Logia LOWSB510PB User manual

Logia LOWSC717FWB19 User manual

Logia

Logia LOWSC717FWB19 User manual

Logia LOWSC510WB User manual

Logia

Logia LOWSC510WB User manual

Logia LOWSC510WB User manual

Logia

Logia LOWSC510WB User manual

Logia LOWSC7110FWB8 User manual

Logia

Logia LOWSC7110FWB8 User manual

Logia LOWSC510SWB User manual

Logia

Logia LOWSC510SWB User manual

Logia LOWSC710SWB User manual

Logia

Logia LOWSC710SWB User manual

Logia LOWSB510PB User manual

Logia

Logia LOWSB510PB User manual

Popular Weather Station manuals by other brands

Peet Bros ultimeter 100 owner's manual

Peet Bros

Peet Bros ultimeter 100 owner's manual

Bresser WTW 5in1 manual

Bresser

Bresser WTW 5in1 manual

Oregon Scientific BAR913HG user manual

Oregon Scientific

Oregon Scientific BAR913HG user manual

RST meteolight 02879 instruction manual

RST

RST meteolight 02879 instruction manual

DAVIS and Vantage Pro Console manual

DAVIS

DAVIS and Vantage Pro Console manual

La Crosse Technology T83646v2 Instructional manual

La Crosse Technology

La Crosse Technology T83646v2 Instructional manual

La Crosse Technology WS-7049 instruction manual

La Crosse Technology

La Crosse Technology WS-7049 instruction manual

Young 05103-45 instruction manual

Young

Young 05103-45 instruction manual

NXP Semiconductors IoT Developer's guide

NXP Semiconductors

NXP Semiconductors IoT Developer's guide

Hama TH-100 Operating	 instruction

Hama

Hama TH-100 Operating instruction

Oregon Scientific BTHR968 user manual

Oregon Scientific

Oregon Scientific BTHR968 user manual

Atal AT-VLS-104DR quick start

Atal

Atal AT-VLS-104DR quick start

ALDI Sempre GT-WS-10s operating instructions

ALDI

ALDI Sempre GT-WS-10s operating instructions

Marquant 014367 operating instructions

Marquant

Marquant 014367 operating instructions

La Crosse Technology 308-807 Operation manual

La Crosse Technology

La Crosse Technology 308-807 Operation manual

Fine Offset Electronics WH18B Operation manual

Fine Offset Electronics

Fine Offset Electronics WH18B Operation manual

Bresser ClimaTemp FSX instruction manual

Bresser

Bresser ClimaTemp FSX instruction manual

Bresser Meteo Champ HD instruction manual

Bresser

Bresser Meteo Champ HD instruction manual

manuals.online logo
manuals.online logoBrands
  • About & Mission
  • Contact us
  • Privacy Policy
  • Terms and Conditions

Copyright 2025 Manuals.Online. All Rights Reserved.