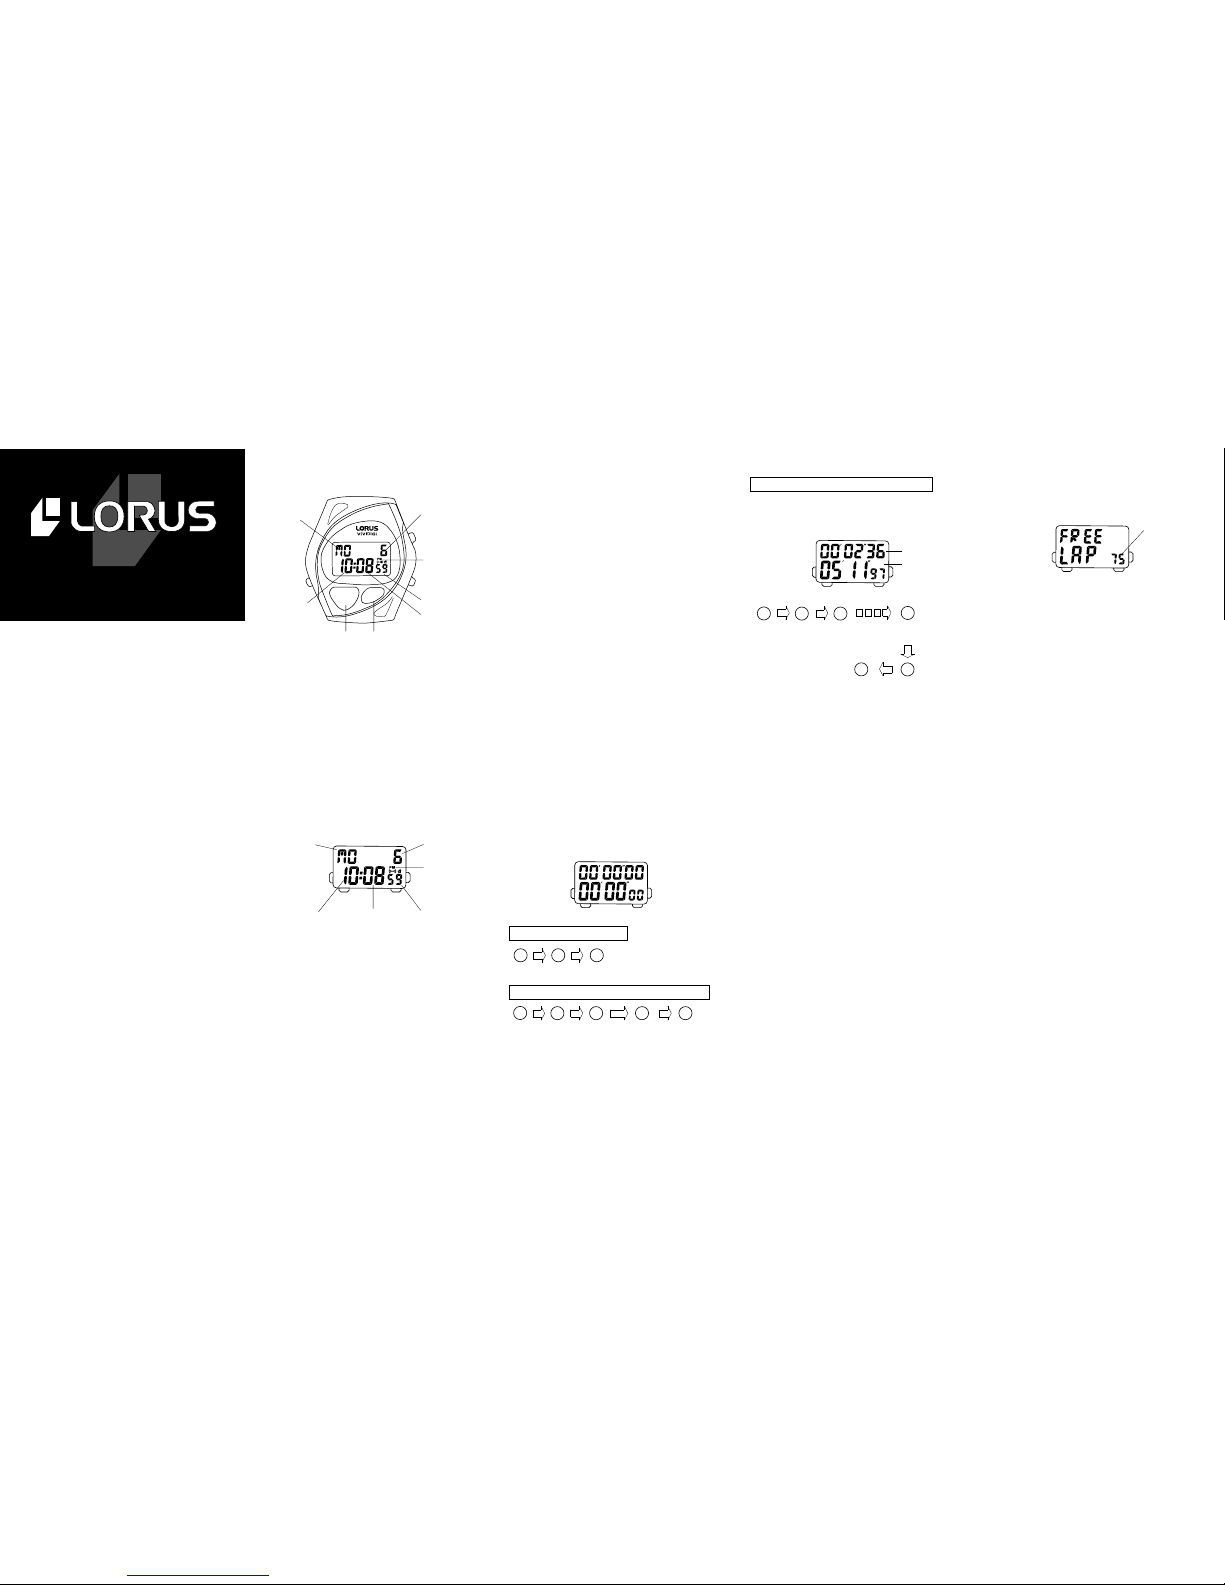
manuals.online logo
Brands
  1. Home
  2. •
  3. Brands
  4. •
  5. LORUS
  6. •
  7. Watch
  8. •
  9. LORUS W150 User manual

LORUS W150 User manual

■CHARACTERISTICS
1. Time and calendar:
•Hour, minutes, seconds, year, month, date
and day of the week.
•Fully automatic calendar: The calendar
adjusts automatically for odd and even
months including February of leap years
from the year 1996 up to 2045 (Cal. W150)
or 2000 up to 2049 (Cal. W151).
•
Time indication: Changeover between
12- and 24-hour indications is possible.
2. Stopwatch: Measures up to 23 hours, 59
minutes and 59 seconds in 1/100-second
increments for the first hour and in 1-second
increments thereafter.
3. 75 lap/split memory (Cal. W150) or
100 lap/split memory (Cal. W151):
Up to 75 sets (Cal. W150) or 100 sets (Cal.
W151) of lap times and split times can be
stored in memory.
4. Countdown timer: Up to 23 hours, 59
minutes and 59 seconds can be set in second
increments.
•
After the set time is up, the timer counts
up the time up to 23 hours, 59 minutes and
59 seconds.
•The set time can be used repeatedly unless
canceled.
5. Daily alarm: The alarm can be set to ring
on a 24-hour basis.
•
Hourly time signal: Can be set to ring
every hour on the hour with a single beep.
6. Illuminating light: The light evenly illuminates
the display for easy viewing in the dark.
START
STOP
LAP
75LAPMEMORY
WATER50MRESIST
Day
■BUTTONS AND DISPLAYS
Hour
A
Date
Seconds
Minutes
CD
B
PM mark
Light
button
* If the stopwatch is measuring and button “A”
ispressed tochange themode fromthe STOPWATCH,
the TIMER mode appears, skipping the MEMORY
RECALL mode.
With each press of button “A”, the selection of
the mode can be made in the following order:
STOPWATCH
mode
TIME/CALENDAR
mode ➡
➡
➡
➡
➡
TIMER mode
A
AA
A
A
ALARM
mode
MEMORY RECALL
mode
Day
B
A
CD
PM mark
Month Year
Date
→
→→
→
Date
SecondsMinutesHour
■TIME/CALENDAR MODE
1. Press button “A” to show the TIME/CALENDAR
mode.
2. Press button “B” for 2 to 3 seconds to show
the time/calendar setting display. The second
digits start flashing.
3. Selection of the digits to be adjusted (flashing)
is made in the following order by pressing
button “C”.
4. Press button “D” to set the flashing digits.
One digit is advanced with each press of
the button. Digits except seconds move
quickly by keeping button “D” pressed.
HourMinutesSeconds
→→
●12-/24-hour indication setting
Changeover between 12- and 24-hour indications
is made alternately with each press of
button “A”.
●Seconds setting
Press button “D” in accordance with a
time signal. The seconds are reset to
“00” and start immediately.
When the seconds count any number from
“30” to “59” and button “D” is pressed,
one minute is added and the seconds are
reset to “00”.
5. After all the adjustments are completed,
press button “B” to return to the TIME/
CALENDAR mode.
Notes:
1. When setting the hour digits in the 12-hour
indication, check that AM/PM is set properly.
Only “PM” mark is displayed. For the AM
setting, there is no indication.
In the 24-hour indication, “24” is displayed.
2. Once the year, month and date have been
set, the day of the week is set automatically.
3. If the watch is left untouched in the time/
calendar setting display with the digits flashing,
it will automatically return to the TIME/
CALENDAR mode in 1 to 2 minutes.
■STOPWATCH MODE
• The stopwatch can measure up to 23 hours,
59 minutes and 59 seconds.
•It measures in 1/100-second increments for
the first hour and in 1-second increments
thereafter.
Stopwatch operation
Press button “A” to show the STOPWATCH
mode. “Chrono” is displayed first, and then
the STOPWATCH mode appears.
C
A
D
B
Standard measurement
D
Start
D
Stop
C
Reset
D
Start
D
Stop
D
Restart
D
Stop
C
Reset
**Restart and stop of the stopwatch can be
repeated by pressing button “D”.
**
Accumulated elapsed time measurement
Lap time/split time measurement
• A “Start-Finish-End” stopwatch operation system
is used. The data obtained from the start till
finish of a race is recorded as a block and
stored in memory.
DC
Lap time
Split time
B
A
Notes:
1. Up to 75 (Cal. W150) or 100 (Cal. W151)
measurements can be stored in memory. If
more than 75 / 100 measurements are made,
the measurements over 75 / 100 will not be
stored in memory.
2. When the memory has become full and a lap
time/split time measurement is made, “FULL”
appears below the measured lap time, indicating
that the measurement data is not stored in
memory. To check the memory capacity,
change the mode to the MEMORY RECALL
mode, which displays the number of storable
data.
3. If the lap time measurement exceeds 60
minutes, any fraction less than a second
will be discarded when it is displayed. The
split time recalled in the MEMORY RECALL
mode, which is the accumulation of the actual
lap time measurements, therefore, may not
be exactly equal to the one displayed when
it was measured.
DC C C
Start
Lap/
split 1 Lap/
split 2
**
Finish
(Final lap/split)
D
End
C
Reset
* Lap time measured remains displayed for 5
seconds in the upper row. In the lower row,
the lap number is displayed, followed by
split time measured. Then, the measurement
in progress appears.
* The time elapsed from the finish of the race
until the end of the measurement will not
be included in the measurement.
** Lap time/split time can be measured repeatedly
by pressing button “C”.
■MEMORY RECALL MODE
• Up to 75 sets (Cal. W150) or 100 sets (Cal.
W151) of lap times and split times can be
stored in memory.
• Measurement data obtained from the start
to finish of a race is recorded as a block, to
which a block number is assigned.
• Up to 38 blocks (Cal. W150) or 50 blocks
(Cal. W151) of data can be stored in memory,
and stored data can be recalled block by
block after the measurement.
Memory recall operation
Press button “A” to show the MEMORY RECALL
mode. “RECAL” is displayed first, and then
the MEMORY RECALL mode appears.
Number of
storable
data
B
D
A
C
1. Press button “C” to show the block selection
display. “RUN” and the block number are
displayed.
2. Press button “C” repeatedly to select the
desired block of data.
* With each press of the button, the block
number advances by one, starting from
Block 1.
3. Press button “D” to recall the stored data in
the block. The lap/split number is displayed
first, and then the lap time and split time
are displayed in the upper and lower rows,
respectively.
* With each press of the button, the stored
data is recalled successively from the oldest
to the newest.
• To erase the data block by block:
In the block selection display, press button
“C” to select the block of data to be erased,
and then press and hold button “B” until
“DEL” appears. The data only in the selected
block is erased from memory.
How to clear the stored data
• To erase the data in all the blocks at a stretch:
In the block selection display with any block
number shown, press and hold button “B”
until “FREE” appears. The data in all the
blocks is erased from memory.
Notes:
1. When a block of data is erased, the block
number is reassigned accordingly.
2. When the stored data in all the blocks is
erased, the mode is automatically changed
to the STOPWATCH.
3. The stored data cannot be erased one by
one.
I
NSTRUCTION
M
ANUAL
CAL. W150 (RCW SERIES)
CAL. W151 (RE5 SERIES)
NREW151C 11-2000
■TIMER MODE
• Up to 23 hours, 59 minutes and 59 seconds
can be set in second increments.
• After the set time is up, the timer counts up
the time up to 23 hours, 59 minutes and 59
seconds as many times as necessary unless
stopped and reset.
• The set time can be used repeatedly unless
canceled.
Press button “A” to show the TIMER mode.
“TIMER” is displayed first, and then the TIMER
mode appears.
B
A
C
D
Set time
Current
time
Timer setting
1. Press button “B” for 2 to 3 seconds to show
the timer setting display. The second digits
start flashing.
2. Press button “C” to select the digits to be
adjusted (flashing).
Minutes Hour
Seconds →→
→
3. Press button “D” to set the flashing digits.
One digit is advanced with each press of
the button. Digits move quickly by keeping
button “D” pressed.
4. After all the adjustments are completed,
press button “B” to return to the TIMER
mode.
* If the watch is left untouched in the timer
setting display with the digits flashing, it
will automatically return to the TIMER
mode in 1 to 2 minutes.
Timer operation
Press the buttons in the following order.
Stop
Time-up
**
C
Reset
DD
Start
D
Restart * Warning
sound
beeps.
D
Stop
**Restart and stop of the timer
can be repeated by pressing button
“D”.
* When the set time is up, a warning
sound beeps for 10 seconds. To
stop it manually, press any of
the buttons.
Notes:
1. After the set time is up, the
timer counts up the time up to
23 hours, 59 minutes and 59
seconds as many times as necessary
unless it is stopped and reset.
2. Once the timer is set, the set time is retained
and can be used repeatedly unless it is readjusted.
3. Even if the TIMER mode is changed to another
while the measurement is in progress, it
continues counting properly. After the timer
is used, however, be sure to reset it to
prevent the overconsumption of battery energy
that would shorten the battery life.
■ALARM MODE
•The alarm can be set to ring on a 24-hour
basis.
A
D
Set alarm time
C
1. Press button “A” to show the ALARM mode.
“ALARM” is displayed first, and then the
ALARM mode appears.
2. Press button “B” for 2 to 3 seconds to show
the alarm setting display. The minute digits
start flashing.
3. Press button “C” to select the digits to be
adjusted (flashing).
Current time
Alarm mark
Hourly time
signal mark
B
Minutes
→
→Hour
4. Press button “D” to set the flashing digits.
One digit is advanced with each press of
the button. Digits move quickly by keeping
button “D” pressed.
5. After all the adjustments are completed,
press button “B” to return to the ALARM
mode. The alarm is automatically engaged.
Notes:
1. When the time function is displayed in the
24-hour indication, the alarm is also displayed
in the 24-hour indication.
2. When setting the hour digits in the 12-hour
indication, check that AM/PM is properly
set. “A”/“P” is displayed for the AM/PM
setting, respectively. In the 24-hour indication,
“24” is displayed.
3. If the watch is left untouched in the alarm
setting display with the digits flashing, it
will automatically return to the ALARM mode
in 1 to 2 minutes.
Engagement/disengagement of the alarm
•
With each press of button “D” in the ALARM
mode, the alarm is engaged and disengaged
alternately.
Alarm engaged
Alarm disengaged
•At the designated time, the alarm rings for
20 seconds and stop. To stop it manually,
press any of the buttons.
Turning on/off of the hourly time signal
and button operation confirmation sound
•With each press of button “D” in the TIME/
CALENDAR mode, the hourly time signal
and confirmation sound for button operation
are turned on and off alternately.
■NOTE ON UNUSUAL DISPLAY
While in the time/calendar setting display with
the digits flashing, the display as shown below
will appear if both buttons “C” and “D” are
pressed at the same time. This is not a malfunction.
Press button “A”, “B”, “C” or “D” to return to
the TIME/CALENDAR mode, and then set the
time/calendar again.
Hourly time signal and confir-
mation sound turned on
Hourly time signal and confir-
mation sound turned off
B
A
DC
■ILLUMINATING LIGHT
Light
button
Press the light button in any mode. The
electroluminescent light evenly illuminates
the display for 3 seconds for easy viewing in
the dark.
Notes:
1. The watch works with one battery. When
the light begins to lose its luminance, this
is an indication that the battery is depleted.
We recommend that you change the bat-
tery before the watch itself stops.
2. If the light is used continuously for a long
time, the battery life may be less than the
specified period.
■ViViDiGi
ViViDiGi is a new type of liquid crystal panel
that makes possible various colors and high
contrast.
• Excellent light reflection and transmission
make the display bright and clear.
• Various color options are available.
• Either the whole panel or the displayed data
only can be illuminated.
* Features vary in different models.
■BATTERY CHANGE
The miniature battery SEIKO CR2025, which
powers your watch should last approximately
3 years. However, because it is inserted at the
factory, the actual life of the battery once in
your possession may be less than 3 years.
Be sure to replace the battery to prevent any
possible malfunction as soon as it runs down.
To replace the battery, we recommend taking
the watch to a local watch repair shop.
Note:
[For Cal. W150]
If the alarm is used for more than 20 seconds
a day, the timer warning sound for more than
10 seconds a day, and/or the illuminating light
for more than 3 seconds a day, the battery life
may be less than the specified period.
[For Cal. W151]
If the alarm is used for more than 30 seconds
a day, the timer warning sound for more than
30 seconds a day, and/or the illuminating light
more than once a day, the battery life may be
less than the specified period.
Necessary procedure after battery change
After the battery is replaced with a new one, or
if an abnormal display (broken digits, etc.)
appears, follow the procedure below to reset
the IC.
•Press and hold buttons “A”, “B”, “C” and “D”
at the same time for 2 to 3 seconds. The
display will become blank, and “12:00'00"
a.m., January 1st, 1996, Monday (MO)” (Cal.
W150) or “12:00'00" a.m., January 1st, 2000,
Saturday (SA)” (Cal. W151) will be displayed
after the buttons are released. Before using
the watch, be sure to set the time/calendar
and alarm.
■CARE OF YOUR LORUS WATCH
• BATTERY
CAUTION
Do not expose the old battery to
fire or recharge it. Keep it at a
place beyond the reach of chil-
dren. If a child swallows it,
consult a doctor immediately.
Printed in China
No
indication
WATER
RESISTANT
WATER
RESISTANT
(50 M/5 BAR)*
WATER
RESISTANT
100 M/
10 BAR or
above
Condition
of use
Accidental
contact with
water, such
as splashes
and rain
Swimm-
ing and
taking a
shower
Skin
diving Scuba
diving
Indica-
tion on
the dial/
case back
NO NO NO NO
YES YES NO NO
YES NO NO NO
YES YES YES NO
()
*
• WATER RESISTANT
* If your watch is 200 M/20 BAR, 100 M/10
BAR or 50 M/5 BAR water resistant, it is so
indicated on the dial/case back.
•Do not operate the buttons when the watch
is wet.
•If the watch is exposed to salt water, rinse
it in fresh water and then wipe it thoroughly
dry.
Caution:
Leather straps are not water resistant except
so indicated, even if the watch head is water
resistant.
• ALLERGIC REACTION
Because the case and band touch the skin
directly, it is important to clean them regularly.
If not, shirt sleeves may be stained and
those with delicate skin may develop a
rash. Please wear the watch with some
play to avoid any possible allergic reaction.
If you develop a rash on your wrist, stop
wearing and consult a physician.
• MAGNETISM
Your watch will not be affected by magnet-
ism generated by household electric appliances.
• SHOCKS AND VIBRATIONS
Your watch may be worn for normal sports
activities, but be careful not to drop it or
hit it on hard surfaces.
• TEMPERATURE
Your watch is preadjusted so that constant
accuracy may be insured at normal tem-
perature.
■SERVICE
When your LORUS watch requires repair or
servicing, please see the enclosed WARRANTY/
GUARANTEE.

This manual suits for next models

1

Other LORUS Watch manuals

LORUS V52T User manual

LORUS

LORUS V52T User manual

LORUS R23 Series User manual

LORUS

LORUS R23 Series User manual

LORUS V657 User manual

LORUS

LORUS V657 User manual

LORUS W160 User manual

LORUS

LORUS W160 User manual

LORUS R23 Series Installation guide

LORUS

LORUS R23 Series Installation guide

LORUS Z010 User manual

LORUS

LORUS Z010 User manual

LORUS R23 Series User manual

LORUS

LORUS R23 Series User manual

LORUS W209 User manual

LORUS

LORUS W209 User manual

LORUS R23 Series User manual

LORUS

LORUS R23 Series User manual

LORUS V782 User manual

LORUS

LORUS V782 User manual

LORUS PC21 User manual

LORUS

LORUS PC21 User manual

LORUS VX43 User manual

LORUS

LORUS VX43 User manual

LORUS W820 User manual

LORUS

LORUS W820 User manual

LORUS PC10 User manual

LORUS

LORUS PC10 User manual

LORUS VJ33 User manual

LORUS

LORUS VJ33 User manual

LORUS VX32 User manual

LORUS

LORUS VX32 User manual

LORUS VX42 User manual

LORUS

LORUS VX42 User manual

LORUS W136 User manual

LORUS

LORUS W136 User manual

LORUS V851 User manual

LORUS

LORUS V851 User manual

LORUS V501 User manual

LORUS

LORUS V501 User manual

LORUS R23 Series User manual

LORUS

LORUS R23 Series User manual

LORUS NREZ027C User manual

LORUS

LORUS NREZ027C User manual

LORUS NREYK60 User manual

LORUS

LORUS NREYK60 User manual

LORUS Y182 User manual

LORUS

LORUS Y182 User manual

Popular Watch manuals by other brands

Letsfit IW2 user manual

Letsfit

Letsfit IW2 user manual

Casio Edifice ECB-500D-1A Operation guide

Casio

Casio Edifice ECB-500D-1A Operation guide

E-CEROS CVACV-M553 Quick start user guide

E-CEROS

E-CEROS CVACV-M553 Quick start user guide

DCU Tecnologic Colorful 2 user manual

DCU Tecnologic

DCU Tecnologic Colorful 2 user manual

Agora SA-7700 instruction manual

Agora

Agora SA-7700 instruction manual

IWC Schaffhausen PORTOFINO MONOPUSHER operating instructions

IWC Schaffhausen

IWC Schaffhausen PORTOFINO MONOPUSHER operating instructions

Citizen 82 Series user manual

Citizen

Citizen 82 Series user manual

Citizen Eco-Drive CA4567-82H instruction manual

Citizen

Citizen Eco-Drive CA4567-82H instruction manual

DETOMASO PRECISO manual

DETOMASO

DETOMASO PRECISO manual

Garmin LILY Quick start manual

Garmin

Garmin LILY Quick start manual

Scinex SW10 user guide

Scinex

Scinex SW10 user guide

DYLERO FIT GOOD user manual

DYLERO

DYLERO FIT GOOD user manual

iwc IW3817 operating instructions

iwc

iwc IW3817 operating instructions

Seiko 5M84A Parts List/Technical Guide

Seiko

Seiko 5M84A Parts List/Technical Guide

TW Steel VD31 quick start guide

TW Steel

TW Steel VD31 quick start guide

TFA 38.2024 instruction manual

TFA

TFA 38.2024 instruction manual

Casio G-Shock DW5600E-1V Operation chart

Casio

Casio G-Shock DW5600E-1V Operation chart

Rockwell Coliseum user manual

Rockwell

Rockwell Coliseum user manual

manuals.online logo
manuals.online logoBrands
  • About & Mission
  • Contact us
  • Privacy Policy
  • Terms and Conditions

Copyright 2025 Manuals.Online. All Rights Reserved.