manuals.online logo
Brands
  1. Home
  2. •
  3. Brands
  4. •
  5. Ltech
  6. •
  7. Controllers
  8. •
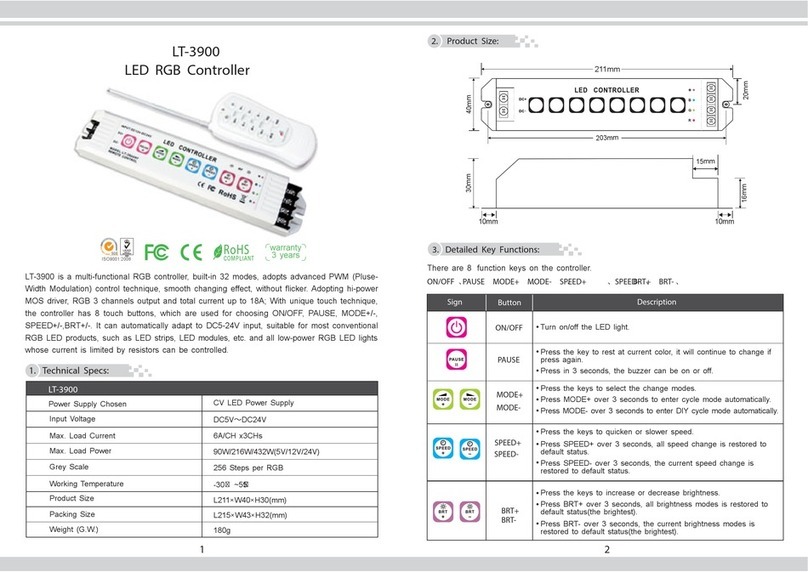
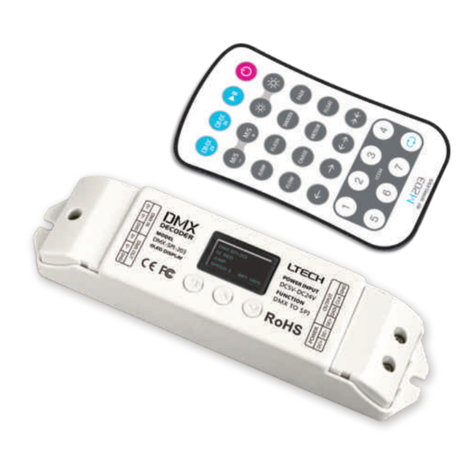
  9. Ltech DMX-SPI-203 User manual

Ltech DMX-SPI-203 User manual

5
4. M203 Remote:
175mm
44mm
170mm
30mm
RUN
M
1 2
M203 Remote
Remote Remote holder
Controller
60mm
104mm
14mm
63mm
108mm
DMX SPI 203 Controller:- -
DMX-SPI-203
LED Controller
DMX-SPI-203 controls LED with the following compatible ICs: LPD6803, LPD1101, D705,
UCS6909, UCS6912, LPD8803, LPD8806, TM1803, TM1804, TM1809, TM1812, UCS1903,
UCS1909, UCS1912, UCS2903, UCS2909, UCS2912, TLS3001, TLS3002, WS2801,
WS2803, WS2811, WS2812, P9813.
Supporting international standard protocol DMX512/1990 interface, with DMX administration
mode to invoke the built-in functions for choosing mode, speed, brightness, types and
direction changing by DMX512 console. Furthermore, it has the DMX decode mode,
customers could use DMX512 console to program & control every channel of the LEDs
with the compatible ICs listed above. 0-100% dimming range, program any lighting effect
required.
1. Product Parameter:
Control Qty: 1024 Pixels
Working Temperature:
Dimensions: L175×W44×H30(mm)
Package Size: L178×W48×H33(mm)
Weight(G.W.): 130g
: 5~24VdcInput Voltage
Power Consumption: 1W
Output Signal: SPI(TTL)
Change Mode: 540
DMX Channel: DMX Manage Mode: 6CH
DMX Decode Mode: 510CH
-30℃~55℃
(if the lamps are powered individual)
DMX-SPI-203 LEDController DMX-SPI-203 LEDController
Total Weight(G.W.): 240g
Working Voltage: 3V(battery CR2032)
Working Frequency: 2.4GHz
Working Temperature: -20℃~55℃
Dimensions: L104×W58×H9(mm)
Weight(N.W.): 42g
Package Dimensions: L228xW156xH35(mm)
2. Product Dimension:
3. Terminal Description:
OLED Screen
Function Keys
5 24Vdc-
Power Input Socket
DMX Signal Input
Socket
DMX Signal Output
Socket
LED Lamps
Connection Socket
The Learning Remote Method:
The controller and remote are Pre-synced at
factory. If deleted accidentally, the sync method
.is as follows
Brightness
Type Keys
Direction Keys Scene Keys
Mode/Speed
DMX 29 Mode
(Short press to play scene
long press to save the current scene)
ON/OFF
(Long press to turn ON/OFF the tone)
(Short press to change mode
Long press to adjust speed)
Loop Play
Pause/Play
DMX 30 Mode
Long press "∧" or "∨" button to delete ID, which
cancels the match.
Then Press "∧" or "∨" button to enter remote
learning interface: Press any key on the remote
control to match with the controller.
Firstly, press M Key on the controller to enter the
setting interface. Secondly, press M Key again
to switch to "Remote Match" entry.
(multiple remotes could be synced to one controller):
www.ltech-led.com
Virtual Pixel:
1-6 times, Max 1024 pixel
3
M
M
M
DMX-SPI-203
DMX-SPI-203
DMX-SPI-203
Setup
Setup
Setup
PixelLength: 256
Remote Study:
Press remote Key
Remote Delete:
Long Press ↑or↓
Keep Pressing
M↑or↓Key
Simultaneously
Exit
BUZZER: ON
CONTRAST: 100
Exit
DMX ADDRESS: 1
Pixel Mul: 1
Exit
DMX ADDRESS: 1
Exit
Model
Mode
Type
02 RED
JUMP
SPEED: 8 BRT: 100%
29 DMX DECODE ↓
DMX ADDR: 1
30 DMX DECODE 1
Remote Match
Restore Device
System Exit
Remote Match
Restore Device
System Exit
Remote Match
Restore Device
System Exit
Pixel Zoom: 16
CHIP11:TM1809
ORDER: RGB Exit
Display DMX-SPI-203 Cycle after 30 mode Cycle play scene of 1-7[ ] : .
4
01-28 Mode
29 Mode
30 Mode
DMX-SPI-203 DMX-SPI-203
Table of Changing Modes
In2~28modes,youcanusetheremotecontroltochooselightchangingtypes (JUMP, FLASH, SMOOTH, FADE ,
FLOW, CHASE, METEOR, FLOAT) and light moving directions( ), which compose 540 kinds of
changing modes
DMX-SPI-203 LEDController DMX-SPI-203 LEDController
6.1 DMX-SPI-203 as master console: 6.2 Connection with DMX console:
Tm1803, TM1804, TM1809, TM1812, UCS1903,UCS1909,
UCS1912, UCS2903, UCS2909, UCS2912,WS2811, WS2812,
TLS3001, TLS3002, APA104, KL592D, SK6812, TM1914,
TM1914A
LPD6803, LPD1101, D705, UCS6909, UCS6912,LPD8803,
LPD8806, WS2801, WS2803, P9813,GS8206(BGR),
SM16703,APA102
6. Wiring Diagram:
Wiring Method Signal Cable Compatible ICs
Two cables
DATA CLK
DATA
Single cable
Power
Adapter
LED Pixel StripLED Pixel Strip
5. OLED Screen Interface Diagram:
Instruction of DMX console in Mode 30
Flashing speed option for mode 1-28
in Mode 30, when connected to DMX console, could use 6 channels to manage color, speed, brightness,
types, direction and flash of all modes.
forward ( ) ,reverse ( ), close ( ), split( )
CH2(0-255):CH2(0-255):
CH3(0-255):
CH4(0-255):
CH5(0-255):
CH6(0-255):
CH1(0-223): CH1(224-255)
CH3(0-255):
CH4(0-255):
Red LED 0-100% dimming
Select 1-28 modes.
Green LED 0-100% dimming.
Blue LED 0-100% dimming.
Adjust changing speed of mode 1-28(8 levels).
Adjust brightness of mode 1-28 (8 levels).
Select 8 changing types of mode 1-28
(jump, flash smooth, fade, flow, chase, meteor, float)
Select 4 changing direction of mode 1-28
Channel Channel
Function Function
Select 29 mode.
Channel Function
1 channel
st 0-255 : Re LED 0-100% dimming( ) d
0-255(G) : Gr LED 0-100% dimmingeen
0-255(B) : Blue LED 0-100% dimming
29
DMX
Decoder
Mode
2 channel
nd
3 channel
rd
Instruction of DMX console in Mode 29
Function
Modes
R
Main Display Interface
Figure 1
Press "M" key, switch entries.
Press "∧" or “∨" key, adjust parameters.
Long press "M" key, return to
the main display interface(Figure 1).
Exit: Return to the previous menu.
Figure 2 Setting Interface
Setting Interface
Setting Interface
Short press to enter the DMX setting interface;
www.ltech-led.com
DMX-SPI-203 DMX-SPI-203 DMX-SPI-203 DMX-SPI-203 DMX-SPI-203
Artnet-DMX-8
1
23
PUSH
DMX 8 Ether net DC12 V
1
23
PUSH
DMX 7
1
23
PUSH
DMX 6
1
23
PUSH
1
23
PUSH
DMX 4
1
23
PUSH
DMX 3
1
23
PUSH
DMX 2
1
23
PUSH
DMX 1
5 6
DA
DA
+
GND
GND
GND
+
6.4 Connected with DMX computer console to realize decoder function:
6.3 LED pixel strip wiring diagram:
b. Light fixtures and controller using different operating voltages.
a. Conventional connection method.
12Vdc
Power supply
5-24Vdc
Power supply
36Vdc
Power supply
DMX-SPI-203 LEDController DMX-SPI-203 LEDController
8. Warranty Agreement:
7. Attention:
1. The product shall be installed and serviced by the qualified person.
7. If a fault occurs please return the product to your supplier. Do not attempt to fix this product by yourself.
6. Ensure all wire connections and polarities are correct before applying power to avoid any damages to the
LED lights.
5. Please ensure that adequate sized cable is used from the controller to the LED lights to carry the
current. Please also ensure that the cable is secured tightly in the connector.
4. Please check if the output voltage of the LED power supply used comply with the working voltage of
the product.
3. Good heat dissipation will prolong the working life of the controller. Please ensure good ventilation.
2. This product is non-waterproof. Please avoid the sun and rain. When installed outdoors please ensure
it is mounted in a water proof enclosure.
1. We provide lifelong technical assistance with this product:
★This manual only applies to this model. LTECH reserves the right to make changes without prior notice.
4. Any amendment or adjustment to this warranty must be approved in writing by LTECH only.
3. Repair or replacement as provided under this warranty is the exclusive remedy to the customer. LTECH
shall not be liable for any incidental or consequential damages for breach of any stipulation in this warranty.
2. Warranty exclusions below:
For faults beyond the 5-year warranty we reserve the right to charge for time and parts.
A 5-year warranty is given from the date of purchase. The warranty is for free repair or replacement
if cover manufacturing faults only.
Any man-made damages caused from improper operation, or connecting to excess voltage and overloading.
The product appears to have excessive physical damage.
Damage due to natural disasters and force majeure.
Warranty label, fragile label and unique barcode label have been damaged.
The product has been replaced by a brand new product.
Update Time: 2017.07.31
www.ltech-led.com
Pixel Strip
Pixel Strip
5M
5M
5M
5M
R
G
G
R
G
G
R
G
G
R
G
G
5M
5M
R
G
G
R
G
G
R
G
G
R
G
G
R
G
G
R
G
G
R
G
G
R
G
G
+
++
+
GND
GND GN D
GND
12Vdc
Power supply 12Vdc
Power supply
36Vdc
Power supply 36Vdc
Power supply
DMX-SPI-203 控制器:
DMX-SPI-203
LED 控 制 器
5
1. 产品参数:
DMX-SPI-20 3可控制基于LPD6803, LPD1101, UCS6909, UCS6912, LPD8803, LPD8806,
TM1803, TM1804, TM1809, TM1812, UCS1903, UCS1909, UCS1912, UCS2903, UCS2909,
UCS2912, TLS3001, TLS3002, WS2801, WS2803, WS2811, WS2812, P9813, D705, 等相兼容IC驱
动的LED灯具。
工作电压 : 5~24Vdc
消耗功率 : 1W(灯带电源另取时)
输出信号 : SPI(TTL)
变化模式 : 540种
DMX通道 : DMX管理模式占6个通道
DMX解码模式510通道
控制数量 :
虚拟像素:
工作温度 :
产品尺寸 :
重量(净重):
1024个象素
1-6倍,最大1024像素
-30℃~55℃
L175×W44×H30(mm)
130g
DMX-SPI-203控制器支持DMX512/1990国际标准协议接口,具有DMX管理模式, 通过DMX512
控台调用控制器内置功能, 可进行变化模式、变化速度等选择;同时具备的DMX解码器模式, 通过
控台编辑控制以上IC驱动的LED灯具。DMX控台可以控制到LED灯具的每一通道, 实现0-100%调光或
编辑各种变化效果。
3. 控制器端子说明:
4. 遥控按键说明:
175mm
44mm
170mm
30mm
RUN
M
OLED屏
功能键
5-24Vdc
电源连接端子
DMX信号输入端子
DMX信号输出端子
LED灯具连接端子
DMX-SPI-203 LED控制器
1
2. 产品尺寸:
DMX-SPI-203 LED控制器
2
套 总重量: 240克装
M203 遥控器:
-20℃~55℃
工作电压: 3V(battery CR2032)
工作频率: 2.4GHz
开关
亮度键
8个变化类型键
4个变化方向键 7个场景键
模式/速度键
DMX模式30
DMX模式29
暂停/播放键
循环键
(短按开/关机
长按开/关按键音)
(短按改变模式
长按调节速度)
(短按调出场景
长按存储当前场景)
遥控学习方法:
遥控 遥控支架
控制器
60mm
104mm
14mm
63mm
108mm
套装包装尺寸: L228×W155×H32(mm)
工作温度:
尺寸: L104×W58×H9(mm)
净重: 42克
出厂遥控器与接受器已经配对好, 如果不慎
删除了, 可以通过下面方法学习:
按控制器"M"键, 进入设置界面, 再按M键切换
至"Remote Match"条目。
此时按控制器"∧"或"∨"键进入遥控学习界面:
按遥控上任意键, 学习遥控;
长按控制器上的"∧"或"∨"键, 删除ID。
www.ltech.cn
DMX-SPI-203 LED控制器
3
DMX-SPI-203 LED控制器
M
M
M
M
DMX-SPI-203
DMX-SPI-203
DMX-SPI-203
Setup
Setup
Setup
PixelLength: 256
Remote Study:
Press remote Key
Remote Delete:
Long Press ↑or↓
Keep Pressing
M↑or↓Key
Simultaneously
Exit
BUZZER: ON
CONTRAST: 100
Exit
DMX ADDRESS: 1
Pixel Mul: 1
Exit
DMX ADDRESS: 1
Exit
型号显示
型号显示
型号显示
像素宽度
蜂鸣器开关
DMX地址设置
DMX地址
设置
遥控学习:
按遥控任意键
同时长按
恢复默认值
设置
设置
设置
模式
29 DMX模式
30 DMX模式
像素放大
对比度
像素倍数设置
遥控学习
遥控学习
遥控学习
变化类型
DMX 地址值
芯片类型
遥控删除:
恢复默认值
恢复默认值
恢复默认值
速度 亮度
RGB顺序
长按 或
系统 退出
系统 退出
系统 退出
02 RED
JUMP
SPEED: 8 BRT: 100%
29 DMX DECODE ↓
DMX ADDR: 1
30 DMX DECODE 1
Remote Match
Restore Device
System Exit
Remote Match
Restore Device
System Exit
Remote Match
Restore Device
System Exit
Pixel Zoom: 16
CHIP11:TM1809
ORDER: RGB Exit
5. OLED屏界面说明:
变 化 模 式 列 表
2
3
4
5
6
7
8
9
10
11
12
13
14
15
序号 序号 序号 序号 序号 序号
变化颜色 变化颜色 变化颜色 变化颜色 变化颜色 变化颜色
RED(红)
GRN(绿)
BLU(蓝)
YLW(黄)
PUR(紫)
GYN(青)
WHI(白)
R/W(红/白)
G/W(绿/白)
B/W(蓝/白)
Y/W(黄/白)
P/W(紫/白)
C/W(青/白)
BLA(黑)
116
17
18
19
20
21
22
23
24
25
26
27
28
29
30
R/Y(红/黄)
R/P(红/紫)
G/Y(绿/黄)
G/C(绿/青)
B/P(蓝/紫)
B/C(蓝/青)
Y/P黄/紫
Y/C黄/青
P/C紫/青
R/G红/绿
R/B红/蓝
G/B绿/蓝
RGB(红/绿/蓝)
ALL (七彩)
DMX解码
DMX模式
2到28模式时, 可用遥控器选择变化类型JUMP(跳变), FLASH(频闪), SMOOTH(渐变), FADE(渐明渐暗), FLOW(流水),
CHASE(追逐), METEOR(拖尾), FLOAT(渐变追), 以及选择变化方向→,←,→←,←→可以组成多达540种变化模式。
速度和亮度的调整也是由遥控器来调整的。
30模式之后显示[DMX-SPI-203 Cycle]:循环播放1-7键上的场景。
主显示界面
主显示界面
主显示界面
设置界面
设置界面
设置界面
按 键进入设置界面
按 键进入设置界面
按 键进入设置界面
图 1 图2
M
M
按 键,切换条目
按 或 键,调整参数
Exit: 返回至上一级菜单
长按 键,强制返回至主显示界面
模式30时DMX控台的使用
模式29时DMX控台的使用
CH2(0-255):CH2(0-255):
CH3(0-255):
CH4(0-255):
CH5(0-255):
CH6(0-255):
CH1(0-223): CH1(224-255)
CH3(0-255):
CH4(0-255):
1-28模式选择
通道 通道
功能 功能
29模式选择
模式30时, 在连接DMX控台状态下,使用6个DMX通道管理全部模式的颜色、速度、亮度、类型、
方向、频闪。
1-28模式变化速度(8级速度)
1-28模式亮度调节(8级亮度)
1-28模式频闪速度(16级速度)
红色 0-100%亮度调整
绿色 0-100%亮度调整
蓝色 0-100%亮度调整
1-28模式变化类型:
跳变、频闪、渐变、渐明渐暗、流水、追逐、拖尾、渐变追
1-28模式变化方向(4种方向)
向前( )、反向( )、合拢( )、中分( )
4
01-28模式时LED屏设置显示
29模式时LED屏显示及设置
30模式时LED屏显示及设置
功能模式 通道 功 能
第一通道
第二通道
第三通道
0-255(R)红色LED 0-100%调光
0-255(G)绿色LED 0-100%调光
0-255(B)蓝色LED 0-100%调光
29
DMX
解码模式
6. 接线图:
LED像素灯条 LED像素灯条
DMX-SPI-203 DMX-SPI-203
6.1 DMX-SPI-203为主控连接灯条: 6.2 与DMX控台连接图:
电源 电源
www.ltech.cn
接线方式 信号线 支持芯片型号
2线
DATA CLK
单线
DATA
TM1803、TM1804、TM1809、TM1812、UCS1903、UCS1909、
UCS1912、UCS2903、UCS2909、UCS2912、WS2811、WS2812、
TLS3001、TLS3002、APA104、KL592D、SK6812、TM1914、
TM1914A
LPD6803、LPD1101、D705、UCS6909、UCS6912、LPD8803、
LPD8806、WS2801、WS2803、P9813、GS8206(BGR)、
SM16703、APA102
6.4 与DMX512电脑控台连接,实现DMX解码器功能:
8 保修协议:
更新时间: 2017.07.31
1. 购买雷特LED控制器产品享受终身技术支持和保修服务:
● 免费保修:自购买之日起五年内出现产品质量问题雷特将给予免费修理或更换服务。
● 有偿保修:超过免费保修期的产品收取适当的维修材料成本费用。
2. 以下情况不在免费保修或更换服务范围之内:
● 过高电压、超负载、操作不当等人为造成的损坏;
● 产品外形严重损坏或变形;
● 自然灾害以及人力不可抗拒原因造成的损坏;
● 产品保修标签和产品唯一条形码损坏。
● 产品已经更新换代。
3. 修理或更换是雷特对客户的唯一补救措施。雷特不承担任何附带引起的损害赔偿责任。
4. 只有雷特享有修正或调整本保修条款的权利,并以书面形式发布认定为准。
★ 本说明书仅适用于本型号产品,如有更新恕不另行通知。
7. 注意事项:
1、本产品请由具有专业资格的人员进行调试安装。
2、本产品不能防水,需避免日晒雨淋,如安装在户外,请用防水箱。
3、良好的散热条件会延长LED控制器的使用寿命,请把产品安装在通风良好的环境。
4、请检查使用的LED电源输出电压是否符合产品电压范围要求。
5、使用的电线直径大小必须能足够负载连接的LED灯具,并确保接线牢固。
6、通电调试前,应确保所有接线正确,以避免因接线错误而导致灯具损坏。
7、如果发生故障,请勿私自维修;如果有疑问,请联系供应商。
DMX-SPI-203 DMX-SPI-203 DMX-SPI-203 DMX-SPI-203 DMX-SPI-203
Artnet-DMX-8
1
2
3
PUSH
DMX 8 Ether ne t DC12 V
1
2
3
PUSH
DMX 7
1
2
3
PUSH
DMX 6
1
2
3
PUSH
1
2
3
PUSH
DMX 4
1
2
3
PUSH
DMX 3
1
2
3
PUSH
DMX 2
1
2
3
PUSH
DMX 1
DMX-SPI-203 LED控制器 DMX-SPI-203 LED控制器
5 6
6.3 LED像素灯连接图:
12Vdc
电源输入
5-24Vdc
电源输入
DA
DA
+
GND
GND
GND
b. 灯具与控制使用不同的工作电压.
a. 一般连接方式.
+
36Vdc
电源输入
5M
5M
5M
5M
12Vdc
电源输入 12Vdc
电源输入 像素灯条
像素灯条
36Vdc
电源输入
36Vdc
电源输入
R
G
G
R
G
G
R
G
G
R
G
G
5M
5M
R
G
G
R
G
G
R
G
G
R
G
G
R
G
G
R
G
G
R
G
G
R
G
G
+
++
+
GN D
GN D GND
GN D
www.ltech.cn

Other Ltech Controllers manuals

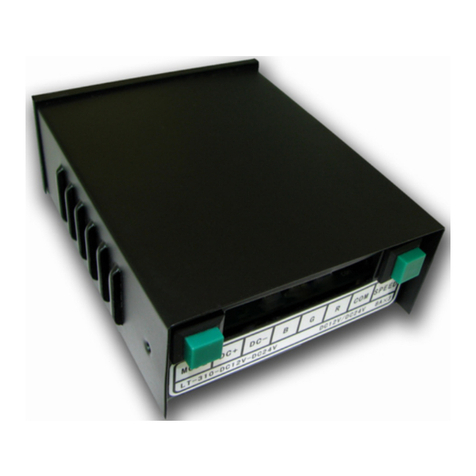
Ltech LT-310 User manual

Ltech

Ltech LT-310 User manual

Ltech V3 User manual

Ltech

Ltech V3 User manual

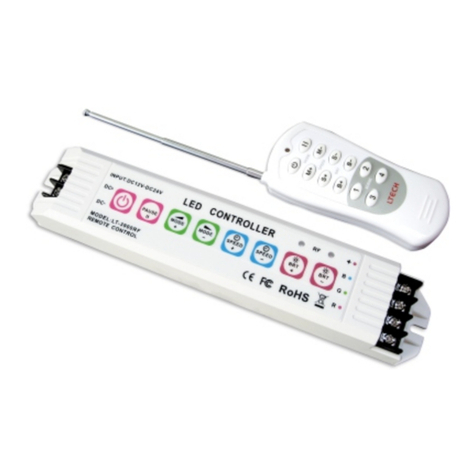
Ltech LT-312RF User manual

Ltech

Ltech LT-312RF User manual

Ltech LT-3800-5A User manual

Ltech

Ltech LT-3800-5A User manual

Ltech DMX-BT-AUDIO User manual

Ltech

Ltech DMX-BT-AUDIO User manual

Ltech LT-3800-3A User manual

Ltech

Ltech LT-3800-3A User manual

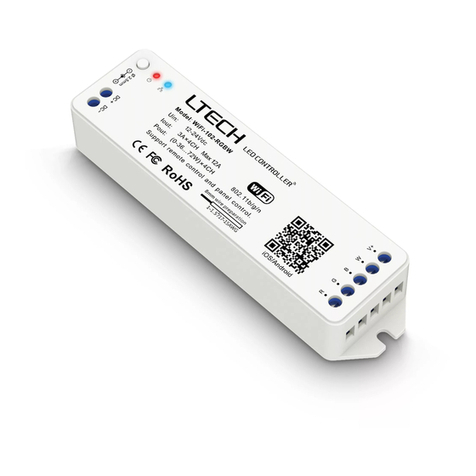
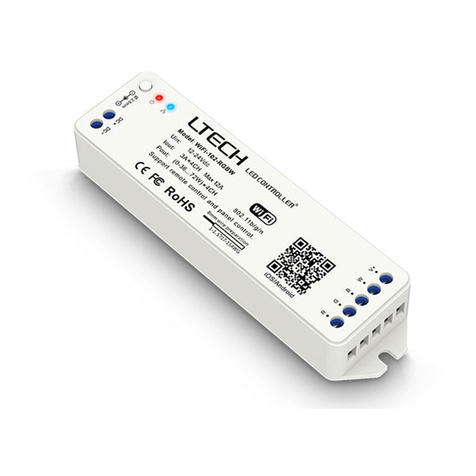
Ltech WiFi-102 LED Controller User manual

Ltech

Ltech WiFi-102 LED Controller User manual

Ltech LT-800 User manual

Ltech

Ltech LT-800 User manual

Ltech T-PWM SE-12-100-400-W1Y User manual

Ltech

Ltech T-PWM SE-12-100-400-W1Y User manual

Ltech WiFi-104 User manual

Ltech

Ltech WiFi-104 User manual

Ltech LT-3800-6A User manual

Ltech

Ltech LT-3800-6A User manual

Ltech WiFi-101-RGBW User manual

Ltech

Ltech WiFi-101-RGBW User manual

Ltech WiFi-103 User manual

Ltech

Ltech WiFi-103 User manual

Ltech SE-12-100-500-W1D User manual

Ltech

Ltech SE-12-100-500-W1D User manual

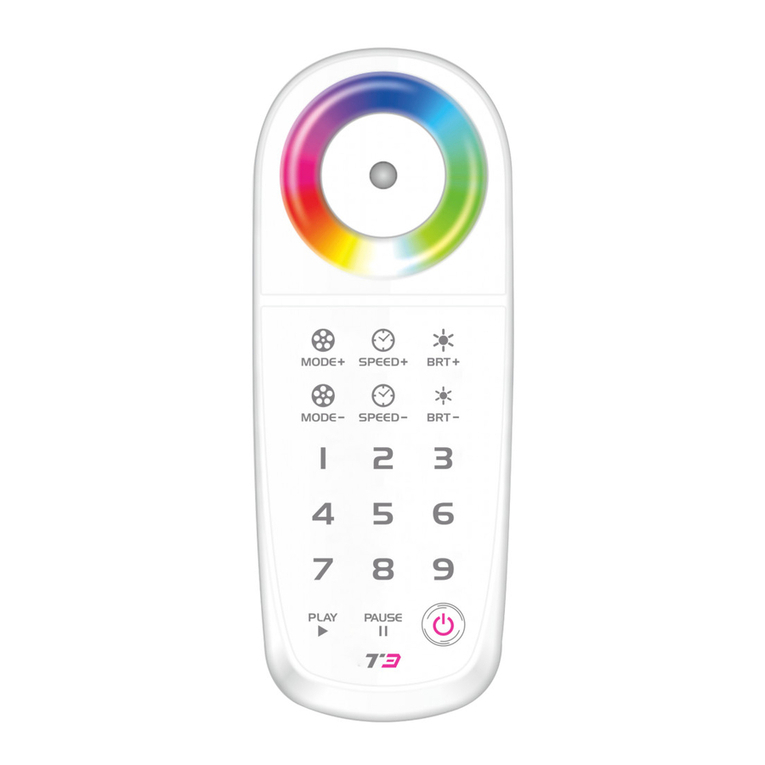
Ltech T3 Series User manual

Ltech

Ltech T3 Series User manual

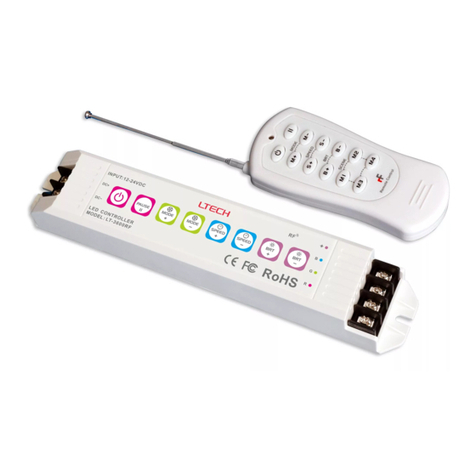
Ltech LT-3600RF User manual

Ltech

Ltech LT-3600RF User manual

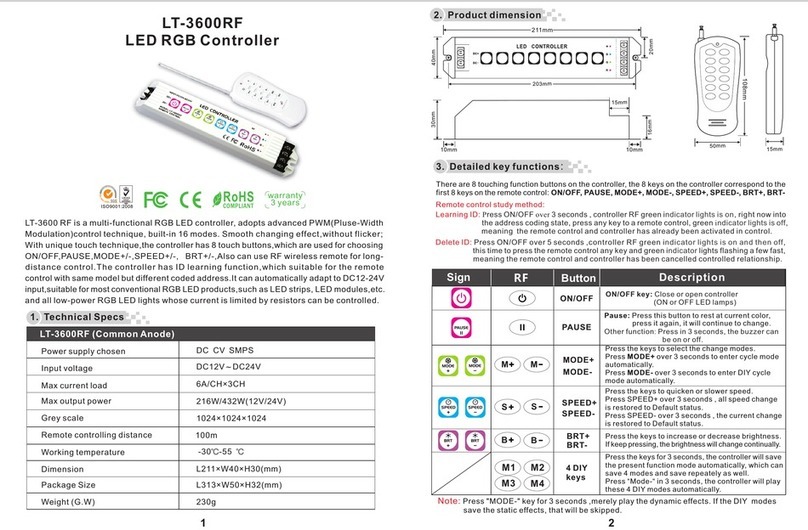
Ltech LT-3600RF User manual

Ltech

Ltech LT-3600RF User manual

Ltech T3M User manual

Ltech

Ltech T3M User manual

Ltech LT-3800-6A User manual

Ltech

Ltech LT-3800-6A User manual

Ltech LT-312RF User manual

Ltech

Ltech LT-312RF User manual

Ltech WiFi-RDM01 User manual

Ltech

Ltech WiFi-RDM01 User manual

Ltech LT-3900 User manual

Ltech

Ltech LT-3900 User manual

Ltech LT-3500-6A User manual

Ltech

Ltech LT-3500-6A User manual

Ltech WiFi-101-CT User manual

Ltech

Ltech WiFi-101-CT User manual

Popular Controllers manuals by other brands

Stellar Lighting LEK-431 APP user manual

Stellar Lighting

Stellar Lighting LEK-431 APP user manual

Yatai PKC1 Series Operating	 instruction

Yatai

Yatai PKC1 Series Operating instruction

Elan OLE Specifications

Elan

Elan OLE Specifications

Siko MSA501 user manual

Siko

Siko MSA501 user manual

ControlOMatic MiniWarden installation manual

ControlOMatic

ControlOMatic MiniWarden installation manual

Siemens SINUMERIK 840D sl operating manual

Siemens

Siemens SINUMERIK 840D sl operating manual

Johnson Controls M9108-A-1N Series installation guide

Johnson Controls

Johnson Controls M9108-A-1N Series installation guide

JUMO DICON touch operating manual

JUMO

JUMO DICON touch operating manual

Neptronic BT000S Specification & installation instructions

Neptronic

Neptronic BT000S Specification & installation instructions

SpaGuts VS500SZ-Series Operation guide

SpaGuts

SpaGuts VS500SZ-Series Operation guide

Tohnichi SB-FH2 Operating	 instruction

Tohnichi

Tohnichi SB-FH2 Operating instruction

Roberts Gorden bzc 700 Operation manual

Roberts Gorden

Roberts Gorden bzc 700 Operation manual

Inovance AC800 Series user guide

Inovance

Inovance AC800 Series user guide

Wheatstone Corporation E-6 Technical manual

Wheatstone Corporation

Wheatstone Corporation E-6 Technical manual

Panasonic CZ-64ESMC3 installation instructions

Panasonic

Panasonic CZ-64ESMC3 installation instructions

Lennox E210 Installation, operation & maintenance manual

Lennox

Lennox E210 Installation, operation & maintenance manual

Carel EASY FREEZE quick start guide

Carel

Carel EASY FREEZE quick start guide

BIFFI EFS2000v4 Instructions and operating manual

BIFFI

BIFFI EFS2000v4 Instructions and operating manual

manuals.online logo
manuals.online logoBrands
  • About & Mission
  • Contact us
  • Privacy Policy
  • Terms and Conditions

Copyright 2025 Manuals.Online. All Rights Reserved.