To obtain warranty coverage, contact the Luxli Customer Service
Department to obtain a return merchandise authorization (“RMA”)
number, and return the defective product to Luxli along with the RMA
number and proof of purchase. Shipment of the defective product is
at the purchaser’s own risk and expense.
For more information or to arrange service, visit www.luxlilight.com or
call Customer Service at 212-594-2353.
Product warranty provided by the Gradus Group.
www.gradusgroup.com
LUXLI is a registered trademark of the Gradus Group.
© 2020 Gradus Group LLC.All Rights Reserved.
One-Year Limited Warranty
This LUXLI product is warranted to the original purchaser to be free
from defects in materials and workmanship under normal consumer
use for a period of one (1) year from the original purchase date or
thirty (30) days after replacement, whichever occurs later.The warranty
provider’s responsibility with respect to this limited warranty shall be
limited solely to repair or replacement, at the provider’s discretion, of
any product that fails during normal use of this product in its intended
manner and in its intended environment. Inoperability of the product
or part(s) shall be determined by the warranty provider. If the product
has been discontinued, the warranty provider reserves the right to
replace it with a model of equivalent quality and function.
This warranty does not cover damage or defect caused by
misuse, neglect, accident, alteration, abuse, improper installation
or maintenance. EXCEPT AS PROVIDED HEREIN, THE WARRANTY
PROVIDER MAKES NEITHER ANY EXPRESS WARRANTIES NOR ANY IMPLIED
WARRANTIES,INCLUDING BUT NOT LIMITED TO ANY IMPLIED WARRANTY
OF MERCHANTABILITY OR FITNESS FOR A PARTICULAR PURPOSE.This
warranty provides you with specic legal rights, and you may also
have additional rights that vary from state to state. GG1
Precautions FCC Compliance Statement
•
Please read and follow these instructions, and keep this manual
in a safe place.
•
Keep this product away from water and ammable gases or liquids.
• Use only the correct, recommended voltage.
• Do not attempt to disassemble or repair this product.
• Clean this product with only a soft, dry cloth.
• To avoid damage to this product, be careful not to overtighten or
improperly thread any of the threaded ttings.
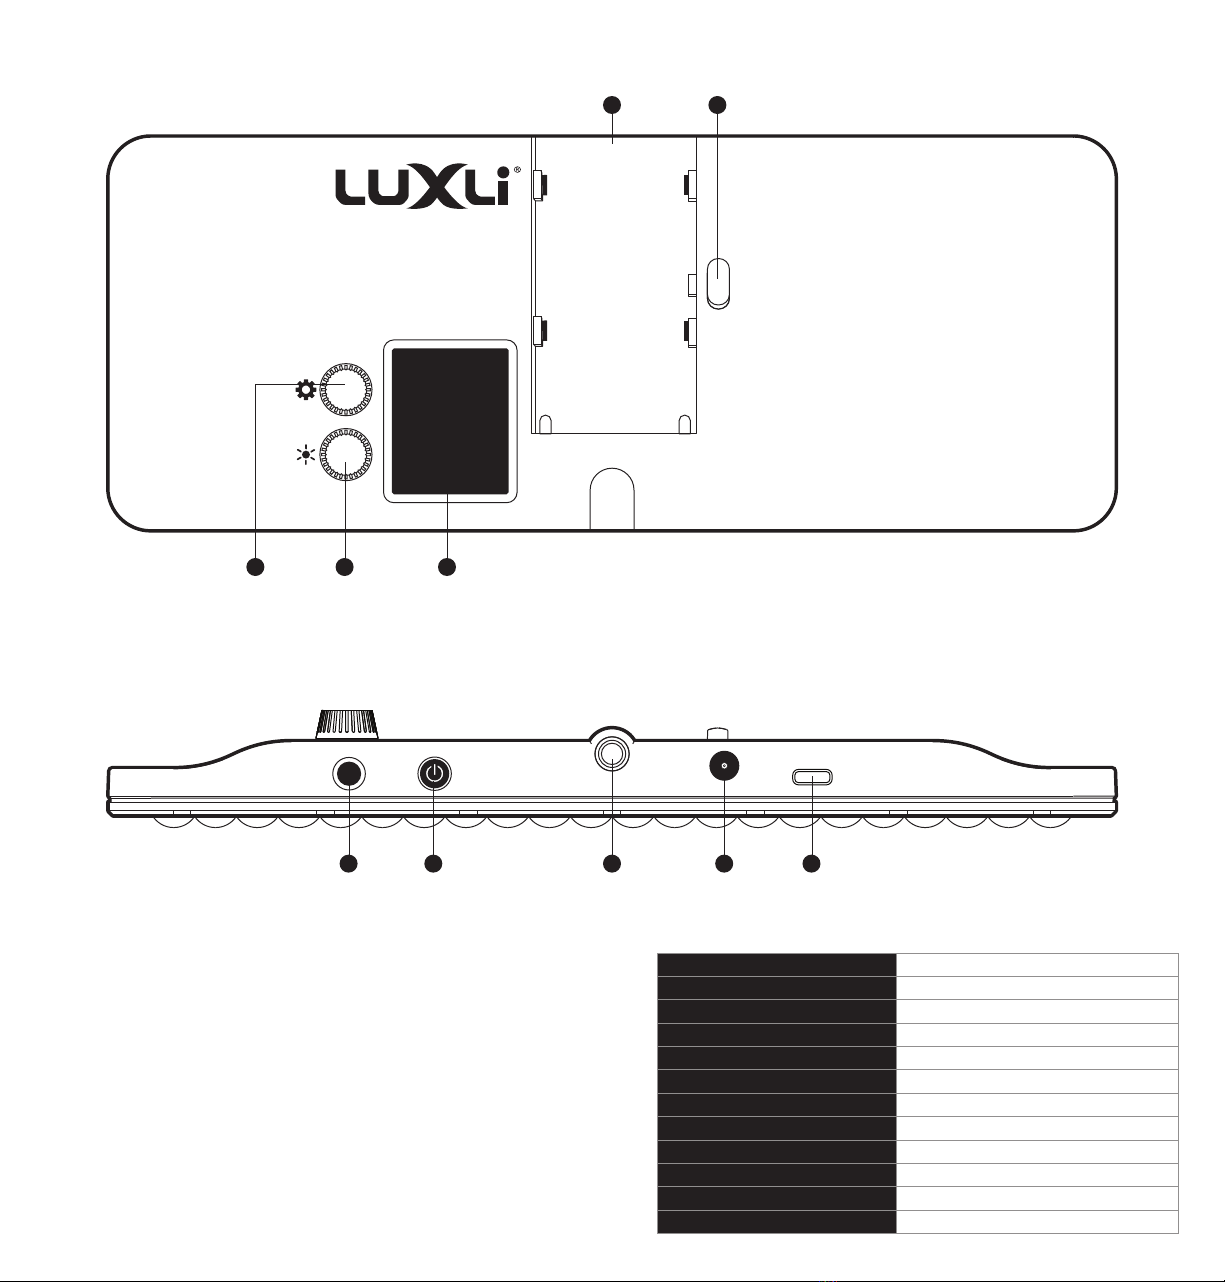
• All images are for illustrative purposes only.
This device complies with part 15 of the FCC rules.Operation is subject
to the following two conditions:
1. This device may not cause harmful interference
2.
This device must accept any interference received, including
interference that may cause undesired operation.
Important: Changes or modications to this product not authorized by
Gradus Group could void the electromagnetic compatibility (EMC)
and wireless compliance and negate your authority to operate the
product. This product has demonstrated EMC compliance under
conditions that included the use of compliant peripheral devices
and shielded cables between system components.It is important that
you use compliant peripheral devices and shielded cables between
system components to reduce the possibility of causing interference
to radios, televisions, and other electronic devices.
Conduct an orchestra of lights.
The Luxli Orchestra series can produce a dazzling symphony of light.
Synchronize LED light units of all sizes,choose from millions of possible
colors,apply lighting effects from three selectable modes,and control
them instantly with the powerful Composer mobile app.
The Cello210-inch multicolor LED light features highly accurate and
remarkably versatile RGBAW LEDs.The light is equipped with Bluetooth 5,
which pairs with Luxli’s Composer mobile app from up to 100 feet
away.Whether controlled via the app or the intuitive interface on the
unit itself, the Cello2will illuminate your creative vision with endless
possibilities.
For the latest version of the Composer mobile app,rmware updates,
and a PDF of the full user manual, as well as videos and ideas for
creative uses for the Cello2, visit luxlilight.com.
www.luxlilight.com
Troubleshooting
• If you encounter any problems, rst try turning the device off and
then on.
•
If the problem persists, remove the battery for 15 seconds, and
then restart.
QUICKSTART GUIDE
Updating the Firmware
Firmware updates are now available through the Composer app.
Refer to the Composer app’s user manual for information and
instructions.
Warnings
•
Battery Low: Battery bar indicator turns red when the battery is below
10%. Recharge the battery immediately.
• Battery Empty: The LEDs will shut off.
•
Overheat: The LEDs will shut off and brightness adjustment is disabled
until the unit has cooled to a safe temperature
Important! If the unit frequently overheats, contact Luxli customer
support.
• USB Insufcient Voltage: UNABLE TO CHARGE — USB-PD: 12 or 15 V
• DC Insufcient Voltage: UNABLE TO CHARGE — DC PORT: 11–15 V