manuals.online logo
Brands
  1. Home
  2. •
  3. Brands
  4. •
  5. M-system
  6. •
  7. Transmitter
  8. •
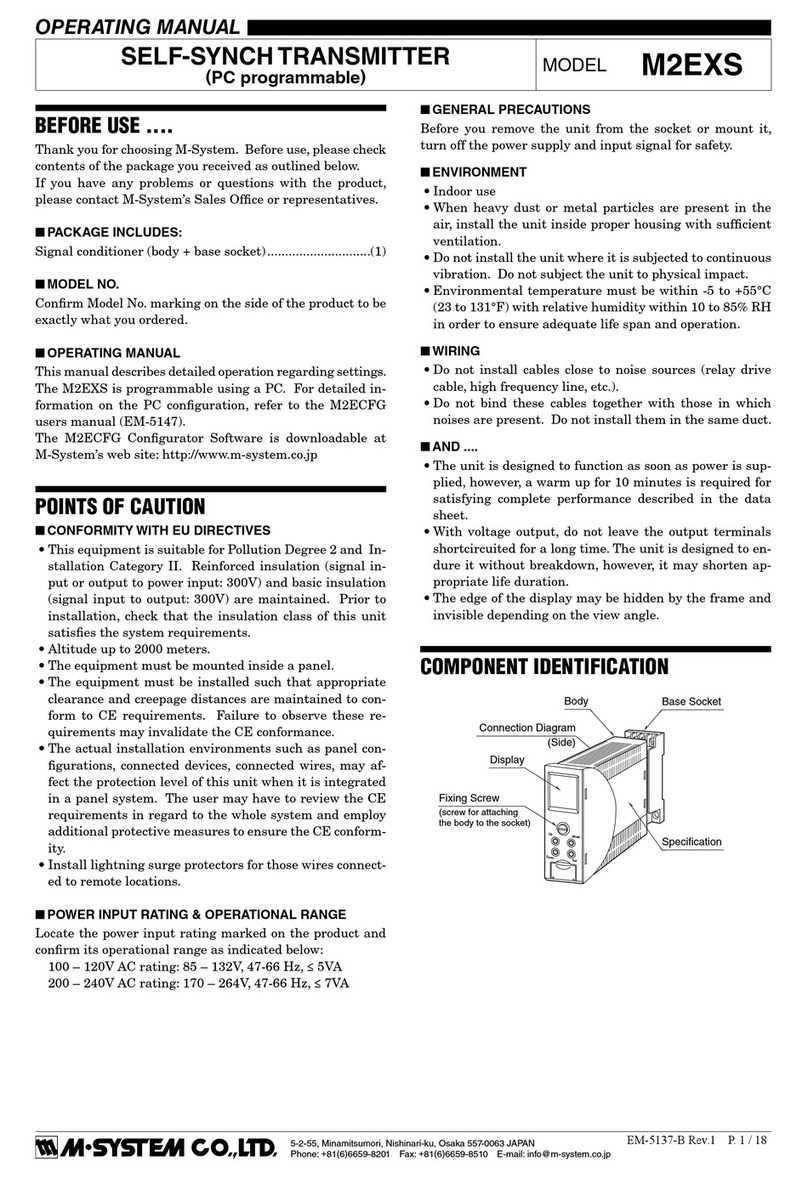
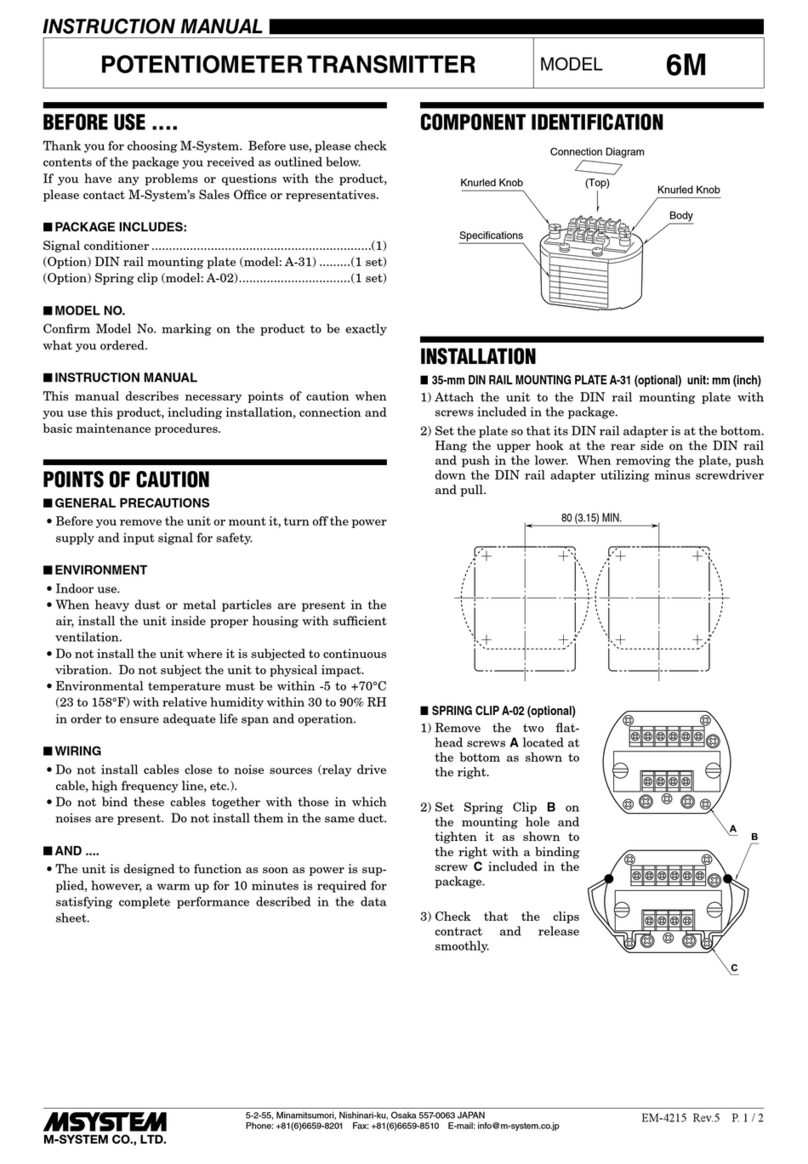
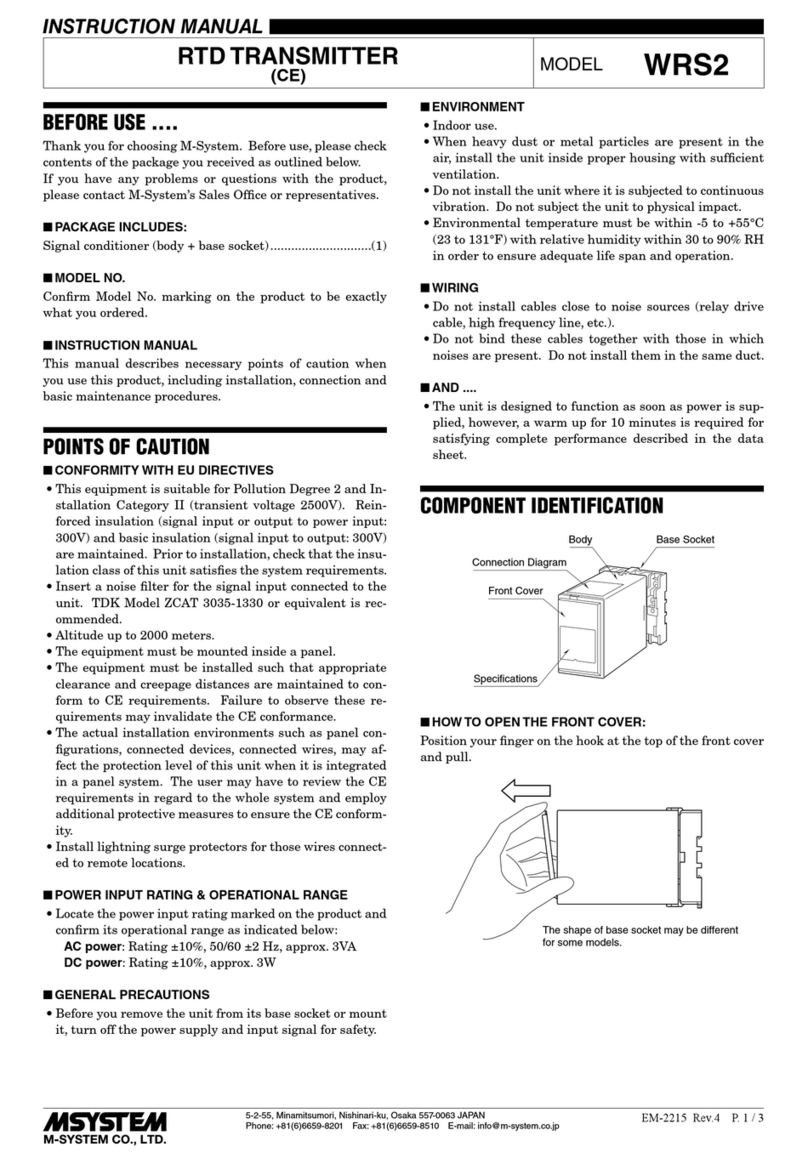
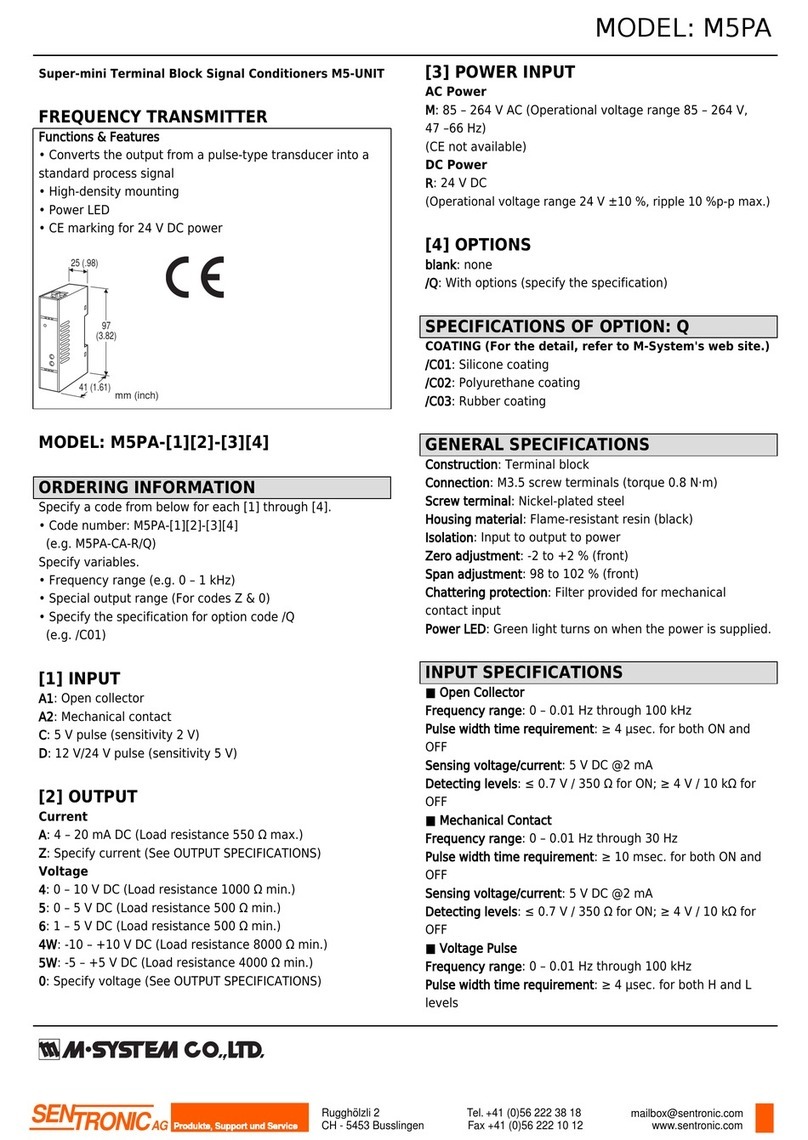
  9. M-system B5VS User manual

M-system B5VS User manual

B5VS
P. 1 / 2EM-1513 Rev.3
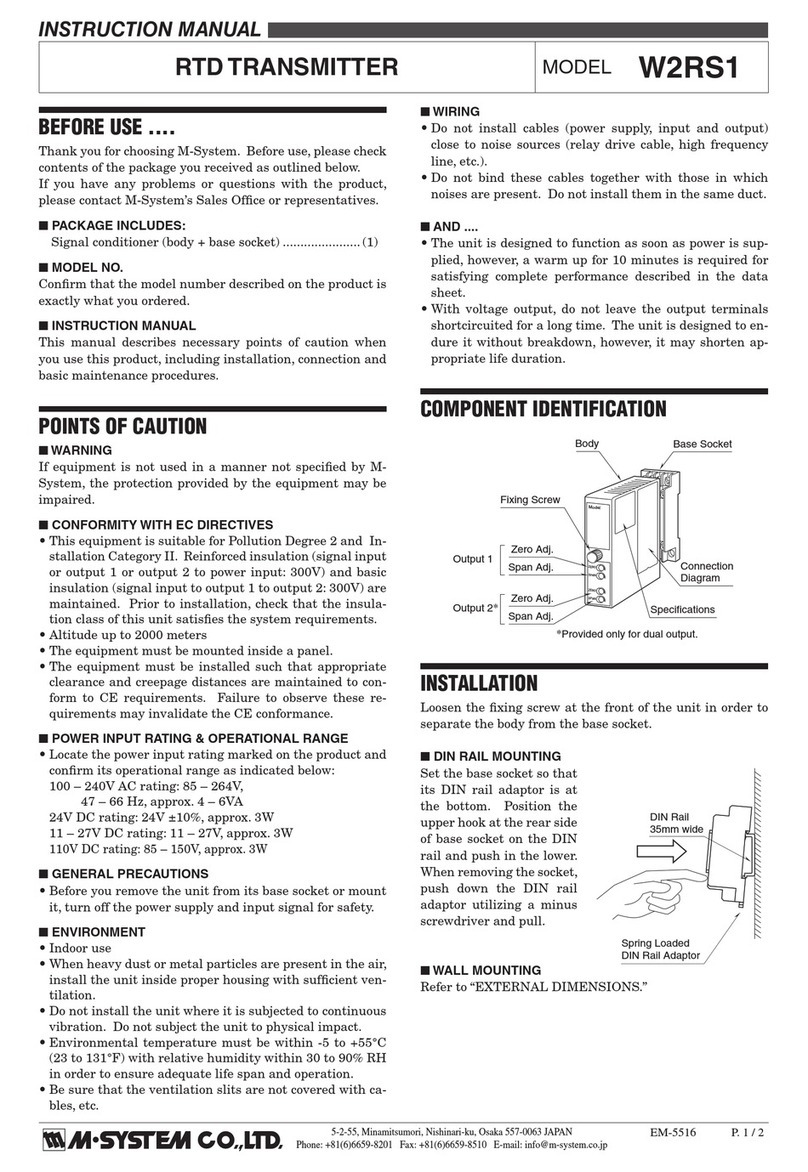
SIGNAL TRANSMITTER MODEL B5VS
INSTRUCTION MANUAL
BEFORE USE ....
Thank you for choosing M-System. Before use, please check
contents of the package you received as outlined below.
If you have any problems or questions with the product,
please contact M-System’s Sales Office or representatives.
■ PACKAGE INCLUDES:
Signal conditioner......................................................... (1)
■ MODEL NO.
Confirm Model No. marking on the product to be exactly
what you ordered.
■ INSTRUCTION MANUAL
This manual describes necessary points of caution when
you use this product, including installation, connection and
basic maintenance procedures.
POINTS OF CAUTION
■ CONFORMITY WITH EC DIRECTIVES
• The equipment must be mounted inside a panel.
• The actual installation environments such as panel con-
figurations, connected devices, connected wires, may af-
fect the protection level of this unit when it is integrated
in a panel system. The user may have to review the CE
requirements in regard to the whole system and employ
additional protective measures to ensure the CE conform-
ity.
■ GENERAL PRECAUTIONS
• Before you remove the unit or mount it, turn off the power
supply and input signal for safety.
■ ENVIRONMENT
• Indoor use
• When heavy dust or metal particles are present in the air,
install the unit inside proper housing with sufficient ven-
tilation.
• Do not install the unit where it is subjected to continuous
vibration. Do not subject the unit to physical impact.
• Environmental temperature must be within -40 to +80°C
(-40 to +176°F) with relative humidity within 0 to 90% RH
in order to ensure adequate life span and operation.
■ WIRING
• Do not install cables (power supply, input and output)
close to noise sources (relay drive cable, high frequency
line, etc.).
• Do not bind these cables together with those in which
noises are present. Do not install them in the same duct.
■ AND ....
• The unit is designed to function as soon as power is sup-
plied, however, a warm up for 10 minutes is required for
satisfying complete performance described in the data
sheet.
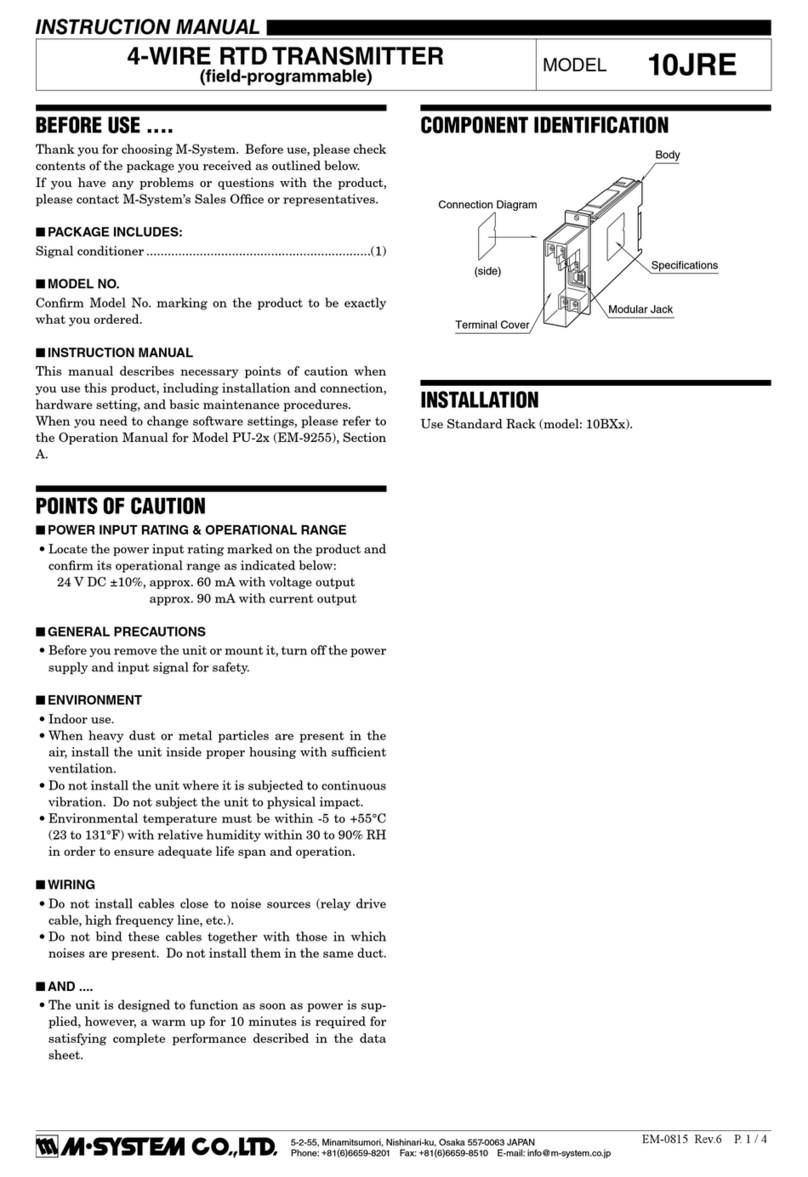
COMPONENT IDENTIFICATION
INSTALLATION
Set the unit so that its DIN rail adapter is at the bottom.
■ MOUNTING THE UNIT ON A DIN RAIL
A) Hang the upper hook at the rear side of unit on the DIN
rail.
B) Push in the lower in keeping pressing the unit to the
DIN rail.
■ REMOVING THE UNIT
A) Push down the DIN rail adaptor using a minus screw-
driver.
B) Pull out the lower part of the unit.
C) Remove the upper part from the DIN rail.
Span Adj.
Power LED
Zero Adj.
Body
Spec. Marking
A
B
DIN Rail
C
A
B
Spring Loaded
DIN Rail Adaptor
B5VS
P. 2 / 2EM-1513 Rev.3
TERMINAL CONNECTIONS
Connect the unit as in the diagram below or refer to the con-
nection diagram on the front of the unit.
■ EXTERNAL DIMENSIONS unit: mm (inch)
■ CONNECTION DIAGRAM
7 8
5 6
3 4
1 2
94 (3.70)
25 (.98) 41 (1.61) [3.3 (.13)]
• When mounting, no extra space is needed between units.
DIN RAIL
35mm wide
8–M3.5 SCREW
7.3 (.29)
3 (.12)
+
–
INPUT
3
4
1
2
* Short across the terminals for current input.
**DC ammeter's internal resistance 10 ohms max.
*
**
8
7+
–
mA
MONITOR
+
–
+
–
LOAD
6
5
OUTPUT
24VDC
4 – 20mADC
CHECKING
1) Terminal wiring: Check that all cables are correctly con-
nected according to the connection diagram.
2) Input: Check that the input voltage is within 0 – 100% of
full-scale.
3) Output: Check that the load is within the permissible
limit including wiring resistance.
Supply Voltage (V) – 12 (V)
Load Resistance (Ω) = ––––––––––––––––––––––––
0.02 (A)
(including leadwire resistance)
4) When you check the output signal, connect an ammeter
of which the internal resistance is of 10Ω max. to the
monitor terminals.
ADJUSTMENT PROCEDURE
This unit is calibrated at the factory to meet the ordered
specifications, therefore you usually do not need any cali-
bration.
For matching the signal to a receiving instrument or in case
of regular calibration, adjust the output as explained in the
following.
■ HOW TO CALIBRATE THE OUTPUT SIGNAL
Use a signal source and measuring instruments of sufficient
accuracy level. Turn the power supply on and warm up for
more than 10 minutes.
1) ZERO: Apply 0% input and adjust output to 0%.
2) SPAN: Apply 100% input and adjust output to 100%.
3) Check ZERO adjustment again with 0% input.
4) When ZERO value is changed, repeat the above proce-
dure 1) – 3).
MAINTENANCE
Regular calibration procedure is explained below:
■ CALIBRATION
Warm up the unit for at least 10 minutes. Apply 0%, 25%,
50%, 75% and 100% input signal. Check that the output
signal for the respective input signal remains within accu-
racy described in the data sheet. When the output is out of
tolerance, recalibrate the unit according to the “ADJUST-
MENT PROCEDURE” explained earlier.
M-SYSTEM WARRANTY
M-System warrants such new M-System product which it manufactures to be free from defects in materials and workmanship
during the 36-month period following the date that such product was originally purchased if such product has been used under
normal operating conditions and properly maintained, M-System’s sole liability, and purchaser’s exclusive remedies, under this
warranty are, at M-System’s option, the repair, replacement or refund of the purchase price of any M-System product which is
defective under the terms of this warranty. To submit a claim under this warranty, the purchaser must return, at its expense, the
defective M-System product to the below address together with a copy of its original sales invoice.
THIS IS THE ONLY WARRANTY APPLICABLE TO M-SYSTEM PRODUCT AND IS IN LIEU OF ALL OTHER WARRANTIES,
EXPRESS OR IMPLIED, INCLUDING ANY IMPLIED WARRANTIES OF MERCHANTABILITY OR FITNESS FOR A PARTICU-
LAR PURPOSE. M-SYSTEM SHALL HAVE NO LIABILITY FOR CONSEQUENTIAL, INCIDENTAL OR SPECIAL DAMAGES
OF ANY KIND WHATSOEVER.
M-System Co., Ltd., 5-2-55, Minamitsumori, Nishinari-ku, Osaka 557-0063 JAPAN, Phone: (06) 6659-8201, Fax: (06) 6659-
8510, E-mail: [email protected]

Other M-system Transmitter manuals

M-system Mini-M M2VF2 User manual

M-system

M-system Mini-M M2VF2 User manual

M-system RB User manual

M-system

M-system RB User manual

M-system KC User manual

M-system

M-system KC User manual

M-system B3HU User manual

M-system

M-system B3HU User manual

M-system F2TS User manual

M-system

M-system F2TS User manual

M-system M3LR User manual

M-system

M-system M3LR User manual

M-system 6LC User manual

M-system

M-system 6LC User manual

M-system M5XPA User manual

M-system

M-system M5XPA User manual

M-system F2MS User manual

M-system

M-system F2MS User manual

M-system Mini-MW Series User manual

M-system

M-system Mini-MW Series User manual

M-system 10JR User manual

M-system

M-system 10JR User manual

M-system KCNA User manual

M-system

M-system KCNA User manual

M-system W2RS User manual

M-system

M-system W2RS User manual

M-system MXV User manual

M-system

M-system MXV User manual

M-system 27RS User manual

M-system

M-system 27RS User manual

M-system 10VK User manual

M-system

M-system 10VK User manual

M-system 27PM User manual

M-system

M-system 27PM User manual

M-system 17PE User manual

M-system

M-system 17PE User manual

M-system M3SMS User manual

M-system

M-system M3SMS User manual

M-system 6BPA User manual

M-system

M-system 6BPA User manual

M-system MXLC User manual

M-system

M-system MXLC User manual

M-system M5PA-CA-R User manual

M-system

M-system M5PA-CA-R User manual

M-system Mini-M M2WVS User manual

M-system

M-system Mini-M M2WVS User manual

M-system Mini-M M2TG User manual

M-system

M-system Mini-M M2TG User manual

Popular Transmitter manuals by other brands

HomePro ZTH100 operating instructions

HomePro

HomePro ZTH100 operating instructions

Aidcall Touchsafe Pro Door Monitor V3.00a installation guide

Aidcall

Aidcall Touchsafe Pro Door Monitor V3.00a installation guide

YOKOGAWA vigilantplant DPharp EJX Series user manual

YOKOGAWA

YOKOGAWA vigilantplant DPharp EJX Series user manual

ADJ WIFLEX DMX SYSTEM quick start guide

ADJ

ADJ WIFLEX DMX SYSTEM quick start guide

RKI 65-2422RK-05 Operator's manual

RKI

RKI 65-2422RK-05 Operator's manual

Siemens SITRANS P operating instructions

Siemens

Siemens SITRANS P operating instructions

Baumer CombiLyz AFI4 Operating	 instruction

Baumer

Baumer CombiLyz AFI4 Operating instruction

Autrol APT 3100 Series Operation manual

Autrol

Autrol APT 3100 Series Operation manual

Space Television OTX-CATV-2002 user manual

Space Television

Space Television OTX-CATV-2002 user manual

Magnetrol Pulsar R86 manual

Magnetrol

Magnetrol Pulsar R86 manual

Moore Industries IPF user manual

Moore Industries

Moore Industries IPF user manual

sauermann CP 110 quick start guide

sauermann

sauermann CP 110 quick start guide

BMS HELI-CODER 4 Operation manual

BMS

BMS HELI-CODER 4 Operation manual

Akai C57 user guide

Akai

Akai C57 user guide

Minco TT190 Installation and operating instructions

Minco

Minco TT190 Installation and operating instructions

GLI International C33 operating manual

GLI International

GLI International C33 operating manual

Erreka LUNA LU02 quick start guide

Erreka

Erreka LUNA LU02 quick start guide

ACS contsys Precont CT Technical manual

ACS contsys

ACS contsys Precont CT Technical manual

manuals.online logo
manuals.online logoBrands
  • About & Mission
  • Contact us
  • Privacy Policy
  • Terms and Conditions

Copyright 2025 Manuals.Online. All Rights Reserved.