MacDon M155 User manual

The harvesting specialists worldwide.
M155 and M205
Self-Propelled Windrower
Unloading and Assembly Instructions (North America)
169885 Revision A
Original Instruction

Featuring the Dual Direction®and Ultra Glide®suspension on the M155 and M205.
Published in June, 2014

Introduction
Thisinstructionalmanualdescribestheunloading,setup,andpre-deliveryrequirementsforMacDonM155andM205
Self-Propelled Windrowers.
Use the Table of Contents to guide you to specific areas. Retain this instruction for future reference.
CAREFULLY READ ALL THE MATERIAL PROVIDED BEFORE ATTEMPTING TO UNLOAD, ASSEMBLE, OR USE
THE MACHINE.
NOTE: Keep your MacDon publications up-to-date. The most current version can be downloaded from our website
(www.macdon.com) or from our Dealer-only site (https://portal.macdon.com) (login required).
169885 iRevision A

List of Revisions
The following list provides an account of major changes from the previous version of this document.
Summary of Change Location
Added Signal Words in Safety Section. 1 Safety, page 1
More terminologies added to Definitions Section. 4Definitions, page 19
Updated drive wheel images and added references to
a 10-bolt wheel assembly. •6.2 Installing Drive Wheel, page 27
•7.13 Final Steps, page 134
Removed reference to walking beam grease zerk. No
longer required with new design. 6.12.2 Lubrication Points, page 97
Restructured the header attach procedures to improve
readability. 6.11 Attaching Headers, page 42
Added the procedure Attaching the A-, D-, and
R-Series on windrowers with hydraulic center link but
no self-alignment kit for M205.
•Attaching an A-Series Header: Hydraulic
Center-Link without Self-Alignment Kit, page 66
•Attaching a D-Series Header: Hydraulic
Center-Link without Self-Alignment, page 49
•Attaching an R-Series Header: Hydraulic
Center-Link without Self-Alignment, page 84
Manual and catalog part numbers changed. 7.12 Manuals, page 133
Updated Trimble Mount kit and Label (GPS completion
kit) location. 7.13 Final Steps, page 134
Updated lift linkage image to include new decal. Various sections
169885 iiRevision A

TABLE OF CONTENTS
Introduction...................................................................................................................................... i
List of Revisions ...............................................................................................................................ii
1 Safety.................................................................................................................................................... 1
1.1 Signal Words................................................................................................................................... 1
1.2 General Safety ................................................................................................................................ 2
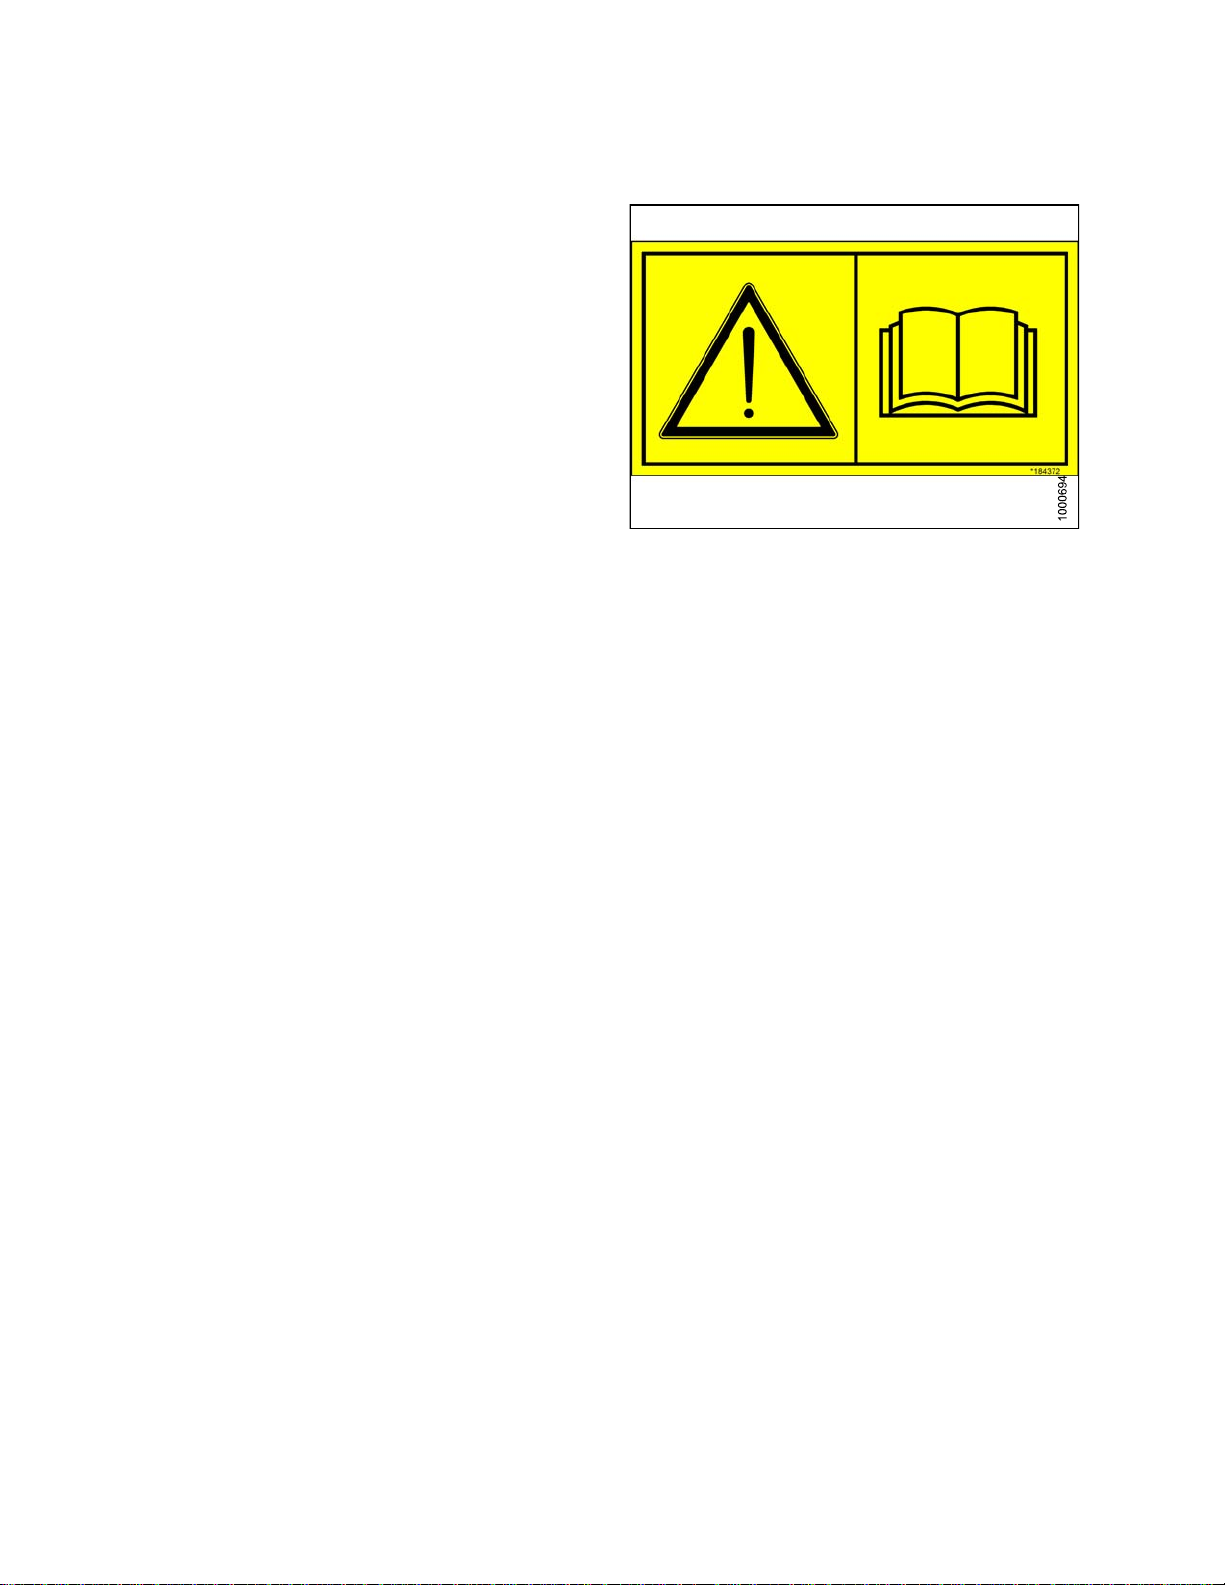
1.3 Safety Signs.................................................................................................................................... 4
2 Recommended Torques ........................................................................................................................ 5
2.1 Torque Specifications....................................................................................................................... 5
2.1.1 SAE Bolt Torque Specifications................................................................................................. 5
2.1.2 Metric Bolt Specifications.......................................................................................................... 7
2.1.3 Metric Bolt Specifications Bolting into Cast Aluminum............................................................... 10
2.1.4 Flare-Type Hydraulic Fittings................................................................................................... 10
2.1.5 O-Ring Boss (ORB) Hydraulic Fittings (Adjustable)................................................................... 12
2.1.6 O-Ring Boss (ORB) Hydraulic Fittings (Non-Adjustable) ........................................................... 14
2.1.7 O-Ring Face Seal (ORFS) Hydraulic Fittings............................................................................ 15
3 Conversion Chart................................................................................................................................ 17
4Definitions........................................................................................................................................... 19
5 Unloading the Windrower.................................................................................................................... 21
5.1 Using Two Forklifts to Unload Windrower ........................................................................................ 21
5.2 Using One Forklift to Unload Windrower.......................................................................................... 23
5.2.1 Method 1 ............................................................................................................................... 23
5.2.2 Method 2 ............................................................................................................................... 24
6 Assembling the Windrower................................................................................................................. 25
6.1 Repositioning Right-Hand Leg........................................................................................................ 25
6.2 Installing Drive Wheel .................................................................................................................... 27
6.3 Repositioning Caster Wheels.......................................................................................................... 28
6.4 Unpacking Ignition Keys................................................................................................................. 30
6.5 Installing Steps.............................................................................................................................. 31
6.6 Connecting Batteries...................................................................................................................... 32
6.7 Starting Engine.............................................................................................................................. 33
6.8 Installing AM/FM Radio.................................................................................................................. 36
6.9 Installing Slow Moving Vehicle (SMV) Sign...................................................................................... 40
6.10 Attaching Header Boots ................................................................................................................. 41
6.11 Attaching Headers......................................................................................................................... 42
6.11.1 Attaching a D-Series Header................................................................................................... 42
Attaching a D-Series Header: Hydraulic Center-Link with Optional Self-Alignment .............. 43
Attaching a D-Series Header: Hydraulic Center-Link without Self-Alignment....................... 49
Attaching a D-Series Header: Mechanical Center-Link...................................................... 54
6.11.2 Attaching an A-Series Header.................................................................................................60
Attaching an A-Series Header: Hydraulic Center-Link and Optional Self-Alignment
Kit .............................................................................................................................. 61
Attaching an A-Series Header: Hydraulic Center-Link without Self-Alignment Kit ................ 66
Attaching an A-Series Header: Mechanical Center-Link .................................................... 72
6.11.3 Attaching an R-Series Header.................................................................................................78
Attaching an R-Series Header: Hydraulic Center-Link with Optional Self-Alignment ............ 79
Attaching an R-Series Header: Hydraulic Center-Link without Self-Alignment..................... 84
Attaching an R-Series Header: Mechanical Center-Link.................................................... 90
6.12 Lubricating the Windrower.............................................................................................................. 96
6.12.1 Lubrication Procedure ............................................................................................................ 96
6.12.2 Lubrication Points................................................................................................................... 97
6.13 Cab Display Module (CDM) Programming....................................................................................... 98
6.13.1 M205 Detailed Programming Menu Flow Chart .......................................................................100
169885 iii Revision A

TABLE OF CONTENTS
6.13.2 M155 Detailed Programming Menu Flow Chart .......................................................................104
7 Performing Predelivery Checks..........................................................................................................109
7.1 Recording Serial Numbers ............................................................................................................109
7.2 Checking Wheel Drive Lubricant Level...........................................................................................110
7.3 Tire Pressures and Ballast Requirements.......................................................................................111
7.3.1 Checking Tire Pressures........................................................................................................111
7.3.2 Checking Tire Ballast.............................................................................................................111
7.4 Checking Engine Air Intake ...........................................................................................................113
7.5 Checking Hydraulic Oil..................................................................................................................116
7.6 Checking Fuel Separator...............................................................................................................117
7.7 Checking Engine Coolant..............................................................................................................118
7.8 Checking Gearbox Lubricant Level ................................................................................................119
7.9 Checking Air Conditioning (A/C) Compressor Belt...........................................................................120
7.10 Checking Safety System ...............................................................................................................121
7.11 Operational Checks ......................................................................................................................123
7.11.1 Checking Engine Warning Lights............................................................................................123
7.11.2 Checking Engine Startup.......................................................................................................124
7.11.3 Checking Engine Speed ........................................................................................................124
7.11.4 Checking Gauges and Cab Display Module (CDM) Display......................................................124
7.11.5 Checking Electrical System....................................................................................................125
7.11.6 Checking Operator's Presence System...................................................................................125
7.11.7 Checking Exterior Lights........................................................................................................126
7.11.8 Checking Horn......................................................................................................................130
7.11.9 Checking Interior Lights.........................................................................................................131
7.11.10 Checking Air Conditioning (A/C) and Heater............................................................................131
7.12 Manuals.......................................................................................................................................133
7.13 Final Steps...................................................................................................................................134
Predelivery Checklist ....................................................................................................................135
169885 ivRevision A

1Safety
1.1 Signal Words
Three signal words, DANGER, WARNING, and CAUTION, are used to alert you to hazardous situations. The
appropriate signal word for each situation has been selected using the following guidelines:
DANGER
Indicates an imminently hazardous situation that, if not avoided, will result in death, or serious injury.
WARNING
Indicates a potentially hazardous situation that, if not avoided, could result in death, or serious injury. It
may also be used to alert against unsafe practices.
CAUTION
Indicates a potentially hazardous situation that, if not avoided, may result in minor, or moderate injury. It
may be used to alert against unsafe practices.
169885 1Revision A

SAFETY
1.2 General Safety
CAUTION
The following are general farm safety precautions
that should be part of your operating procedure for
all types of machinery.
Protect yourself
• When assembling, operating, and servicing machinery,
wear all the protective clothing and personal safety
devices that COULD be necessary for the job at hand.
Don’t take chances.
Figure 1.1: Safety Equipment
• You may need:
–Ahardhat
– Protective footwear with slip resistant soles
– Protective glasses or goggles
– Heavy gloves
– Wet weather gear
– A respirator or filter mask
– Hearing protection
Be aware that exposure to loud noise can cause
impairment or loss of hearing. Wearing suitable
hearing protection devices such as ear muffs or ear
plugs. These will help protect against objectionable
or loud noises.
Figure 1.2: Safety Equipment
•Provideafirst aid kit for use in case of emergencies.
• Keep a fire extinguisheron the machine. Be sure the fire
extinguisher is properly maintained. Be familiar with its
proper use.
• Keep young children away from the machinery at
all times.
•Beawaretha
taccidentsoftenhappenwhentheOperator
is tired or in a hurry to get finished. Take the time to
consider the safest way. Never ignore warning signs
of fatigue.
Figure 1.3: Safety Equipment
169885 2Revision A

SAFETY
•Wearclosefitting clothing and cover long hair. Never
wear dangling items such as scarves or bracelets.
• Keep all shields in place. Never alter or remove safety
equipment. Make sure driveline guards can rotate
independently of the shaft and can telescope freely.
• Use only service and repair parts, made, or approved by
the equipment manufacturer. Substituted parts may not
meet strength, design, or safety requirements.
Figure 1.4: Safety around Equipment
• Keep hands, feet, clothing, and hair away from moving
parts. Never attempt to clear obstructions or objects,
from a machine while the engine is running.
•Do NOT modify the machine. Non-authorized
modificationsmayimpairmachinefunctionand/orsafety.
It may also shorten the machine’s life.
• Stop the engine and remove the key from ignition before
leaving operator’s seat for any reason. A child or even a
pet could engage an idling machine.
Figure 1.5: Safety around Equipment
• Keep the area used for servicing machinery clean
and dry. Wet or oily floors are slippery. Wet spots
can be dangerous when working with electrical
equipment. Be sure all electrical outlets and tools are
properly grounded.
• Keep work area well lit.
• Keep machinery clean. Straw and chaff, on a hot
engine, are a fire hazard. Do NOT allow oil or grease to
accumulate on service platforms, ladders, or controls.
Clean machines before storage.
• Never use gasoline, naphtha, or any volatile material
for cleaning purposes. These materials may be toxic
and/or flammable.
• When storing machinery, cover sharp or extending
components to prevent injury from accidental contact. Figure 1.6: Safety around Equipment
169885 3Revision A

SAFETY
1.3 Safety Signs
• Keep safety signs clean and legible at all times.
• Replace safety signs that are missing or
become illegible.
• If original parts on which a safety sign was installed are
replaced, be sure the repair part also bears the current
safety sign.
• Safety signs are available from your Dealer
Parts Department.
Figure 1.7: Operator’s Manual Decal
169885 4Revision A

2 Recommended Torques
2.1 Torque Specifications
The following tables give correct torque values for various bolts, cap screws, and hydraulic fittings.
• Tighten all bolts to the torques specified in chart (unless otherwise noted throughout this manual).
• Replace hardware with the same strength and grade bolt.
• Check tightness of bolts periodically, using the tables below as a guide.
• Torque categories for bolts and cap screws are identified by their head markings.
2.1.1 SAE Bolt Torque Specifications
Torque values shown in this table are valid for non-greased, or non-oiled threads and heads. Therefore, do NOT
grease or oil bolts or cap screws unless otherwise specified in this manual.
Table 2.1 SAE Grade 5 Bolt and Grade 5 Free
Spinning Nut
Torque (ft·lbf)
(*in·lbf) Torque (N·m)
Nominal
Size
(A) Min. Max. Min. Max.
1/4-20 *106 *117 11.9 13.2
5/16-18 *218 *241 24.6 27.1
3/8-16 32 36 44 48
7/16-14 52 57 70 77
1/2-13 79 87 106 118
9/16-12 114 126 153 170
5/8-11 157 173 212 234
3/4-10 281 311 380 420
7/8-9 449 496 606 669
1-8 611 676 825 912
Figure 2.1: Bolt Grades
A - Nominal Size B - SAE-8
C - SAE-5 D - SAE-2
169885 5Revision A

RECOMMENDED TORQUES
Table 2.2 SAE Grade 5 Bolt and Grade 5 Distorted
Thread Nut
Torque (ft·lbf)
(*in·lbf) Torque (N·m)
Nominal
Size
(A) Min. Max. Min. Max.
1/4-20 *72 *80 8.1 9
5/16-18 *149 *164 16.7 18.5
3/8-16 22 24 30 33
7/16-14 35 39 48 53
1/2-13 54 59 73 80
9/16-12 77 86 105 116
5/8-11 107 118 144 160
3/4-10 192 212 259 286
7/8-9 306 338 413 456
1-8 459 507 619 684
Table 2.3 SAE Grade 8 Bolt and Grade 8 Distorted
Thread Nut
Torque (ft·lbf)
(*in·lbf) Torque (N·m)
Nominal
Size
(A) Min. Max. Min. Max.
1/4-20 *150 *165 16.8 18.6
5/16-18 18 19 24 26
3/8-16 31 34 42 46
7/16-14 50 55 67 74
1/2-13 76 84 102 113
9/16-12 109 121 148 163
5/8-11 151 167 204 225
3/4-10 268 296 362 400
7/8-9 432 477 583 644
1-8 647 716 874 966
Figure 2.2: Bolt Grades
A-NominalSize B-SAE-8
C - SAE-5 D - SAE-2
169885 6Revision A

RECOMMENDED TORQUES
Table 2.4 SAE Grade 8 Bolt and Grade 8 Free
Spinning Nut
Torque (ft·lbf)
(*in·lbf) Torque (N·m)
Nominal
Size
(A) Min. Max. Min. Max.
1/4-20 *150 *165 16.8 18.6
5/16-18 26 28 35 38
3/8-16 46 50 61 68
7/16-14 73 81 98 109
1/2-13 111 123 150 166
9/16-12 160 177 217 239
5/8-11 221 345 299 330
3/4-10 393 435 531 587
7/8-9 633 700 855 945
1-8 863 954 1165 1288
2.1.2 Metric Bolt Specifications
Table2.5MetricClass8.8BoltsandClass9Free
Spinning Nut
Torque (ft·lbf)
(*in·lbf) Torque (N·m)
Nominal
Size Min. Max. Min. Max.
3-0.5 *13 *14 1.4 1.6
3.5-0.6 *20 *22 2.2 2.5
4-0.7 *29 *32 3.3 3.7
5-0.8 *59 *66 6.7 7.4
6-1.0 *101 *112 11.4 12.6
8-1.25 20 23 28 30
10-1.540 45 55 60
12-1.75 70 78 95 105
14-2.0 113 124 152 168
16-2.0 175 193 236 261
20-2.5 341 377 460 509
24-3.0 589 651 796 879
Figure 2.3: Bolt Grades
A - Nominal Size
169885 7Revision A

RECOMMENDED TORQUES
Table2.6MetricClass8.8BoltsandClass9Distorted
Thread Nut
Torque (ft·lbf)
(*in·lbf) Torque (N·m)
Nominal
Size Min. Max. Min. Max.
3-0.5 *9 *10 11.1
3.5-0.6 *14 *15 1.5 1.7
4-0.7 *20 *22 2.3 2.5
5-0.8 *40 *45 4.5 5
6-1.0 *69 *76 7.7 8.6
8-1.25 *167 *185 18.8 20.8
10-1.5 28 30 37 41
12-1.7548536572
14-2.0 77 85 104 115
16-2.0 119 132 161 178
20-2.5 233 257 314 347
24-3.0 402 444 543 600
Table 2.7 Metric Class 10.9 Bolts and Class 10 Free
Spinning Nut
Torque (ft·lbf)
(*in·lbf) Torque (N·m)
Nominal
Size Min. Max. Min. Max.
3-0.5 *18 *19 1.8 2
3.5-0.6 *27 *30 2.8 3.1
4-0.7 *41 *45 4.2 4.6
5-0.8 *82 *91 8.4 9.3
6-1.0 *140 *154 14.3 15.8
8-1.25 28 31 38 42
10-1.556 62 75 83
12-1.75 97 108 132 145
14-2.0 156 172 210 232
16-2.0 242 267 326 360
20-2.5 472 521 637 704
24-3.0 815 901 1101 1217
169885 8Revision A

RECOMMENDED TORQUES
Table 2.8 Metric Class 10.9 Bolts and Class 10
Distorted Thread Nut
Torque (ft·lbf)
(*in·lbf) Torque (N·m)
Nominal
Size Min. Max. Min. Max.
3-0.5 *12 *13 1.3 1.5
3.5-0.6 *19 *21 2.1 2.3
4-0.7 *28 *31 3.1 3.4
5-0.8 *56 *62 6.3 7
6-1.0 *95 *105 10.7 11.8
8-1.25 19 21 26 29
10-1.5 38 42 51 57
12-1.7566739099
14-2.0 106 117 143 158
16-2.0 165 182 222 246
20-2.5 322 356 434 480
24-3.0 556 614 750 829
169885 9Revision A

RECOMMENDED TORQUES
2.1.3 Metric Bolt Specifications Bolting into Cast Aluminum
Table 2.9 Metric Bolt Bolting into Cast Aluminum
Bolt Torque
8.8
(Cast
Aluminum)
10.9
(Cast Aluminum)
Nominal
Size
ft·lbf N·m ft·lbf N·m
M3 1
M4 2.6 4
M5 5.5 8
M6 6 9 9 12
M8 14 20 20 28
M10 28 40 40 55
M12 52 70 73 100
M14
M16
Figure 2.4: Bolt Grades
A-NominalSize
2.1.4 Flare-Type Hydraulic Fittings
1. Check flare (A) and flare seat (B) for defects that might
cause leakage.
2. Aligntube(C)withfitting (D) and thread nut (E) onto
fitting without lubrication until contact has been made
between the flared surfaces.
3. Torque the fitting nut (E) to the specified number
of FFFT or to a given torque value shown in the
following table.
4. To prevent the fitting (D) from rotating, use two
wrenches. Place one wrench on the fitting body (D)
and tighten the nut (E) with the other wrench to the
torque shown.
5. Assess the final condition of the connection. Figure 2.5: Hydraulic Fitting
A-Flare B - Flare Seat
C-Tube D-Body
E-Nut
169885 10Revision A

RECOMMENDED TORQUES
Table 2.10 Flare-Type Hydraulic Tube Fittings
Torque Value1Flats from Finger
Tight (FFFT)
SAE No. Tube
Size O.D.
(in.)
Thread
Size (in.)
Nut Size
across
Flats (in.) ft·lbf N·m Flats Turns
33/16 3/8 7/16 681
1/6
41/4 7/16 9/16 91211/6
55/16 1/2 5/8 12 16 1 1/6
63/8 9/16 11/16 18 24 1 1/6
81/2 3/4 7/8 34 46 1 1/6
10 5/8 7/8 146621
1/6
12 3/41-1/161-1/4 75 102 3/4 1/8
14 7/8 1-3/8 1-3/8 90 122 3/4 1/8
16 1 1-5/16 1-1/2 105 142 3/4 1/8
1. Torque values shown are based on lubricated connections as in reassembly.
169885 11Revision A

RECOMMENDED TORQUES
2.1.5 O-Ring Boss (ORB) Hydraulic Fittings (Adjustable)
1. Inspect O-ring (A) and seat (B) for dirt or
obvious defects.
2. Back off the lock nut (C) as far as possible. Ensure that
washer (D) is not loose and is pushed toward the lock
nut (C) as far as possible.
3. Check that O-ring (A) is NOT on the threads, adjust
if necessary.
4. Apply hydraulic system oil to the O-ring (A).
Figure 2.6: Hydraulic Fitting
A-O-Ring B-Seat C-Nut
D - Washer
5. Install fitting (B) into port until back up washer (D) and
O-ring (A) contacts on part face (E).
6. Position angle fittings by unscrewing no more than
one turn.
7. Turn lock nut (C) down to washer (D) and tighten to
torque shown. Use two wrenches, one on the fitting (B)
and the other on the lock nut (C).
8. Check the final condition of the fitting.
Figure 2.7: Hydraulic Fitting
A-O-Ring B - Fitting C-Nut
D - Washer E - Part Face
169885 12Revision A

RECOMMENDED TORQUES
Table 2.11 O-Ring Boss (ORB) Hydraulic Fittings (Adjustable)
Torque Value2
SAE Dash Size Thread Size (in.) ft·lbf (*in·lbf) N·m
-3 3/8-24 *106–115 12–13
-4 7/16–20 14–15 19–21
-5 1/2–20 15–24 21–33
-6 9/16–18 19–21 26–29
-8 3/4–16 34–37 46–50
-10 7/8–14 55–60 75–82
-12 1-1/16-12 88–97 120–132
-14 1-3/8-12 113–124 153–168
-16 1-5/16-12 130–142 176–193
-20 1-5/8-12 163–179 221–243
-24 1-7/8-12 199–220 270–298
2. Torque values shown are based on lubricated connections as in reassembly.
169885 13Revision A

RECOMMENDED TORQUES
2.1.6 O-Ring Boss (ORB) Hydraulic Fittings (Non-Adjustable)
1. Inspect O-ring (A) and seat (B) for dirt or
obvious defects.
2. Check that O-ring (A) is NOT on the threads, adjust
if necessary.
3. Apply hydraulic system oil to the O-ring.
4. Install fitting (C) into port until fittingishandtight.
5. Torque fitting (C) per value in chart. Refer to
table 2.12 O-Ring Boss (ORB) Hydraulic Fittings
(Non-Adjustable), page 14.
6. Check the final condition of the fitting.
Figure 2.8: Hydraulic Fitting
Table 2.12 O-Ring Boss (ORB) Hydraulic Fittings (Non-Adjustable)
Torque Value3
SAE Dash Size Thread Size (in.) ft·lbf (*in·lbf) N·m
-3 3/8-24 *106–115 12–13
-4 7/16–20 14–15 19–21
-5 1/2–20 15–24 21–33
-6 9/16–18 19–21 26–29
-8 3/4–16 34–37 46–50
-10 7/8–14 55–60 75–82
-12 1-1/16-12 88–97 120–132
-14 1-3/8-12 113–124 153–168
-16 1-5/16-12 130–142 176–193
-20 1-5/8-12 163–179 221–243
-24 1-7/8-12 199–220 270–298
3. Torque values shown are based on lubricated connections as in reassembly.
169885 14Revision A
Other manuals for M155
11
This manual suits for next models
1
Table of contents
Other MacDon Farm Equipment manuals

MacDon
MacDon R113 User manual

MacDon
MacDon FlexDraper FD1 Series User manual

MacDon
MacDon CA20 User manual

MacDon
MacDon M Series User manual

MacDon
MacDon FlexDraper FD2 Series User manual

MacDon
MacDon FlexDraper FD1 Series User manual

MacDon
MacDon D50 User manual

MacDon
MacDon M1 Series Technical manual

MacDon
MacDon FlexDraper FD1 Series Parts list manual

MacDon
MacDon D65 User manual