Product User Guide | 3
Pulse101A
PRODUCT USER GUIDE
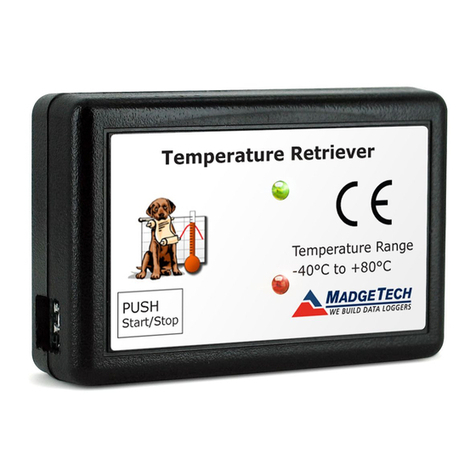
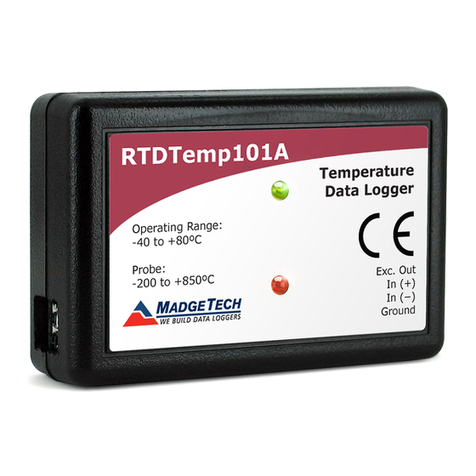
LED Indicators
Green LED blinks: 10 seconds to indicate
logging and 15 seconds to indicate delay
start mode.
Red LED blinks: 10 seconds to indicate
low battery and/or memory and 1 second
to indicate an alarm condition.
Multiple Start/Stop Mode Activation
• To start device: Press and hold the pushbutton for
5 seconds, the green LED will flash during this time. The
device has started logging.
• To stop the device: Press and hold the pushbutton for
5 seconds, the red LED will flash during the this time.
The device has stopped logging.
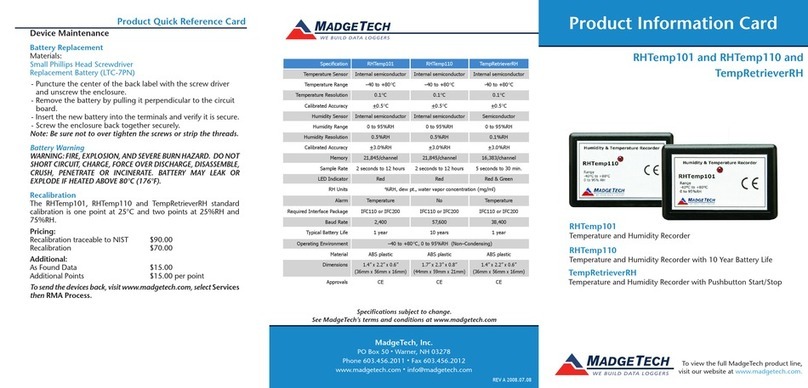
Device Maintenance
Battery Replacement
Materials: Small Phillips Head Screwdriver and a
Replacement Battery (LTC-7PN)
1. Puncture the center of the back label with the screw
driver and unscrew the enclosure.
2. Remove the battery by pulling it perpendicular to the
circuit board.
3. Insert the new battery into the terminals and verify it
is secure.
4. Screw the enclosure back together securely.
Note: Be sure not to over tighten the screws or strip the threads.
Recalibration
The Pulse101A has a digital input signal and cannot be
calibrated. A certificate of conformance can be provided.
Engineering Units
Native measurement units can be scaled to display
measurement units of another type. This is useful when
monitoring voltage outputs from different types of sensors
such as wind speed and flow rate. Please refer to the
Engineering Units Video on madgetech.com/resources/
videos for step-by-step setup instructions.
Alarm Settings
To change the settings for the alarm:
1. Select Alarm Settings from the Device Menu in the
MadgeTech Software. A window will appear allowing to
set the high and low alarms and warning alarms.
2. Press Change to edit the values.
3. Check Enable Alarm Settings to enable the feature
and check each high and low, warn and alarm box
to activate it. The values can be entered in the field
manually or by using the scroll bars.
4. Click Save to save the changes. To clear an active
alarm or warn, press the Clear Alarm or Clear Warn
button.
5. To set an alarm delay, enter the duration of time into
the Alarm Delay box in which the readings can be
outside of the alarm parameters.
Set Password
To password protect the device so that others cannot
start, stop or reset the device:
1. In the Connected Devices panel, click the device desired.
2. On the Device Tab, in the Information Group, click
Properties. Or, right-click the device and select
Properties in the context menu.
3. On the General Tab, click Set Password.
4. Enter and confirm the password in the box that
appears, then select OK.
