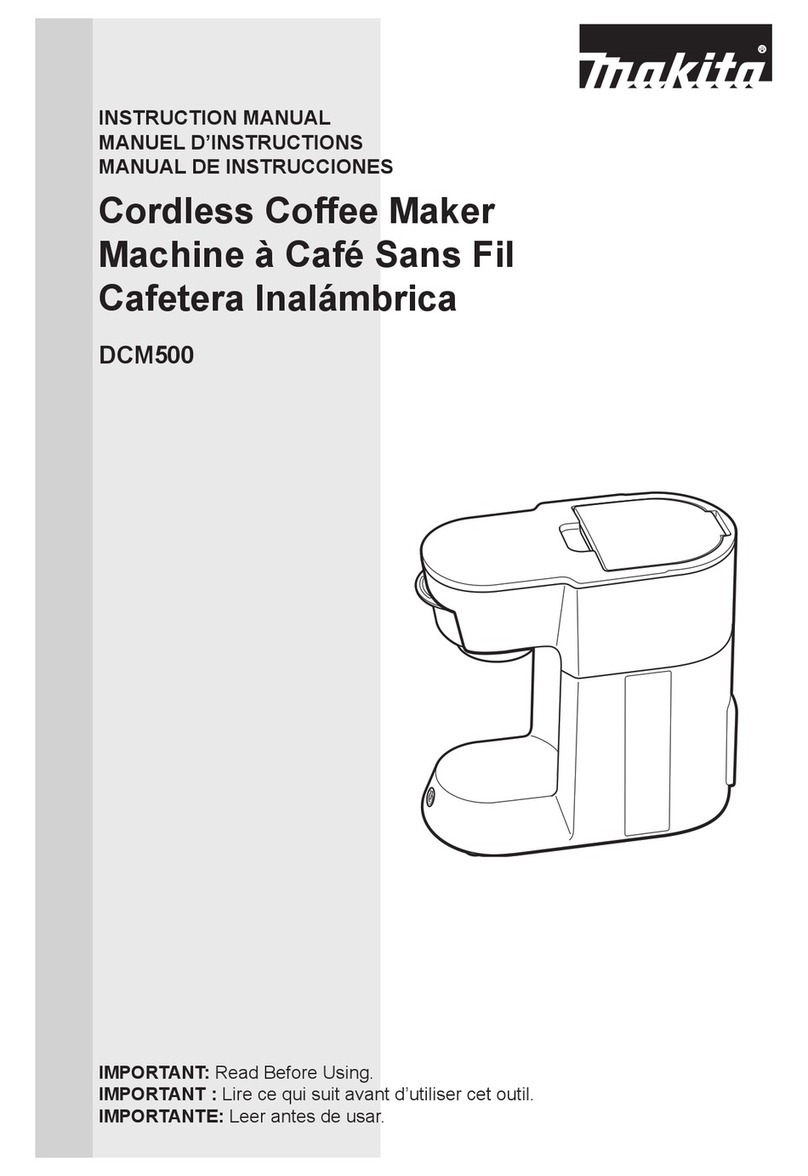
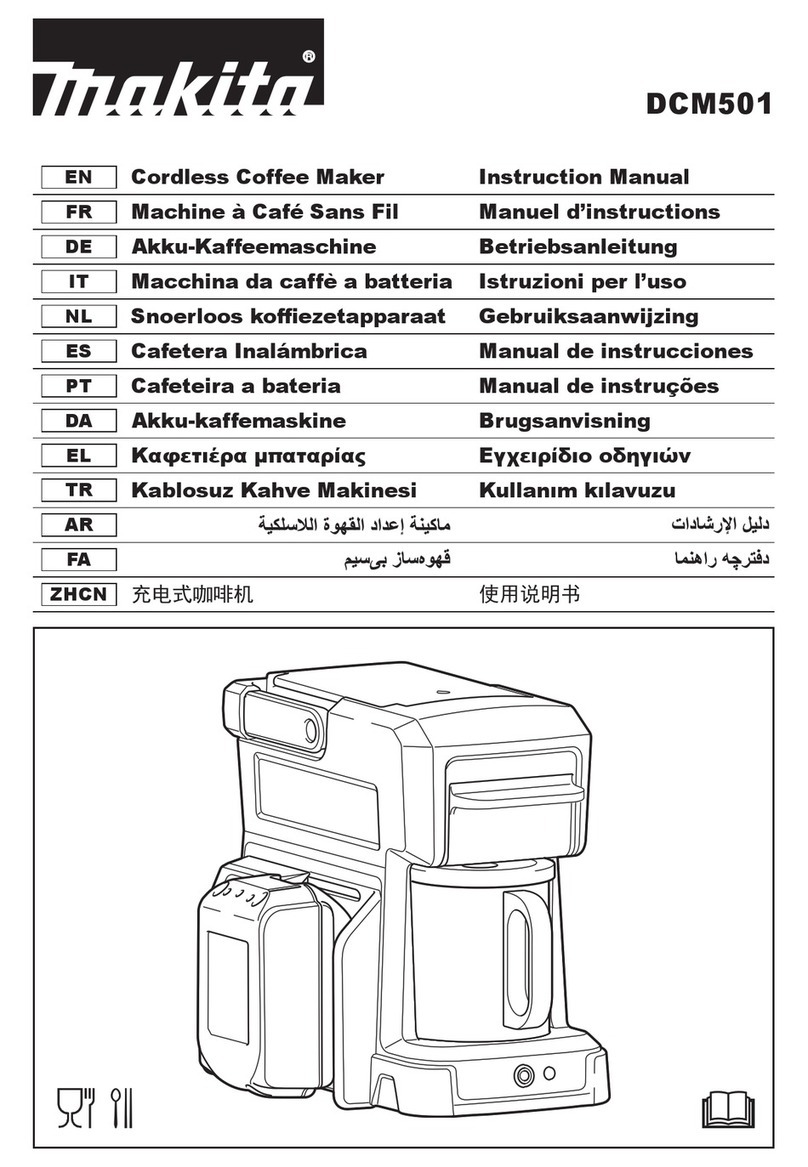
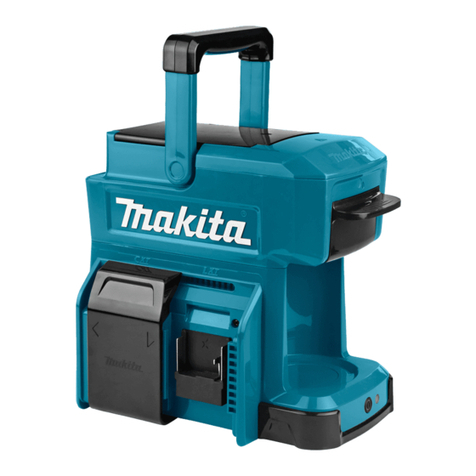
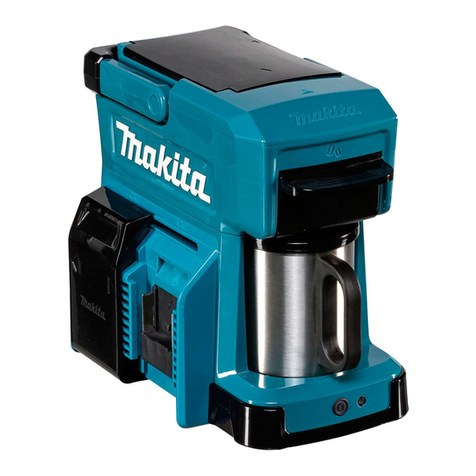
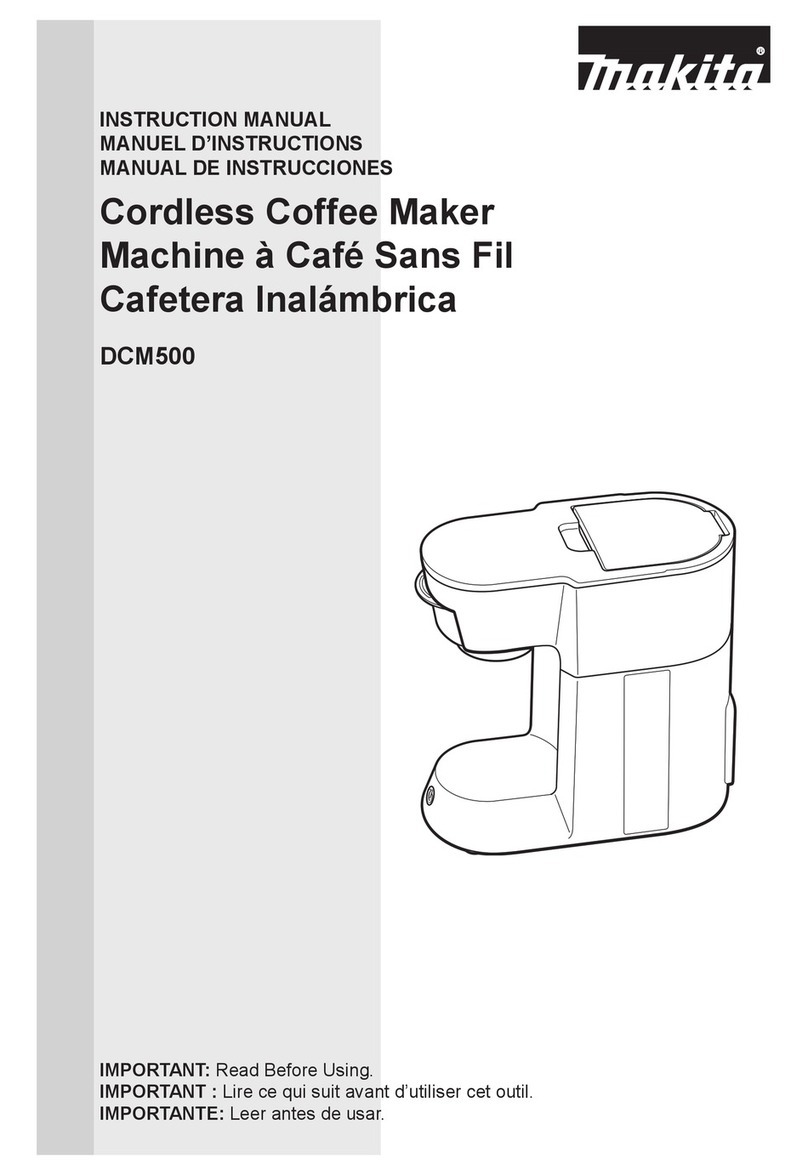
Makita DCM500 User manual

GB Cordless Coffee Maker Instruction Manual
UA Бзва авваа Іця з аац
PL Bezprzewodowy Expres Do
Kawy Instrukcja obsługi
RO Cafetieră cu acumulator Manual de instrucţiuni
DE Akku-Kaffeemaschine Gebrauchsanleitung
HU Vezeték nélküli kávéfőző Használati útmutató
SK Bezdrôtový kávovar Návod na obsluhu
CZ Bezdrátový kávovar Návod k použití
DCM500

2
1
3
2
4
A B
5
6
7
8
9
10
11
13
14
15
16
12
C
D E

3
17
18
F
G
H

4
ENGLISH
WARNING AND SAFETY RULES
This appliance can be used by children aged from 8 years and above if
they have been given supervision or instruction concerning use of the
appliance in a safe way and if they understand the hazards involved.
Cleaning and user maintenance shall not be made by children unless
they are older than 8 and supervised. Keep the appliance and its cord
out of reach of children aged less than 8 years.
Appliances can be used by persons with reduced physical, sensory
or mental capabilities or lack of experience and knowledge if they
have been given supervision or instruction concerning use of the
appliance in a safe way and understand the hazards involved.
Children shall not play with the appliance.
•
•
•
This appliance is intended to be used in household and similar
applications such as:
environments;
- farm houses;
- by clients in hotels, motels and other residential type
environments;
- bed and breakfast type environments.
Do not use the appliance other than its intended use.
Read all instructions.
Surfaces are liable to get hot during use. Do not touch hot
surfaces.
or appliance in water or in any other liquid.
Unplug from outlet when not in use and before cleaning. Allow to
cool before putting on or taking off parts, and before cleaning the
appliance.
Do not operate any appliance with a damaged cord or plug after
the appliance malfunctions, or has been damaged in any manner.
Return appliance to the nearest authorized service facility for
examination, repair or adjustment.
The use of accessory attachments not recommended by the
to persons.
Do not let cord hang over edge of table or counter, or touch hot
surfaces.
1.
2.
3.
4.
5.
6.
7.
8.

5
Do not place on or near a hot gas or electric burner, or in a heated
oven.
To disconnect, turn any control to “off,” then remove plug from wall
outlet.
Do not use appliance for other than intended use.
Do not open the water tank lid during the brewing cycles.
brewing cycles.
bottom cover. No user serviceable parts inside. Service and repair
should only be performed by an authorized service center.
For DC supply, the appliance is only to be used with the power
supply unit provided with the appliance.
Disconnect the battery cartridge from the appliance before making
any adjustments, changing accessories, or storing appliance. Such
preventive safety measures reduce the risk of starting the appliance
accidentally.
charger that is suitable for one type of battery cartridge may create
Use of any other battery cartridges may create a risk of injury and
When battery cartridge is not in use, keep it away from other metal
objects, like paper clips, coins, keys, nails, screws or other small
metal objects, that can make a connection from one terminal to
another. Shorting the battery terminals together may cause burns
Under abusive conditions, liquid may be ejected from the battery;
liquid contacts eyes, additionally seek medical help. Liquid ejected
from the battery may cause irritation or burns.
Do not use a battery cartridge or appliance that is damaged or
cause explosion.
9.
11.
12.
13.
14.
15.
16.
17.
18.
19.
21.
22.
23.

6
IMPORTANT SAFETY INSTRUCTIONS
FOR BATTERY CARTRIDGE
Before using battery cartridge, read all instructions
and cautionary markings on (1) battery charger, (2)
battery, and (3) appliance using battery.
Do not disassemble battery cartridge.
If operating time has become excessively shorter,
stop operating immediately. It may result in a risk of
overheating, possible burns and even an explosion.
If electrolyte gets into your eyes, rinse them out with
clear water and seek medical attention right away. It
may result in loss of your eyesight.
Do not short the battery cartridge:
(1) Do not touch the terminals with any conductive
material.
(2) Avoid storing battery cartridge in a container with
other metal objects such as nails, coins, etc.
(3) Do not expose battery cartridge to water or rain.
overheating, possible burns and even a breakdown.
Do not store the appliance and battery cartridge in
locations where the temperature may reach or exceed
Do not incinerate the battery cartridge even if it is
severely damaged or is completely worn out. The
Be careful not to drop or strike battery.
Do not use a damaged battery.
Follow your local regulations relating to disposal of
battery.
Tips for maintaining maximum battery life
Charge the battery cartridge before completely
discharged.
Always stop appliance operation and charge the
battery cartridge when you notice less appliance
power.
Never recharge a fully charged battery cartridge.
Overcharging shortens the battery service life.
Charge the battery cartridge with room temperature at
cool down before charging it.
Charge the battery cartridge once in every six months
if you do not use it for a long period of time.
1.
2.
3.
4.
5.
6.
7.
8.
9.
1.
2.
3.
4.
Symbols
The following show the symbols used for the appliance.
Be sure that you understand their meaning before use.
Read instruction manual.•
Cd
Ni-MH
Li-ion
Only for EU countries
Do not dispose of electric equipment or
battery pack together with household
waste material! In observance of
the European Directives, on Waste
Electric and Electronic Equipment and
Batteries and Accumulators and Waste
Batteries and Accumulators and their
implementation in accordance with
national laws, electric equipment and
batteries and battery pack(s) that have
reached the end of their life must be
collected separately and returned to an
environmentally compatible recycling
facility.
•
SPECIFICATIONS
Model
Power source
AC (see the nameplate on the
appliance for the operating
voltage),
or
18 V DC (using a battery
Water tank
capacity
Dimensions (l/w/h) 222 x 115 x 214 mm
Weight
1.7 kg with battery
Due to our continuing program of research and
change without notice.
country to country.
Weight, with battery cartridge, according to EPTA-
•
•
•
identical replacement parts. This will ensure that the safety of the
product is maintained.
Be careful not to spill liquid on the connector. If liquid spills on the
connector, unplug/remove the battery.
SAVE THESE INSTRUCTIONS.
24.
25.

7
OPERATION
PARTS IDENTIFICATION (Fig. C)
Button
Red indicator
Battery cartridge
Star marking
Tank lid
Water tank
Filter
Filter holder
Cup rest (for up to 88 mm tall cups or mugs)
Power switch
Bottom plate
AC power socket
DC power socket
Measure (a level scoop of coffee: 6.5 g)
Battery holder
AC power cord
“LIMIT” island
PREPARATION
storage, perform the following steps:
Remove all packing materials from the appliance.
of fresh water into the water tank and brew (refer to
operation at least twice.
USE WITH AC POWER (Fig. D)
Plug the AC power cord into the AC power socket on the
appliance, and then into the AC outlet.
NOTE
Do not plug both the AC power cord and battery holder
into the sockets on the appliance at the same time.
A short power-supply cord is provided to reduce risks
resulting from becoming entangled in or tripping over a
longer cord. If you use longer detachable power-supply
cords or extension cords:
Use longer detachable power-supply cords or
extension cords with care.
Use detachable power-supply cord or extension cord
marked with an electrical rating at least as great as
the electrical rating of the appliance.
Use grounding type 3-wire cord only.
Arrange the longer cord so that it will not drape over
the counter top or table top where it can be pulled on
by children or tripped over.
1.
2.
3.
4.
5.
6.
7.
8.
9.
11.
12.
13.
14.
15.
16.
17.
18.
1.
2.
3.
•
•
-
-
-
-
USE WITH BATTERY
Installing or removing battery cartridge (Fig. A)
CAUTION
Always switch off the appliance before installing or
removing of the battery cartridge.
Hold the battery holder and the battery cartridge
Failure to hold the battery holder and the battery
and result in damage to the appliance and battery
cartridge and a personal injury.
To remove the battery cartridge, slide it from the battery
holder while sliding the button (Fig. A-1) on the front of
the cartridge.
To install the battery cartridge, align the tongue on the
battery cartridge with the groove in the housing and slip it
into place. Insert it all the way until it locks in place with a
little click. If you can see the red indicator (Fig. A-2) on the
upper side of the button, it is not locked completely.
CAUTION
Always install the battery cartridge fully until the red
indicator (Fig. A-2) cannot be seen. If not, it may
accidentally fall out of the battery holder, causing injury
to you or someone around you.
Do not install the battery cartridge forcibly. If the
cartridge does not slide in easily, it is not being inserted
correctly.
Battery protection system
The appliance is equipped with a battery protection
system. This system automatically cuts off power to the
appliance to extend battery life.
The appliance will automatically stop during operation if
the appliance and/or battery are placed under one of the
following conditions:
Overheated:
If the appliance does not start, the battery is
overheated. In this situation, let the battery cool
before pressing the power switch again.
Low battery voltage:
The remaining battery capacity is too low and the
appliance will not operate. In this situation, remove
and recharge the battery.
NOTE
The overheat protection works only with a battery
cartridge with a star mark (Fig. B-4).
Connecting the battery holder (Fig. E)
Plug the battery holder into the DC power socket on the
appliance.
NOTE
Do not plug both the AC power cord and battery holder
into the sockets on the appliance at the same time.
•
•
•
•
•
•
•
•

8
BREWING
fresh cold water.
Pour water until the “LIMIT” island (Fig. F-17) just
sinks.
NOTE
Do not pour in too much water, or water may run out
from the appliance, put 6.5 gram of ground coffee
NOTE
correctly.
Adjust the amount of ground coffee to your
preference.
Place a cup on the cup rest (Fig. C-9).
The power switch lights up and the brewing cycle
begins.
When the brewing cycle has ended, the appliance
automatically turns off and the power switch light
goes off.
NOTE
The appliance turns off and the power switch light goes
off.
With AC operation, a brewing cycle takes approx. 3
minutes, while with battery operation, it takes approx. 7
minutes (the cycle time varies depending on the amount
of water, temperature, and other conditions). The longer
the brewing cycle, the stronger the coffee.
CAUTION
holder (Fig. C-8) during the brewing cycle.
When the brewing section marked with
steaming, do not touch it.
Do not touch the bottom plate (Fig. C-11) during the
brewing cycle.
After the brewing cycle completes, wait at least 5
If another brewing cycle is to be started, wait at least
5 minutes before pouring in cold water. Otherwise,
steam and hot water could be released and scalding
may result.
1.
•
2.
•
•
3.
4.
•
•
•
•
•
•
•
•
CLEANING
Proper maintenance will ensure years of service for
your appliance. Clean the appliance after every use to
WARNING
Do not immerse the appliance, AC power cord, or
battery holder in water or other liquids.
Unplug the AC power cord/battery holder from the
appliance and allow the appliance to cool.
Wipe the exterior with a soft cloth moistened with
water.
NOTE
• Do not use abrasive cleansers or scouring pads.
from the appliance, wash them in hot, soapy water,
and then rinse them with hot water.
Allow the appliance and all parts to dry completely.
NOTE
Do not dry the inside of the water tank (Fig. C-6) with a
cloth, as lint may remain.
STORAGE
down completely before you store it.
Do not store the discharged battery for long periods, as
it can shorten its service life.
To maintain product SAFETY and RELIABILITY,
repairs, any other maintenance or adjustment should
be performed by Makita Authorized Service Centers,
always using Makita replacement parts.
MAINTENANCE
WARNING
When servicing is required, ask a Makita authorized
service center which deals genuine replacement parts.
Use of any other parts may create a hazard or cause
product damage.
WARNING
To avoid serious personal injury, always remove the
AC power cord or battery cartridge from the unit when
cleaning or performing any maintenance.
GENERAL MAINTENANCE
Never use gasoline, benzine, thinner, alcohol or the like
when cleaning plastic parts. Discoloration, deformation
or cracks may result. After appliance cooled, use clean
clothes to remove dirt, dust, oil, grease etc.
OPTIONAL ACCESSORY
CAUTION
These accessories or attachments are recommended
The use of any other accessories or attachments might
present a risk of injury to persons. Only use accessory
or attachment for its stated purpose.
If you need any assistance for more details regarding
these accessories, ask your local Makita Service Center.
Makita genuine battery and charger
NOTE
Some items in the list may be included in the appliance
package as standard accessories. They may differ from
country to country.
•
1.
2.
3.
4.
•
•
•
•
•
•
•
•
•

27
DEUTSCH
WARNUNG UND SICHERHEITSREGELN
wenn sie eine Betreuung oder Anweisung bezüglich des sicheren
dürfen nicht von Kindern durchgeführt werden, es sei denn, dass
Jahren auf.
Erfahrung und Kenntnis benutzt werden, wenn sie eine Betreuung
•
•
•
Anwendungen wie den folgenden vorgesehen:
Arbeitsumgebungen;
- Frühstückspensionen.
Lesen Sie alle Anweisungen.
in Wasser oder andere Flüssigkeiten, um einen Brand und
Ziehen Sie bei Nichtbenutzung und vor dem Reinigen des
reinigen.
reparieren oder einstellen zu lassen.
1.
2.
3.
4.
5.
6.

28
empfohlen wird, kann zu einem Brand, elektrischen Schlag oder
Personenverletzung führen.
Lassen Sie das Kabel nicht über die Kante eines Tisches oder
Abtrennen schalten Sie zuerst den Schalter aus, bevor Sie den
Netzstecker von der Netzsteckdose abziehen.
Aufbrühzyklen.
Es kann zu einer Verbrühung kommen, falls der Filterhalter
keine vom Benutzer zu wartenden Teile im Inneren. Wartung und
Reparatur dürfen nur von einer autorisierten Kundendienststelle
durchgeführt werden.
Akkutyp geeignet ist, kann bei Verwendung mit einem anderen
Akku eine Brandgefahr darstellen.
Akkus. Bei Verwendung irgendwelcher anderen Akkus besteht
Verletzungs- und Brandgefahr.
7.
8.
9.
11.
12.
13.
14.
15.
16.
17.
18.
19.

29
WICHTIGE SICHERHEITSVORSCHRIFTEN
FÜR AKKU
Lesen Sie vor der Benutzung des Akkus alle
Anweisungen und Warnhinweise, die an (1)
Unterlassen Sie Zerlegen des Akkus.
ist, stellen Sie den Betrieb sofort ein. Anderenfalls
Verbrennungen und sogar einer Explosion.
Falls Elektrolyt in Ihre Augen gelangt, waschen Sie
sie mit sauberem Wasser aus, und begeben Sie sich
Der Akku darf nicht kurzgeschlossen werden:
berührt werden.
1.
2.
3.
4.
5.
(3) Setzen Sie den Akku weder Wasser noch Regen
aus.
Ein Kurzschluss des Akkus kann einen starken
und sogar einen Defekt verursachen.
kann.
Versuchen Sie niemals, den Akku zu verbrennen,
verbraucht ist. Der Akku kann im Feuer explodieren.
Achten Sie darauf, dass der Akku nicht fallen gelassen
Entsorgung von Akkus.
6.
7.
8.
9.
Bewahren Sie den Akku bei Nichtgebrauch nicht zusammen mit
der Akkukontakte kann Verbrennungen oder einen Brand
verursachen.
Bei Missbrauch kann Flüssigkeit aus dem Akku austreten.
Vermeiden Sie Kontakt mit dieser Flüssigkeit. Falls Sie
versehentlich mit der Flüssigkeit in Berührung kommen, spülen
Sie die betroffenen Stellen mit Wasser ab. Falls die Flüssigkeit
Behandlung. Die vom Akku austretende Flüssigkeit kann
das zu einem Brand, einer Explosion oder Verletzung führen
kann.
Temperaturen aus. Die Einwirkung von Feuer oder Temperaturen
Dadurch wird die Aufrechterhaltung der Sicherheit des Produkts
Achten Sie darauf, dass keine Flüssigkeit auf den Anschluss
verschüttet wird. Falls Flüssigkeit auf den Anschluss verschüttet
wird, sofort den Stecker abziehen/den Akku abnehmen.
DIESE ANWEISUNGEN AUFBEWAHREN.
21.
22.
23.
24.
25.

Hinweise zur Aufrechterhaltung der maximalen Akku-
Nutzungsdauer
ist.
feststellen.
Unterlassen Sie erneutes Laden eines voll
aufgeladenen Akkus.
Nutzungsdauer des Akkus.
Laden Sie den Akku bei Raumtemperatur zwischen
bevor Sie ihn laden.
sechs Monate nach.
Symbole
Symbole beschrieben. Machen Sie sich vor der
Benutzung mit ihrer Bedeutung vertraut.
•
Cd
Ni-MH
Li-ion
Batterien, Akkus sowie verbrauchte
Batterien und Akkus und ihre Umsetzung
die das Ende ihrer Lebensdauer erreicht
haben, getrennt gesammelt und einer
umweltgerechten Recycling-Einrichtung
zugeführt werden.
•
TECHNISCHE DATEN
Modell
Stromquelle
Wechselstrom (Angaben zur
Betriebsspannung auf dem
oder
Wassertankinhalt
Abmessungen
222 x 115 x 214 mm
1,7 kg mit Akku
Aufgrund unseres Dauerprogramms der Forschung
und Entwicklung unterliegen die hier angegebenen
technischen Daten Änderung ohne Vorankündigung.
zu Land unterschiedlich sein.
1.
2.
3.
4.
•
•
•
BETRIEB
BEZEICHNUNG DER TEILE (Abb. C)
Knopf
Rote Anzeige
Akku
Sternsymbol
Tankdeckel
Wassertank
Filter
Filterhalter
Ein-Aus-Schalter
Bodenplatte
Wechselstromeingang
Akkuhalter
Netzkabel
“LIMIT”-Insel
VORBEREITUNG
benutzen, führen Sie die folgenden Schritte aus:
Sie den Filter und Filterhalter (siehe den Abschnitt
und kochen Sie das Wasser (siehe den Abschnitt
Wassertank leer ist. Wiederholen Sie den gleichen
Vorgang mindestens zweimal.
NETZSTROMBETRIEB (Abb. D)
Netzsteckdose an.
HINWEIS
Ein kurzes Stromversorgungskabel ist im Lieferumfang
abnehmbaren Stromversorgungskabeln oder
Verwenden Sie abnehmbare Stromversorgungskabel
Leistungsangabe, die mindestens so hoch ist wie die
Verwenden Sie nur ein Dreileiterkabel mit Erdleiter.
kann.
1.
2.
3.
4.
5.
6.
7.
8.
9.
11.
12.
13.
14.
15.
16.
17.
18.
1.
2.
3.
•
•
-
-
-
-

31
AKKUBETRIEB
Anbringen und Abnehmen des Akkus (Abb. A)
VORSICHT
anbringen oder abnehmen.
Halten Sie Akkuhalter und Akku beim Anbringen
oder Abnehmen des Akkus sicher fest. Wenn
Sie Akkuhalter und Akku nicht sicher festhalten,
Ziehen Sie den Akku zum Abnehmen vom Akkuhalter ab,
Akkus verschieben.
Richten Sie zum Anbringen des Akkus dessen
rote Anzeige (Abb. A-2) an der Oberseite des Knopfes
VORSICHT
Schieben Sie den Akku stets bis zum Anschlag ein,
bis die rote Anzeige (Abb. A-2) nicht mehr sichtbar ist.
Anderenfalls kann er aus dem Akkuhalter herausfallen
und Sie oder umstehende Personen verletzen.
Akkus. Falls der Akku nicht reibungslos hineingleitet, ist
er nicht richtig ausgerichtet.
Akku-Schutzsystem
Dieses System schaltet die Stromversorgung des
Bedingungen unterliegen:
Lassen Sie den Akku in dieser Situation abkühlen,
Niedrige Akkuspannung:
funktioniert nicht. Nehmen Sie in dieser Situation
den Akku ab, und laden Sie ihn auf.
HINWEIS
mit Sternsymbol (Abb. B-4).
Anschließen des Akkuhalters (Abb. E)
HINWEIS
•
•
•
•
•
•
•
•
AUFBRÜHEN
Öffnen Sie den Wassertankdeckel (Abb. C-5), und
Füllen Sie Wasser bis kurz über die “LIMIT”-Insel
(Abb. F-17) ein.
HINWEIS
Füllen Sie nicht zu viel Wasser ein, weil es sonst
Entfernen Sie den Filterhalter (Abb. C-8) mit dem
Filter ein, und setzen Sie dann den Filterhalter wieder
HINWEIS
Setzen Sie den Filter korrekt in den Filterhalter ein
richtig eingesetzt werden.
Passen Sie die Kaffeemehlmenge Ihrer
Bevorzugung an.
(Abb. C-9).
Der Ein-Aus-Schalter leuchtet auf, und der
Aufbrühzyklus beginnt.
Wenn der Aufbrühzyklus beendet ist, schaltet sich
Aus-Schalters erlischt.
HINWEIS
Um den Aufbrühvorgang abzubrechen, drücken Sie den
aus, und die Leuchte des Ein-Aus-Schalters erlischt.
Bei Netzbetrieb dauert ein Aufbrühzyklus ca. 3 Minuten,
VORSICHT
Um die Verbrühungsgefahr zu verringern, entfernen
Aufbrühzyklus.
Wenn der mit
berühren Sie ihn nicht.
Dampf bildet sich unter dem Filterhalter (Abb. C-8).
des Aufbrühzyklus.
Warten Sie nach Abschluss des Aufbrühzyklus
mindestens 5 Minuten, bevor Sie den Filterhalter
entfernen.
Soll ein weitererAufbrühzyklus gestartet werden, warten
Sie mindestens 5 Minuten, bevor Sie kaltes Wasser
1.
•
2.
•
•
3.
4.
•
•
•
•
•
•
•
•

32
REINIGEN
aufrechtzuerhalten.
WARNUNG
Akkuhalter nicht in Wasser oder andere Flüssigkeiten.
ab, das Sie mit Wasser angefeuchtet haben.
HINWEIS
• Verwenden Sie keine Scheuermittel oder
Scheuerkissen.
Entfernen Sie den Filterhalter (Abb. C-8) mit dem
trocknen.
HINWEIS
Wischen Sie die Innenseite des Wassertanks (Abb. C-6)
nicht mit einem Tuch aus, weil Flusen zurückbleiben
LAGERUNG
Um einen Brand oder Verbrennungen zu vermeiden,
es lagern.
Zeitspannen, weil sich dadurch seine Lebensdauer
verkürzen kann.
und andere Wartungs- oder Einstellarbeiten nur
von autorisierten Makita-Kundendienstzentren
Originalersatzteilen ausgeführt werden.
WARTUNG
WARNUNG
Wenn Wartung erforderlich ist, wenden Sie sich an eine
autorisierte Makita-Kundendienststelle, die Original-
Produkts verursachen.
WARNUNG
Um schwere Verletzungen zu verhüten, trennen Sie
Sie Reinigungs- oder Wartungsarbeiten ausführen.
ALLGEMEINE WARTUNG
Verwenden Sie auf keinen Fall Benzin, Benzol,
Verdünner, Alkohol oder dergleichen zum Reinigen
Verformung oder Rissbildung verursachen. Lassen Sie
usw. mit einem sauberen Tuch entfernen.
•
1.
2.
3.
4.
•
•
•
•
•
•
SONDERZUBEHÖR
VORSICHT
werden für den Einsatz mit dem in dieser Anleitung
eine Verletzungsgefahr darstellen. Verwenden
vorgesehenen Zweck.
Wenn Sie weitere Einzelheiten bezüglich dieser
Makita-Kundendienststelle.
HINWEIS
von Land zu Land unterschiedlich sein.
•
•
•

Makita Corporation
Anjo, Aichi, Japan
www.makita.com
DCM500-AT8-0614
IDE
Other manuals for DCM500
5
Table of contents
Languages:
Other Makita Coffee Maker manuals

Makita
Makita DCM501Z User manual

Makita
Makita DCM500 User manual

Makita
Makita DCM501 User manual

Makita
Makita DCM501Z User manual

Makita
Makita DCM501 User manual

Makita
Makita DCM500 User manual

Makita
Makita DCM501 User manual

Makita
Makita DCM501 User manual

Makita
Makita DCM500 User manual

Makita
Makita Adventure ADCM501 User manual