6English
-
Some spray materials are dangerous and should
not be used in this sprayer, as they can damage the
sprayer and cause serious bodily injury or property
damage.
Never spray toward electri-
cal outlets.
chemicals for commercial or industrial pur-
Use only consumer grade water-based lawn
and garden chemicals.
These can weaken or damage the hose or tank.
Spray can be
accidentally blown onto plants or objects that should
not be sprayed.
-
These can
corrode metal parts or weaken the tank and hose.
Follow the chemical manufacturer s
safety instructions.
Clean after each use.
or spray
Do not discharge directly against
skin.
Do not
place or store the sprayer where it can fall or be
pulled into a tub or sink.
the inside and outside of the sprayer and exam-
-
Many accidents are caused by poorly maintained
products.
Disconnect the battery from the unit before
Such
preventive safety measures reduce the risk of acci-
dental starting.
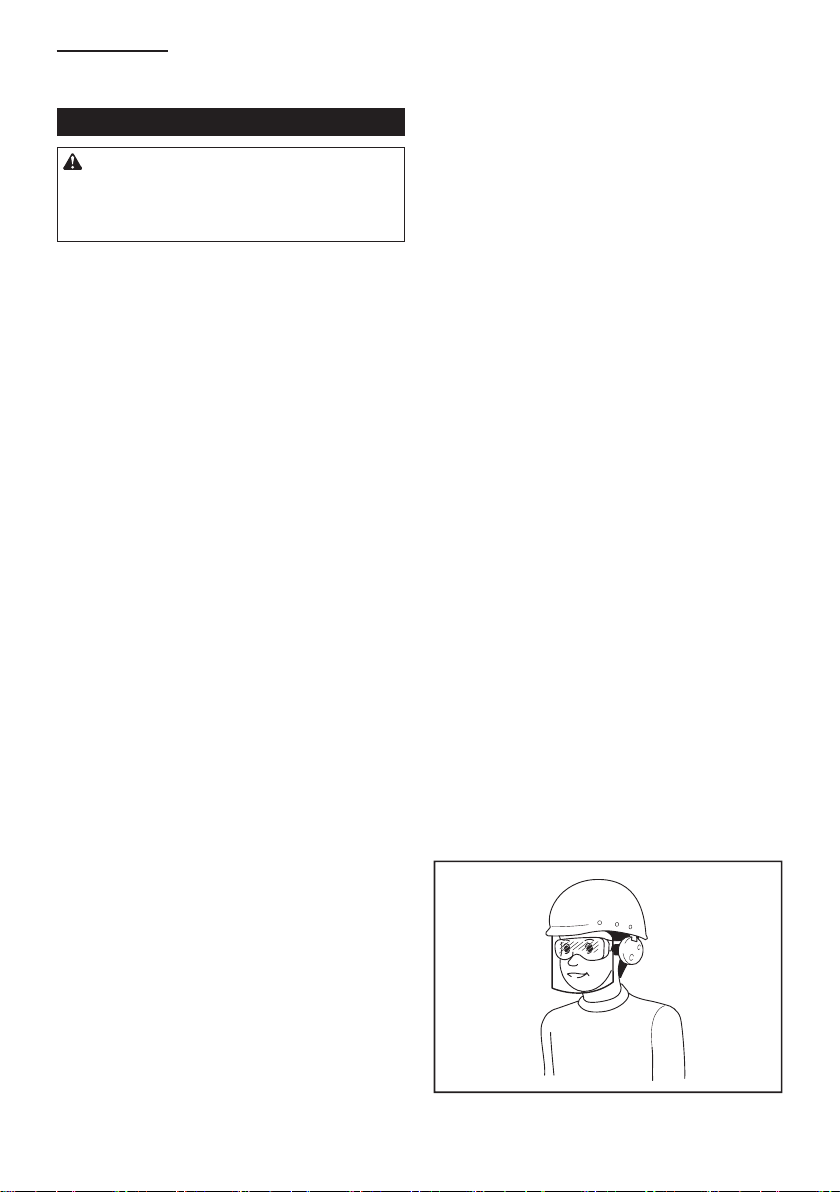
Always wear eye protection with side shields
eyes resulting in possible serious injury.
Following this rule will
reduce the risk of serious personal injury.
Following this rule
personal injury.
Do not place battery tools or their batteries near
This will reduce the risk of explosion
and possibly injury.
A damaged
battery is subject to explosion. Properly dispose of a
dropped or damaged battery immediately.
Batteries can explode in the presence of a
To reduce
the risk of serious personal injury, never use any
exploded battery can propel debris and chemicals. If
Following this rule will reduce the risk of
electric shock.
To reduce the risk of serious personal injury, do not
store outside or in vehicles.
-
Following this rule will reduce the risk of serious
personal injury.
The battery or
conductor may overheat and cause burns.
The
cell may explode. Check with local codes for possi-
ble special disposal instructions.
Released electrolyte is corrosive and may cause
damage to the eyes or skin. It may be toxic if
swallowed.
Don’t use appli-
ances in damp or wet locations.
-Do not use appliance for
any job except that for which it is intended.
Don’ t Force Appliance - It will do the job better
and with less likelihood of a risk of injury at the rate
for which it was designed.
Store Idle Appliances Indoors - When not in use,
appliances should be stored indoors in dry, and high
or locked-up place - out of reach of children.
Maintain Appliance With Care - Keep clean for
best performance and to reduce the risk of injury.
Follow instructions for changing accessories.
Inspect appliance cord, and if damaged, have it
repaired by an authorized service facility. Keep
handles dry, clean, and free from oil and grease.