9
Stopper block
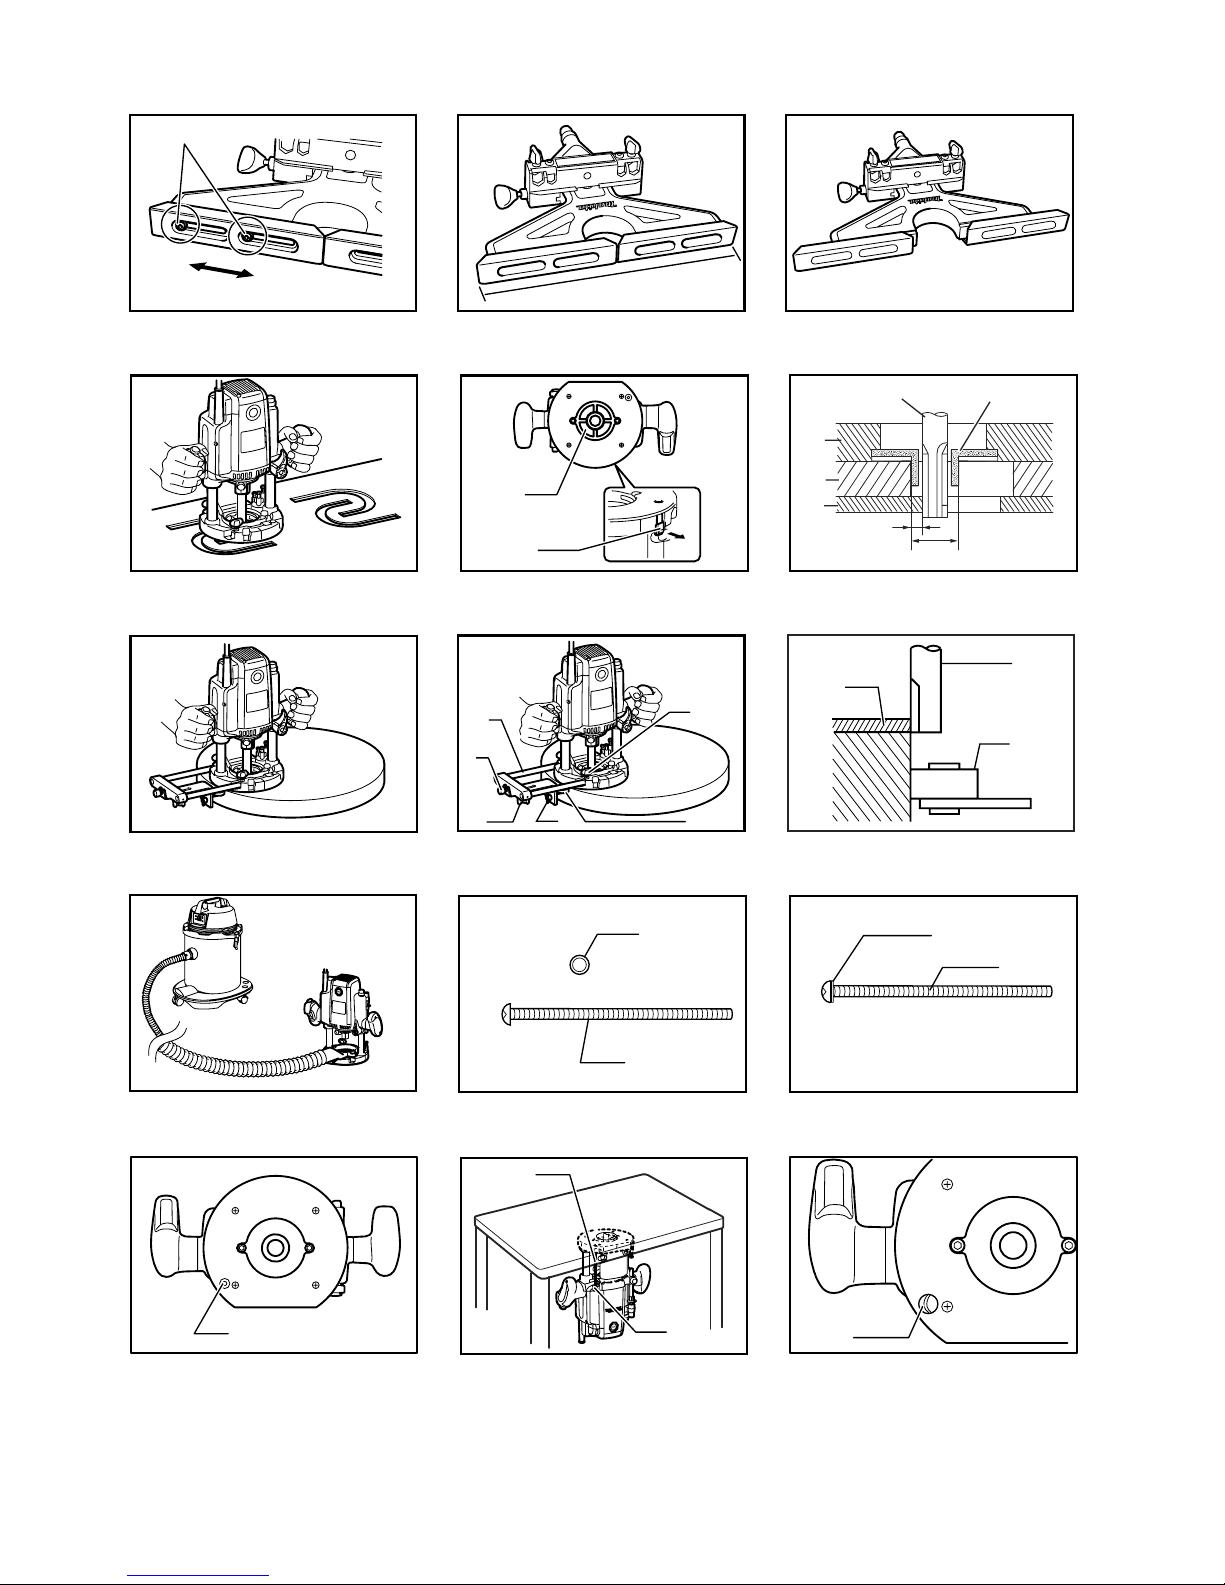
Fig.3
The stopper block has three adjusting hex bolts which
raise or lower 0.8 mm per turn. You can easily obtain
three different depths of cut using these adjusting hex
bolts without readjusting the stopper pole.
Adjust the lowest hex bolt to obtain the deepest depth of
cut, following the method of "Adjusting depth of cut".
Adjust the two remaining hex bolts to obtain shallower
depths of cut. The differences in height of these hex bolts
are equal to the differences in depths of cut.
To adjust the hex bolts, turn the hex bolts with a
screwdriver or wrench. The stopper block is also
convenient for making three passes with progressively
deeper bit settings when cutting deep grooves.
CAUTION:
• Since excessive cutting may cause overload of the
motor or difficulty in controlling the tool, the depth of
cut should not be more than 15 mm at a pass when
cutting grooves with an 8 mm diameter bit.
• When cutting grooves with a 20 mm diameter bit,
the depth of cut should not be more than 5 mm at a
pass.
• For extra-deep grooving operations, make two or
three passes with progressively deeper bit settings.
Switch action
Fig.4
CAUTION:
• Before plugging in the tool, always check to see
that the switch trigger actuates properly and returns
to the "OFF" position when released.
• Make sure that the shaft lock is released before the
switch is turned on.
To prevent the switch trigger from being accidentally
pulled, a lock button is provided.
To start the tool, depress the lock button and pull the
switch trigger. Release the switch trigger to stop.
For continuous operation, pull the switch trigger and then
depress the lock button further. To stop the tool, pull the
switch trigger so that the lock button returns
automatically. Then release the switch trigger.
After releasing the switch trigger, the lock-off function
works to prevent the switch trigger from being pulled.
CAUTION:
• Hold the tool firmly when turning off the tool, to
overcome the reaction.
Electronic function
For model RP2300FC,RP2301FC only
Constant speed control
• Possible to get fine finish, because the rotating
speed is kept constantly even under the loaded
condition.
• Additionally, when the load on the tool exceeds
admissible levels, power to the motor is reduced to
protect the motor from overheating. When the load
returns to admissible levels, the tool will operate as
normal.
Soft start feature
• Soft start because of suppressed starting shock.
Speed adjusting dial
For model RP2300FC,RP2301FC only
Fig.5
The tool speed can be changed by turning the speed
adjusting dial to a given number setting from 1 to 6.
Higher speed is obtained when the dial is turned in the
direction of number 6. And lower speed is obtained when
it is turned in the direction of number 1.
This allows the ideal speed to be selected for optimum
material processing, i.e. the speed can be correctly
adjusted to suit the material and bit diameter.
Refer to the table for the relationship between the
number settings on the dial and the approximate tool
speed.
Number min-1
1
2
3
4
5
9,000
11,000
14,000
17,000
20,000
622,000
009875
CAUTION:
• If the tool is operated continuously at low speeds
for a long time, the motor will get overloaded,
resulting in tool malfunction.
• The speed adjusting dial can be turned only as far
as 6 and back to 1. Do not force it past 6 or 1, or the
speed adjusting function may no longer work.
Lighting up the lamps
For model RP1800F, RP1801F, RP2300FC,RP2301FC
only
Fig.6
CAUTION:
• Do not look in the light or see the source of light
directly.
Pull the switch trigger to turn on the light. The lamp keeps
on lighting while the switch trigger is being pulled. The
lamp turns off 10 - 15 seconds after releasing the trigger.
NOTE:
• Use a dry cloth to wipe the dirt off the lens of lamp.
Be careful not to scratch the lens of lamp, or it may
lower the illumination.