Anwendungsinformation DE
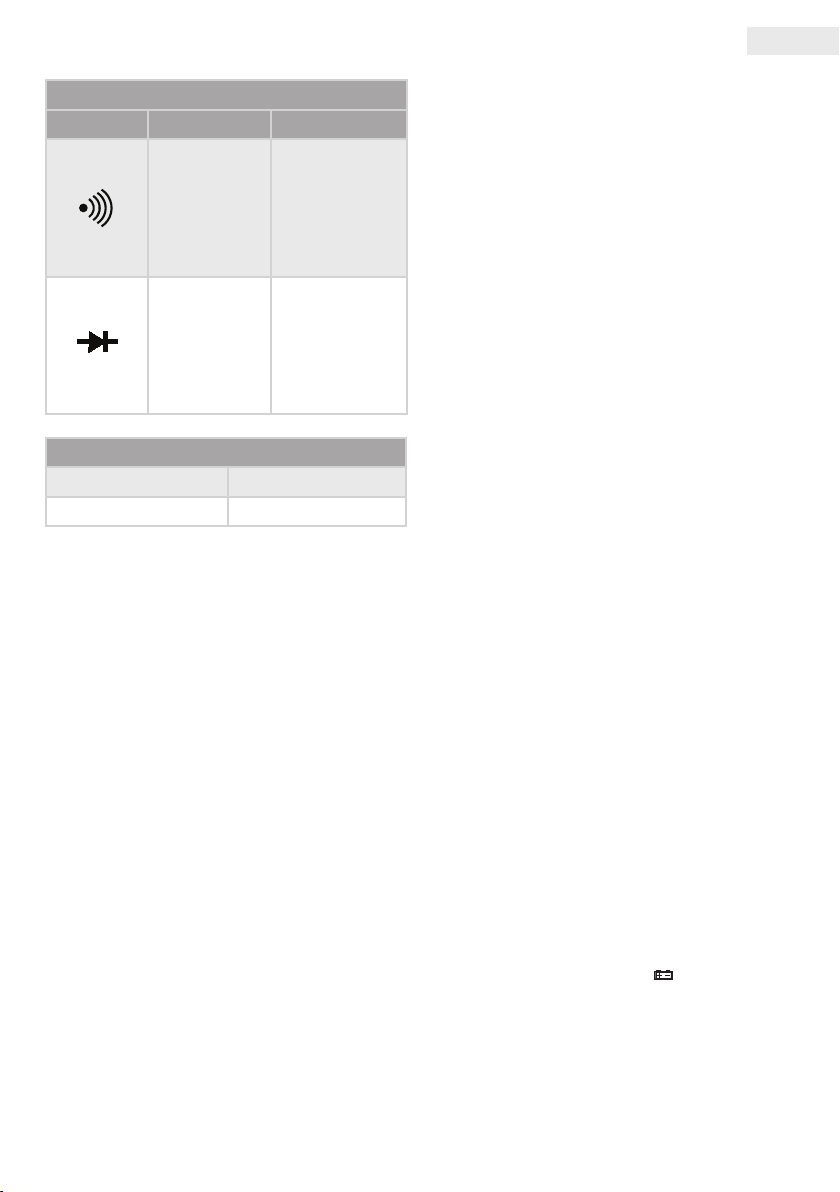
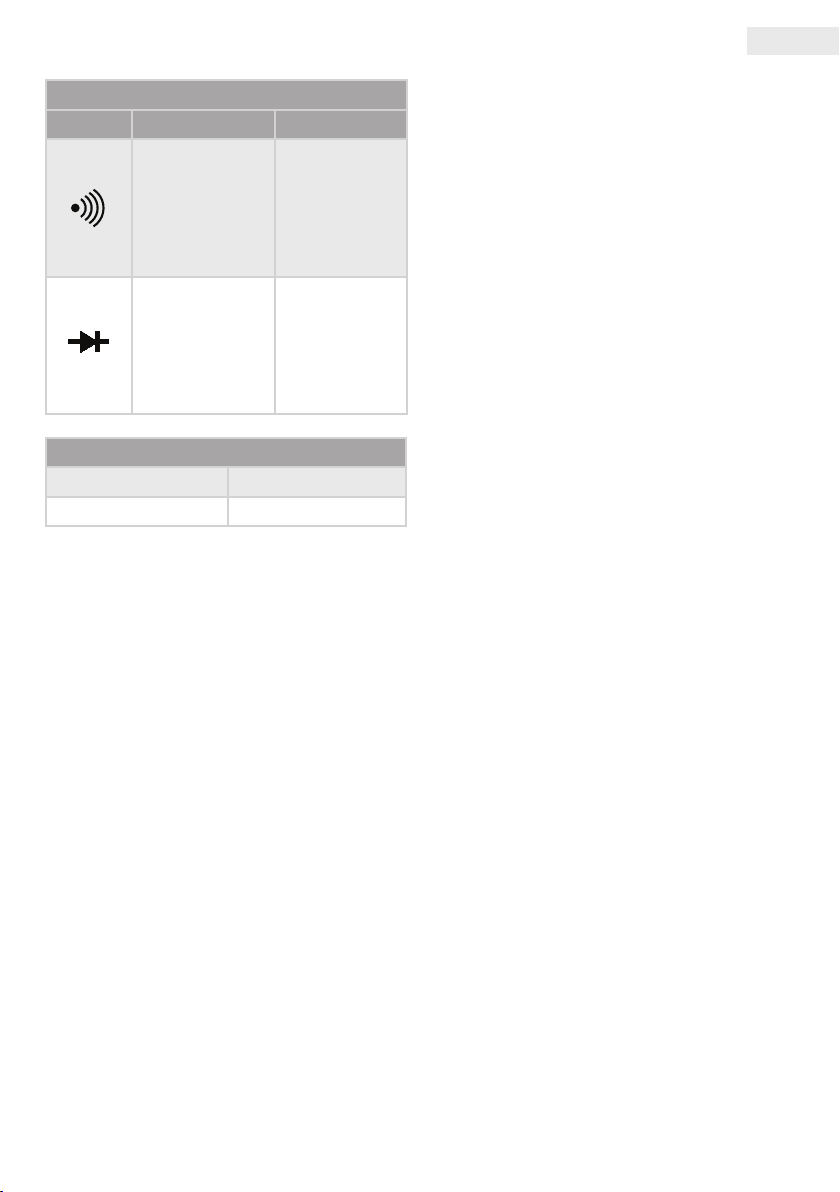
Diode und hörbare Kontinuität Test
Messbereich Beschreibung Zustand
Das Display
zeigt die
ungefähre
Leerlauf
spannung der
Diode.
Leerlauf DC
Spannung
ca. 1mA. DC
Schließen
Spannung ca.
2.8V.
Eingebaut
Piepser
signalisiert,
wenn der
gemessene
Widerstand
unter 30Ω ist.
Leerlauf
spannung ca.
2.8 V.
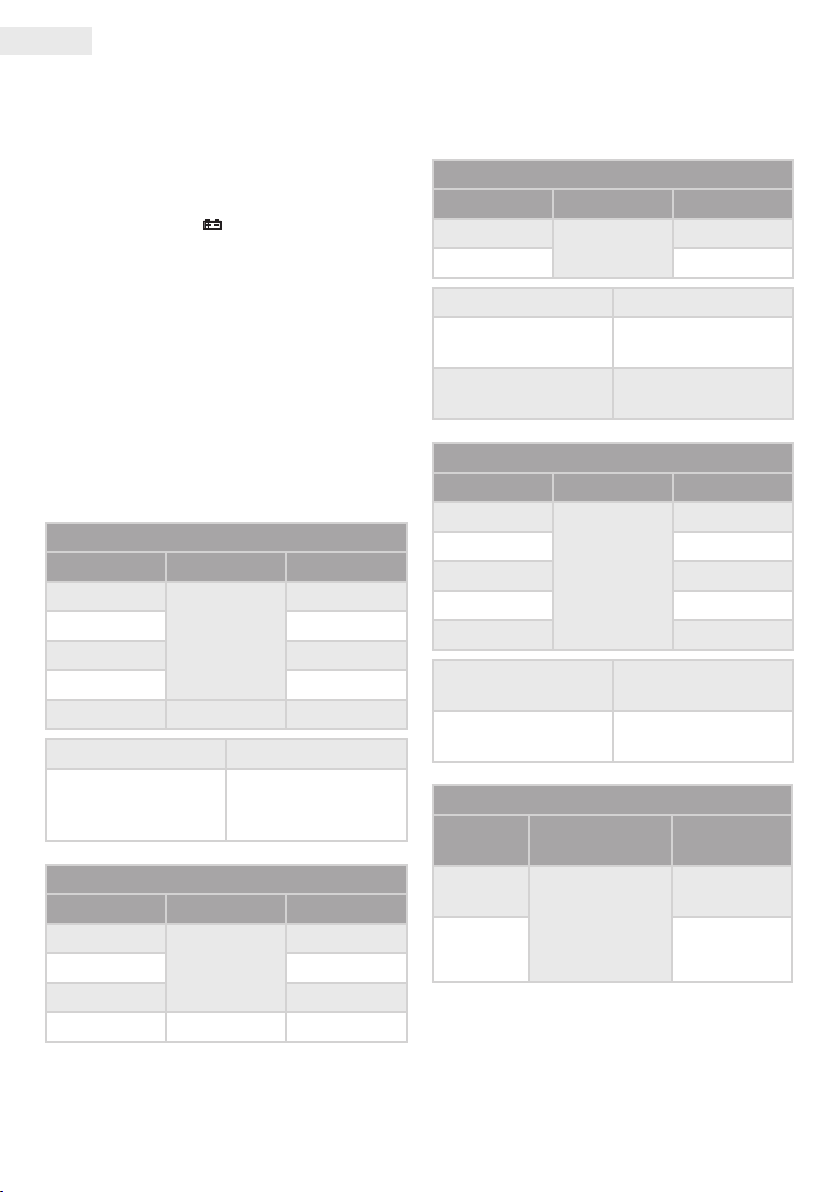
Transistortest
Anlaufstrom ca. 10μA, Vce ca. 2,8V
Anzeiger Messbereich 0 ~ 1000
BetrieB
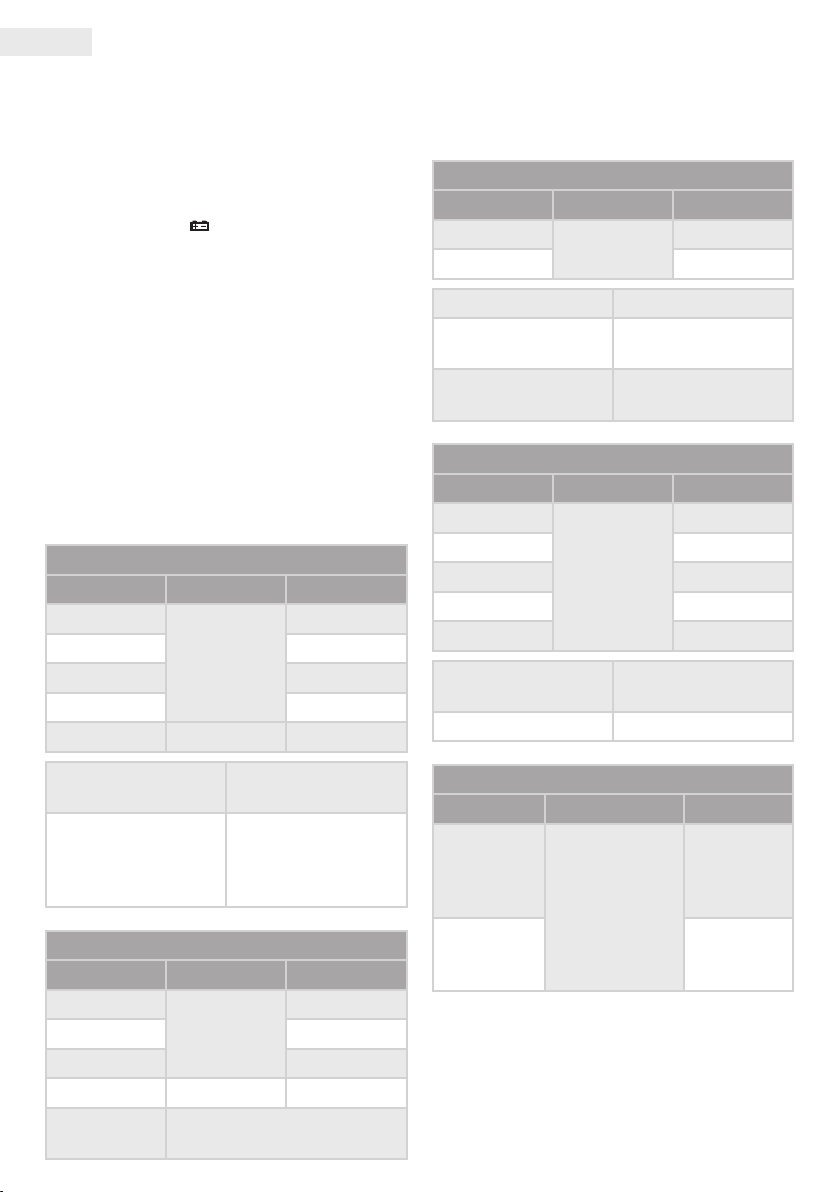
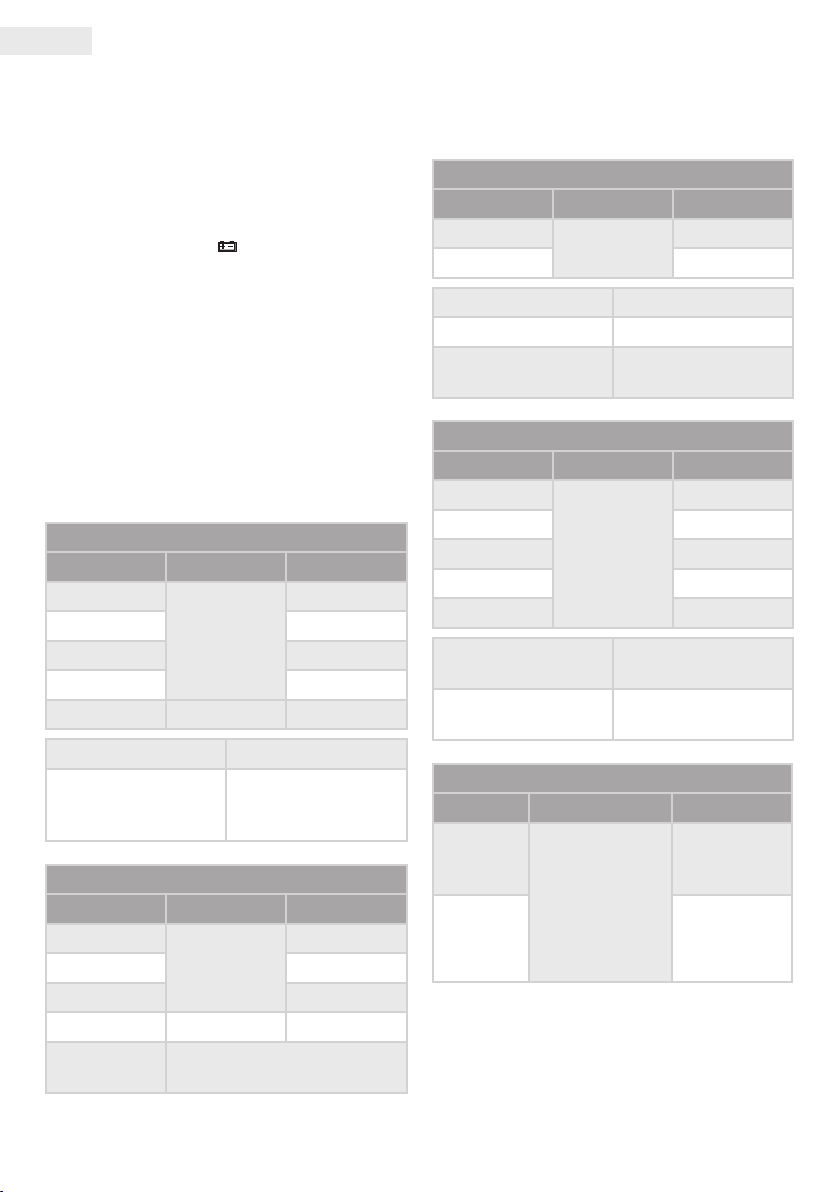
DC Spannungsmessung (DCV)
• Stellen Sie den Funktions-Wahlschalter in
die Position DCV ein und wählen Sie den
entsprechenden Messbereich aus.
• Wenn die Spannung unbekannt ist, dann
wählen Sie den maximalen Messbereich aus
und beginnen Sie die Messung.
• Verbinden Sie die Messleitungen an die
Messpunkte.
DC Stromstärkemessung (DCA)
• Stellen Sie den Funktions-Wahlschalter in
die Position DCA ein und wählen Sie den
entsprechenden Messbereich aus.
• Wenn die Spannung unbekannt ist, dann
wählen Sie den maximalen Messbereich aus
und beginnen Sie die Messung.
• Verbinden Sie die Messleitungen an die
Messpunkte.
AC Spannungsmessung (ACV)
• Stellen Sie den Funktions-Wahlschalter in
die Position ACV ein und wählen Sie den
entsprechenden Messbereich aus.
• Wenn die Spannung unbekannt ist, dann
wählen Sie den maximalen Messbereich aus
und beginnen Sie die Messung.
• Verbinden Sie die Messleitungen an die
Messpunkte.
Widerstandmessung (Ω)
• Stellen Sie den Funktions-Wahlschalter in
die Position DCV ein und wählen Sie den
entsprechenden Messbereich aus.
• Wenn die Spannung unbekannt ist, dann
wählen Sie den maximalen Messbereich aus
und beginnen Sie die Messung.
• Verbinden Sie die Messleitungen an die
Messpunkte.
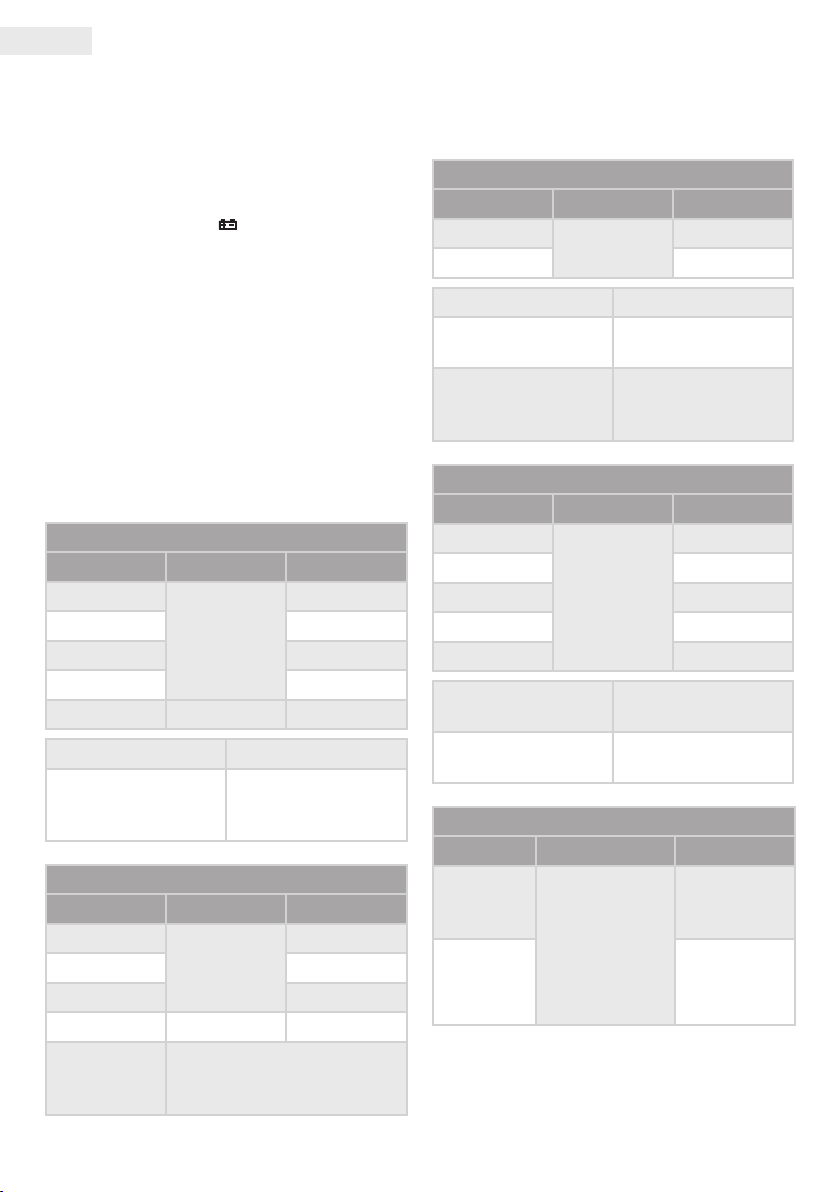
Batterietest
• Stellen Sie den Funktions-Wahlschalter in die
Position 9V oder 1,5V.
• Verbinden Sie die Messleitung an die Batterie.
Transistormessung (hFE)
• Stellen Sie den Funktions-Wahlschalter in die
Position hFE.
• Kontrollieren Sie, dass der Transistor NPN oder
PNP Typ ist und platzieren Sie den Emitter,
Basis und der Kollektor auf der rechten Buchse
in der Frontplatte.
Diode und Kontinuität Test mit Audiosignal
• Stellen Sie den Funktions-Wahlschalter in die
Position.
• Verbinden Sie die Messleitung mit der Diode,
mit dem Stromkreis oder mit dem Widerstand.
wartUng
Ihr Digital-Multimeter ist ein elektronisches
Präzisionsgerät. Berühren Sie nicht der
Stromkreis des Multimeters.
Vermeiden Sie um mögliche Gefahren:
• Schließen Sie niemals mehr als 250V DC / AC
RMS.
• Schließen Sie niemals Spannungsquelle, wenn
das Gerät in Position Ω ist!
• Betreiben Sie das Gerät, wenn das
Batteriedeckel richtig geschlossen werden.
• Tauschen Sie die Batterien nur dann aus,
wenn das Gerät ausgeschaltet ist und die
Messleitungen entfernt werden.
• Tauschen Sie die Batterien nur dann aus, wenn
das Display das Signal " " zeigt, oder die
Messung ist nicht genau.