30119-05 Rev. 4.0/07-09
4
C. CUT OUT the section of pipe within the scribed line
and remove all burrs, slag, and rough edges from the inside
and outside of the cutout section.
D. STRAIGHTENING VANES are recommended when there
are less than ten pipe diameters of straight pipe (no fittings
or obstructions) directly upstream from the meter location.
Straightening vanes are available from the factory and, when
required, should be installed in the following manner prior to
welding the saddle to the pipe:
a.) HOLD the vanes on the outside of the pipe ten
inches upstream from the center of the cutout opening.
The vanes must be parallel to the center line of the pipe
and should be equally spaced radially 120° apart.
b.) MARK the pipe around the straightening vane
bolts and drill holes for vane mounting (9/16” hole for
4-inch through 12-inch meters or 11/16” dia. hole for
14-inch through 20-inch meters).
c.) INSERT the vanes into the pipe through the
cut-out opening after installing the brass and stain-
less/rubber washers over the vane bolts. The brass
washer should be installed against vane bolt head with
the stainless/rubber washer installed against the brass
washer (rubber side away form vane). Position the
vanes inside the pipe with the bolts protruding through
the vane mounting bolt holes. Place stainless/rubber
washers over each bolt, rubber against the pipe. The
brass washer should be placed between the stainless
washer and the vane mounting nut. Secure nuts to hold
the vanes to the pipe (approx. 60 ft/lbs. torque). The
vanes can be welded to the pipe if desired; however,
the washers should not be used. NOTE: Meter head
assembly (#25) should be removed before welding (see
Section VI Step 1).
E. WELDING SADDLE should be centered over the cutout
section of the pipe. Make certain that no part of the pipe
protrudes past the inside edge of the welding saddle. Tack
weld the saddle to the pipe prior to welding a continuous
bead around the saddle. NOTE: Meter head assembly (#25)
should be removed before welding (see Section VI Step 1).
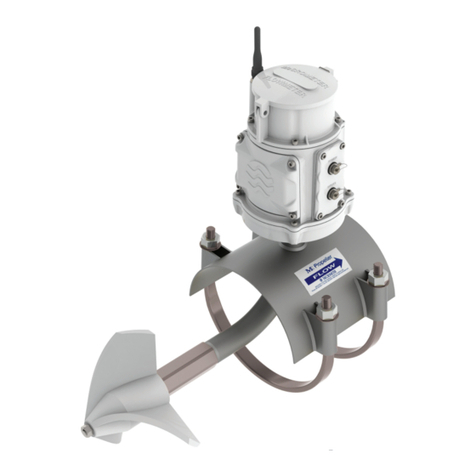
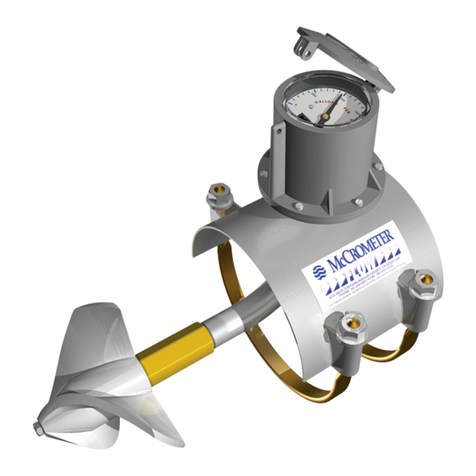
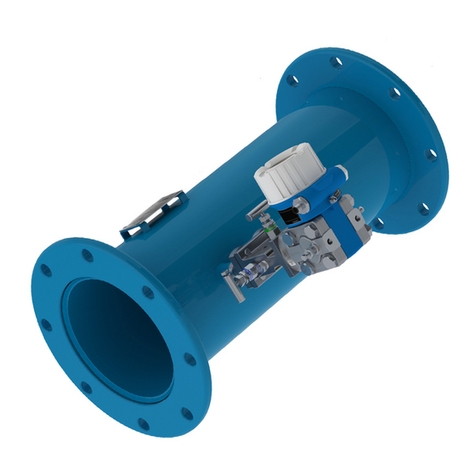
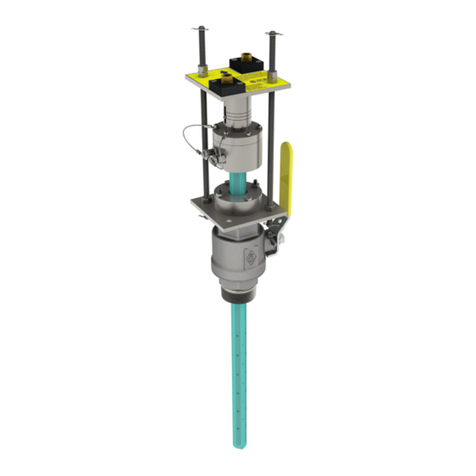
F. METER ASSEMBLY should be placed in the line with
the propeller nose facing the upstream flow in the pipe. Use
care when installing the meter not to damage the propeller
as it passes through the saddle opening. The meter head
O-ring should be covered with a thin coat of silicone grease
before installing the meter. Tighten the meter head bolts
securely.
III. MAINTENANCE. McCrometer products have been carefully
designed to be as maintenance free as possible. Periodic
preventive maintenance, however, is highly recommended
and should be practiced according to schedule to assure
continuous accuracy and trouble-free performance of your
propeller meters. The maintenance and inspection procedure
can also be used as a guide to locating a problem in the
unit that may be the cause of abnormal meter operation.
Routine preventative maintenance should be performed on
all meters, which includes cleaning and an inspection of the
propeller and its bearing. The intervals between inspections
depend on the water quality and the usage of the meter.
The initial inspection should be performed after one to two
years of service to determine the period between future
inspections. After five to ten years, the complete meter
should be inspected to ensure years of dependable service.
IV. WORKING AREA chosen for disassembly and reassembly of
the meter components should be clean to reduce the chance
of dust or dirt particles being introduced into the propeller
area.
V. DISASSEMBLY AND INSPECTION OF METER includes
cleaning the propeller assembly (#1), ceramic bearing cartridge
(#8), separator/support spindle assembly (#12), and drive
magnet (#9).
1. METER HEAD REMOVAL*. Meter head assembly (#25)
should be removed from the service line by removing the
meter head bolts (#24) and lifting up the rear (downstream)
portion of the meter head (#25), carefully pulling the assembly
back (downstream) and up at the same time to allow the
propeller (#1) to clear the inside of the meter saddle and
be lifted free. Inspect the meter head O-ring (#22) for any
sign of damage and replace if necessary. Replace the meter
assembly (#25) with a dummy cover plate if the service line
is to remain in operation.
* NOTE: 8-inch meter only:
a) Remove the meter head bolts (#24).
b) Lift the meter assembly and tilt it forward.
c) Slide the assembly back out of the saddle opening.
The propeller may have to be rotated to fit through the
saddle opening.
2. PROPELLER REMOVAL can be accomplished by first
removing the thrust bearing cartridge assembly (#5). Loosen
the set screw (#3) in the side of the nose of the propel-
ler. Remove the thrust bearing cartridge (#5) by turning it
counterclockwise while holding the propeller in place.
3. REVERSE THRUST BEARING CARTRIDGE (#6) must
now be removed. Turn the propeller (#1) so that the Allen
wrench clearance hole is lined up with the set screw (#7)
in the side of the reverse thrust bearing cartridge (#6). The
location of the set screw is marked by a small hole drilled
in the face of the reverse thrust bearing cartridge. With a
5/64” Allen wrench, loosen the set screw (#7) in the reverse
thrust bearing cartridge (#6) one turn, which will allow
the set screw to protrude about 1/32” and should allow
cartridge to be unscrewed without damaging the spindle
thread. NOTE: If the bearing area appears to be clogged
with dirt or sediment, making it difficult to locate the set
screw (#7) or to allow the Allen wrench to fit into the set
screw socket, then the bearing area should be flushed out
with water. Insert tool T-2402X-1 into the propeller through
the threaded nose. The tabs in the tool should engage in
the screwdriver slot in the end of the reverse thrust bear-
ing cartridge (#6). Remove the propeller assembly (#1)
