manuals.online logo
Brands
  1. Home
  2. •
  3. Brands
  4. •
  5. MG
  6. •
  7. Control Unit
  8. •
  9. MG R5-SS1A User manual

MG R5-SS1A User manual

MG CO., LTD. www.mgco.jp
5-2-55 Minamitsumori, Nishinari-ku, Osaka 557-0063 JAPAN
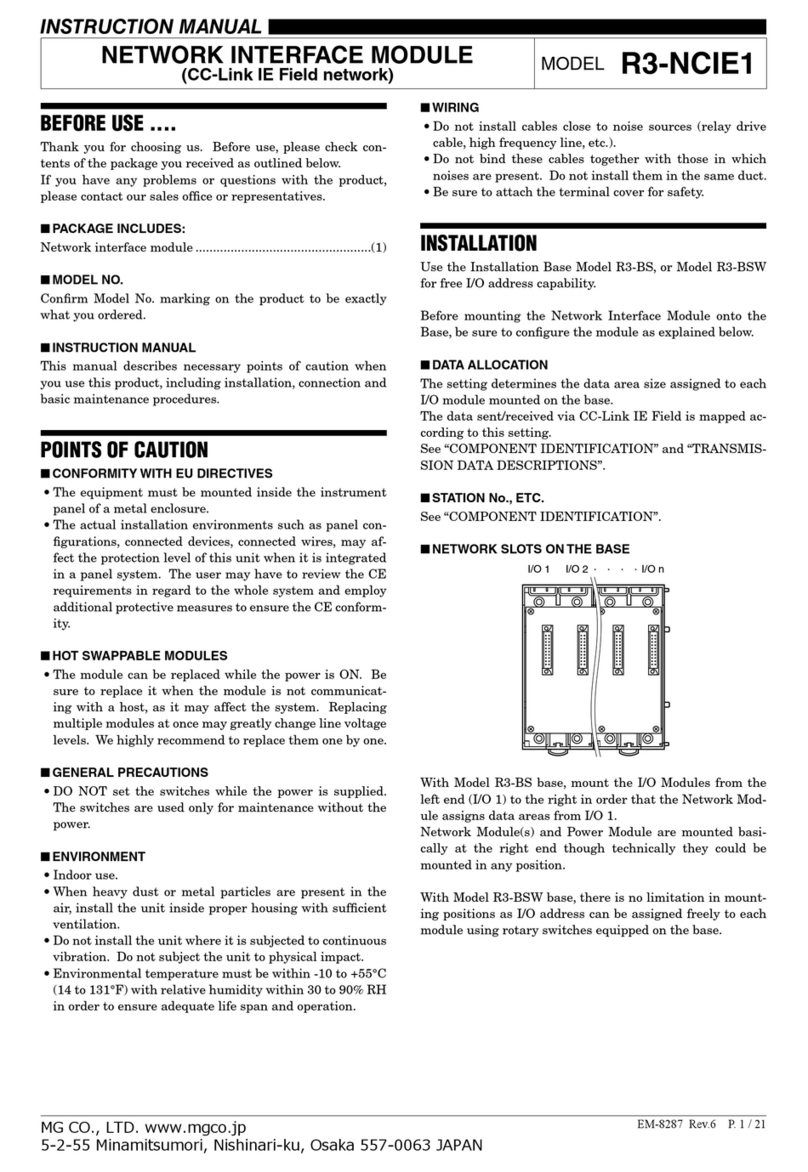
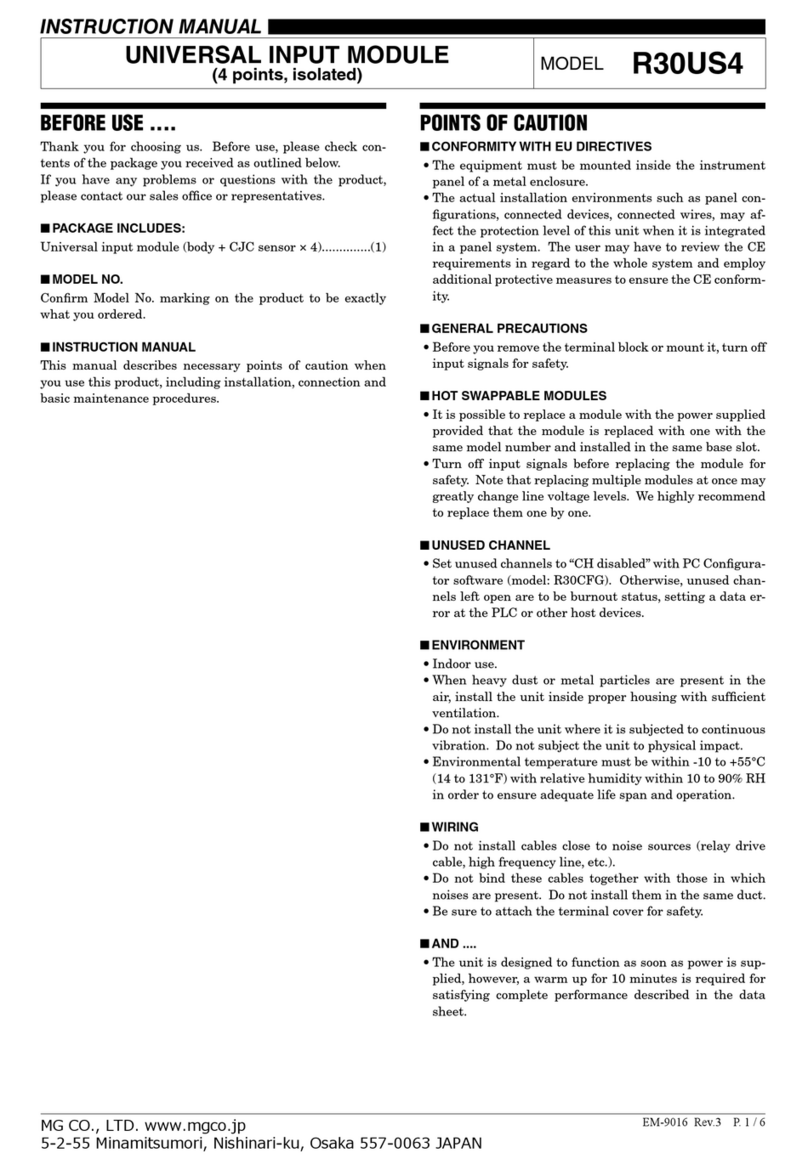
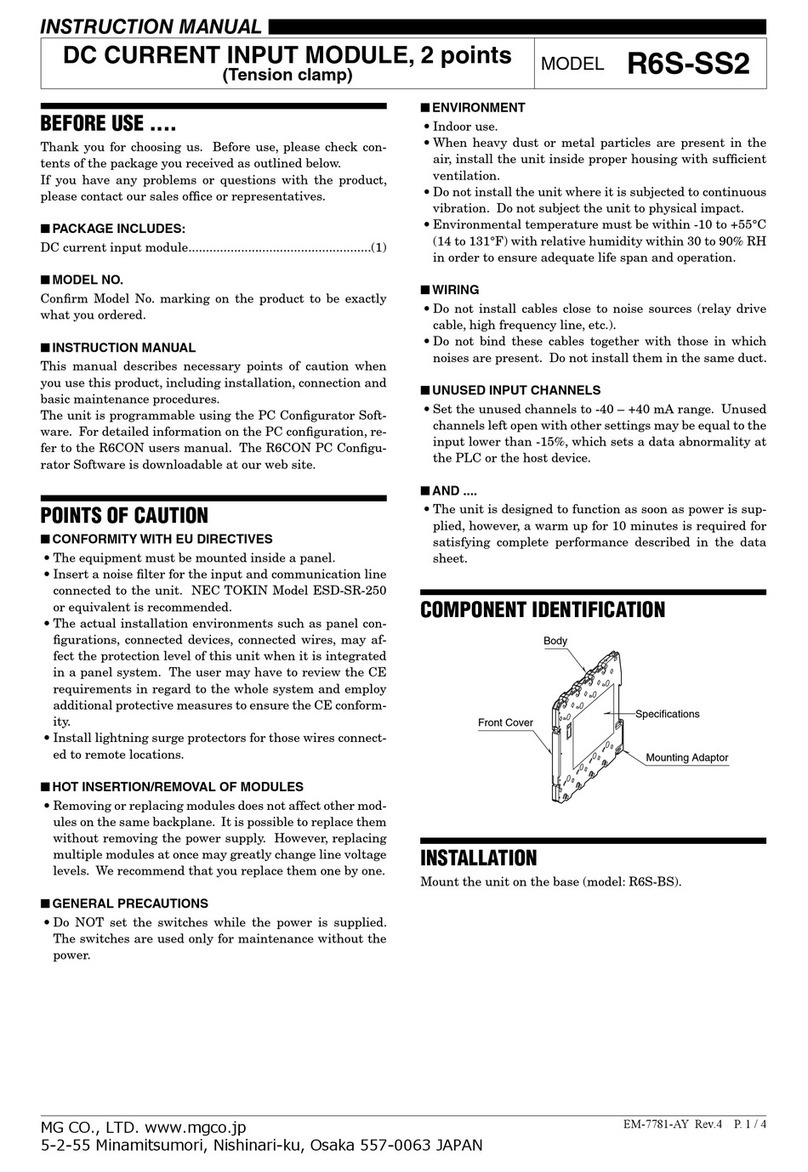
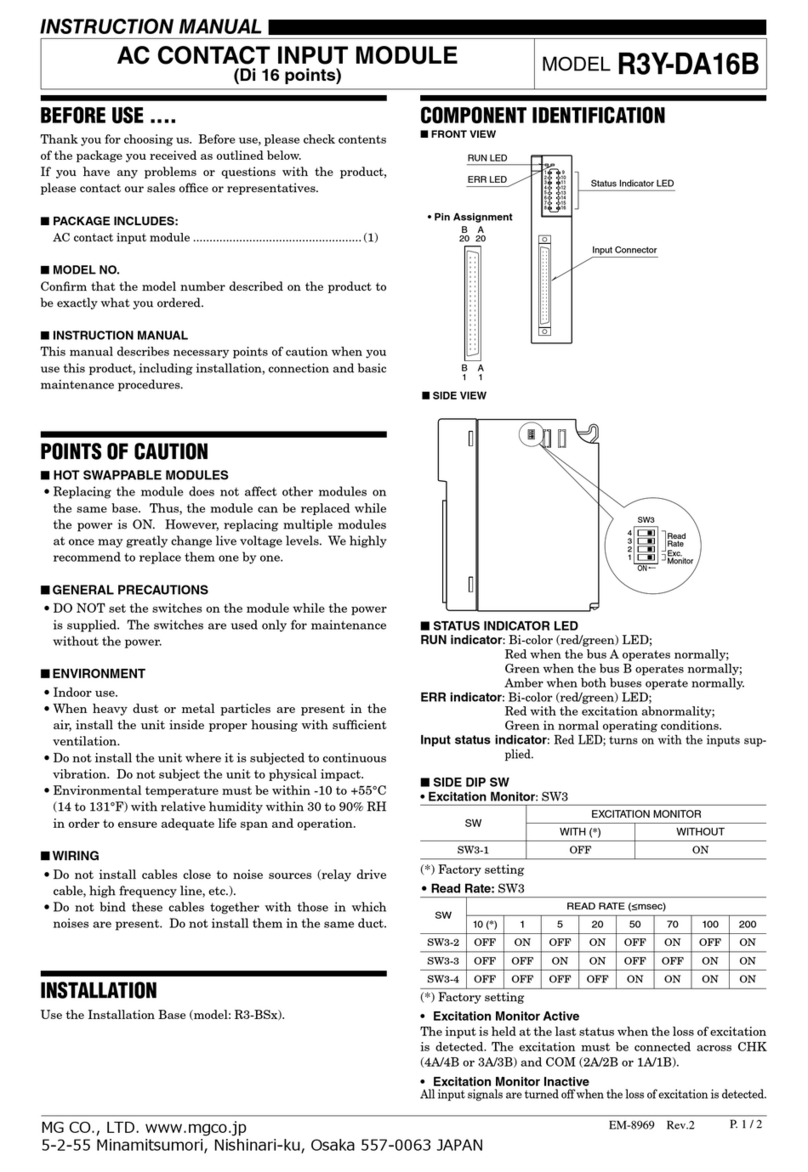
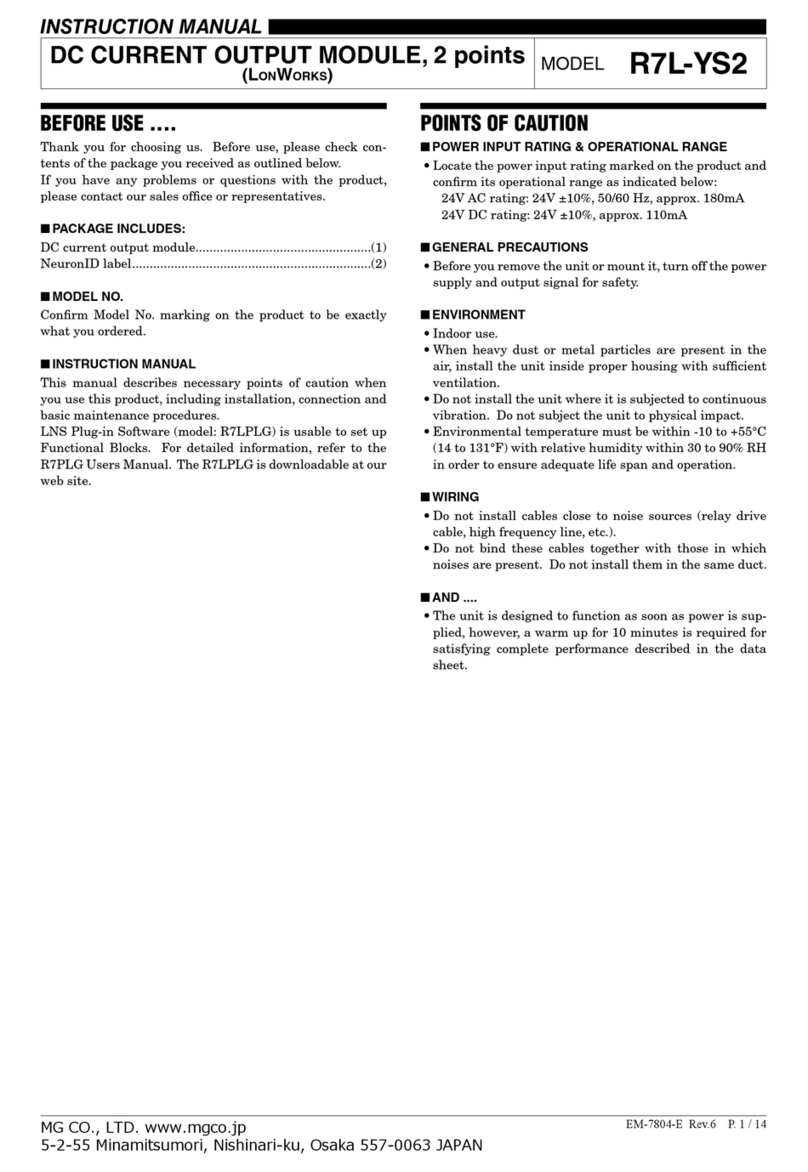
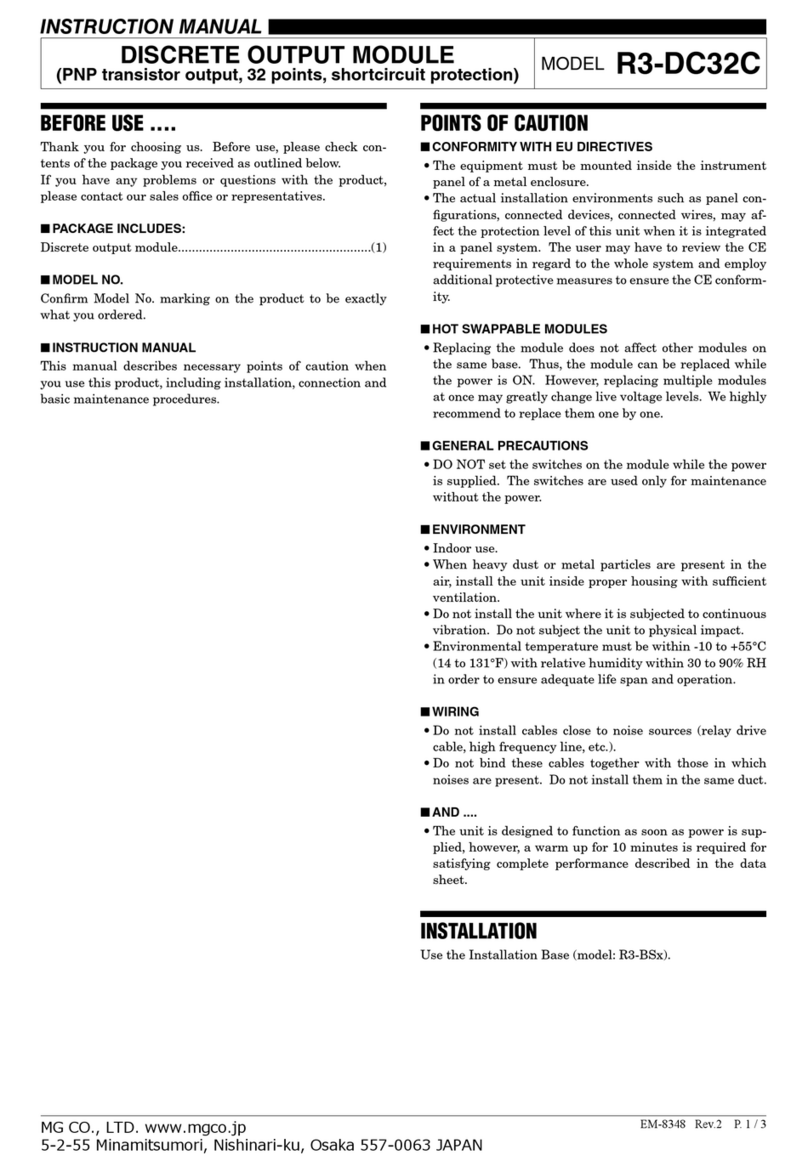
BEFORE USE ....
Thank you for choosing us. Before use, please check con-
tents of the package you received as outlined below.
If you have any problems or questions with the product,
please contact our sales office or representatives.
■PACKAGE INCLUDES:
DC current input module....................................................(1)
■MODEL NO.
Confirm Model No. marking on the product to be exactly
what you ordered.
■INSTRUCTION MANUAL
This manual describes necessary points of caution when
you use this product, including installation, connection and
basic maintenance procedures.
POINTS OF CAUTION
■CONFORMITY WITH EU DIRECTIVES
• The equipment must be mounted inside the instrument
panel of a metal enclosure.
• The actual installation environments such as panel con-
figurations, connected devices, connected wires, may af-
fect the protection level of this unit when it is integrated
in a panel system. The user may have to review the CE
requirements in regard to the whole system and employ
additional protective measures to ensure the CE conform-
ity.
■HOT SWAPPABLE MODULES
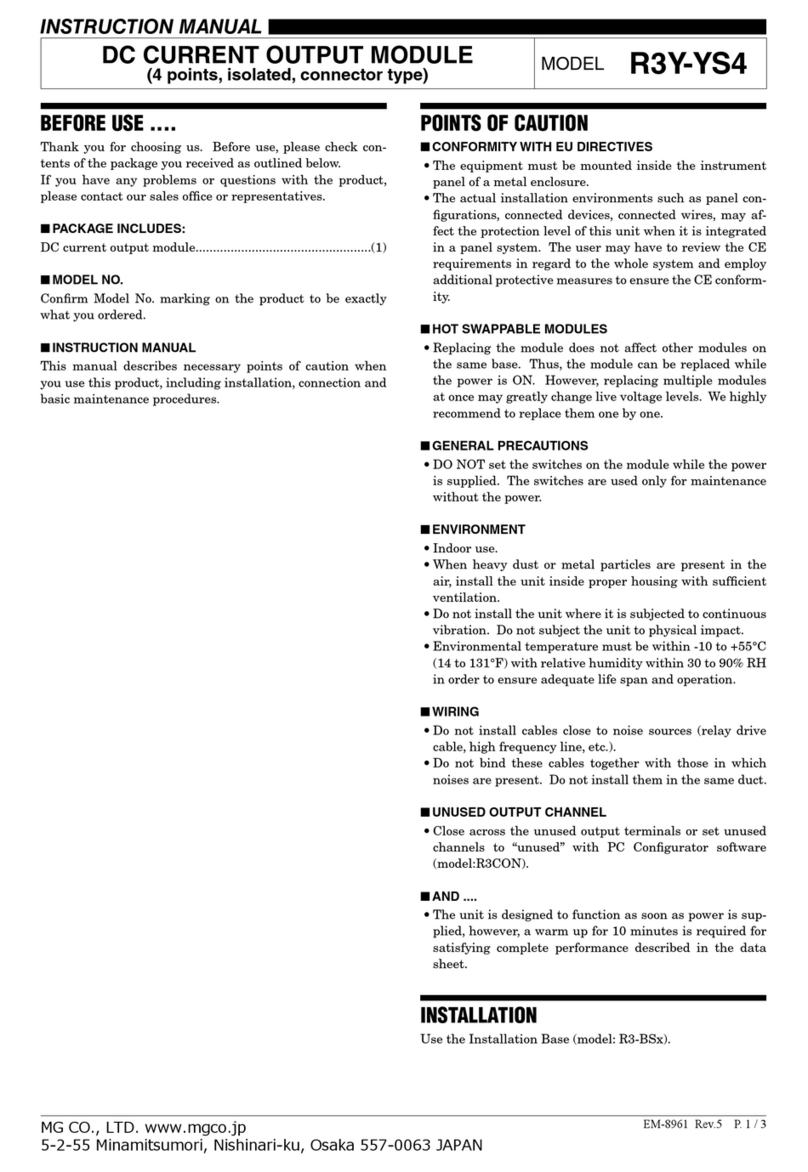
• Replacing the module does not affect other modules on
the same base. Thus, the module can be replaced while
the power is ON. However, replacing multiple modules
at once may greatly change live voltage levels. We highly
recommend to replace them one by one.
■GENERAL PRECAUTIONS
• DO NOT set the switches while the power is supplied.
The switches are used only for maintenance without the
power.
■ENVIRONMENT
• Indoor use.
• When heavy dust or metal particles are present in the
air, install the unit inside proper housing with sufficient
ventilation.
• Do not install the unit where it is subjected to continuous
vibration. Do not subject the unit to physical impact.
• Environmental temperature must be within -10 to +55°C
(14 to 131°F) with relative humidity within 30 to 90% RH
in order to ensure adequate life span and operation.
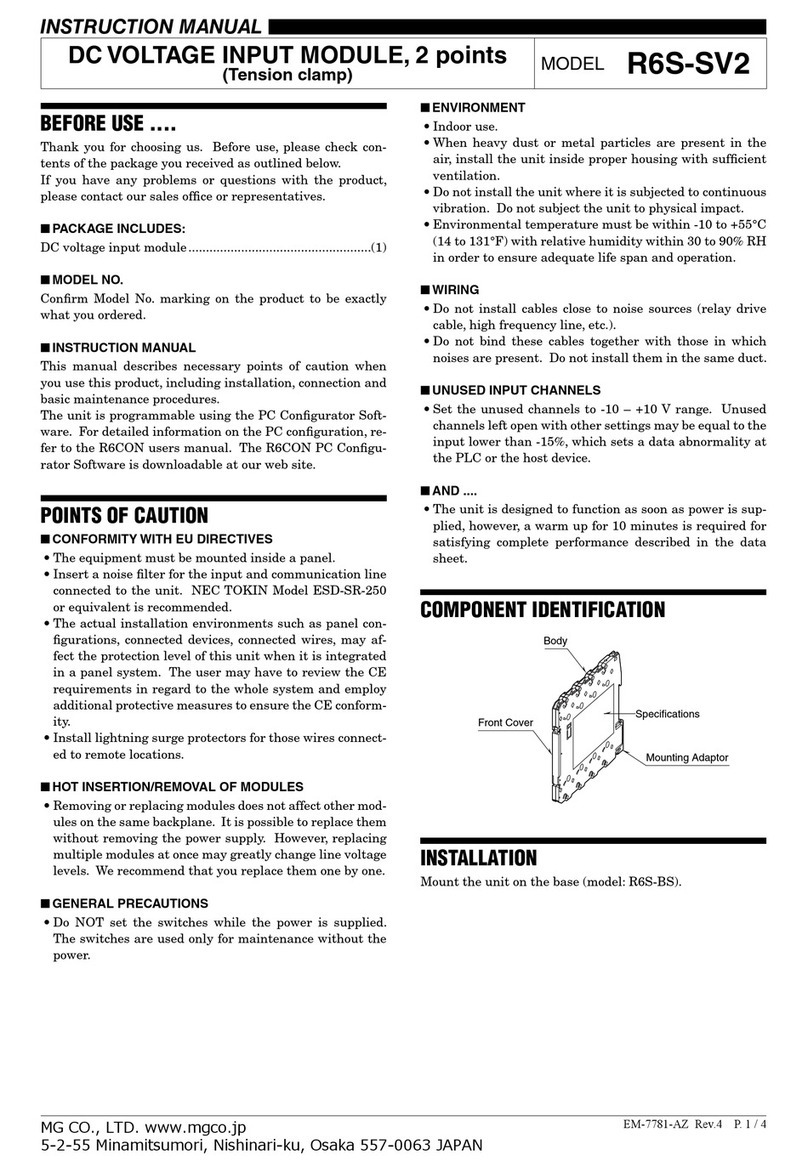
■WIRING
• Do not install cables close to noise sources (relay drive
cable, high frequency line, etc.).
• Do not bind these cables together with those in which
noises are present. Do not install them in the same duct.
■AND ....
• The unit is designed to function as soon as power is sup-
plied, however, a warm up for 10 minutes is required for
satisfying complete performance described in the data
sheet.
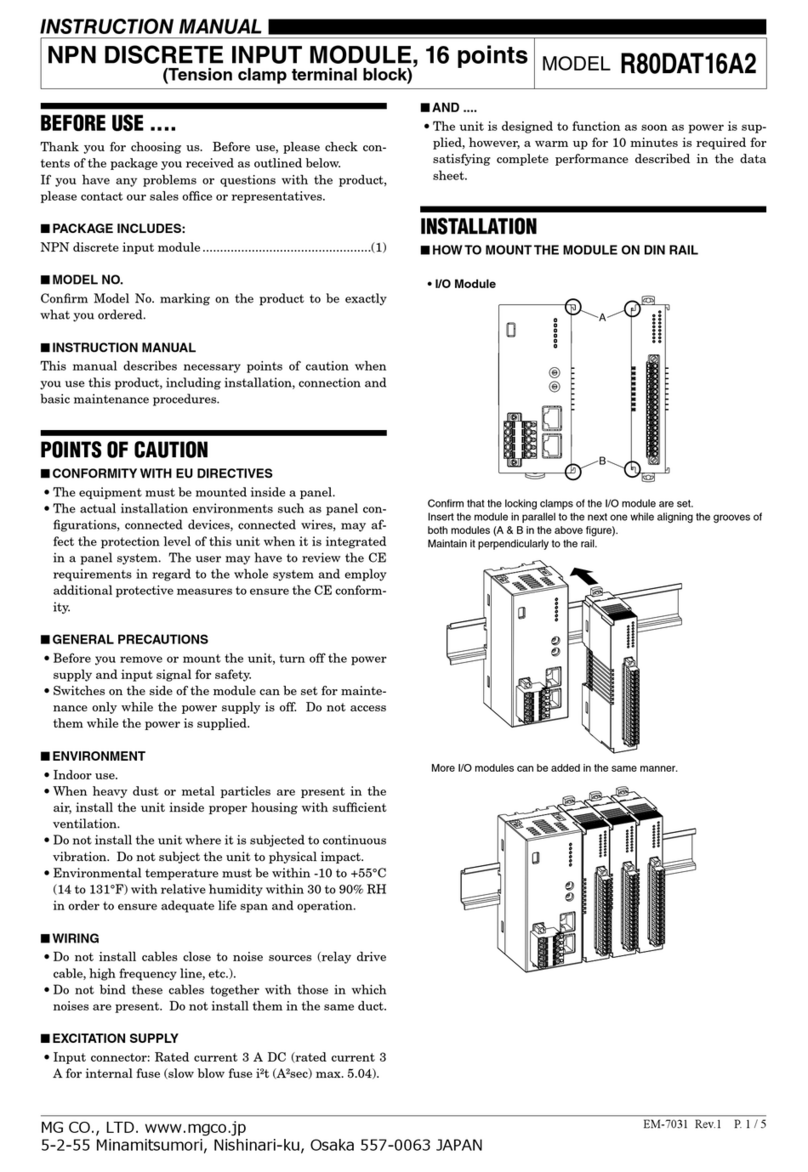
INSTALLATION
Use the Installation Base (model: R5-BS).
DC CURRENT INPUT MODULE
(re-transmitted output) MODEL R5-SS1A
EM-7577 Rev.3 P. 1 / 4
INSTRUCTION MANUAL
MG CO., LTD. www.mgco.jp
5-2-55 Minamitsumori, Nishinari-ku, Osaka 557-0063 JAPAN
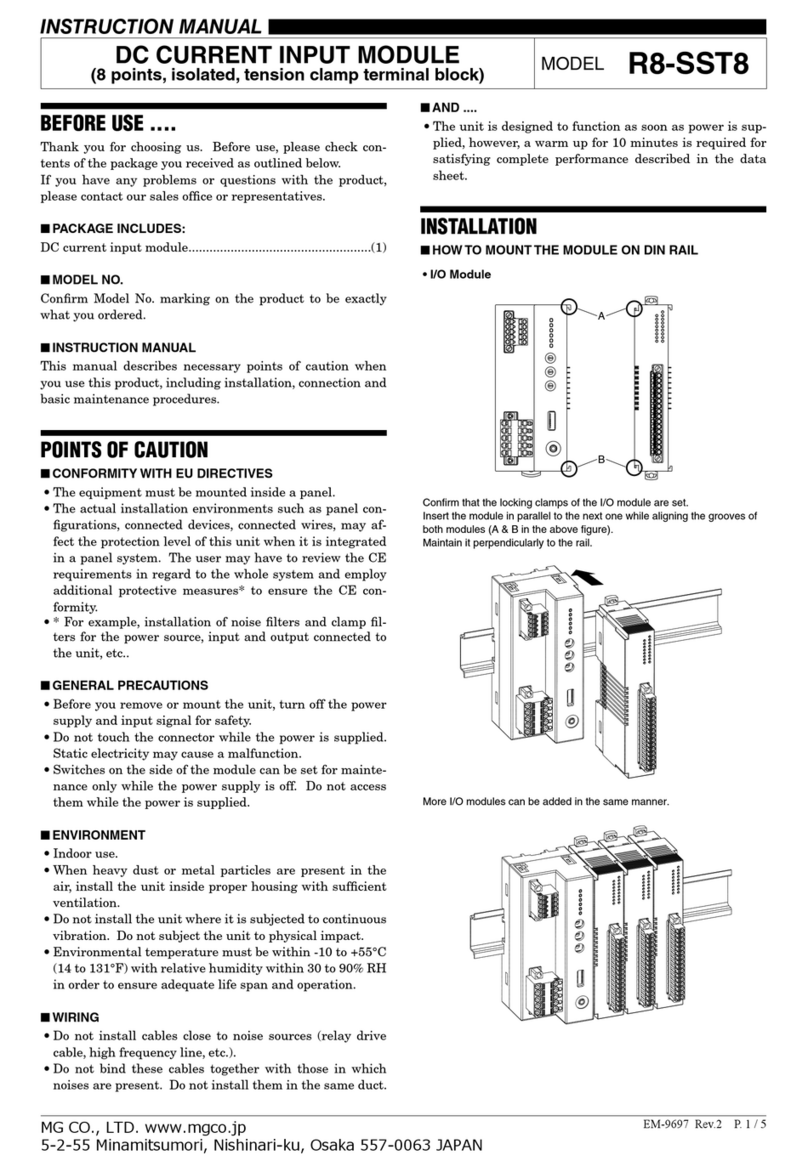
COMPONENT IDENTIFICATION
RUN LED
ON
1
Input
2345678 Zero/Span Adj.
Mode Selector
5
4
3
2
1
0
9
8
7
6
456
123
RUN
UP
DOWN
UP Button
DOWN Button
■
SIDE VIEW ■FRONT VIEW
Euro Type
Connector Terminal
■SIDE DIP SW
• INPUT RANGE: SW1, 2, 3, 4
SW RANGE
1234
OFF OFF OFF OFF -40 – +40mA
ON OFF OFF OFF -20 – +20mA
OFF ON OFF OFF -1 – +1mA
ON ON OFF OFF 0 – 40mA
OFF OFF ON OFF 0 – 20mA
ON OFF ON OFF 4 – 20mA(*)
OFF ON ON OFF 0 – 1mA
(*) Factory setting
Note: Be sure to set unused SW5 thorugh 8 to OFF.
R5-SS1A
EM-7577 Rev.3 P. 2 / 4
MG CO., LTD. www.mgco.jp
5-2-55 Minamitsumori, Nishinari-ku, Osaka 557-0063 JAPAN
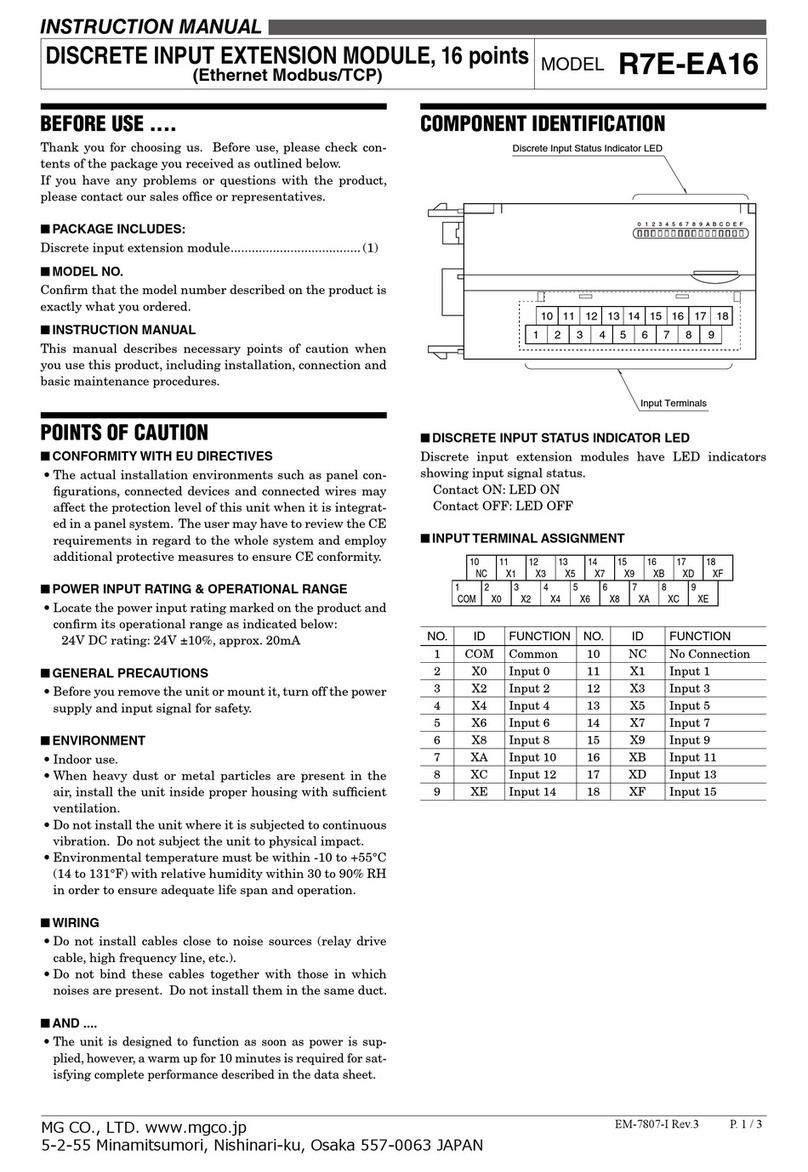
■ZERO/SPAN ADJ. MODE SELECTOR ROTARY SW
SW MODE *1FUNCTION RUN LED *1
0 (*) Monitor Output % proportional to the Input % Red/Green ON *2
1
2
3
Output 0% adjustment Increments by 1
Increments by 5
Increments by 10
Red Blinking
4
5
6
Output 100% adjustment Increments by 1
Increments by 5
Increments by 10
Green Blinking
7
8
9
Simulated output Simulates output 0%
Simulates output 50%
Simulates output 100%
Orange Blinking
(*) Factory setting
*1. When switching Monitor mode to another, set the rotary switch to a desired SW position and then press UP/DOWN button, so
that the mode is switched. Along with mode switching, RUN LED turns to blinking as shown in the table. Setting the rotary
switch to 0, the mode is automatically switched to Monitor mode in a few seconds.
*2. Red when the bus A operates normally;
Green when the bus B operates normally;
Amber when both buses operate normally.
• Zero/Span Adjustment Modes
Monitor Mode
Re-transmits the input signal as output in proportion.
Output 0% Adjustment Mode
Adjusts the 0% output signal using the front UP/DOWN
buttons, in monitoring the output value with a multimeter.
SW1 through SW3 switch the internal increments by 1, 5
and 10.
Output 100% Adjustment Mode
Adjusts the 100% output signal using the front UP/DOWN
buttons, in monitoring the output value with a multimeter.
SW4 through SW6 switch the internal increments by 1, 5
and 10.
Simulated Output Mode
Outputs the simulated signals of 0%, 50% and 100%.
• How to Operate
1) Start up in Monitor Mode (SW position = 0) and wait for
2 or 3 seconds.
2) Switch to another mode and go through the adjustments.
3) Reset the switch to the position ‘0’ so that the new setting
is stored in the internal memory.
PC CONFIGURATOR
With configurator software, settings shown below are available.
Refer to the software manual of R5CON for detailed operation.
■CHANNEL INDIVIDUAL SETTING
PARAMETER AVAILABLE RANGE DEFAULT SETTING
Zero Scale -32000 to +32000 0
Full Scale -32000 to +32000 10000
Bias [Zero Adj.] -320.00 to +320.00 0.00
Gain [Span Adj.] -32000 to +32000 1.0000
R5-SS1A
EM-7577 Rev.3 P. 3 / 4
MG CO., LTD. www.mgco.jp
5-2-55 Minamitsumori, Nishinari-ku, Osaka 557-0063 JAPAN
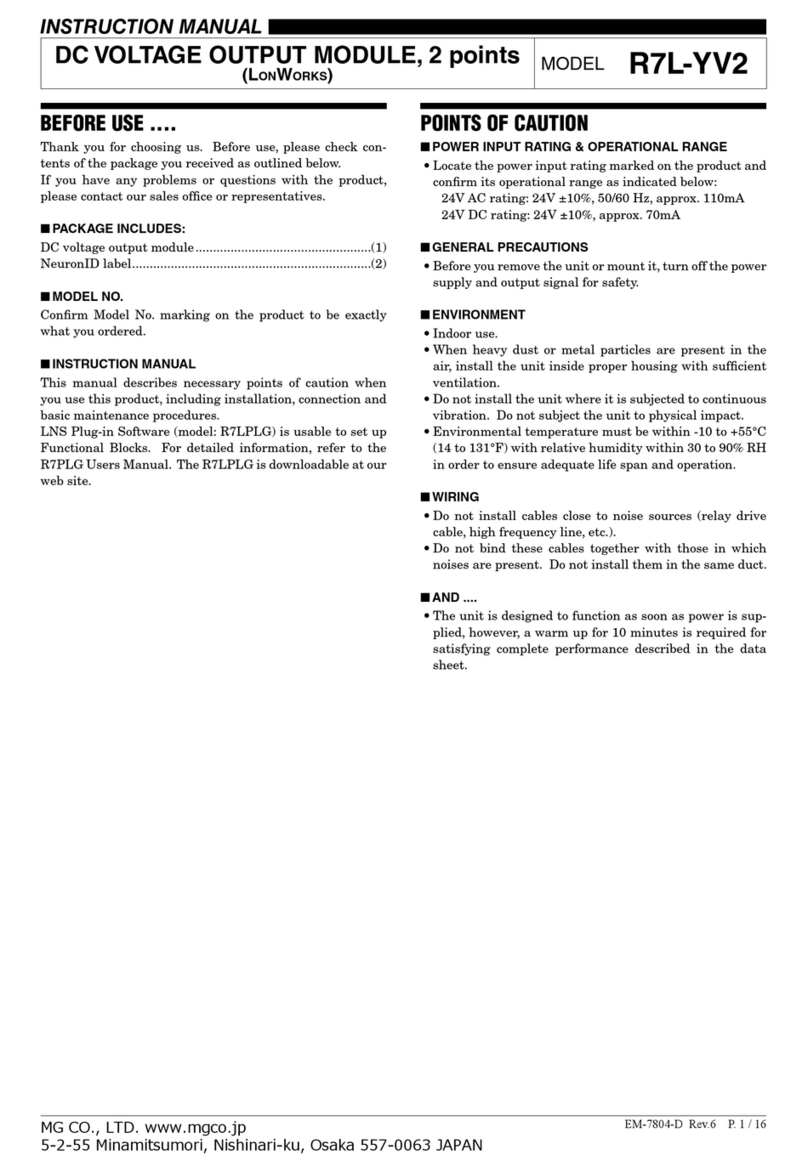
TERMINAL CONNECTIONS
Connect the unit as in the diagram below.
■EXTERNAL DIMENSIONS unit: mm (inch)
456
123
6.5
(.26)
90 (3.54) LOCKING CLAMP
90 (3.54) 5.6
(.22)
18 (.71)
POSITIONING GUIDE
■CONNECTION DIAGRAM
1
2
4
5
+
+
–
INPUT
–
+
3
BUS CONNECTOR
INTERNAL POWER
INTERNAL BUS A
INTERNAL BUS B*
*For dual redundant communication.
Note: Connect either wide or narrow span terminals for each channel.
OUTPUT
NARROW
SPAN
WIDE
SPAN
• Wide span: -40 – +40 mA DC, -20 – +20 mA DC,
0 – 40 mA DC, 0 – 20 mA DC, 4 – 20 mA DC
• Narrow span: -1 – +1 mA DC, 0 – 1 mA DC
WIRING INSTRUCTIONS
■EURO TYPE CONNECTOR TERMINAL
Applicable Wire size: 0.2 – 2.5 mm2
Stripped length: 7 mm
R5-SS1A
EM-7577 Rev.3 P. 4 / 4

Other MG Control Unit manuals

MG R7L-YS2 User manual

MG

MG R7L-YS2 User manual

MG R80YVT4N User manual

MG

MG R80YVT4N User manual

MG JFK User manual

MG

MG JFK User manual

MG 10BW User manual

MG

MG 10BW User manual

MG R6D-SS2 User manual

MG

MG R6D-SS2 User manual

MG R3-DC32C User manual

MG

MG R3-DC32C User manual

MG R5-RS1A User manual

MG

MG R5-RS1A User manual

MG R30US4 User manual

MG

MG R30US4 User manual

MG R3-CT4B User manual

MG

MG R3-CT4B User manual

MG R3-YS4 User manual

MG

MG R3-YS4 User manual

MG R7K4FML-6-DC32B User manual

MG

MG R7K4FML-6-DC32B User manual

MG R7L-EA16 User manual

MG

MG R7L-EA16 User manual

MG R6S-SS2 User manual

MG

MG R6S-SS2 User manual

MG R7LWTU User manual

MG

MG R7LWTU User manual

MG R7L-YV2 User manual

MG

MG R7L-YV2 User manual

MG R6S-SV2 User manual

MG

MG R6S-SV2 User manual

MG R7E-EC16A User manual

MG

MG R7E-EC16A User manual

MG R5-TS1A User manual

MG

MG R5-TS1A User manual

MG R7L-EC16A User manual

MG

MG R7L-EC16A User manual

MG R3-AS8 User manual

MG

MG R3-AS8 User manual

MG R30NCIT1 User manual

MG

MG R30NCIT1 User manual

MG R8-SST8 User manual

MG

MG R8-SST8 User manual

MG Devicenet R7F4DD-DA16A-H User manual

MG

MG Devicenet R7F4DD-DA16A-H User manual

MG R3Y-YS4 User manual

MG

MG R3Y-YS4 User manual

Popular Control Unit manuals by other brands

Victaulic 725S Series Installation and operating instructions

Victaulic

Victaulic 725S Series Installation and operating instructions

Siemens SENTRON PAC RS485 manual

Siemens

Siemens SENTRON PAC RS485 manual

Tektronix TDS200 Series instructions

Tektronix

Tektronix TDS200 Series instructions

Astronics RACAL INSTRUMENTS 1260-43 manual

Astronics

Astronics RACAL INSTRUMENTS 1260-43 manual

SIMEREC PC2 quick guide

SIMEREC

SIMEREC PC2 quick guide

TA UDV installation instructions

TA

TA UDV installation instructions

Honeywell Notifier FMM-1 Installation and maintenance instructions

Honeywell

Honeywell Notifier FMM-1 Installation and maintenance instructions

SkyTraq PX1120T manual

SkyTraq

SkyTraq PX1120T manual

IBM 4769 installation manual

IBM

IBM 4769 installation manual

Clark Cooper EH40 Installation and operation manual

Clark Cooper

Clark Cooper EH40 Installation and operation manual

Koheron DRV200 user guide

Koheron

Koheron DRV200 user guide

Tennant EC H2O M20 installation instructions

Tennant

Tennant EC H2O M20 installation instructions

Microchip Technology RN41 manual

Microchip Technology

Microchip Technology RN41 manual

Tranquil Ease HC-2H operating instructions

Tranquil Ease

Tranquil Ease HC-2H operating instructions

HELVAR 458/SW8 Installation and user guide

HELVAR

HELVAR 458/SW8 Installation and user guide

Calmotion USBCNC Machine Mount instructions

Calmotion

Calmotion USBCNC Machine Mount instructions

SMD 4.2DIN manual

SMD

SMD 4.2DIN manual

Grundfos DDI Series Supplement to installation and operating instructions

Grundfos

Grundfos DDI Series Supplement to installation and operating instructions

manuals.online logo
manuals.online logoBrands
  • About & Mission
  • Contact us
  • Privacy Policy
  • Terms and Conditions

Copyright 2025 Manuals.Online. All Rights Reserved.